This post may contain affiliate links. Full disclosure policy
THIS POST MAY CONTAIN REFERRAL LINKS. IF YOU CLICK THROUGH AND TAKE ACTION, I MAY BE COMPENSATED, AT NO ADDITIONAL COST TO YOU.
Living to be over fifty and all, you’re bound to pick up a few life lessons.
Here’s one of them: when it comes to crafting, Pinterest can either be a trusted friend or a misleading purveyor of emotional breakdowns and lies. Sometimes the result is just so, so good. Other times it’s what I like to call a #PinterestFail.
Before we get into my recent crafting project and #PinterestFail, here are a few nuggets of wisdom I’ve accrued during the 2,452,856,818.50 hours I’ve spent on Pinterest.
- Some projects won’t turn out as well as the tutorial or the pictures. They just won’t. You don’t have a set designer, stage lighting, a hand model, or a professional photographer.
- Some projects will turn out better than you ever imagined. Your personal touch and your crafting instincts can work magic. Sometimes mistakes actually turn into something new and brilliant, or at the very least, a learning opportunity. (Hello, life metaphor!)
- Don’t fall into a Pinterest rabbit hole and spend more time fantasizing than you do actually crafting (or cooking or making). The purpose of Pinterest is to find inspiration, not suck up time.
- Don’t put too much focus on perfection. Be kind to yourself. It doesn’t have to be perfect.
- Share your work! I post my pictures even when things don’t go perfectly. Comment on blogger tutorials with tips for the next reader. Join the conversation.
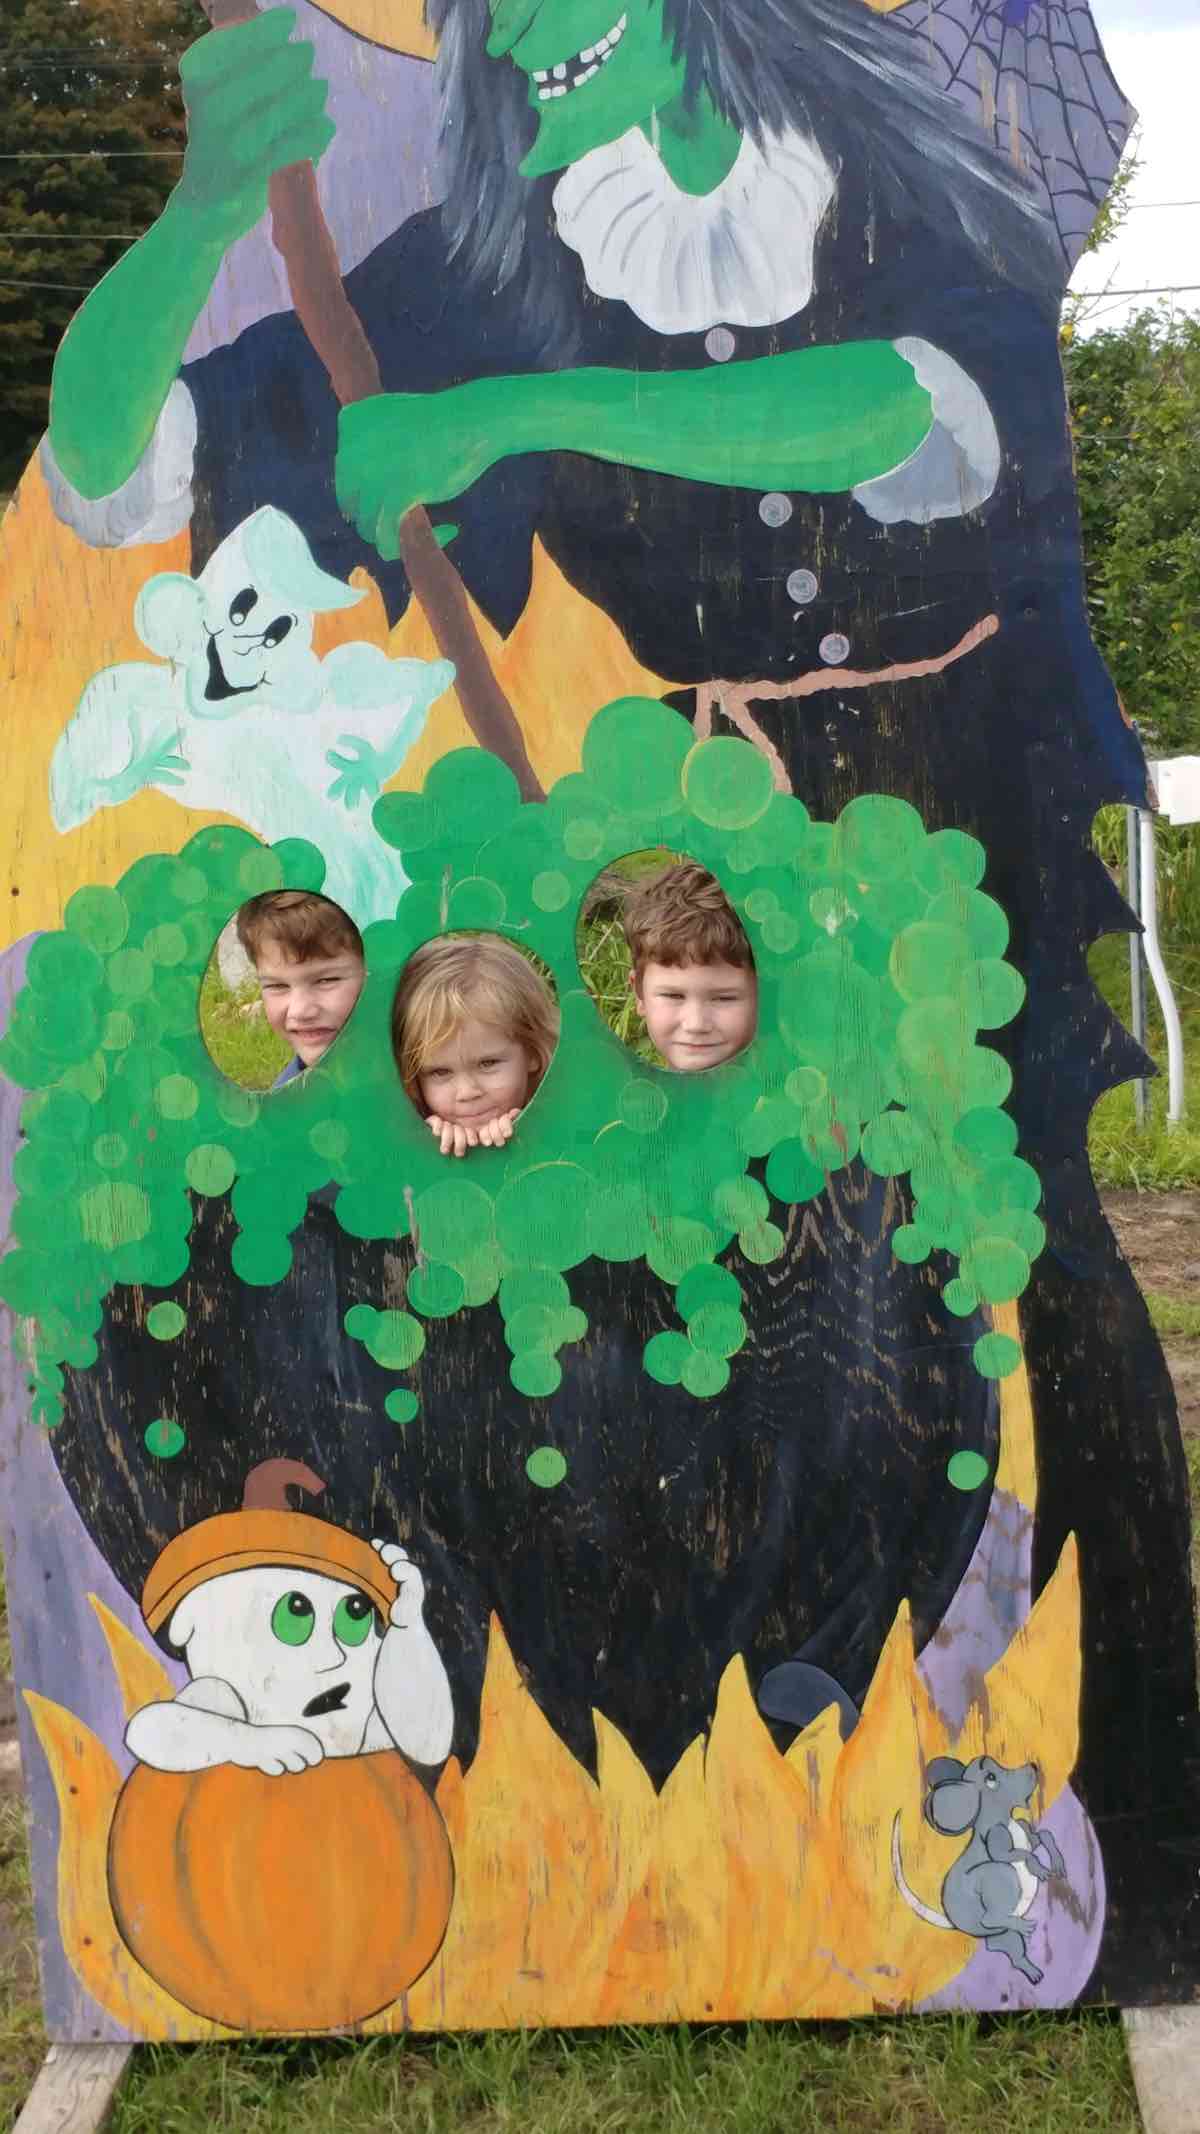
So let’s get back to the #PinterestFail and how it all started. There were three adorable little people that were also involved in this. Specifically, they were my grandchildren named Noodle, Twoodle, and Sweet Pea. (Don’t worry, those aren’t their real names).
I’m not blaming them. I’m just saying it wasn’t just me, I was out of my element (my best work is really in my own crafting room at home), and my concentration at the very best was divided by three.
See? How can I focus when in the face of such cuteness?
Yarn Pumpkins
So what did Grammy do this time? Many of you have read about Grammy’s Craft of the Month Club: exciting little care packages for the littles in my life, sent across the country to show my love. Each one arrives with a special note from Grammy, materials for their craft, and instructions.
For this craft of the month, it only seemed appropriate to have a pumpkin decorating extravaganza. A no-carve option seemed reasonable. I mean, my daughter in love is so welcoming of my crafts but I doubt she would tolerate the idea of three knife-wielding toddlers. So, I chose yarn pumpkins! They sound so cute and safe and easy, right? And since I happened to be in the area, I would be there to help supervise.
Well…let’s just say there was a Hail Mary and things didn’t go as planned.
Materials
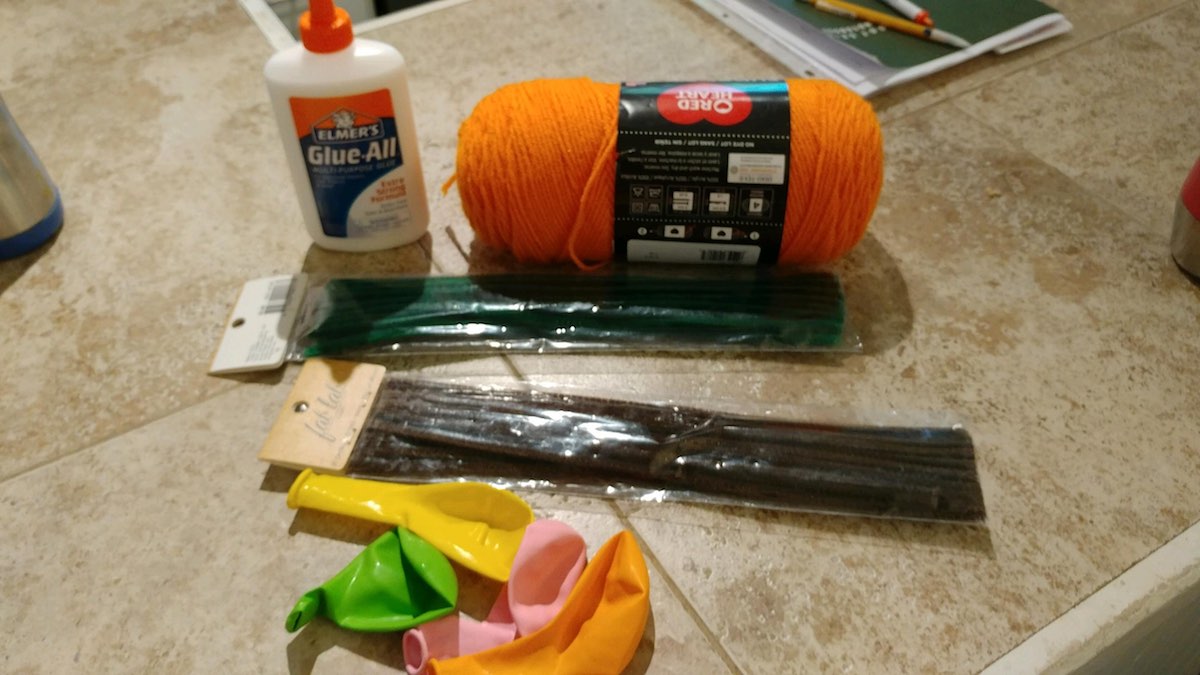
Here’s what you need to attempt this very messy craft.
- Elmer’s Glue
- Yarn (preferably a seasonally appropriate color)
- pipe cleaners
- balloons
Instructions
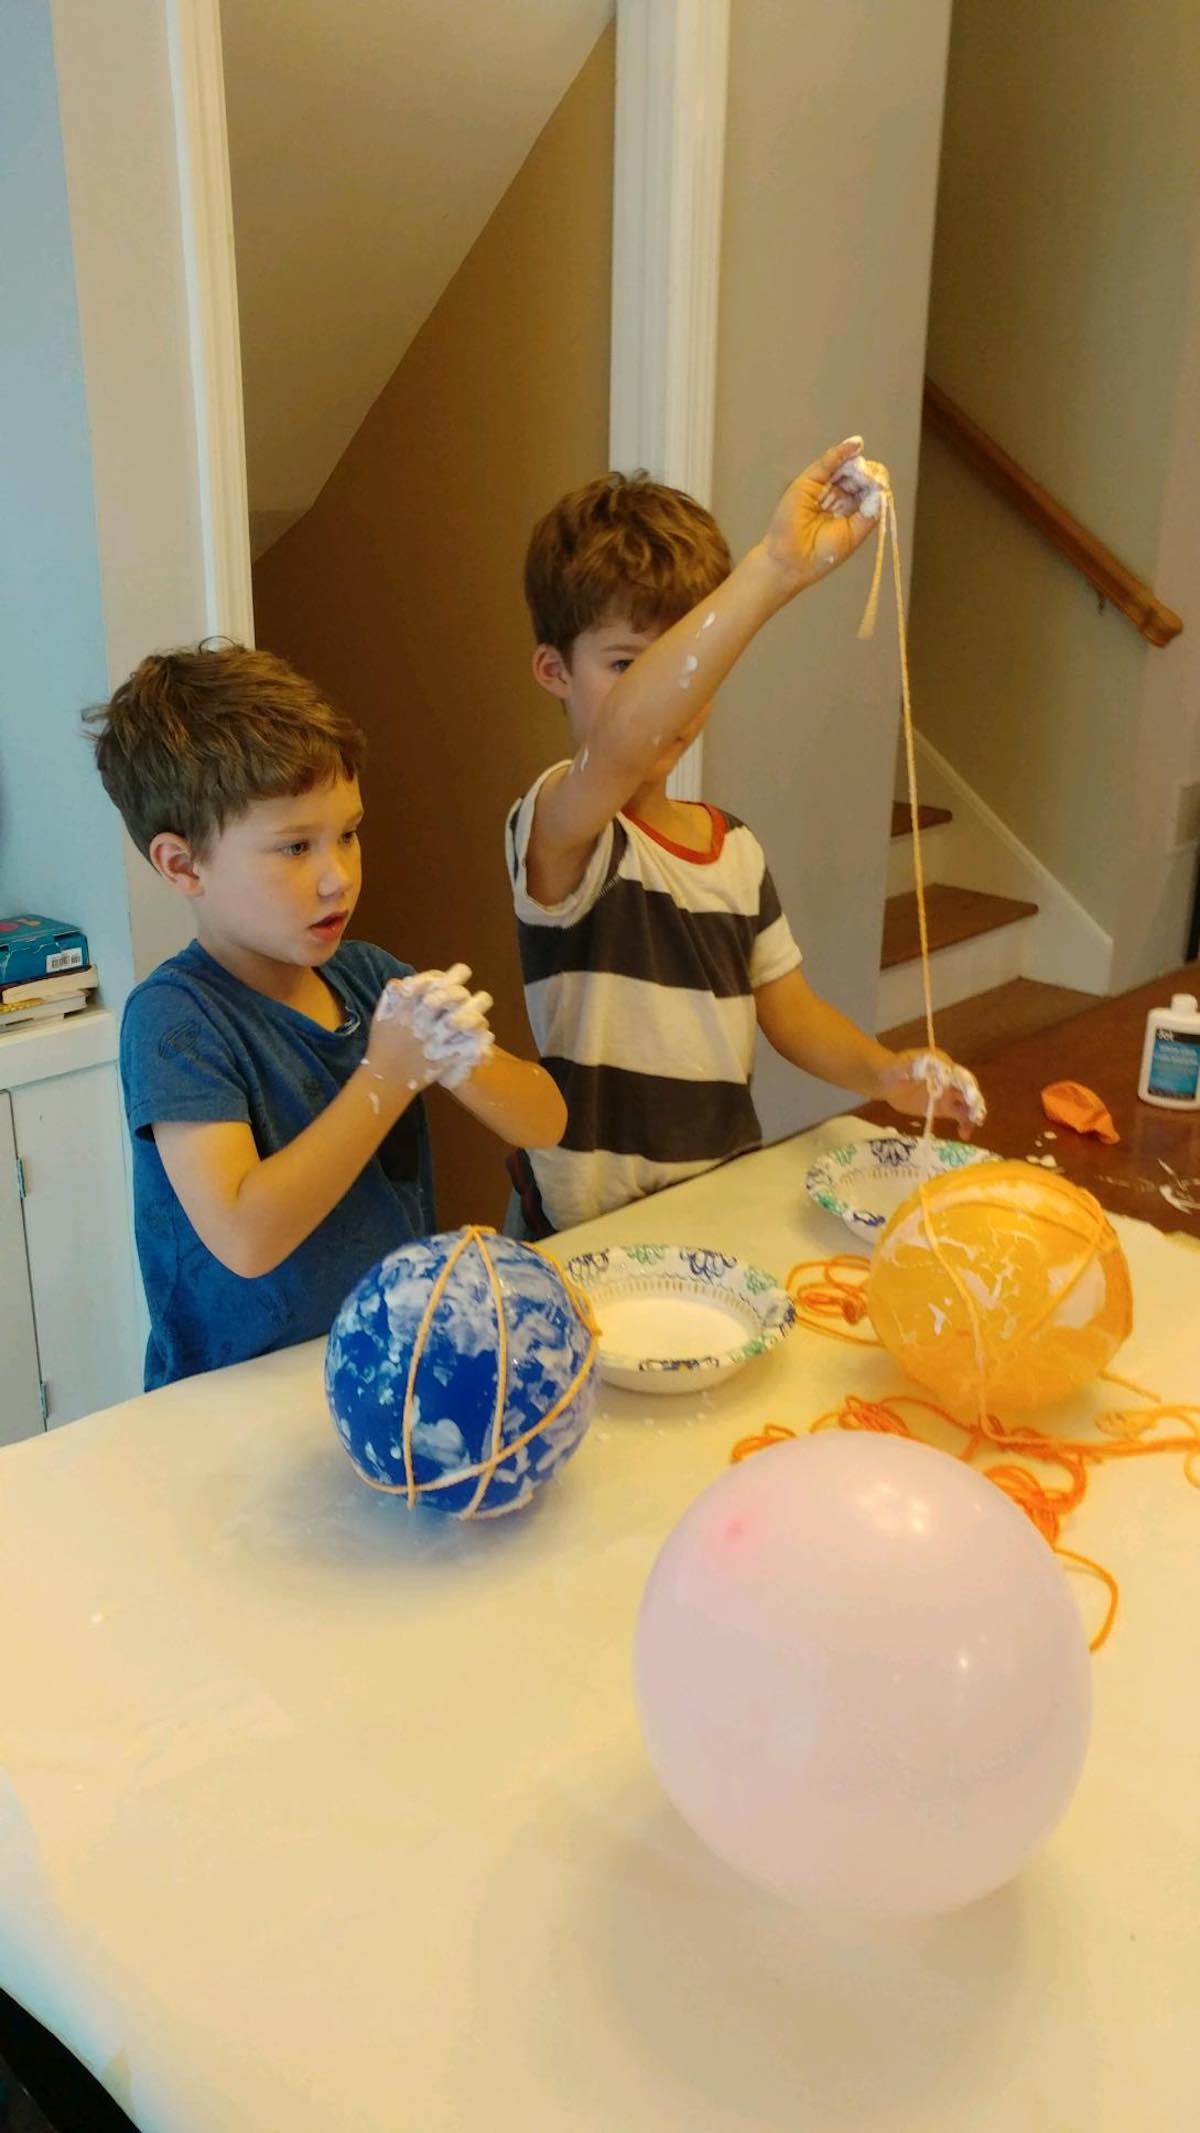
Before you get started, I feel like it’s my personal duty as a blogger, a mom, a grandmother, and a woman, to warn everyone that this craft project is EXTREMELY MESSY. As you can see in the picture below, it involves glue and little hands.
First, blow up the balloons you want to use. One per child. Don’t blow them up to be too large, otherwise this will take forever.
Second, mix the Elmer’s Glue with a 1:1 ratio of water.
Cut yarn into lengths of about 3 feet. You’ll need a lot of strands, about 20 or more per balloon.
Dunk the loose yarn into the glue mixture and then run each piece through your fingers to squeeze to remove excess glue / liquid.
Wrap soggy gluey yarn around balloon. This is the moment to let your creativity soar. Just wrap it however you think it looks the best. You can’t go wrong here.
Look at my cute grands. Their creativity is truly soaring!
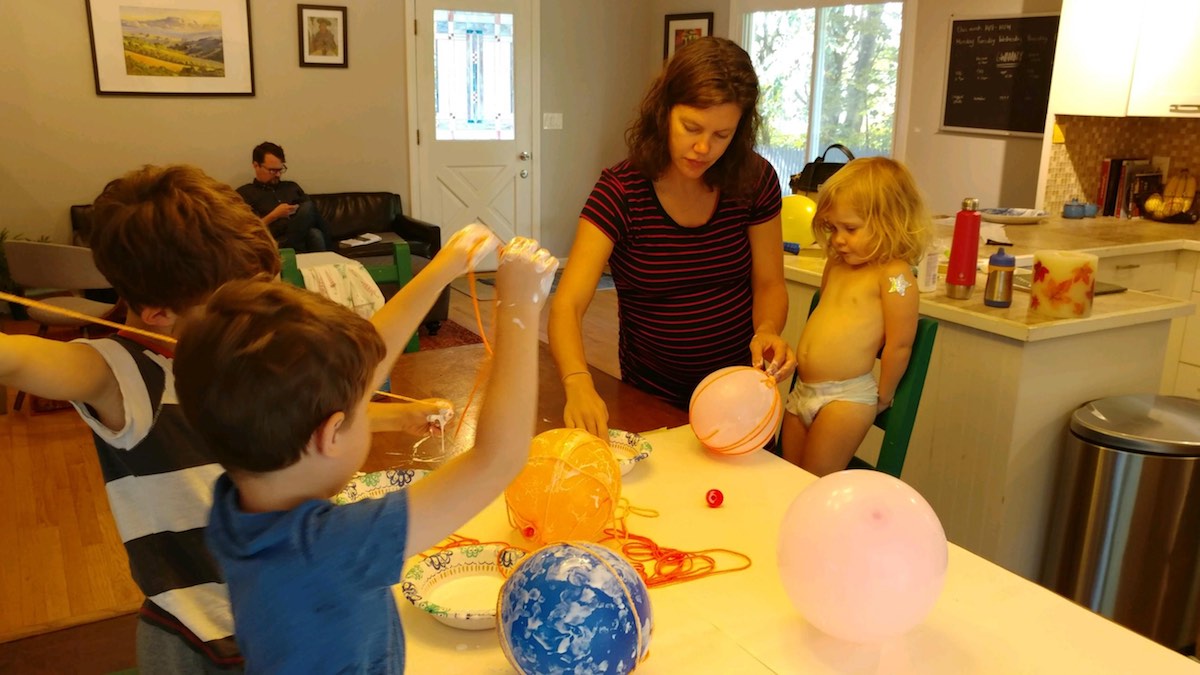
Creative masters at work.
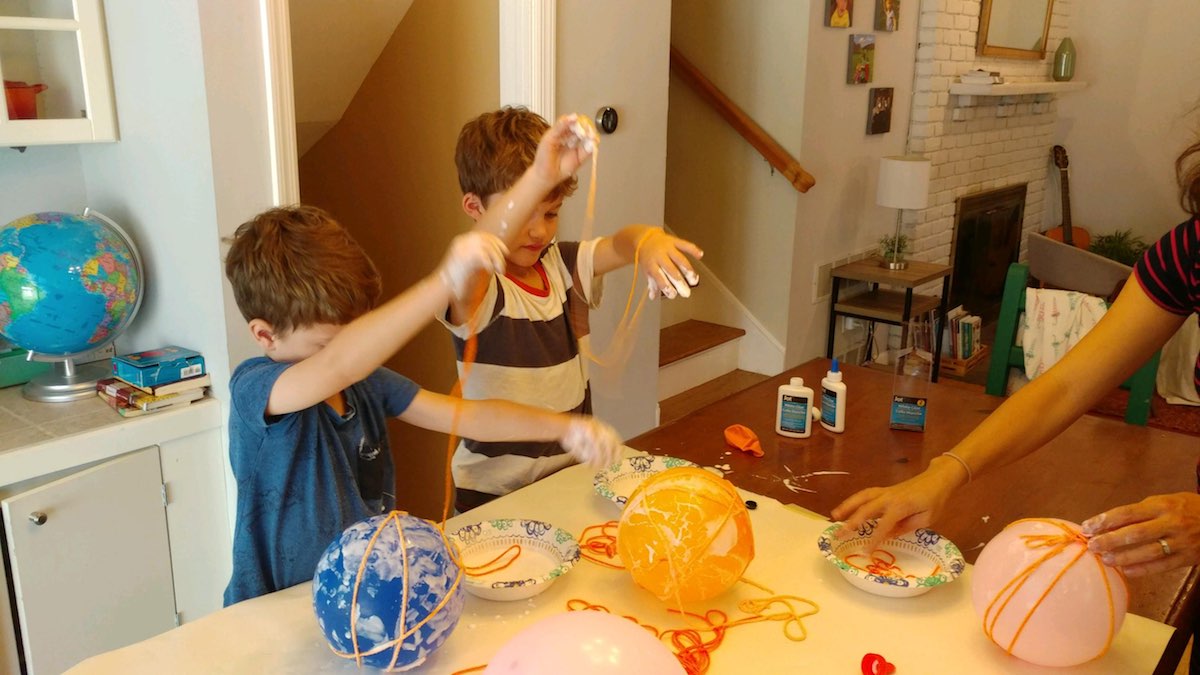
Once your balloon looks amply covered in yard (tucking in the ends as you work) tie an unglued length of yarn around the neck of the balloon.
Now tie your wet balloons up and let dry overnight. (Ok, this is where we went wrong. Keep reading to learn why. And who’s fault it was.)
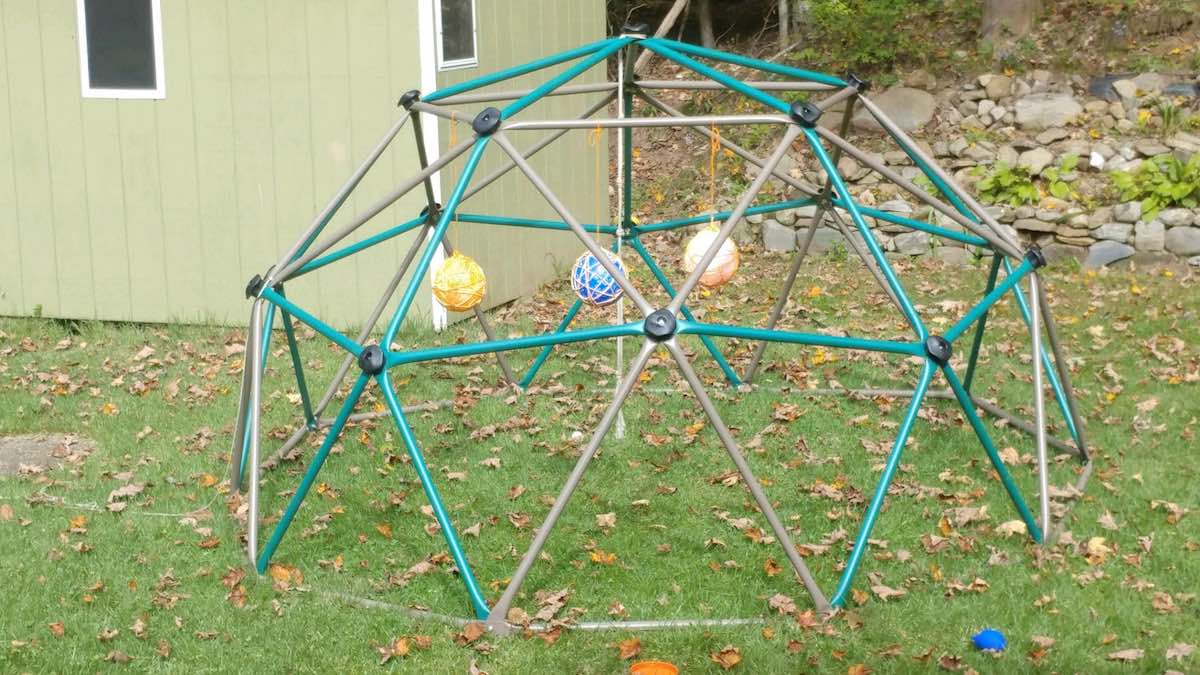
Once dried, loosen the glue from the surface of the balloons, then prick the balloons to pop them. Use pipe cleaners to add pumpkin “stems” and “vines” atop your newly created autumnal masterpieces. Display with pride.
There you have it. That was what was supposed to happen.
Where We Went Astray
So where did our crafting project go wrong?
Well, I don’t want to blame the granddarlings. I really don’t. But as I was chatting with my daughter in love about her upcoming fourth child (she is due any day!), we heard a few “pops” in the other room. Turns out the kids had popped the balloons before the yarn and glue had remotely dried, despite my instructions.
That’s when the sad sagging situation happened.
I could basically hear a sad trombone in the background tooting out “Whoooomp Whommmmppp.”
The balloons need to stay intact for the glue to dry. They are the “form.” So when the form is prematurely popped, the yarn pumpkins sort of just cave in and collapse. In many ways, they save in sort of like the real pumpkins that endure a couple months of sitting outside rotting and then are tossed in the trash once it’s time to decorate for Christmas.
Embracing the Messes and Mistakes
Instead of being tossed in the trash since they aren’t “perfect,”, these little yarn pumpkins are displayed with pride and love. You know why? Each grandchild felt empowered to express him or herself through creativity. When they see their work, they are reminded of yours truly, and of a fun time together.
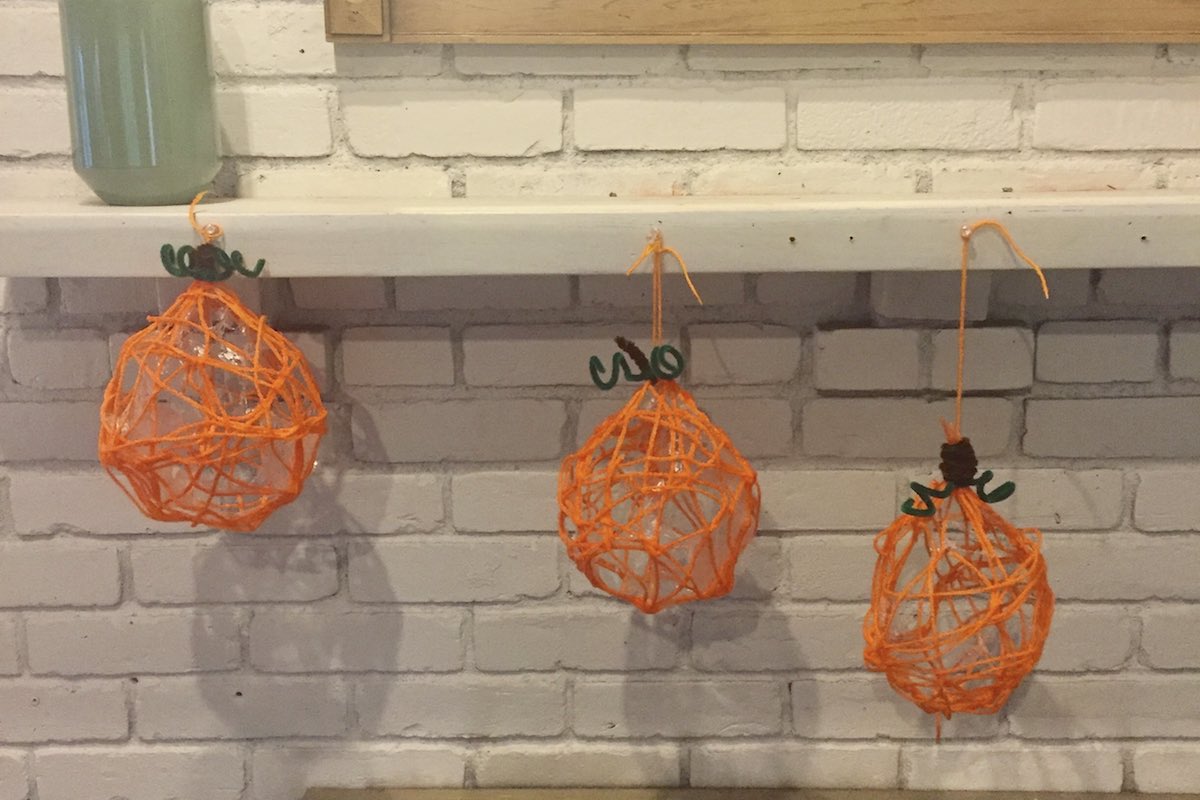
But did we have fun? And did I get to spend quality time with my grands? Yes and yes.
That was worth the mess and then some.
Make sure to follow me on Pinterest for more fun ideas!


