This post may contain affiliate links. Full disclosure policy
In my recent post on junk journals (if you have zero idea what a junk journal is, you should probably read that post first) I said that after my dear reader and new best friend, Jolyne, made me a completely cute, one of a kind junk journal, I knew I had to make one for myself!
These little journals make delightful and inexpensive gifts for friends, family, and co-workers, and are incredibly fun and easy to make.
Read on to see how I made my very first junk journal.
MY JOURNAL – SHORT ON JUNK, LONG ON CUTE
Believe it or not, having recently moved and cleaned out lots of clutter, I’m actually a little short on junk at the moment!
(I am sure this situation will rectify itself very, very soon. Junk has a way of piling up without any outside assistance. So, please, I beg you. Do not send me the contents of your junk drawer. Thanks for the thought but I’m good here. Really.)
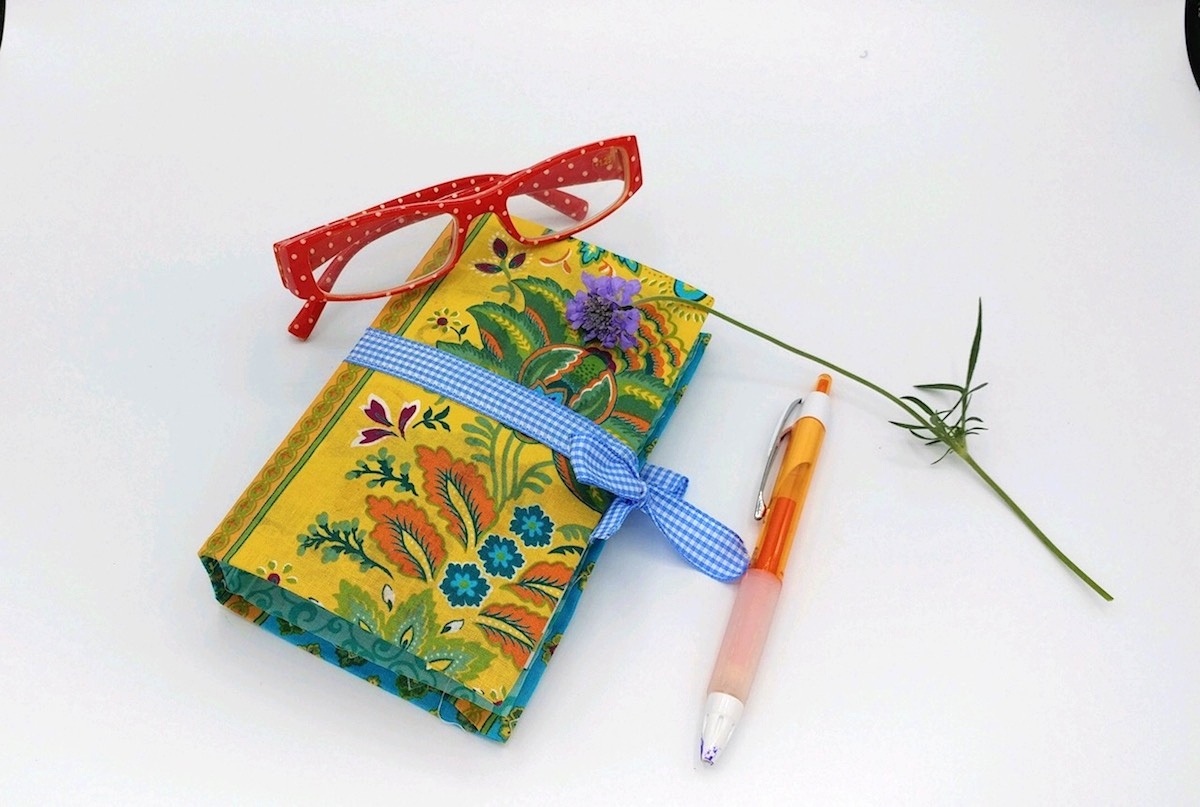
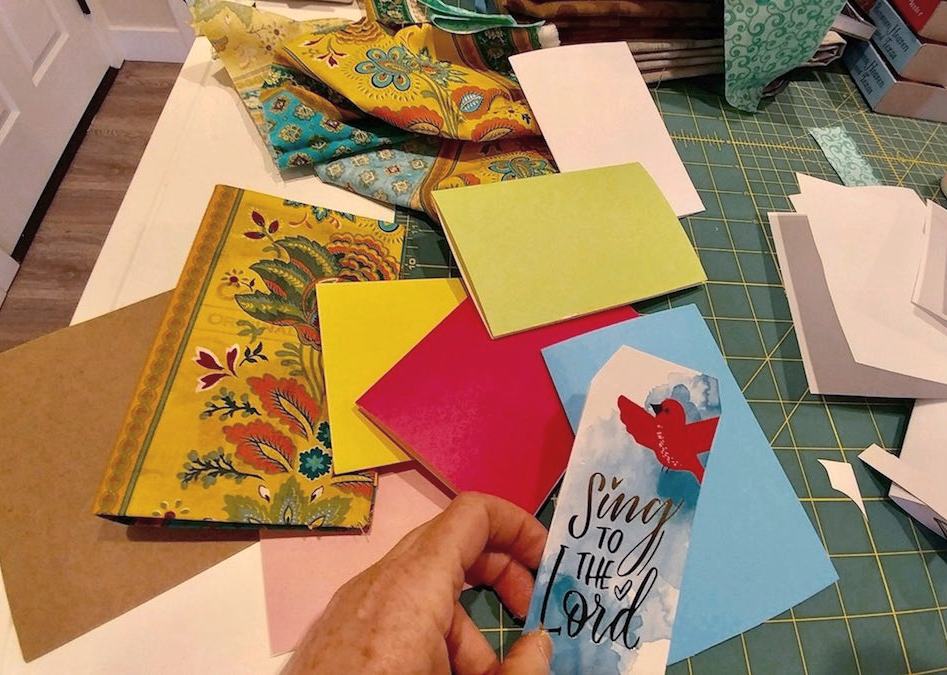
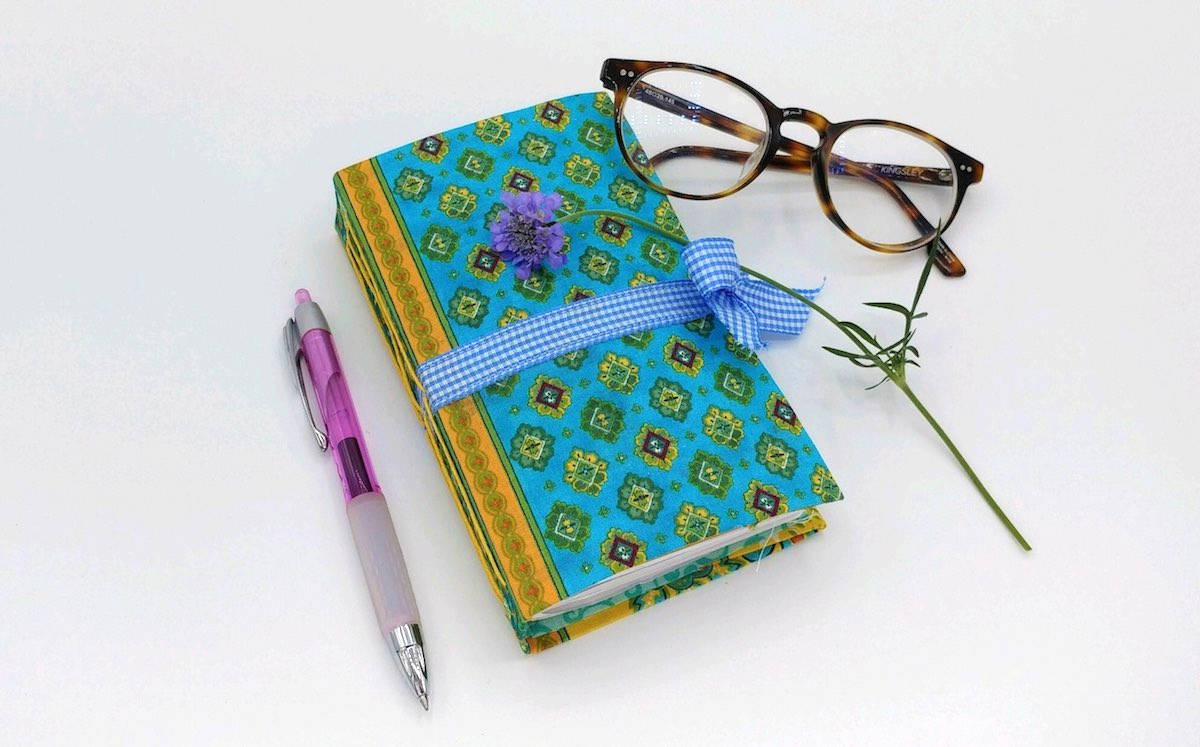
However, I did have some scrapbooking papers on hand, as well as some pretty colored notecards, and, of course, plenty of fabric and ribbons. I decided to use those, together with some plain old copy paper, to make myself a purse-sized prayer journal.
What You’ll Need
The supplies you need to make a junk journal are pretty basic. Chances are you already have most of them on hand. If you’ve done any scrapbooking, you definitely do. In addition to paper and embellishments, you’ll need…
| Craft glue |
| Paintbrush |
| Paper trimmer and/or craft scissors |
| Darning needle |
| Cording, string, or heavy thread |
| Adhesive tape runner (optional but nice to have for attaching trims) |
| Awl (optional but VERY nice to have. I didn’t have one for this first project but bought one immediately after. It makes binding so much easier! Basically, an awl is shaped kind of like a screwdriver with a sharp point. You can find them on Amazon or your hardware store.) |
Making The Cover
Junk journal covers can be made out of just about anything. I’ve seen photos of journal covers made from old books, orphan quilt blocks, file folders, record album covers, cigar boxes, and even potato chip bags. However, most junk journal covers are made from cardboard or heavy cardstock. Old boxes are perfect.
The journal that Jolene gave me was a booklet with one grouping of pages (each group of pages is called a signature). I wanted my prayer journal to have more pages and 3 signatures. I decided to use an old couscous box for my cover. It gave me a bit more room but wasn’t too big. Remember, I want this little journal to fit in my purse.
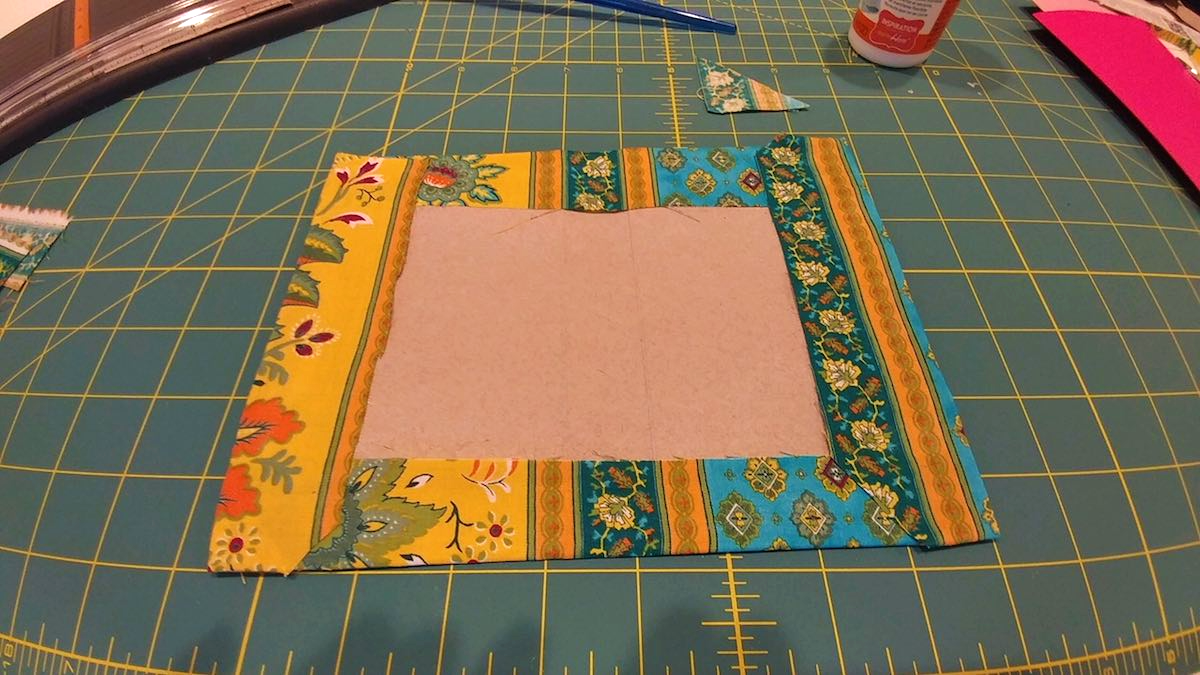
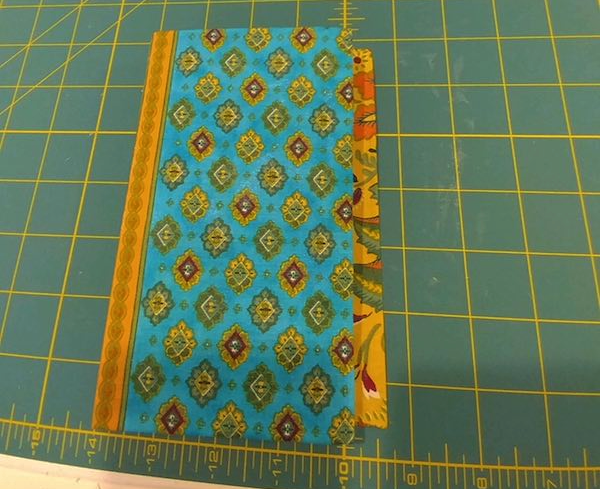
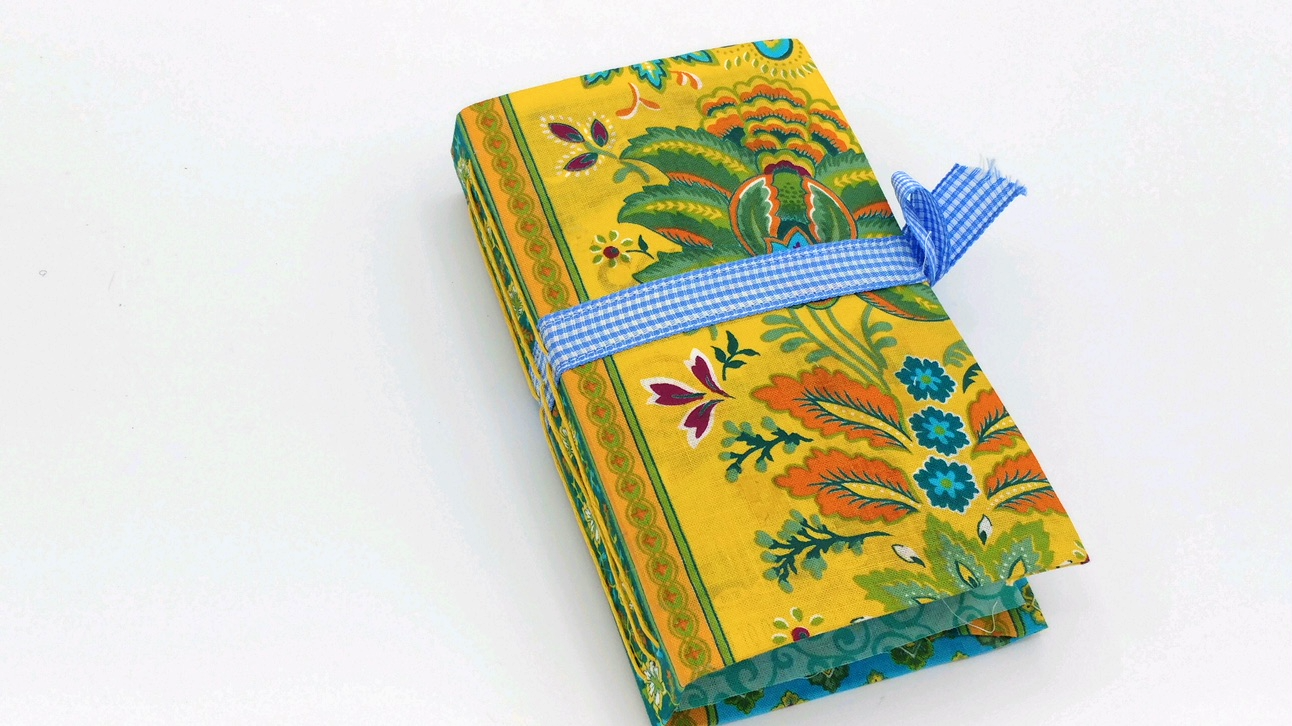
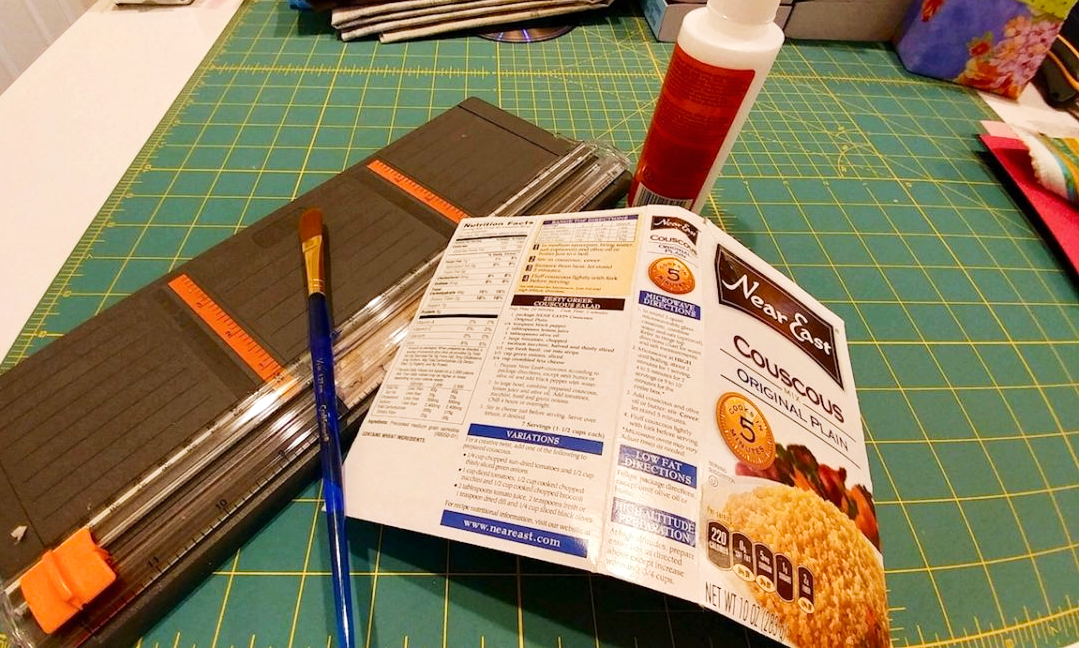 After cutting the box down to the size I wanted, I painted the front with glue and covered it with fabric, cut about an inch bigger than the cardboard. Next, I trimmed the corners of the fabric, painted a border of glue on the opposite side, and folded the extra fabric onto the back, adding more glue at the corners.
At this point, my journal was already looking pretty cute!
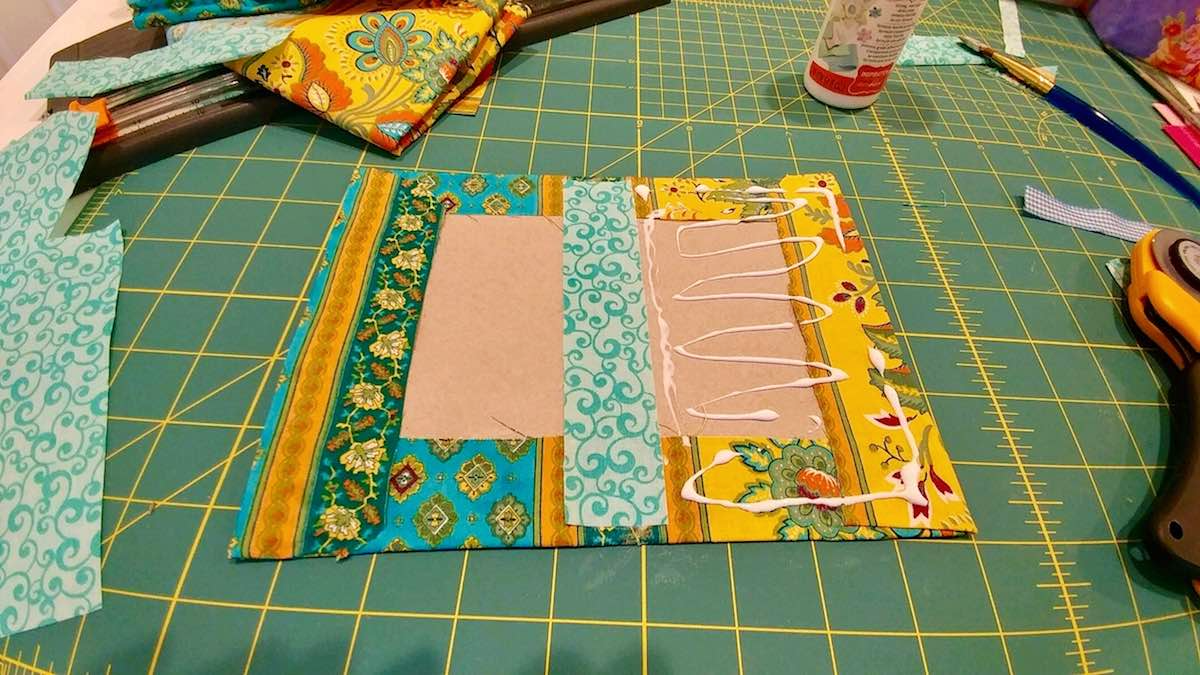
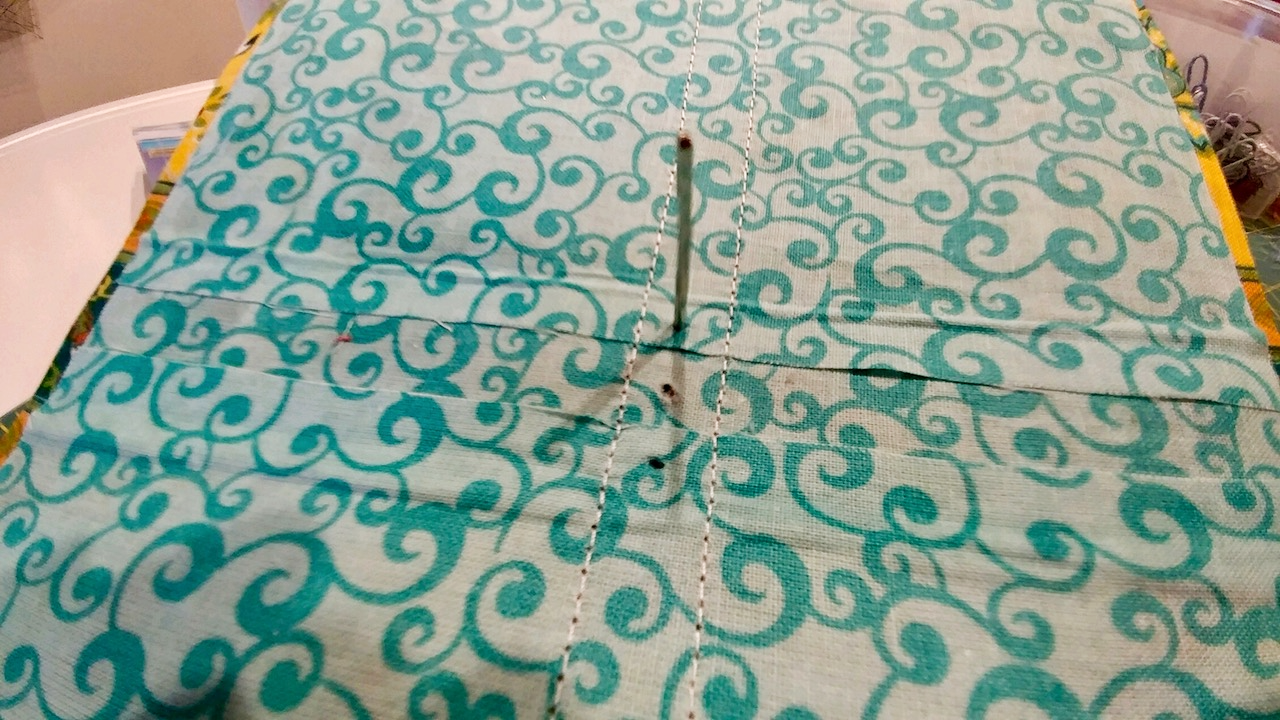
Next, I cut three pieces of contrasting fabric to line the inside of my cover – a skinny piece to cover the spine and two larger rectangles for the left and right interior covers.
Because I wanted the pretty yellow outer cover fabric to show on the inside, I cut my blue liner fabrics just a little bit smaller. (Please note: I didn’t make myself crazy trying to cut everything perfectly to size. You can if you want to but it’s a junk journal – it’s supposed to look a little wonky.)
Once again, I painted glue on each section, starting with the spine, before placing the fabric over the glued section and pressing it down, smoothing out the wrinkles. Then, I set the cover aside to dry.
(Another note, I was worried at first because some of the lettering from the couscous box showed through the yellow fabric. However, the letters became nearly invisible after the glue dried completely.)
Later, I decided I wanted a way to keep the journal closed, so I used my sewing machine to stitch a ribbon onto the cover, leaving the tail long enough to tie a bow.
Making the Journal Pages
You can use almost any kind of paper product to make junk journals – old greeting cards, check registers, postcards, calendar pages, magazines. You don’t need to worry if the papers you want to use are of different sizes. In fact, the journal will look cooler if they aren’t.
After picking some pretty pieces of scrapbooking paper I had on hand, as well as some plain pastel colored stationary and some plain white copy paper, I cut them into sizes that were smaller than my cover, and folded each one in half.
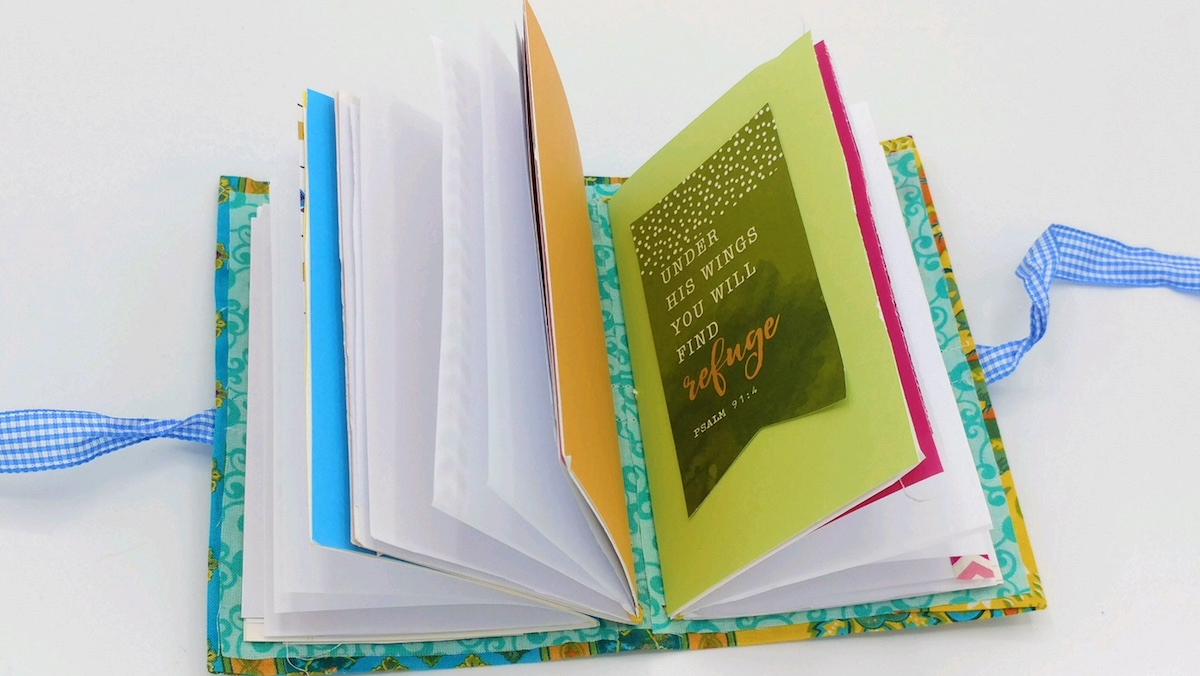
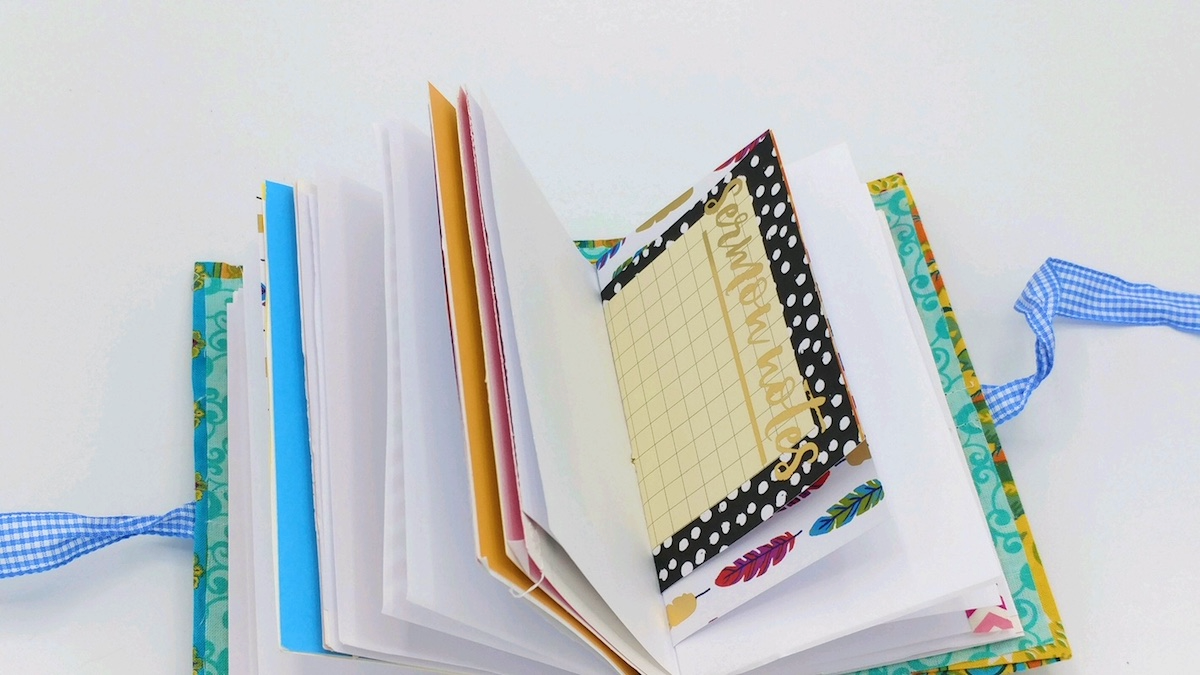
I wanted three signatures, so I picked a plain pastel sheet for the first page of each section and then used my adhesive tape runner (glue would work too) to secure inspirational sayings or verses to each. Then, I divided the other papers among into each of the three signatures, making each about the same size.
Binding The Pages
For me, this was actually the most difficult part of the project – partly because I didn’t have an awl to make the binding holes in my cover. I used a detail knife instead and it worked all right, but an awl makes this much easier.
Binding is a bit hard to explain and there are many ways to do it, but my technique here was pretty basic.
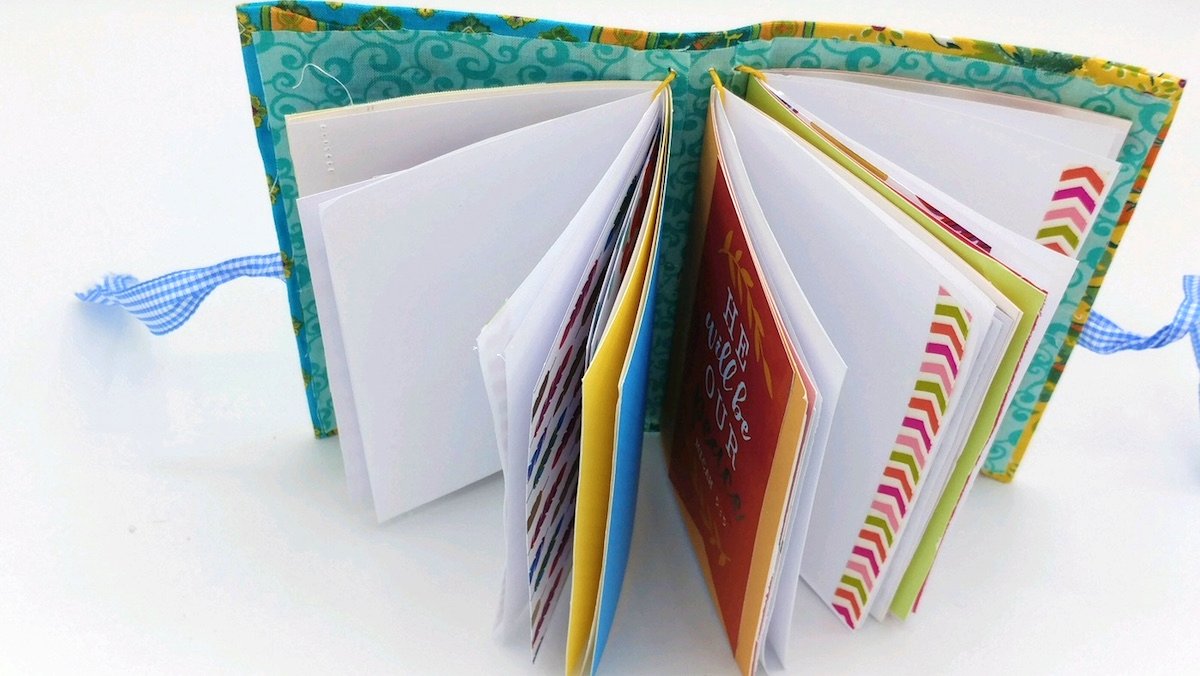
For each signature, I made three holes – one in roughly the center of the spine, one near the top, and another near the bottom. Because I had 3 signatures, I ended up with a total of 9 holes.
Next, I paper clipped each signature to keep the pages from slipping, then created holes at the middle, top, and bottom of the pages, lining them up with the holes in the binding.
(Well…that’s what I was supposed to do. I realized too late that because my papers were cut a little bit smaller than the cover, I couldn’t really put holes in the top and bottom of the paper. Instead, I just wrapped the cording around the paper. It worked fine. Next time, I’ll know.)
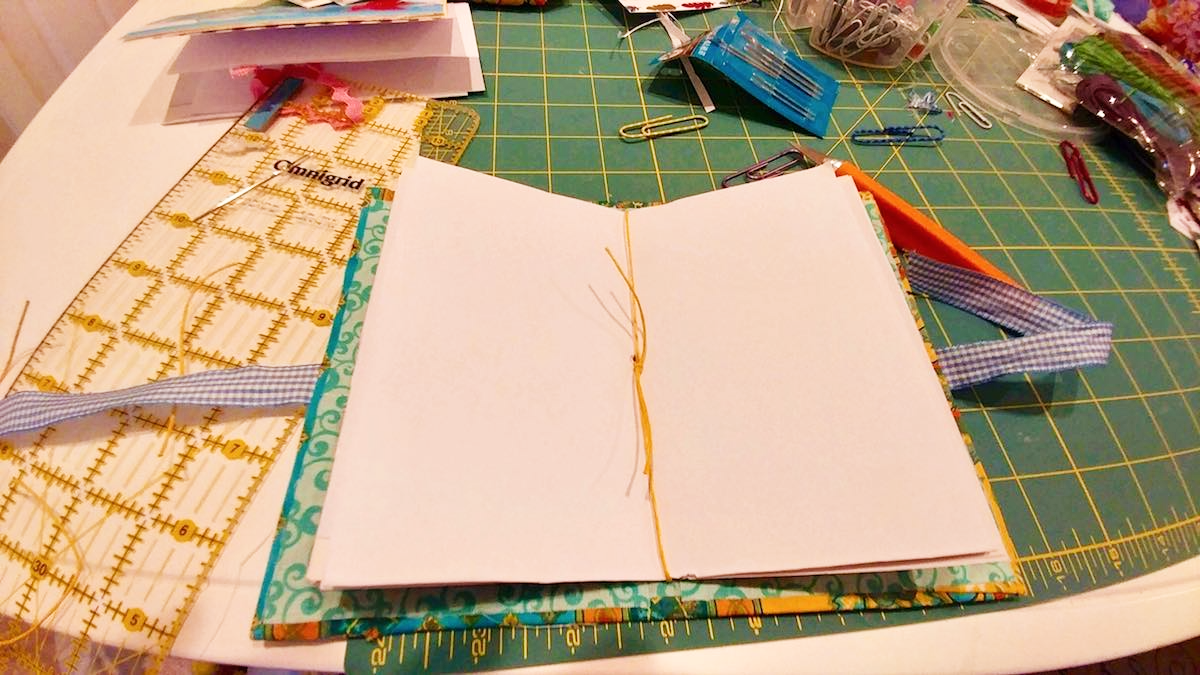
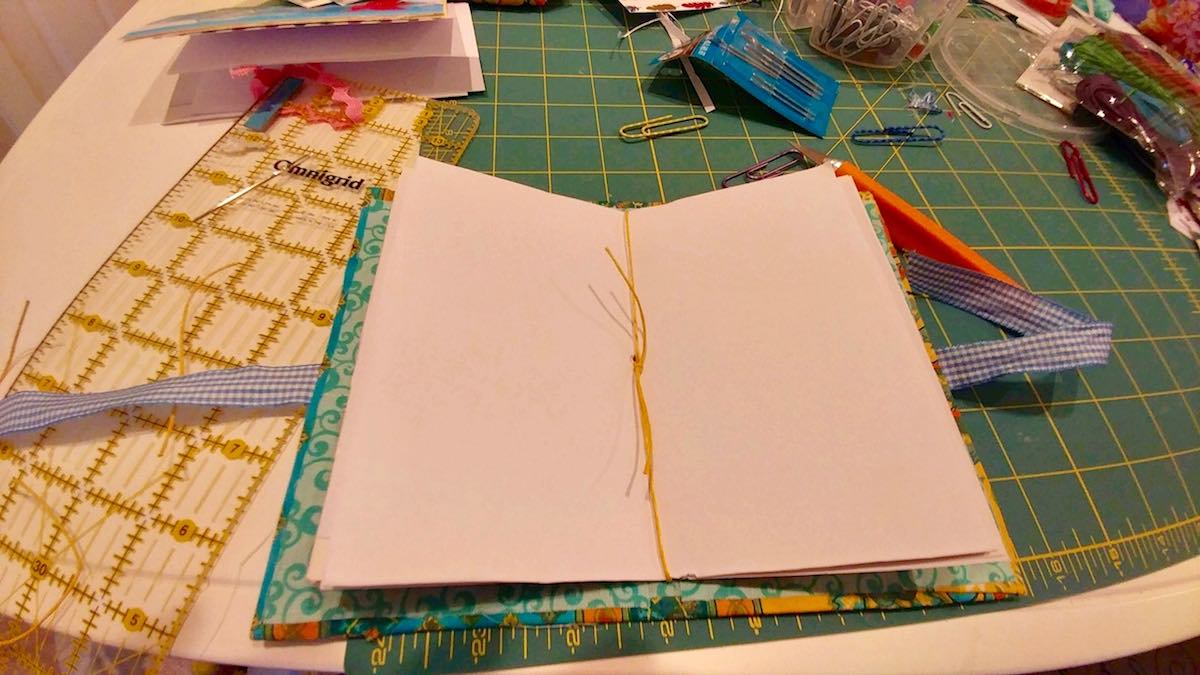
Thread a darning needle with cording, string, or heavy thread. Don’t knot it. Working from the inside of the cover, sew through the hole in the center of the signature and cover, leaving a long, loose tail of cording. With your cording now on the outside of cover, sew up through the top hole, then dow again through the center, then up through the bottom hole. (It’s kind of like you’re sewing a figure 8 from the center out.)
Tie the cording fairly tightly in the center to secure the pages. I just used a square knot. Cut the tail end of your threads to the desired length. Repeat the process with the remaining signatures.
If you’re still confused about how to bind your journal, here’s a good video that will demonstrate the basics.
Hey! Look at you! You made a journal!
Gilding the Lily
Now comes the REALLY fun part! Adding some personality to your pages!
Actually, you should probably do this before you bind the pages. Because I really want to write in this journal, I didn’t think I was going to add any embellishments. But when push came to shove, I just couldn’t help myself so I did my embellishing at the end.
I used my adhesive tape runner to apply some really cute chevron ribbon to the edges of a few pages, and then used some of the fancy stitches on my sewing machine to add some flair to the plain colored pages.
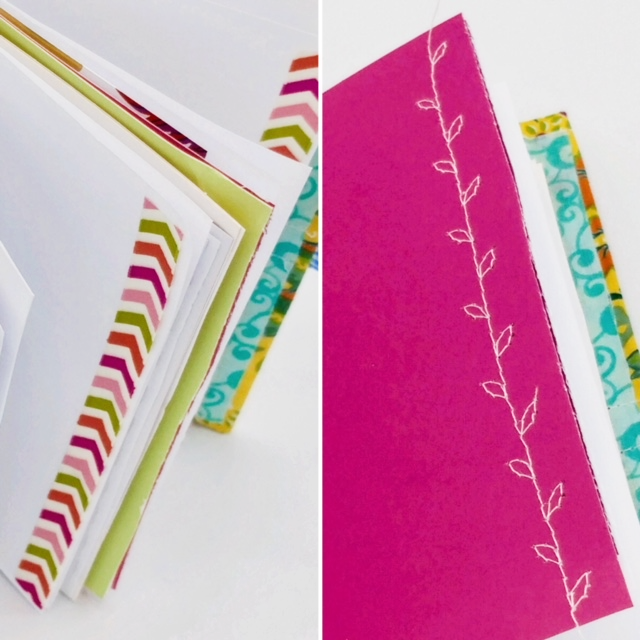
Really, I could have done a LOT more if I’d had more time. Next time, I will.
Oh, yes, there will definitely be a next time!
Making my own junk journal was such a fun and creative experience that I have a feeling I’ll be getting lots of practice on how to make these darling junky, funky journals.


