This post may contain affiliate links. Full disclosure policy
At the start of the year, I made a goal for myself: I would make all or nearly all of my Christmas presents in 2020.
It was an ambitious undertaking, for sure! I have a fairly good-sized family, lots of kids, grandkids, sisters, brothers-in-law, and friends. But if I crafted at least a couple of presents every month, I felt sure I could meet my goal.
I also decided that I’d share my progress and craft ideas here on the blog in hopes of inspiring readers to join in. (I really do believe that the best gifts are those that come from the heart and are made by hand.) But I also thought that blogging about crafty progress would help hold me accountable.
OFF TO A GOOD START. AND THEN…
Things started off pretty well. In January, I blogged about these adorable crocheted stuff dogs I am making for my granddarlings. In February, I shared a post about the Easy Food Wraps, made from beeswax and fabric, that I plan to give to friends. (I’ve made several for myself too and love them! We’re using way less plastic wrap now.)
Then came March…Yep. That’s when my well-laid crafting plans jumped the tracks and fell into a ditch.
Now, it isn’t that I didn’t do any crafting in March, quite the opposite. Almost overnight, my sewing studio was turned into a mask-making factory. I even recruited my husband and Mom to help with production. We did a good job and made a lot of masks for people who need them.
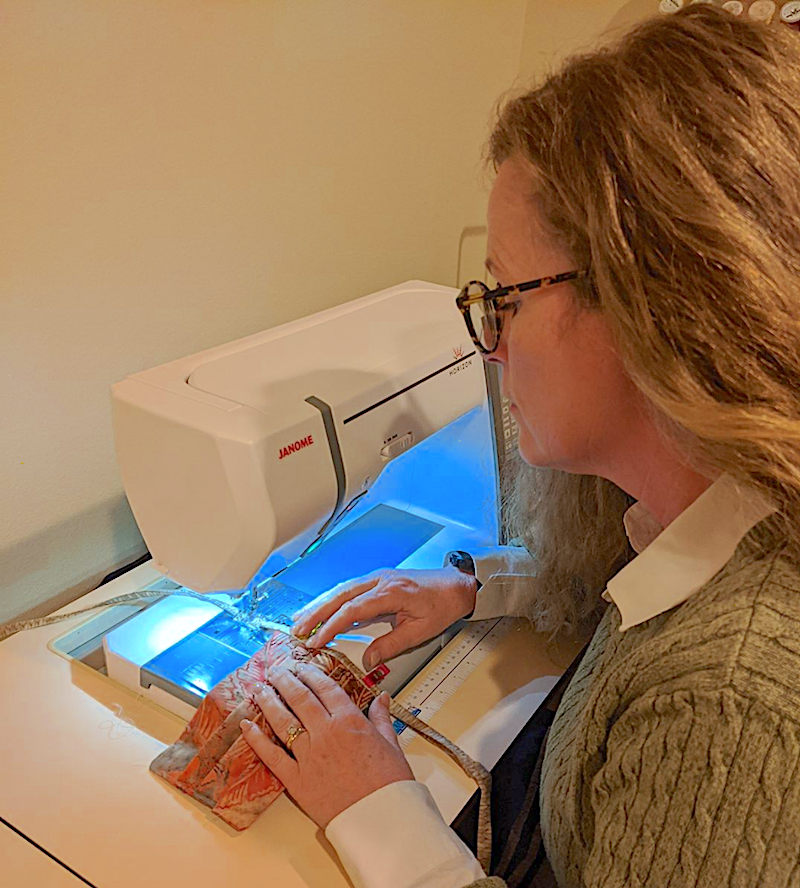
However, at this point, I am SO tired of making masks! Don’t get me wrong, I’ve been happy and proud to help. But when this is over, I hope never to sew another mask as long as I live. And I sure don’t plan on handing them out as Christmas gifts!
So, yeah. March was kind of a lost month when it came to my crafty Christmas resolution. But one month off track is no reason to kick the whole plan to the curb.
Still, April has been a crazy busy month for me, I’ve got deadlines stacked on deadlines. But I decided that, no matter what, I was going to make a Craft of the Month. To do so, I needed to find a craft that was quick and easy.
DIY Jar Openers to the rescue!
CRAFTY SOLUTION TO A COMMON PROBLEM
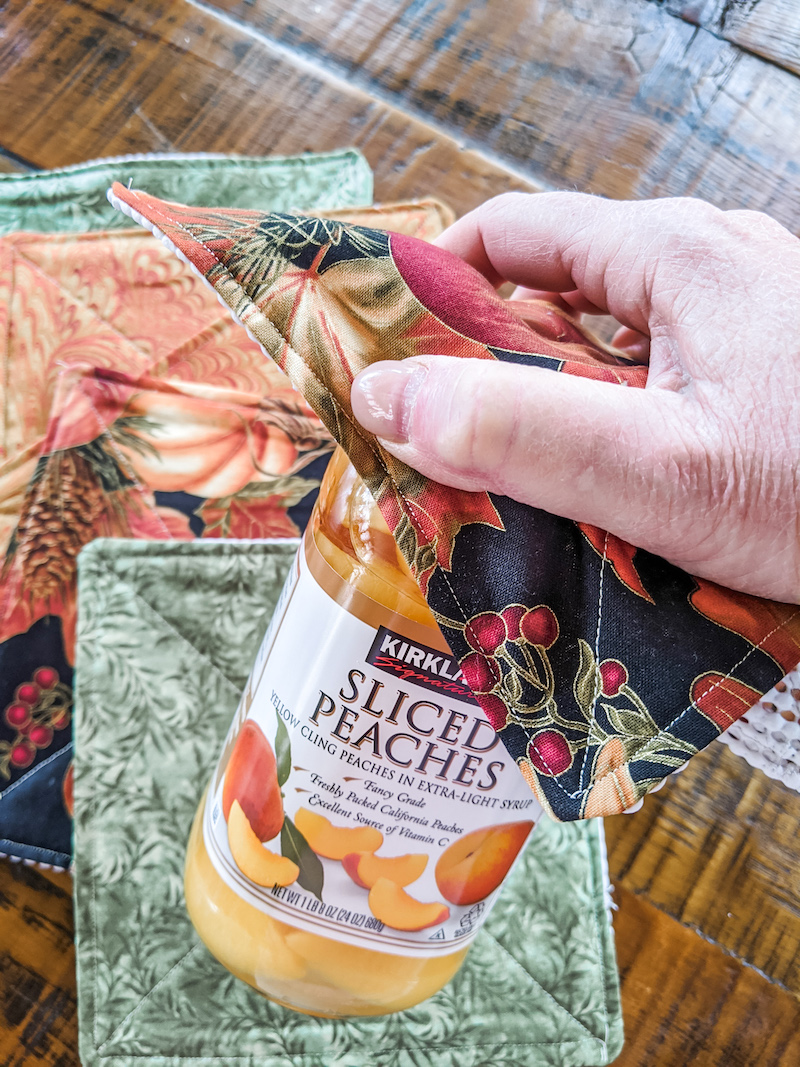
These DIY Jar Openers are absolutely everything you could want in a craft. They’re easy, inexpensive, and quick to make. They’re also a great way to use up your extra fabric. On top of that, they’re really useful!
Everybody struggles with opening sticky, too-tight jar lids now and then. These DIY Jar Openers are a simple solution to a universal problem, which means they’re a great gift for just about everyone on your list.
PICKING FABULOUS FABRICS
I do own a jar opener that I bought a few years back. But because it’s made from this light tan material, I can never find it when I need it! That makes the frustration of dealing with a too-right jar lid even more frustrating.
That’s why I decided to make my DIY Jar Openers in bright, cheery fabrics. This means they’ll be easy to spot inside any cutlery, utility, or junk drawer. But since my DIY Jar Openers are intended as gifts, I want them to be pretty and appealing to whoever receives them.
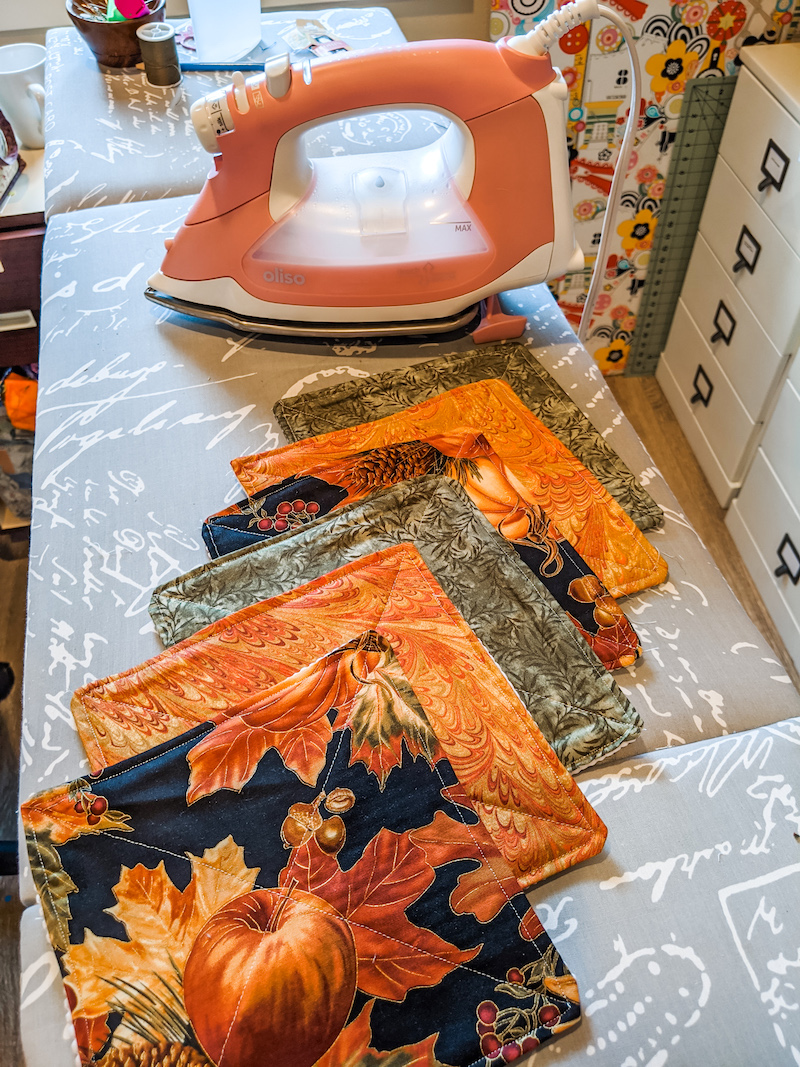
When making these jar openers, look for fabrics that reflect the favorite colors, interests, or hobbies of the recipient. I intended this first set as a gift for one of my sisters. Her decorating scheme includes lots of leaves and autumnal colors. The fabrics I’ve chosen will let her know that I had her in mind when I was making her gift. That’s important because it really is “the thought that counts”!
MAKING THE DIY JAR OPENERS
These DIYJar Openers are probably one of the easiest crafts you can make. You do need access to a sewing machine, but anyone with basic sewing skills will be able to make one in just a few minutes. (This would also be an excellent first sewing project for a student sewist.)
You’ll also need fabric or fabric scraps at least nine inches square, and some rubberized drawer liners. I used this Gorilla Grip liner that I bought online.
It comes in a lot of different colors, which could be fun to work with, but I just decided to go with white so it would match everything.
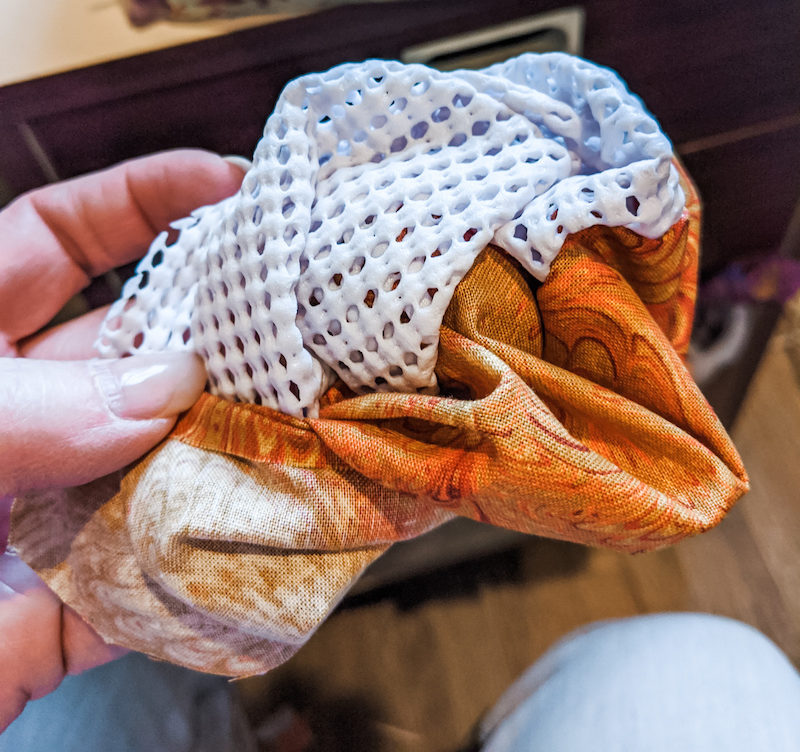
Here’s what you’ll need to make the Jar Openers:
Tools:
- Sewing machine
- Iron
- Pins
- Cutting mat, ruler, or tape measurer
- Scissors or rotary cutter
- Supplies:
- Fabric
- Thread
- Rubberized drawer liner
Instructions:
- Lay the drawer liner out flat. Use a rotary cutter or scissors to cut out as many 9-inch squares of the liner as you’ll need – one square for each Jar Opener. (Be sure to measure carefully and cut straight edges!)
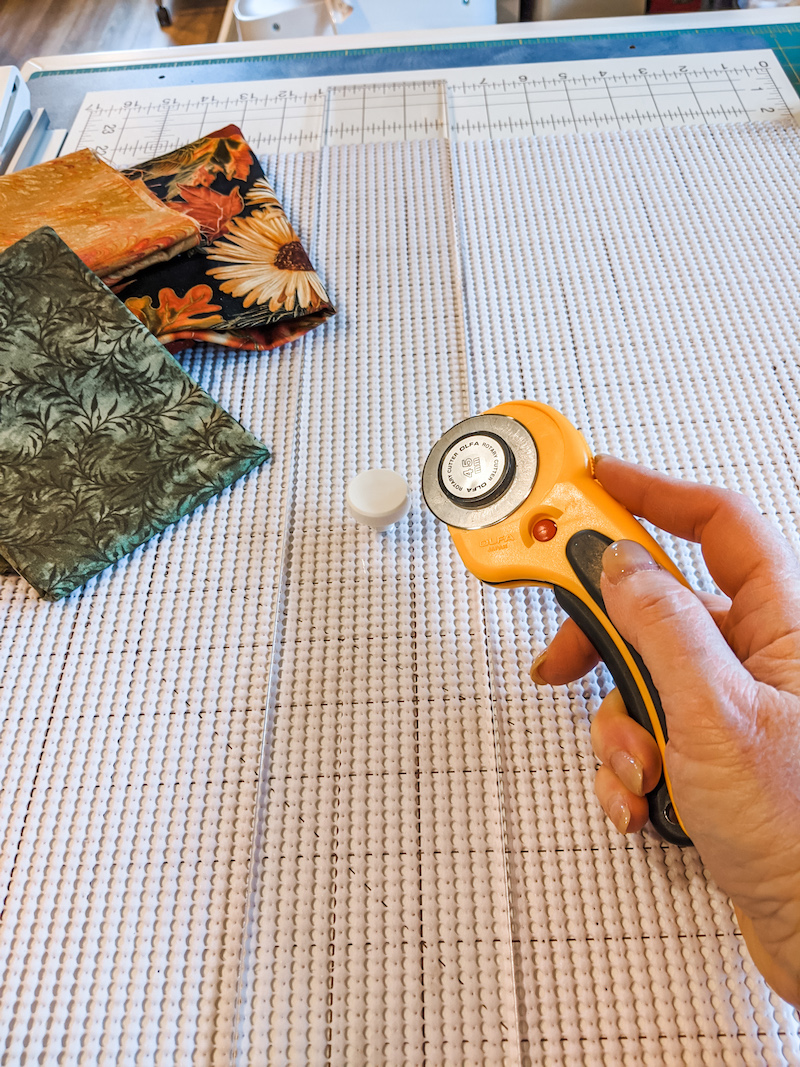
- Cut 9-inch squares of pre-washed fabric, one for each Jar Opener. (Measure twice, cut once!)
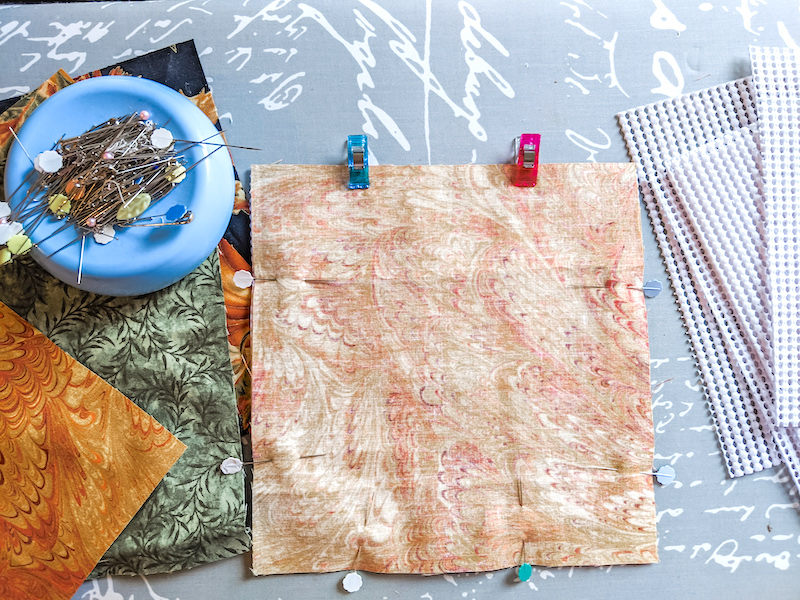
- Lay the fabric square on top of the liner square, with the wrong side of the fabric facing up. (In sewing, this is called placing the fabric “right sides together”.) Make sure the edges match on all four sides.
- Place 2-3 pins into each side of the square, pinning through both the fabric and liner, to hold during sewing. (I used clips on the top, to remind me where I want to leave an opening.)
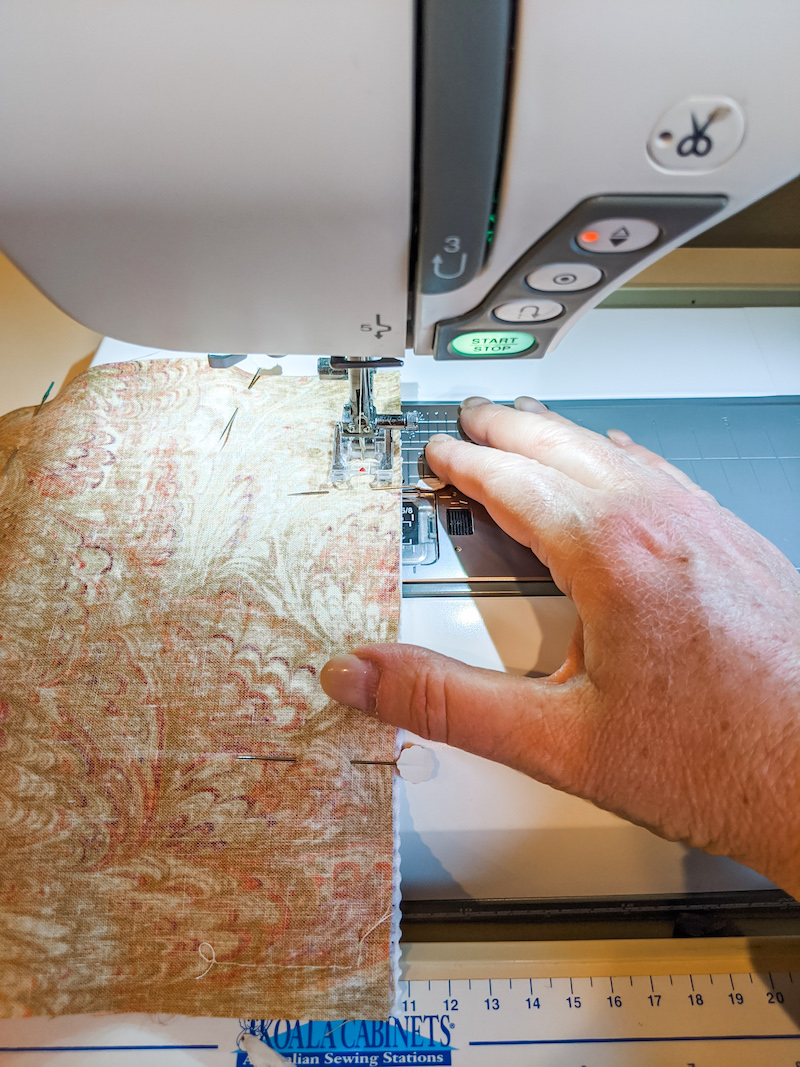
- Using a half-inch seam, sew the square, leaving an approximately 3-inch opening at the top, and sewing completely around the remaining 3 sides of the square. (In other words, begin sewing about 3 inches from the corner of the top side, sew from corner to corner on the next 3 sides, then stop sewing 3 inches in from the last corner on the top. This will leave about 3 inches unsewn that the top.)
- Trim fabric the corners to get rid of excess fabric. Turn the square inside out, so the right side of the fabric now shows on the outside, pushing at the corners so they look tidy.
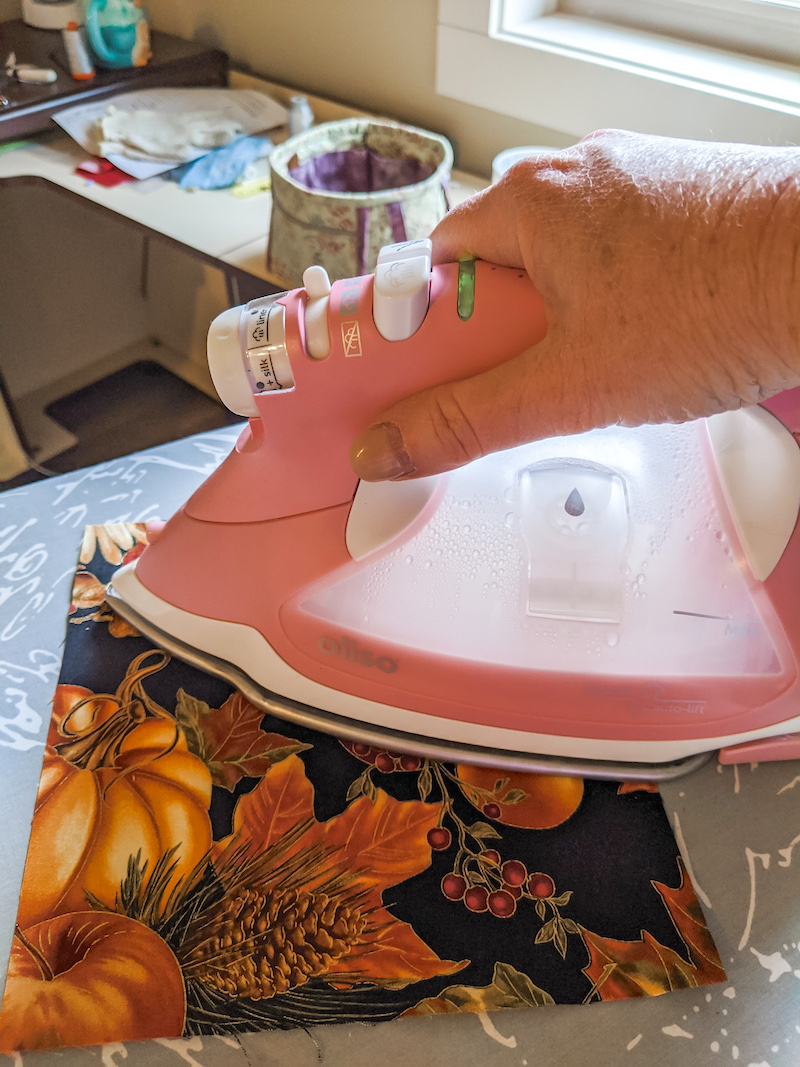
- Fold the edges of the unsewn 3-inch section under, then quickly press the square with a hot iron. (I love my Oliso iron for this! It gives me a quick, hot burst of steam so my seams are neat but the rubberized liner doesn’t get damaged!)
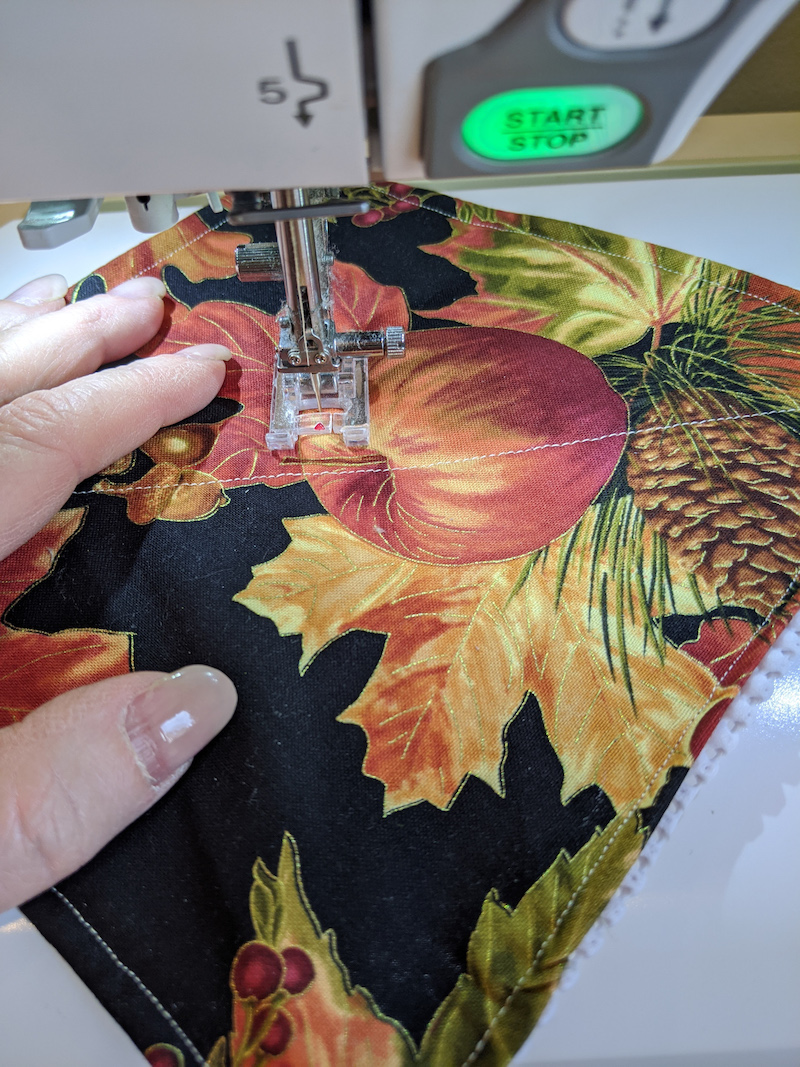
- Topstitch one-quarter in around all four sides of your Jar Opener to make it look neat and secure the open edge. Finally, stitch from corner to corner in both directions, to give your Jar Opener extra stability.
- Great work! Your DIY Jar Opener is finished and ready for gift giving!
