This post may contain affiliate links. Full disclosure policy

Recently, I planted in a patio vegetable garden utilizing elevated planters and DIY covers to deter deer. It turned out well and I’m excited about my ingenious solution to foil the deer. However, I had another problem to solve.
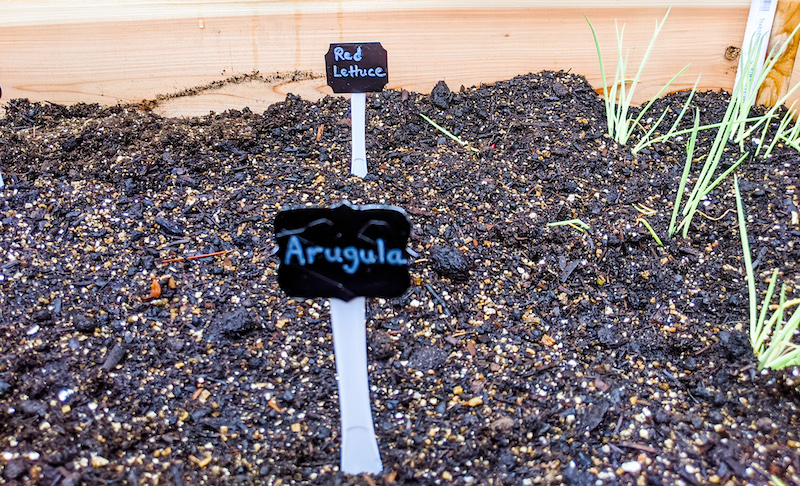
I planted lots of seeds in my garden, mostly for lettuces and greens. Until the seeds are sprouted and pretty well grown, it will be impossible to tell which plant is which. That meant I needed some garden markers.
In the past, I’ve just written the plant names on wooden garden markers. While – sure – that did the trick, my new planters look so cute I wanted my garden markers to be just as adorable. There are so many fun options when it comes to making DIY garden markers. I was particularly taken by the painted pebble garden markers I found at LuBirdBaby.com.
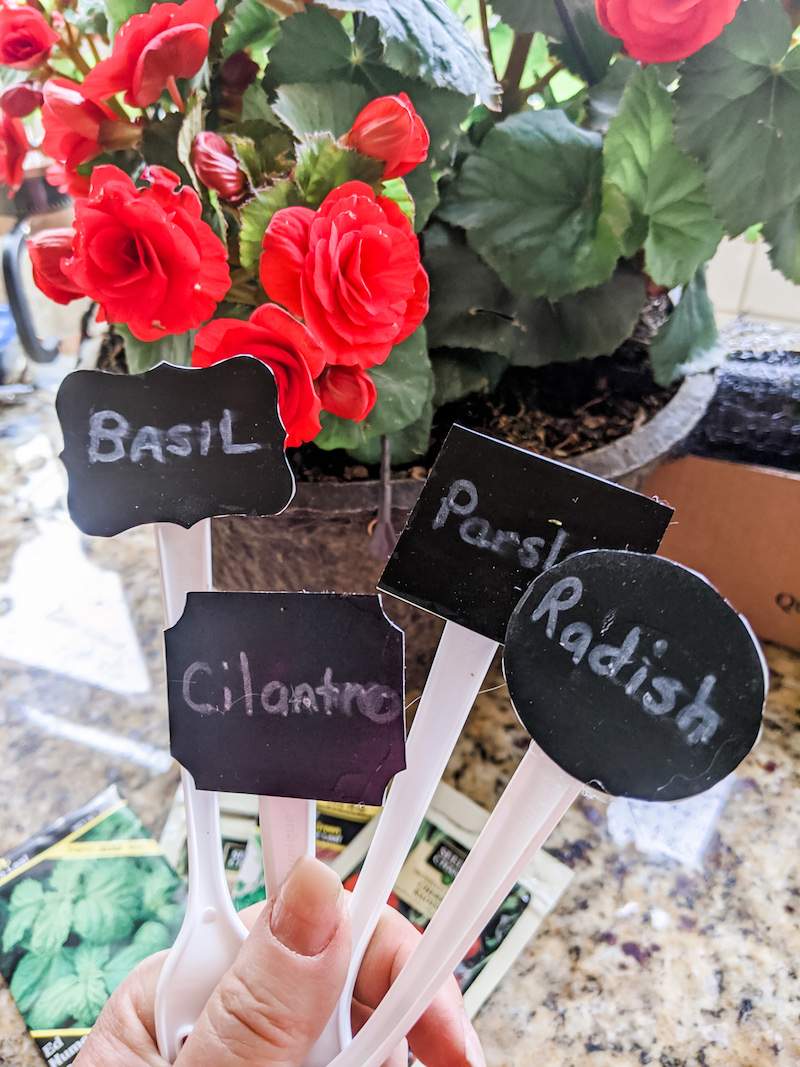
However, after digging through my craft supplies on hand, I decided to make some chalkboard style garden markers with some of the leftover labels I used for my Taco Tuesday Salad Bar. These little labels are just so darned cute! They added a fun, homespun element to my salad bar that my guests commented on. I thought they’d be just as sweet in my garden.
Of course, cute as they are, those labels are just coated paper. They won’t stand up to weather and water on their own. But in just a few minutes, using some items I already had on hand, I was able to create darling, long-lasting DIY garden markers.
Here’s how I did it.
Materials for DIY Garden Markers
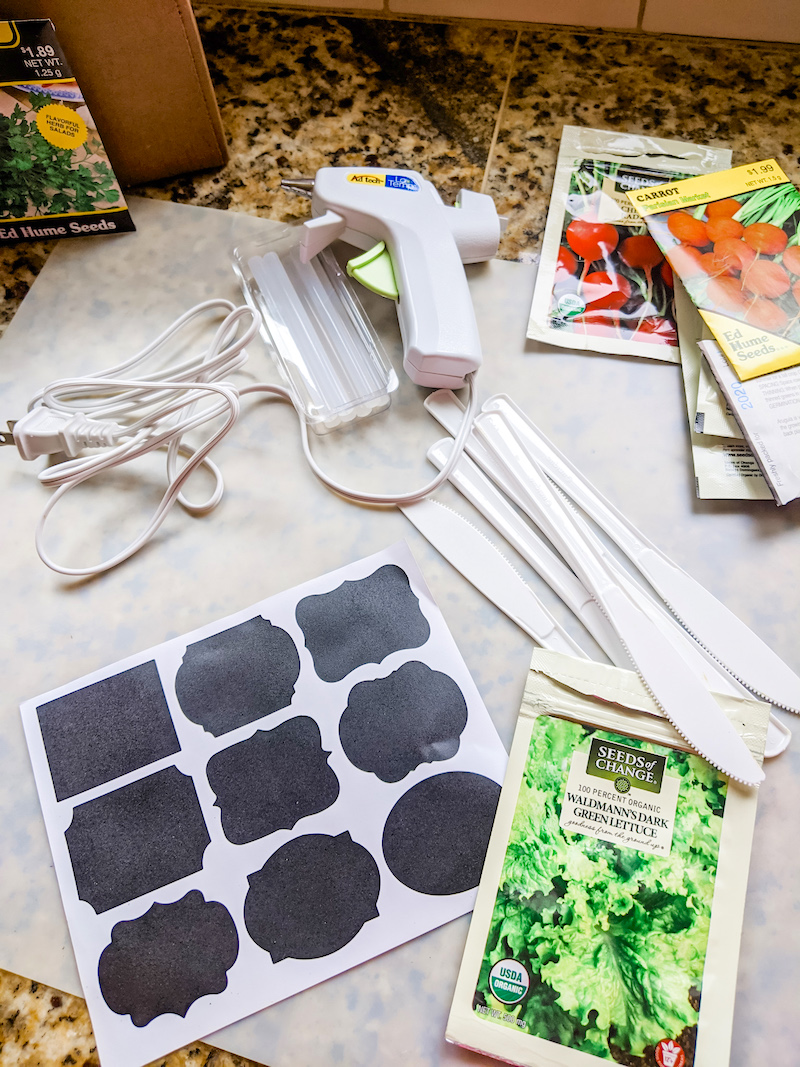
To make your own DIY garden markers, you’ll need…
- Chalkboard labels and a pen
- Template plastic (Quilters, you probably have this already)
- Hot glue gun and glue sticks
- Clear nail polish
- Stakes (I used some old plastic cutlery I had on hand. Tongue depressors would be fine too, or even sticks gathered from the garden)

The Making of the World’s Cutest DIY Garden Markers
- The first step in creating your DIY garden markers is to adhere the labels to a piece of template plastic. Since they’re already sticky that seems easy enough. However, rain, watering, and humidity might make them peel. Use your hot glue gun to stick the labels onto the template plastic, taking care to make sure the edges are glued tight. Once the glue dries, carefully cut out your plant marker around the edges of the labels.
- Next, use the chalk pen to write out the name of the plant you want to mark. Let the ink dry for a couple of minutes to prevent streaking. Apply a coating of clear nail polish over the front of the label to protect it from the weather. It’s a good idea to paint some polish along the edges of the label too, just to make sure they are sealed.

- Once the labels are painted and sealed with nail polish, let them dry thoroughly. Finally, hot glue each label onto your stake.

Voila! That’s all there is to it! With just a little bit of time and effort, I was able to create the world’s cutest garden markers!

Not Just for Your Garden!
Okay, okay, the “world’s cutest” garden markers might be hyperbole. But they really are pretty sweet and were a lot of fun to make. I’m actually thinking of making some more for my sister, who is an avid gardener. She helped advise me on soil mix and planting for my Patio Vegetable Garden so this would be a nice way to thank her.
I’m also thinking I might make up a few for Christmas, hostels, or birthday gifts. Wouldn’t these be fun to put in a gift basket that included gardening gloves, a trowel, or maybe some flower bulbs or packets of seeds? I think anyone who enjoys gardening would be delighted to get a gift like that.
Whether you make them for yourself or a for a friend, these DIY garden markers are a fun, easy, and useful craft that will add a little extra touch of charm to any garden.


