This post may contain affiliate links. Full disclosure policy
One Christmas Eve many years ago, my husband and I assembled a ride-on, battery operated fire engine for our then four-year old son.
This thing was the mother-of-all “some assembly required” joke punch lines. It had about ten gazillion parts and an instruction manual as thick as a small phone book. And although I graduated magna cum laude from pretty good college, it might as well have been written in ancient Greek. To this day, I’m not sure it wasn’t.
Finally, I had to call in the cavalry, my dad. Even with Dad supervising and my husband and I assisting, it took us until about two o’clock in the morning to finish the assembly process.
As you can imagine, our son was really excited about his new fire truck! But you know what he was really, really, really exited about?
The box that it came in.
Over the next few weeks that huge box became a fort, spaceship, a school bus, and an ice cream truck.
Moral of the story: fun doesn’t require batteries. And it’s often homemade.
When my grandkids arrive next week, I’ve planned a whole agenda of unplugged, homemade, memory-making fun and games that everybody will enjoy. But I’m particularly excited about introducing them to a favorite classic lawn game.
CORN HOLE
If you’ve ever been to a church picnic, chances are that pretty good that you’ve played corn hole, basically a beanbag toss game. When I was thinking about lawn games that would be fun for all ages, corn hole came immediately to mind.
Until I started looking for a game for purchase, I didn’t realize that corn hole boards come in “regulation” sizes and cost anywhere from forty to two hundred and fifty dollars.
Seriously? It’s a board with a hole in it and some beanbags.
That’s why I decided to make my own. After an online search, I found a couple of DIY plans for corn hole games. Unfortunately, they involved wood, and hammers, and nails, and screws. That involved a much bigger investment of time and money than I was willing to make.
What I needed was a simple, inexpensive, easy-to-make beanbag toss game – not a piece of furniture.
In fact, a game that would be disposable after the grand darlings went home would be preferable. I’m almost finished with my garage clean-out and transformation. The last thing I need is more stuff to store in the garage.
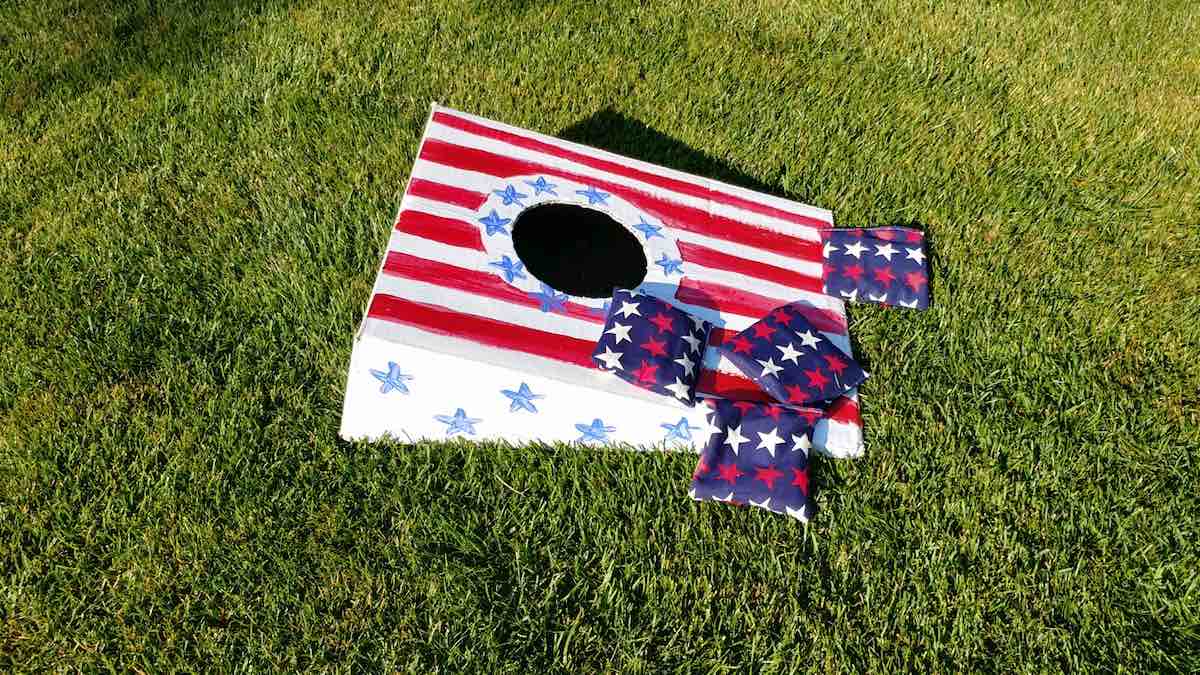
My DIY Cardboard Corn Hole game was the answer.
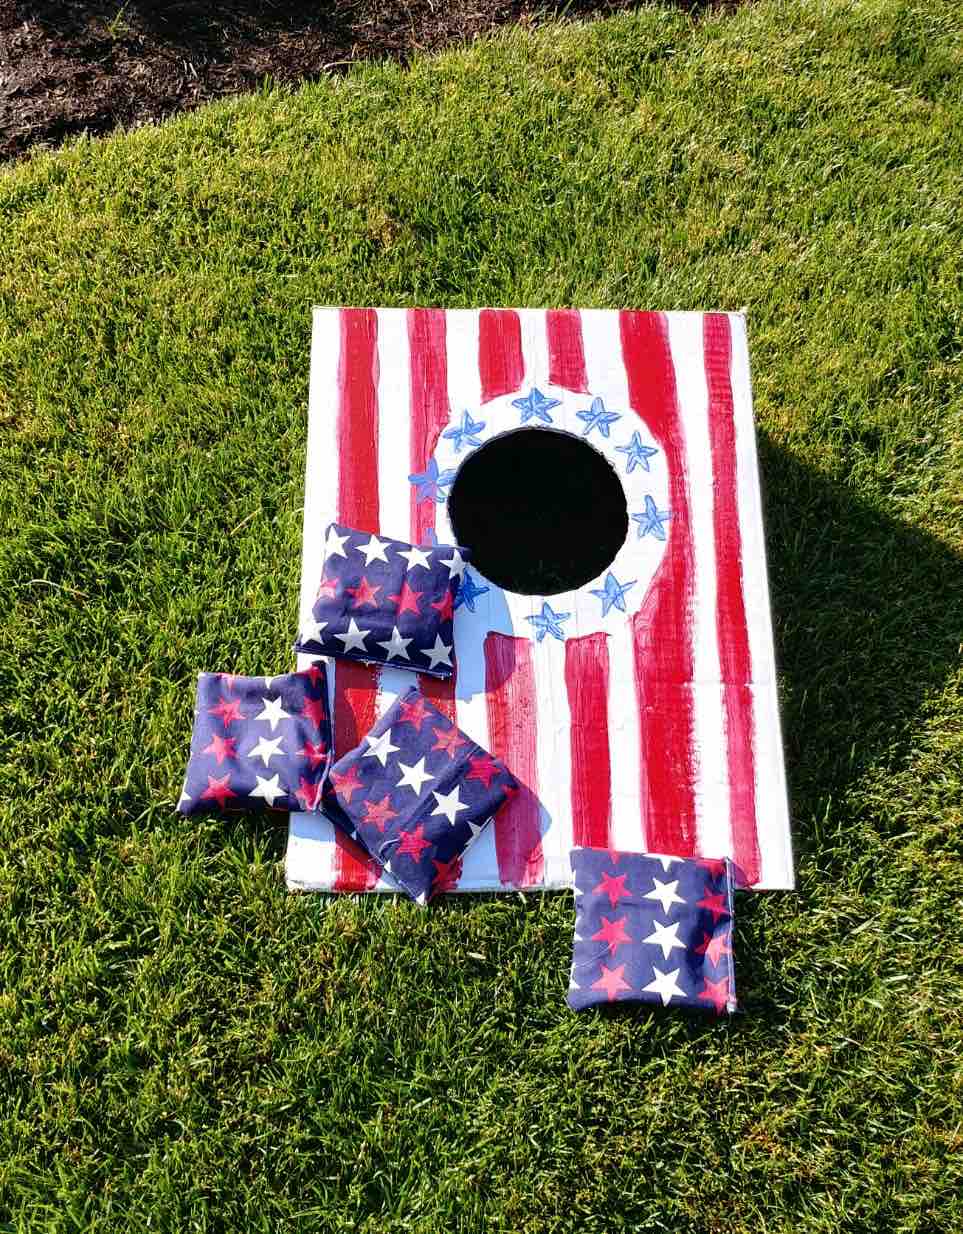
Cute, right? And so easy to make that your grand darlings can help you make it, which basically doubles the fun factor.
Yes, it’s a game AND a craft. What better way to keep the little people in your life busy and engaged? Batteries not included. Or needed!
Here’s how to make yours.
SUPPLIES AND EQUIPMENT
- Sturdy, rectangular shaped cardboard box
- Ruler
- Marking pencil
- Craft scissors or exacto knife
- Spray and/or poster paint
- Paint brushes
- Fabric
- Dry beans or rice
- Iron
- Sewing machine or needle and thread
INSTRUCTIONS
Making the Board
Use a ruler to mark a line all the way around all four sides of the box, about six inches down from the top. Cut along the line, to removed the bottom section of the box.
On the long sides of the box, use your ruler to mark a long, angled line from top of the box lower edge. (Make sure both lines are pointing in the same direction). Cut along the line.
Congratulations! You finished making your corn hole board!!
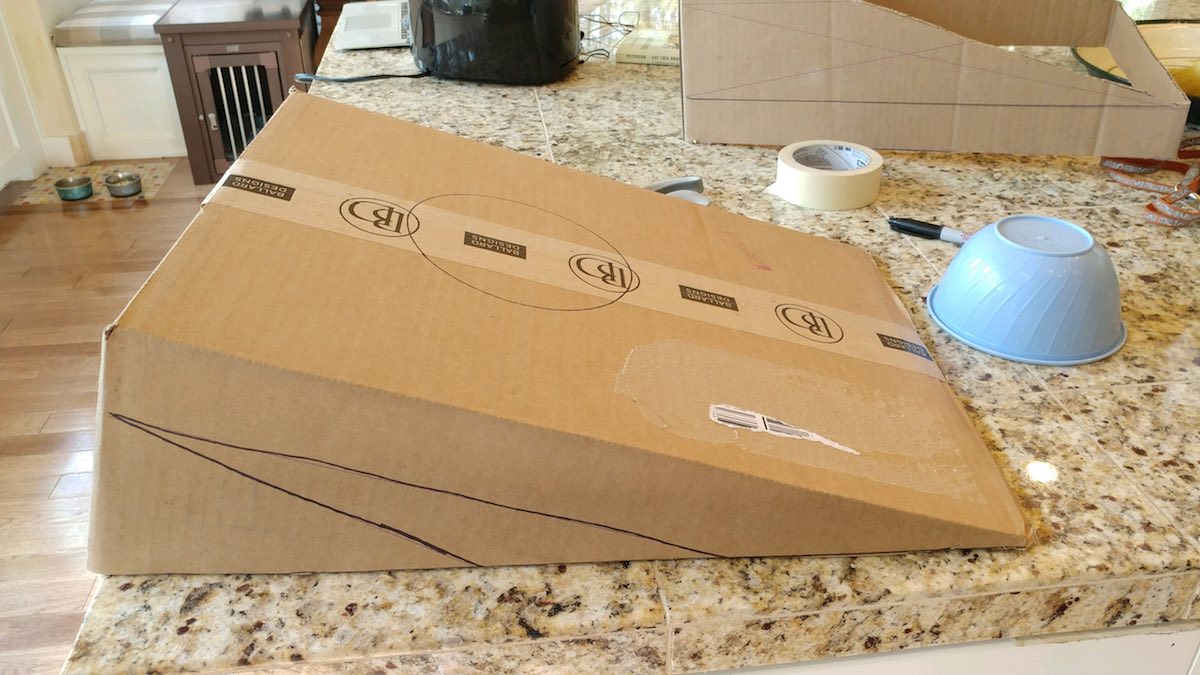
Oh, wait. Something’s missing…The hole.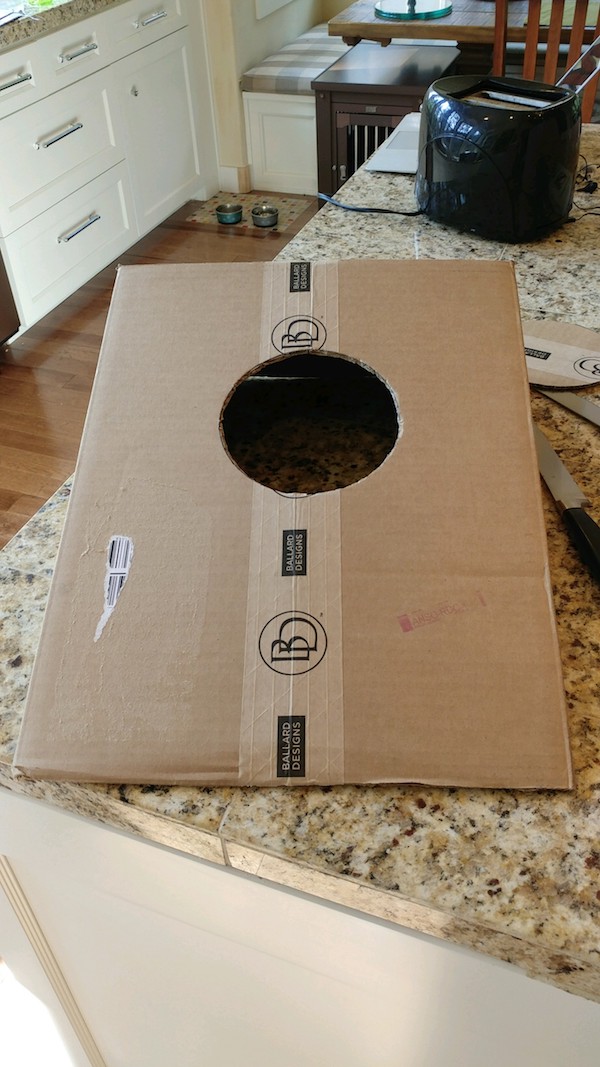
Mark a good-sized hole in the center of the board top, positioning it closer to the taller end of the board. (Use a bowl as a template to mark your hole.) Cut out the hole.
Okay. NOW your board is done. Really, I mean it this time.
Good job!
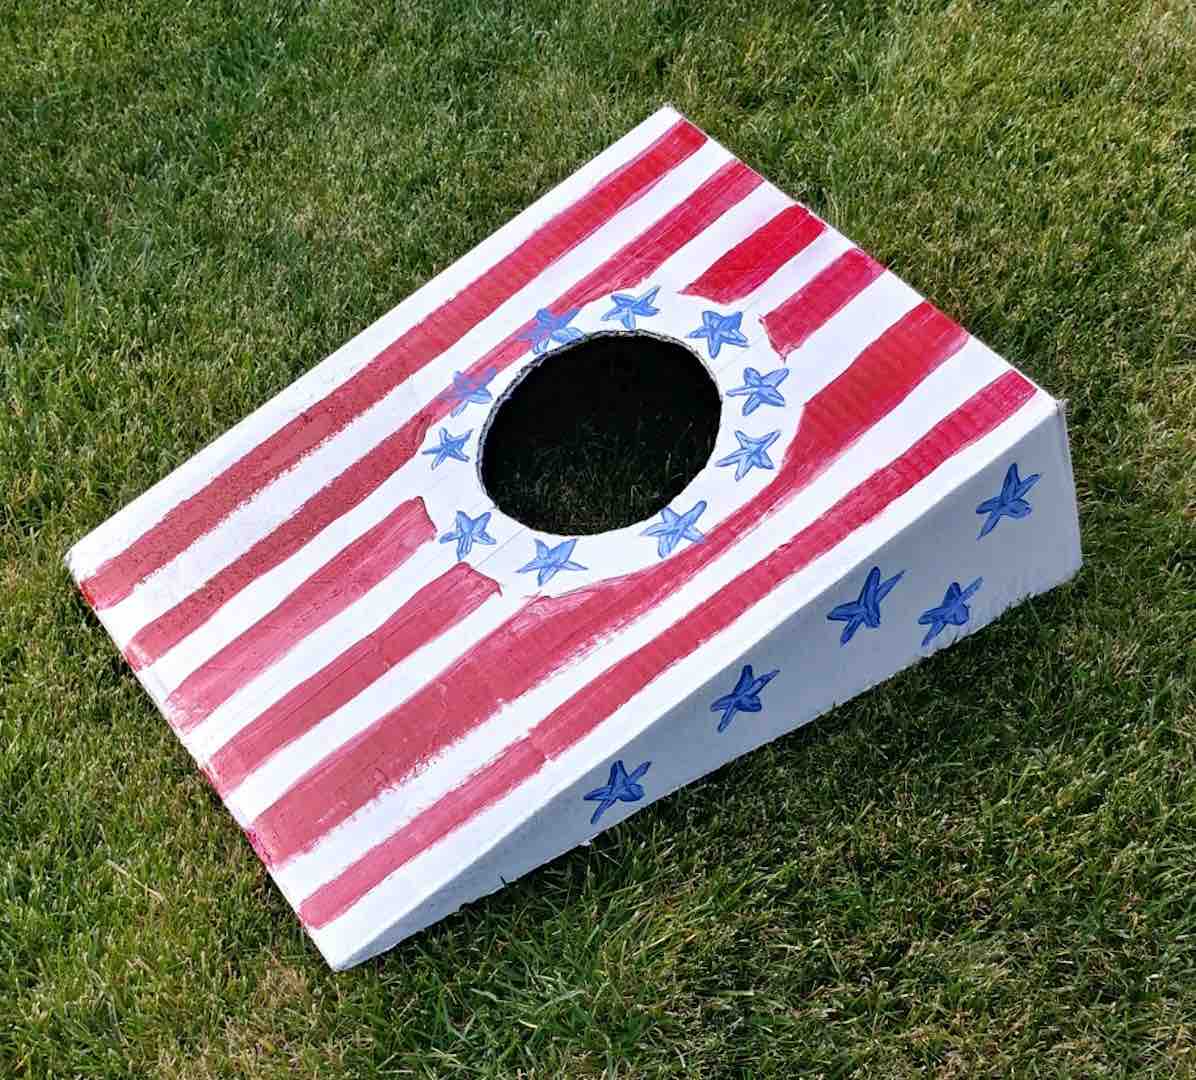
I spray painted the box with white paint, then used some poster paint to add a stars and stripes motif, but use your imagination. (Don’t worry if your art skills aren’t quite up to snuff. You can always tell people it’s Folk Art.)
Making the Beanbags
Cut 8, 5.5 inch squares of fabric.
Make a quarter inch fold along one edge of each fabric square. Use an hot iron to press the fold.
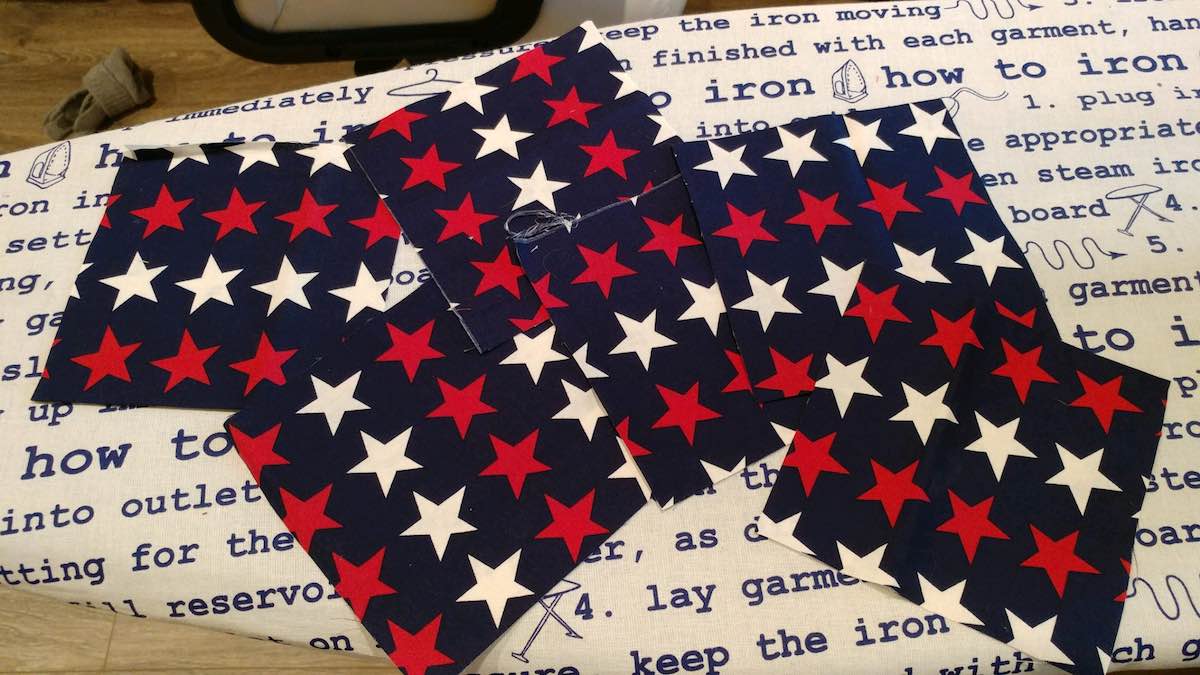
Take two squares of fabric. With right sides of the fabric facing each other, stitch along three sides of the square, leaving the folded edge open. Turn the sewn beanbag right side out. Repeat three times, creating four bags total.
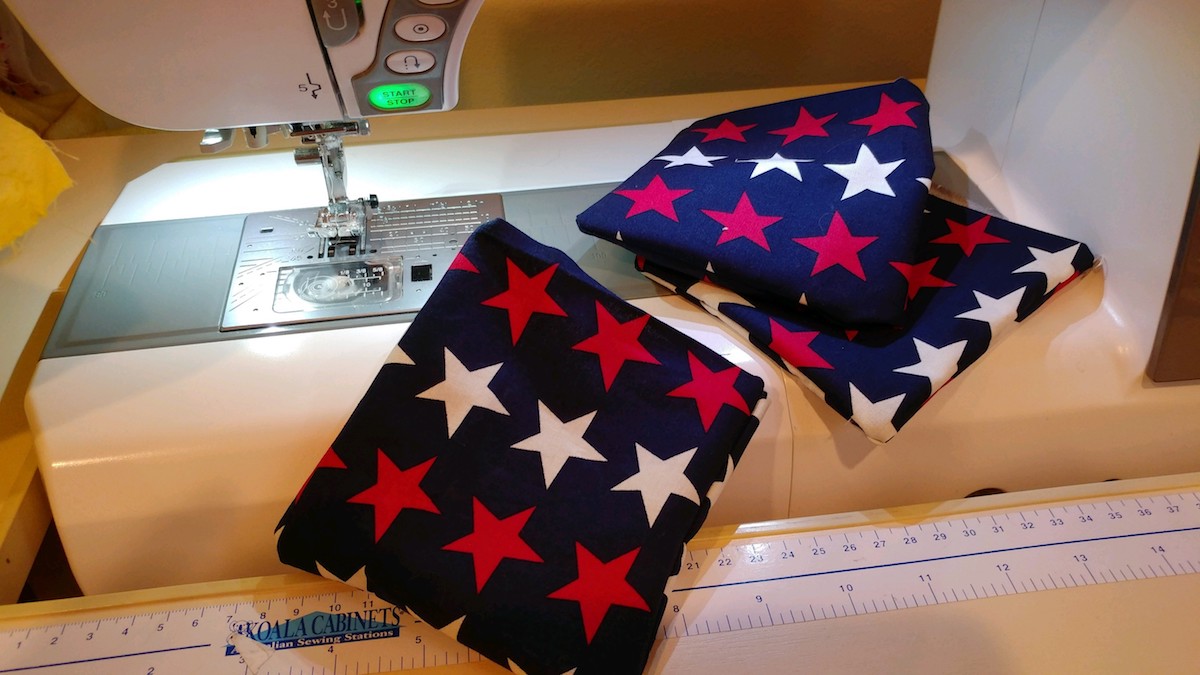
Fill your beanbags with beans or rice (don’t overfill!).
I found that 2/3 of a cup of rice or beans will do the trick.
Topstitch the open, folded edge of the beanbags to close.
PLAYING THE GAME
Really, the rules can be flexible.
You can play one round, three rounds, or five rounds. You can keep score or not. Everybody can stand at the same distance from the board or it can vary depending on the age of the player.
This is your game. Play it your way. Or rather, play it your grand darling’s way. If yours are anything like mine, they’re going to win anyway.
The important thing is that you’re having fun – together.
