This post may contain affiliate links. Full disclosure policy
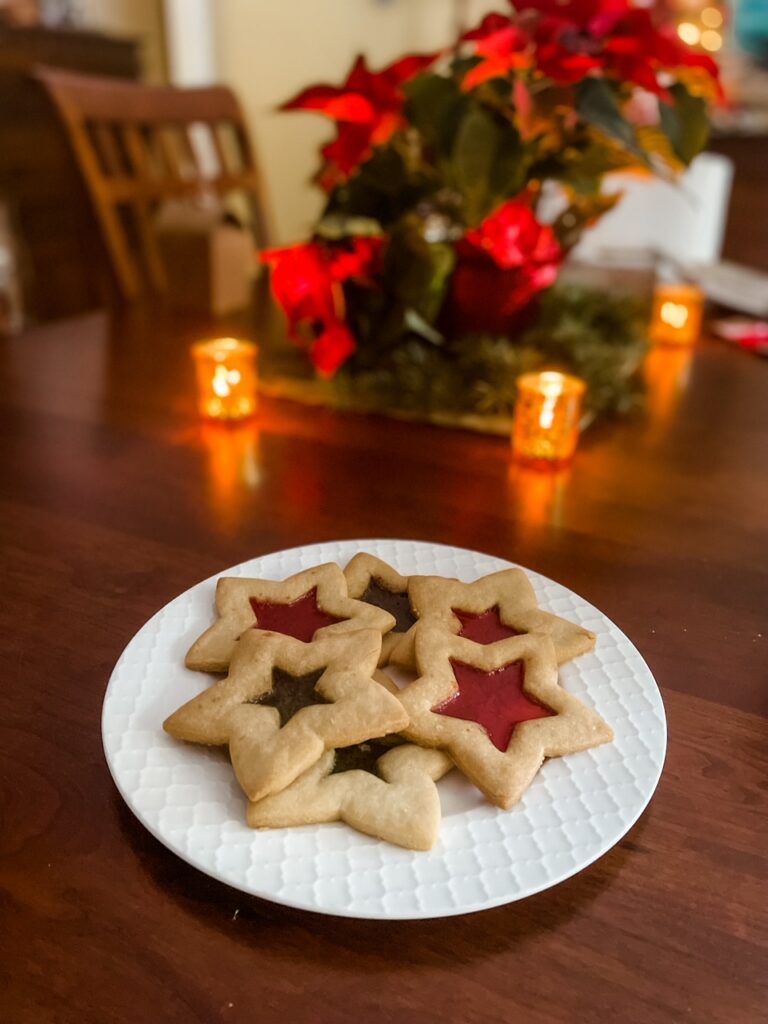
These Stained Glass Cutout Sugar Cookies taste as delicious as they look. Deceptively simple to make, these impressive-looking treats are perfect for holiday parties or cookie exchanges.
Stained Glass Cutout Sugar Cookies – An Oldie But a Goodie, Just Like Me
The first time I made stained glass sugar cookie cutouts lives vividly in my memory. The cookies seemed very elegant indeed, and the fact the windows were made from melted candy seemed more than a little miraculous.
I was in the fourth grade.
I’ll leave it to you to guess how many years ago that might have been, but the short answer is, a lot. Like me, stained glass sugar cookie cutouts are an oldie but a goodie and something of a classic.
Honestly, I hadn’t thought about these cookies in quite some time. But as soon as I laid on this set of nesting star cookie cutters I bought to make my showstopping Sugar Cookie Christmas Tree Stack, memories of making my first stained glass cookies came flooding back.
If you’ve never made stained glass sugar cookie cutouts, it’s time you did. And if you haven’t made this classic cookie in a while, it’s time to do so again.
A Delicious, Deceptively Simple Cookie
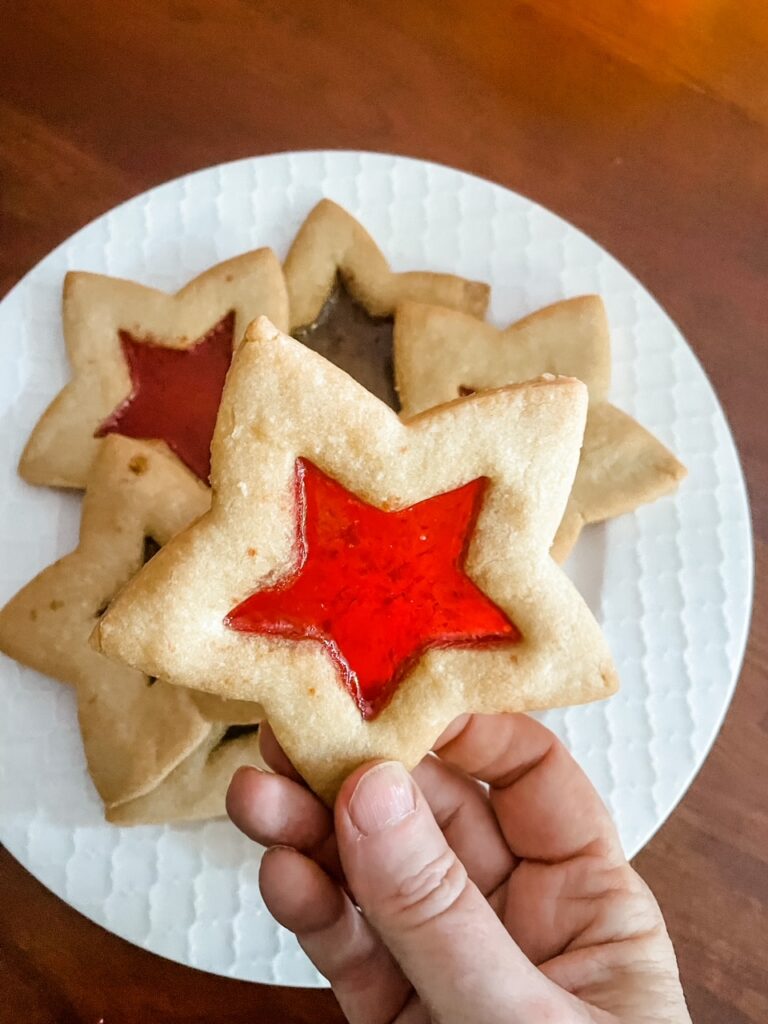
Stained Glass Cutout Sugar Cookies are incredibly easy to make despite their impressive looks. So I’ll get right to it.
Here’s what you need to make them…
- Sugar Cookie Dough
- Clear sugar candies, such as Life Savers
- Cookie cutters of the same shape in different sizes
That’s it!
Good recipes for cutout sugar cookies abound, so just use your favorite. If you don’t have a favorite, try this one from Cookies and Cups, which doesn’t require chilling.
In a pinch, you can even use a mix. Just make sure you use the instructions to make cutouts, not drop cookies. Otherwise, your dough will be too soft, and your cookies will lose their shape.
And if sugar cookies aren’t your thing, gingerbread cutouts will also work.
I used Life Savers to make the stained glass in my sugar cookie cutouts, but any similar clear, colored candy will do. Just make sure you like the flavor and it tastes good with your cookie dough.
Theoretically, you could use any cookie cutter and cut the window out by hand. But using nesting cutters is so much easier.
Some of my stained glass cutouts had a little window of candy glass. Others had bigger windows. Both were delish, but it was fun to experiment with the different sizes.
How to Make Stained Glass Cutout Sugar Cookies
The process for making these cookies is pretty straightforward, but I do have a few tips.
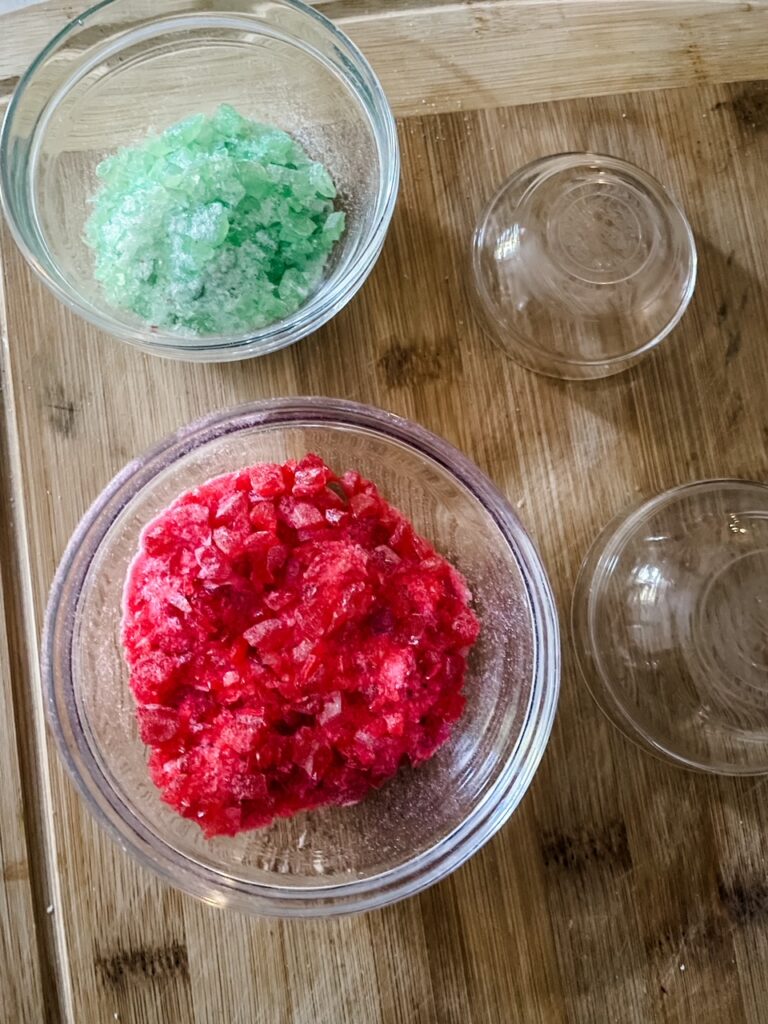
First, you’ll separate the candies by color, put them inside a plastic zipper bag, and crush them into shards with a rolling pin. I recommend using a different plastic bag for each color so the colors don’t mix and turn muddy.
After rolling your cookie dough to about a quarter-inch thickness on a well-floured surface, you’ll cut the outer and inner borders. It’s a good idea to place the larger cutter on the dough and center the smaller cutter inside the larger one before pressing down on the dough.
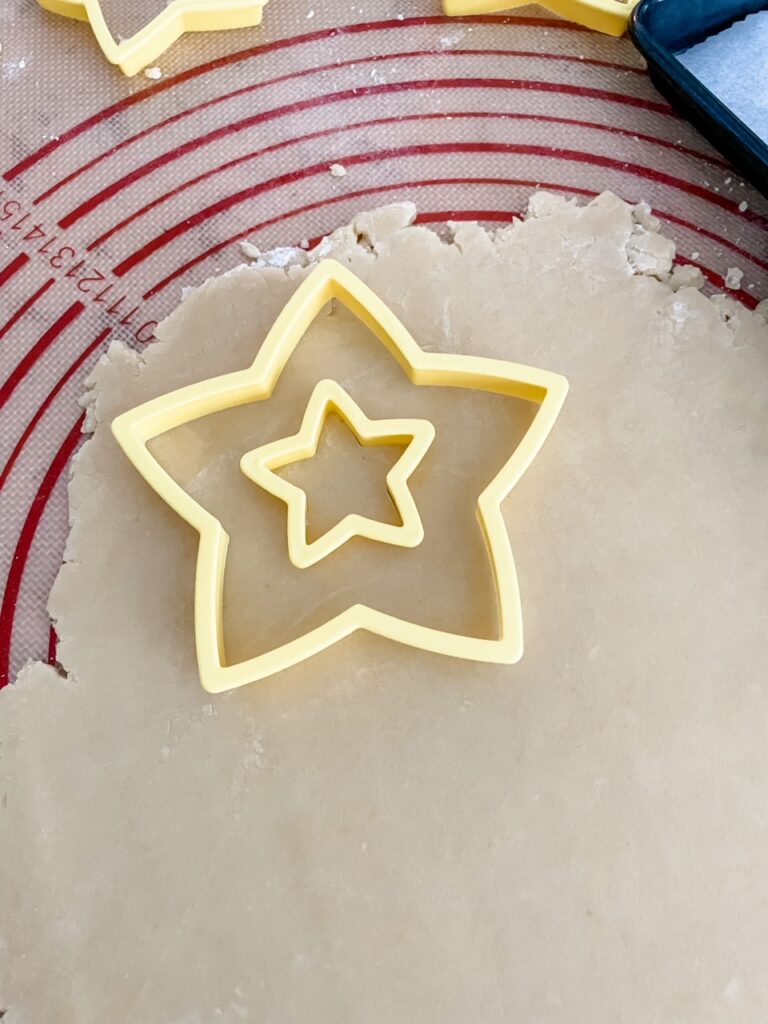
Once that’s done, you’ll remove the dough from the smaller, inner cutout. (You can bake it as a separate cookie or roll it back into the dough for the next round of cutouts.)
With the center removed, the unbaked cookies may be fragile. Sliding a spatula carefully under each cookie to lift them and transfer them to a baking sheet covered with parchment will help prevent tearing.
Now comes the fun part!
If you’re baking with kids, they’ll love to fill the center holes with the shard of crushed candy “glass.” Just make sure the shards get up into every corner and are spread fairly evenly. Also, make sure the candy is in the hole, not on top of the cookie.
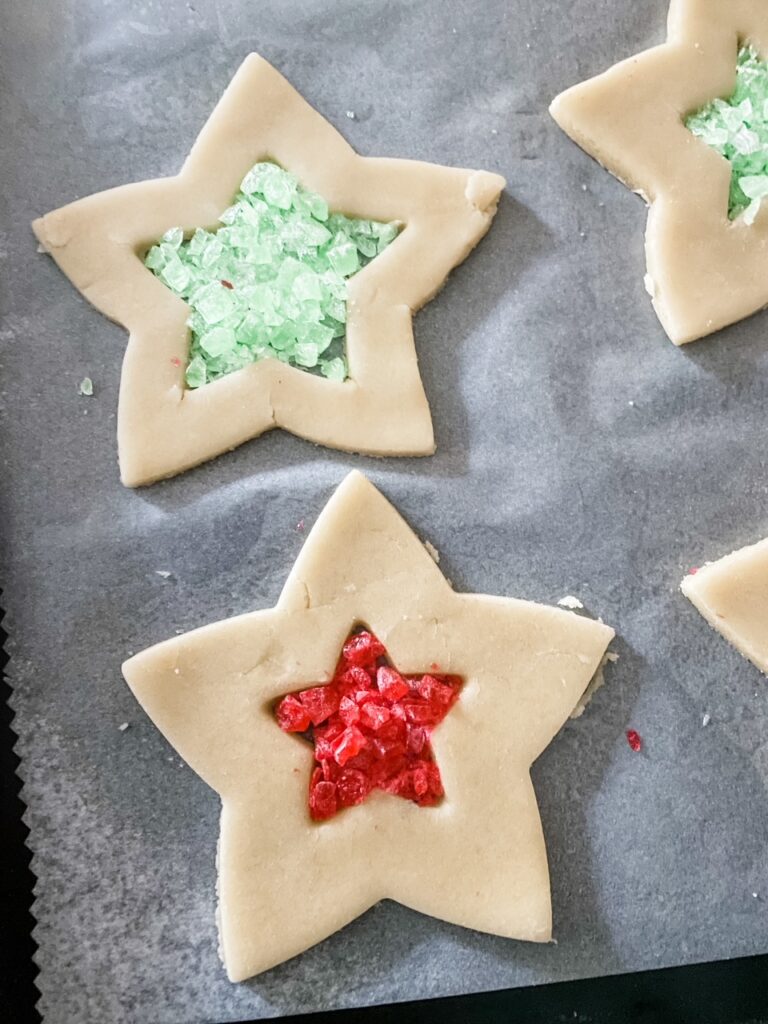
The stained glass will still be molten when the cookies come out of the oven. Don’t let little (or big) cooks touch the glass or sample the cookies until they’re completely cool.
Frosting the cooled cookies is optional. I prefer to let the stained glass be the “star” of the show.
PrintStained Glass Cutout Sugar Cookies
- Yield: Amounts will vary
Ingredients
Ingredients:
- Sugar cookie dough
- Clear sugar candies, such as Life Savers
- Flour
Equipment:
- Plastic zipper bags
- Rolling pin
- Cookie cutters of the same shape in different sizes
- Parchment paper
- Baking sheet
Instructions
- Preheat the oven to 350. Line a baking sheet(s) with parchment paper.
- Separate the candies by color and place them into individual plastic zipper bags. Use a rolling pin to crush the candies into shards. Set aside.
- Roll the dough out onto a well-floured surface to approximately a quarter-inch thickness. Place a large cutter onto the dough. Center the smaller cutter inside the larger, then press down to cut out the cookie. Remove the center cutout. (Bake as a separate cookie or incorporate back into dough for next batch of cookies.)
- Carefully transfer the cutouts onto the prepared baking sheet and fill with shard of crushed candy. (Use only one color for each cookie.).
- Place baking sheet of prepared cookies into the preheated oven. Bake for 7 to 9 minutes, or until cookies are just beginning to brown. (Baking times may vary, depending on the size of the cookie.)
- Remove baking sheet from oven. Stained glass centers will be liquid and extremely hot but will harden as the cookies cool. Don’t touch, taste, or attempt to remove the cookies from the baking sheet until they are completely cool.
