This post may contain affiliate links. Full disclosure policy
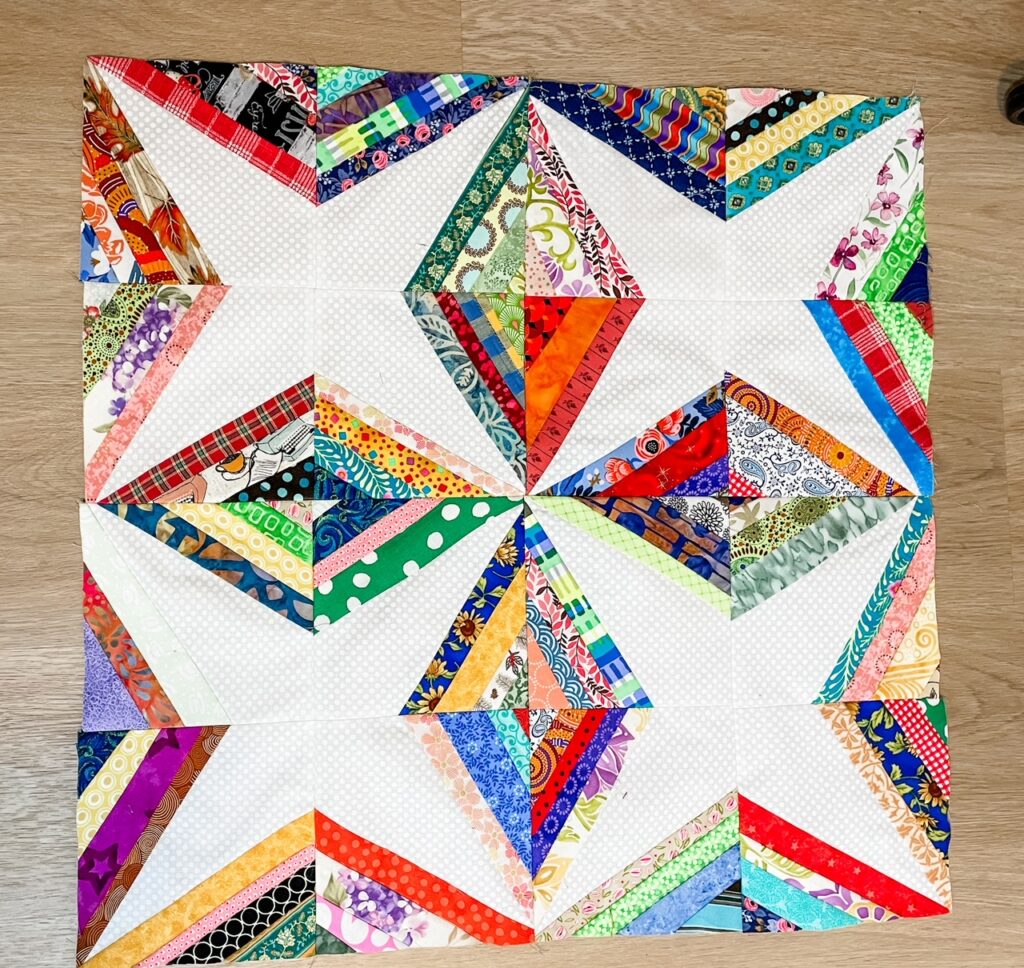
Super simple to sew and addictively fun to stitch! This Scrappy Star String Quilt Block is perfect for pillows, wall hangings, or full-sized quilts. It is a great way to use up your fabric scraps, too!
Scrappy Star String Quilt Block – My Quilt Circle Sisters Share A Good Thing
Community is a central theme in my Cobbled Court novels (A SINGLE THREAD and the five books that follow). The supportive quilting sisterhood that springs up between the characters impacts their lives and the stories in all kinds of ways.
Though the books are entirely fictional, there’s a definite “write what you know” aspect at play in them. For more than ten years, I’ve been gathering almost annually for quilting retreats with a very special group of women. We started out as strangers but soon became friends, supporting and encouraging each other through life’s smooth and bumpy roads.
Over the years, we’ve shared joys and sorrows, laughter and tears. Naturally, we shared lots of quilting knowledge and inspiration, too! One of my favorites has been this Scrappy Star String Quilt Block.
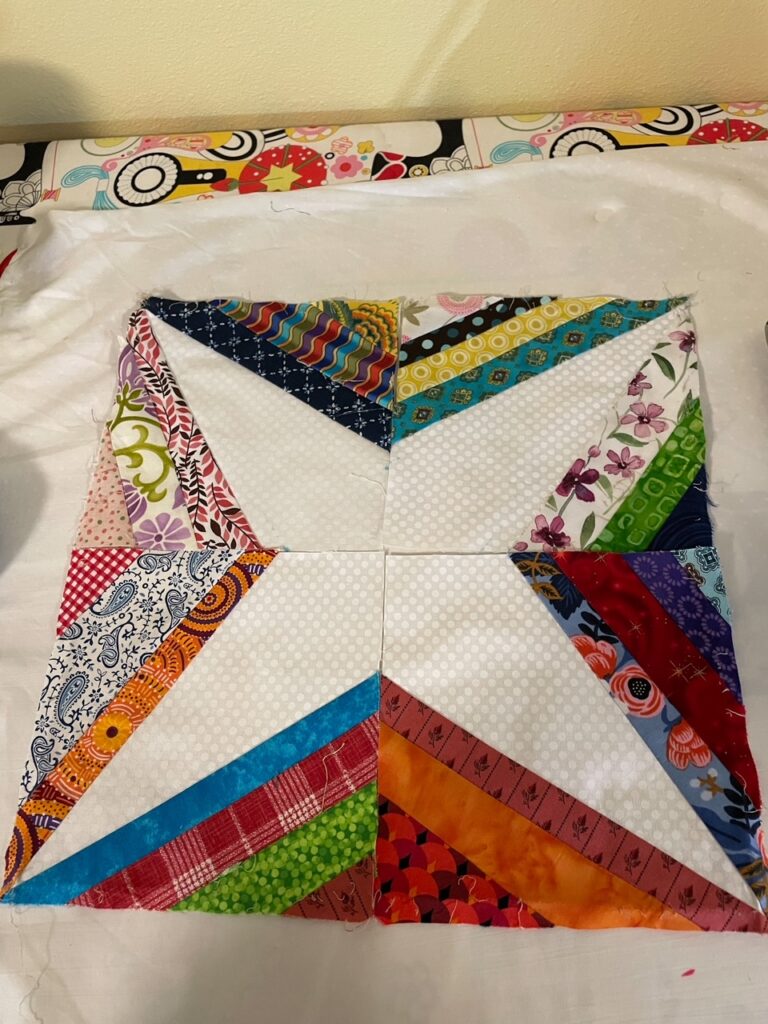
I was introduced to this scrappy, happy, addictively fun, simple-to-sew block by one of the quilt retreat circle sisters, Sandra Sharp. She learned about it from another quilting sister, Sandy Bean Bradley.
And though I don’t know who shared with Sandy, I bet the chain goes back a long, long way. Because this Scrappy Star String Block is one of those things that’s just too good not to share!
What I Love About The Scrappy Star String Block
There’s SEW much to love about this block! To begin with, it’s simple enough for just about any level of quilter.
If you have an even basic knowledge of sewing, you’ll be able to make this block. Really! If the idea of having to sew perfectly straight lines makes you break into a cold sweat (or bores you to tears) you’re gonna love this block! It’s very forgiving.
But even though the Scrappy Star String Block is simple to sew, the improvisational nature of the block makes it endlessly engaging. Since no two blocks will turn out alike, they’re interesting for all levels of sewists, from novice to expert.
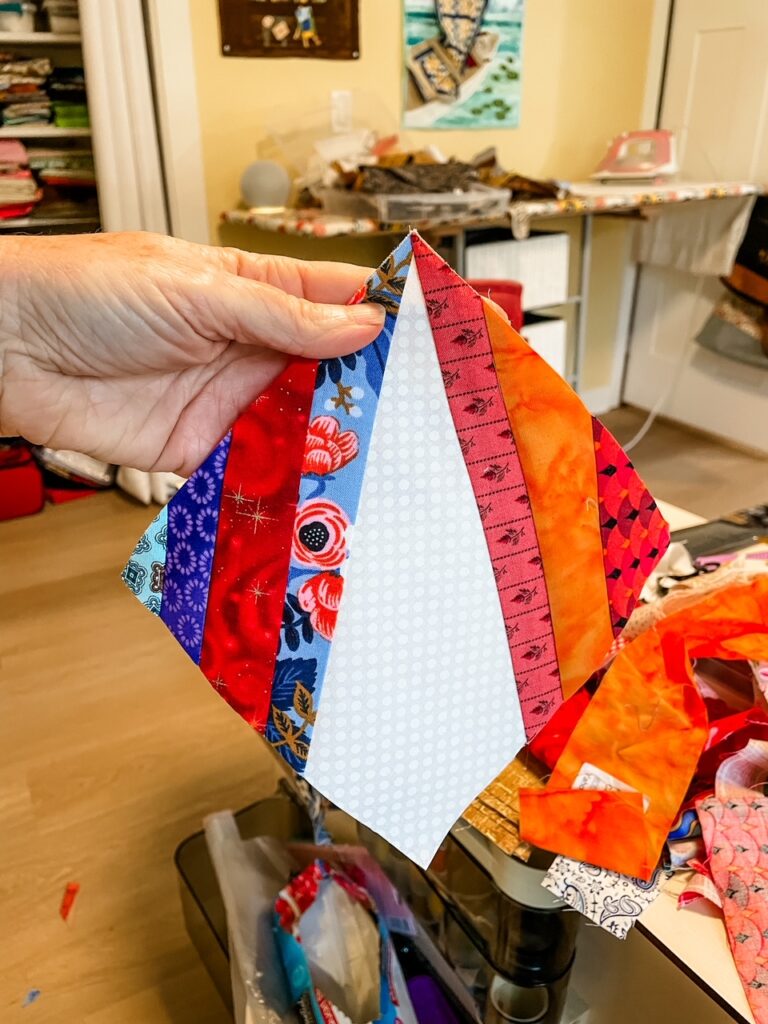
Something else I love about this block is that I can finish one of the quadrants in about fifteen minutes. It’s the perfect block to grab when I’m short on time or want to take a quick break during my workday. Sometimes, I even use it as a reward when I finish a chapter or a certain number of pages in my book. You do need four of the quadrants to make a full star, but it still goes fairly quickly.
If your scrap bin is overflowing (and whose isn’t?), this will help put a dent in it. Since fabric prices keep going up and up and up, I’m glad to be using what I have rather than buying new.
Especially when the end result is so darned cute!
What You Need to Make A Scrappy Star String Quilt Block
Background Fabric
Each block is sewn onto a 6.5-inch square background fabric, and four blocks are needed to make a complete 12-inch star. The color of the fabric is up to you. I chose to use a bright white for my background, but you can use almost any color. Black, gray, cream, and pastels would all work well. Choose your own adventure!
How much background fabric you’ll need depends on how big you want your quilt to be.
A single star (made with four blocks, 6.5 inches each) would make a cute pillow front. You’d only need a quarter yard of background fabric to make that, and would have leftover.
- A 36 x 48-inch baby quilt (12 stars) would require 1 ½ yards of background fabric.
- A 60 x 60 lap quilt (25 stars) would require 3 1/8 yards.
- A 60 x 84 twin sized quilt (35 stars) would require 4 1/3 yard.
- A 96 x 108 full sized quilt (72 stars) would require 8 ¾ yards
For other sizes, check out this handy Pieces to Yardage calculator at Quilter’s Paradise. It will help you figure out how much yardage you need for any sized project.
Fabric Scraps
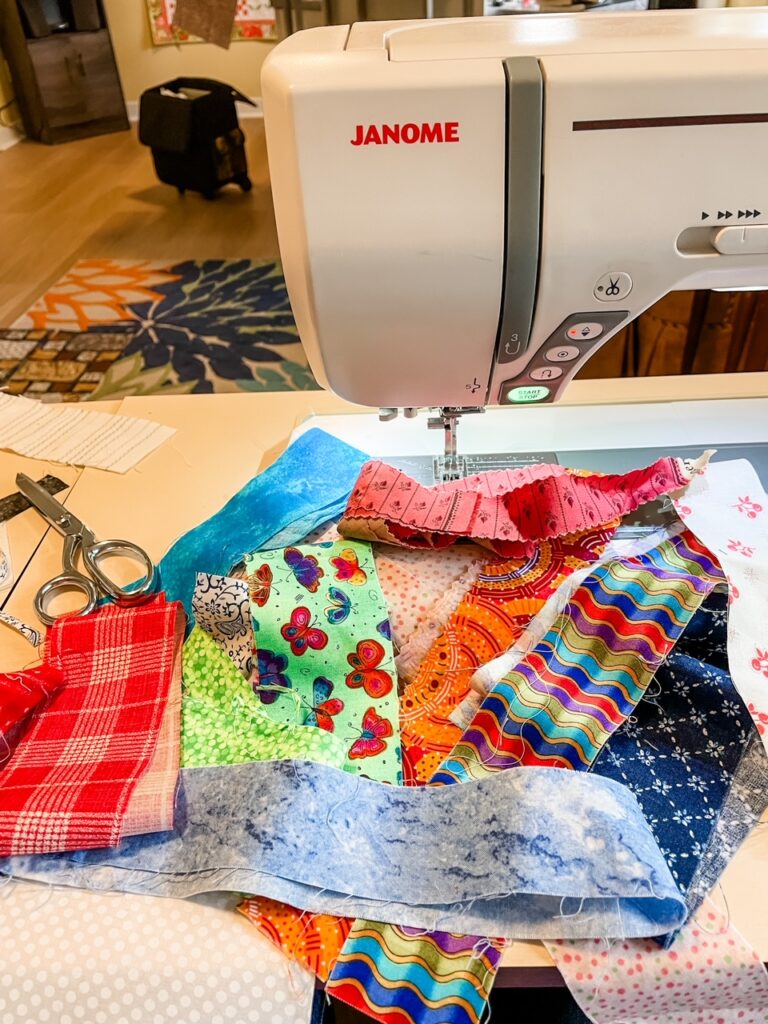
Using up your scraps is the really fun part of making Scrappy Stars String blocks! The amount of scraps needed depends on the number of blocks you make ( if you’ve been quilting for any amount of time, you undoubtedly have more than enough). Since scrappy is the name of the game here, the more variety, the better.
Cutting the scraps into strips before you begin will help speed things along. Cut the strips anywhere between ¾ of an inch to 2 inches wide. You don’t really even need to measure or fuss about getting them perfectly straight. DO cut strips of different widths. It’ll make your quilt scrappier, more interesting, and more dynamic. Don’t worry about the length right now. That will vary depending on where you end up sewing the strips. Long and short strips will all be used in making the blocks.
Don’t overthink it; just grab a fabric strip and sew – don’t spend a lot of time fussing over whether or not the pieces “go together.” It’ll all look great in the end, trust me!
Other Items
- Marking tools – a pencil, fabric chalk, or washable fabric marker
- Ruler
- Rotary cutter or scissors
- Iron and ironing board
- Sewing machine
- Thread
How To Make A Scrappy Star String Quilt Block
Marking your block
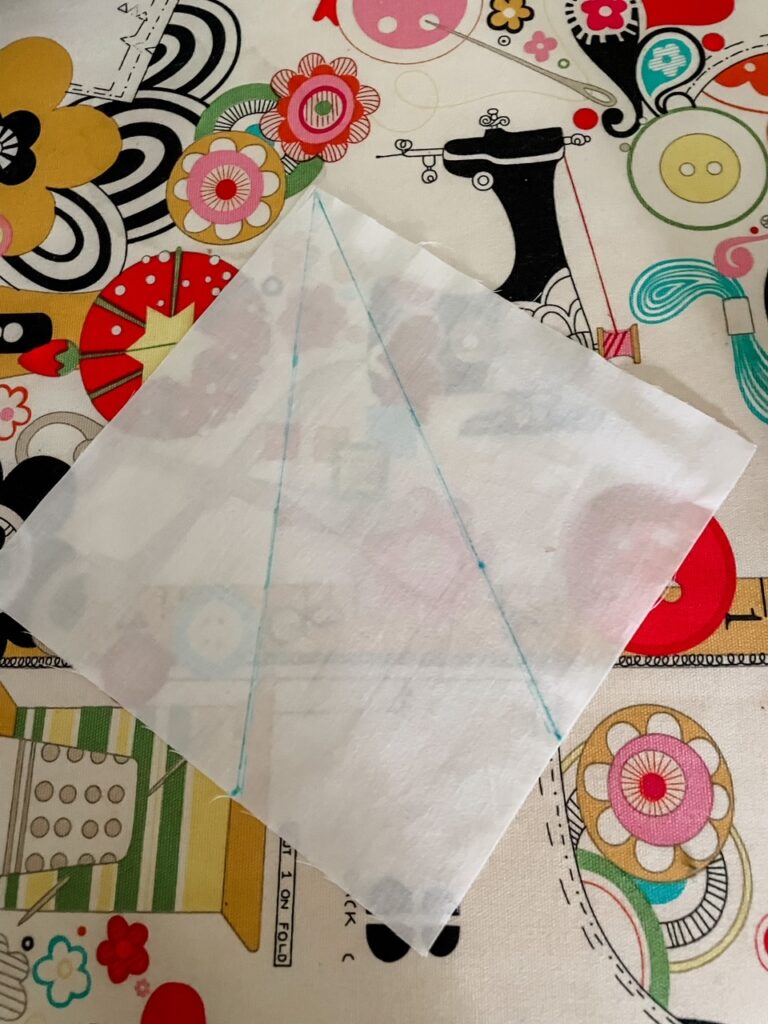
Make all markings on the WRONG SIDE of your 6.5-inch background block.
Make a small mark 2.5 inches up from the corner of the block. Make another mark 2.5 inches up from the same corner, on the other side.
Using a ruler to serve as a guide, draw an angled line from the small mark to the center of the corner that’s opposite from the corner where you took the first measurement. Draw a second line from the other mark to the center of the same corner. (See photo below.)
Sewing the first strips onto the Scrappy Star String Quilt Block
Grab a fabric strip from your prepared supply. Cut the strip so it extends about ¾ to 1 inch beyond the line you marked.
With RIGHT SIDES TOGETHER, position the first fabric strip along the marked line so it extends about a ¼ toward the outer corner of the block.
(Because the line is on the other side, placing the strip can be a little tricky. You can pin if you want to, but it really isn’t necessary. I just place the strip in place with my fingers, then flip it to the other side to make sure it lays about ¼ inch beyond the line. You don’t need to be exact here.)
Flip the block to the wrong side, with the strip underneath, and stitch along the marked line from the corner to the edge. Flip the sewn block over. Press the strip along the seam so the right side of the fabric strip shows.
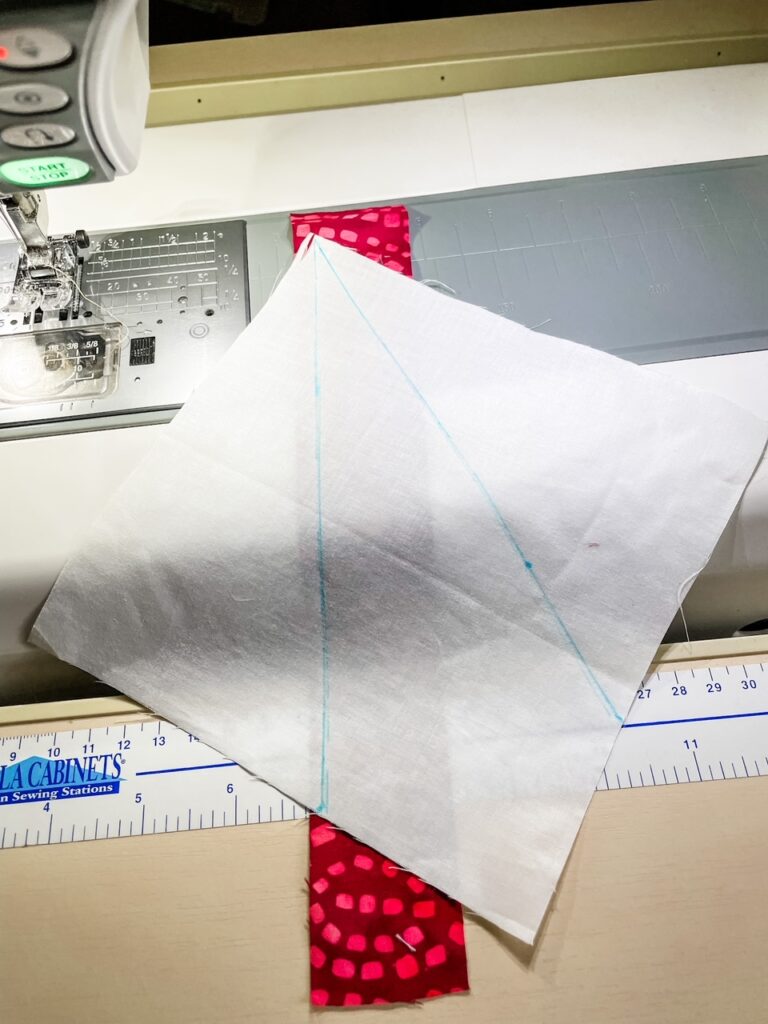
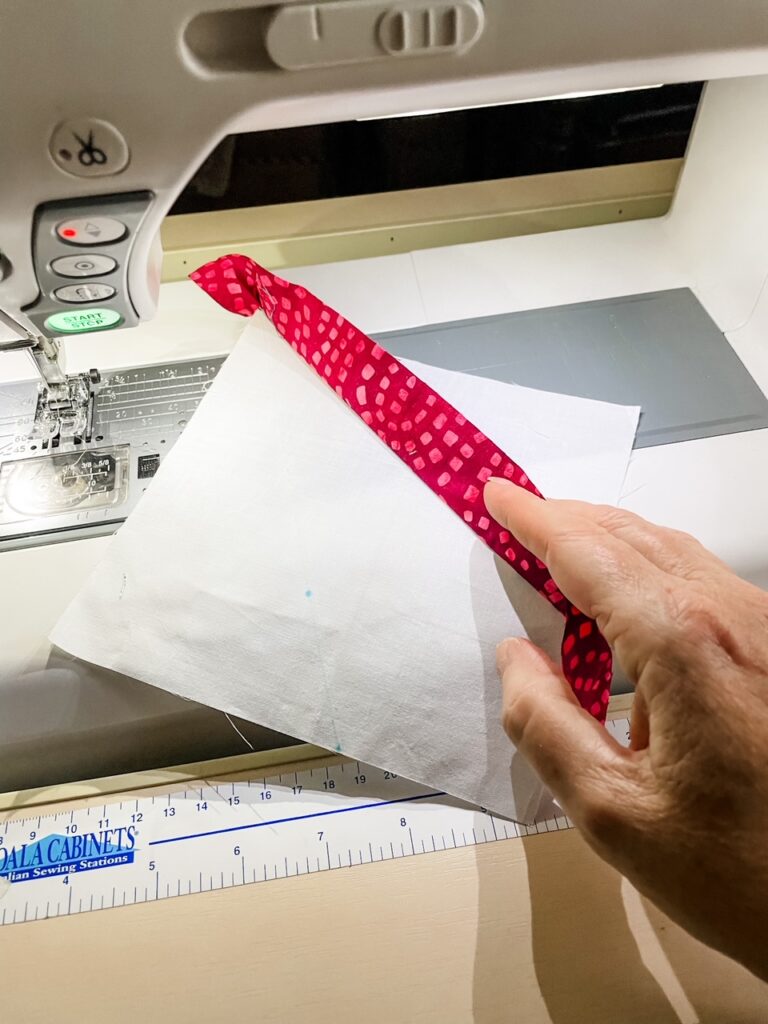
Repeat the process, sewing the first strip onto the opposite side of the block. If you’ve done it correctly, you’ll have a nice V of the background fabric showing between the middle of the first strips.
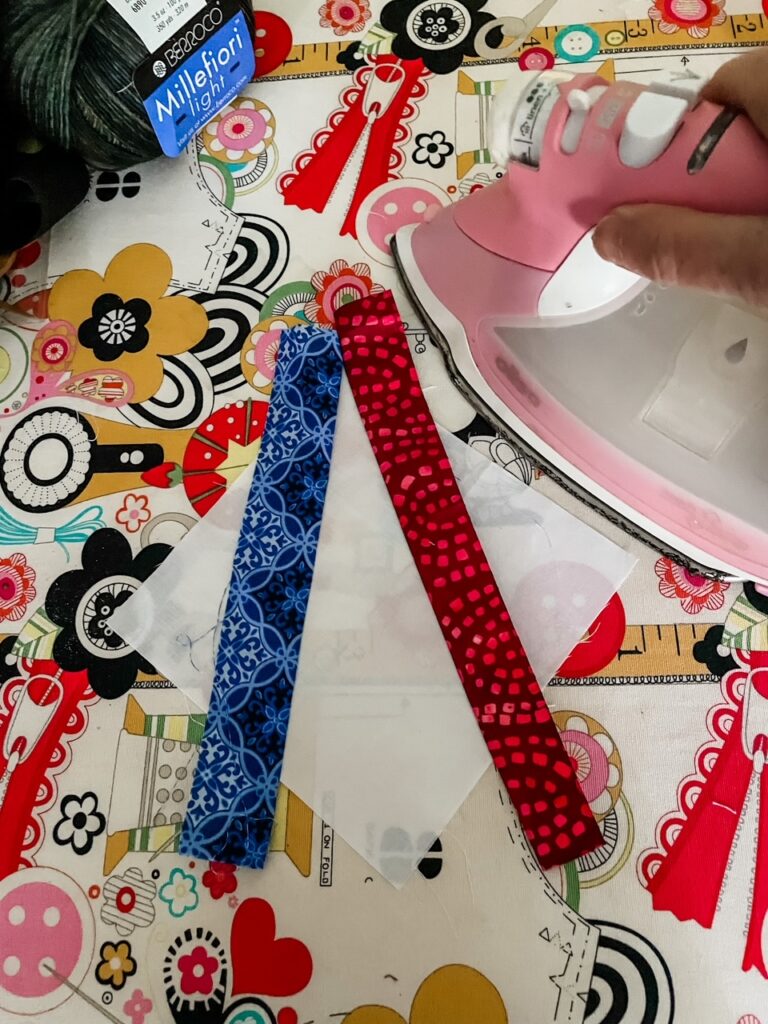
Sewing the remaining strips onto the Scrappy Star String Quilt Block
The first two strips will serve as a guide for stitching on your remaining strips. Flip the block right side up. Choose another, different-colored strip from the pile.
With the right sides together, lay the new strip along the raw edge of the right-hand strip you sewed previously. Cut the new strip so to extends ¾ to 1 inch beyond the edge. Stitch through both strips with ¼ inch seam. Press the new strip so the right side of the fabric is showing.
Repeat the process with the left-hand strip so you have two sewn strips on either side of the center V of the background fabric.
Continue stitching strips, alternating between left and right sides, until your sewn strips reach the outer corners of the block. The number of strips used will depend on how wide you cut the strips. (I use between three and five strips on each side.)
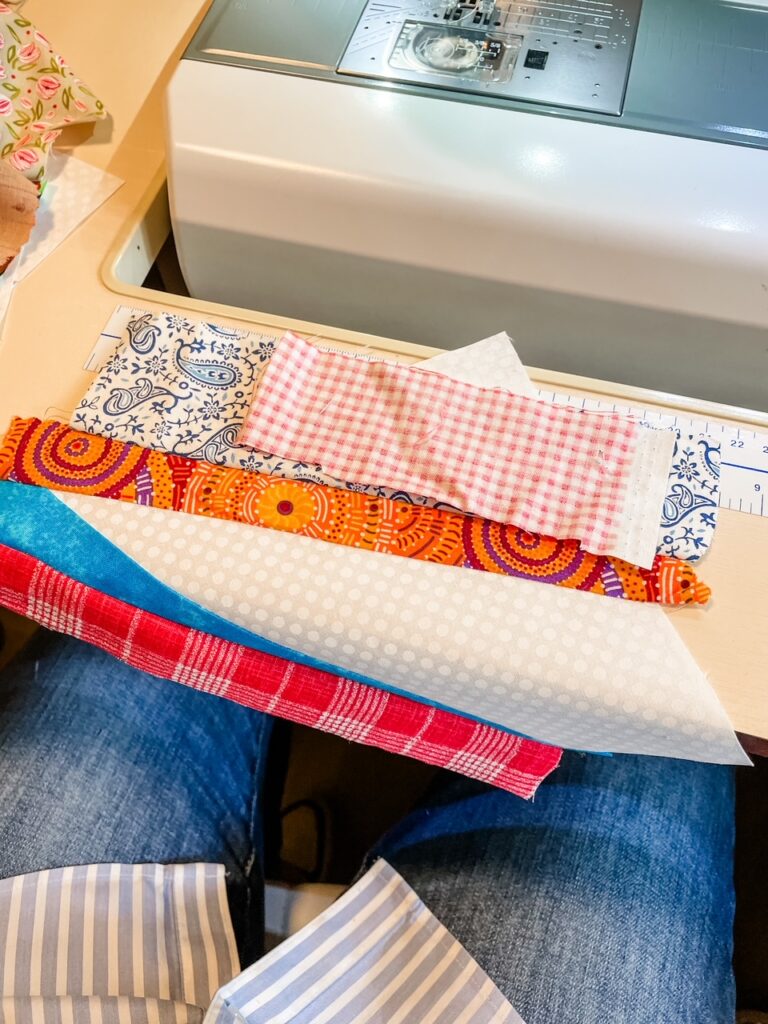
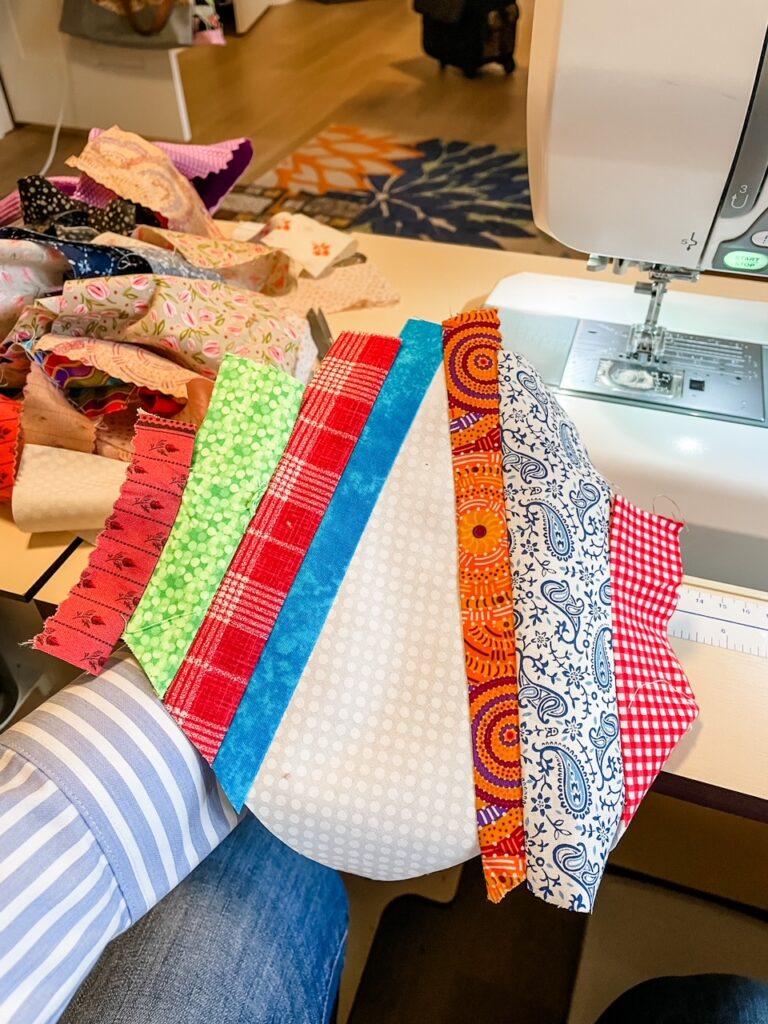
Flip the block to the wrong side and use scissors or a rotary cutter to trim off any extra strip of fabric extending beyond the edge of the background block.
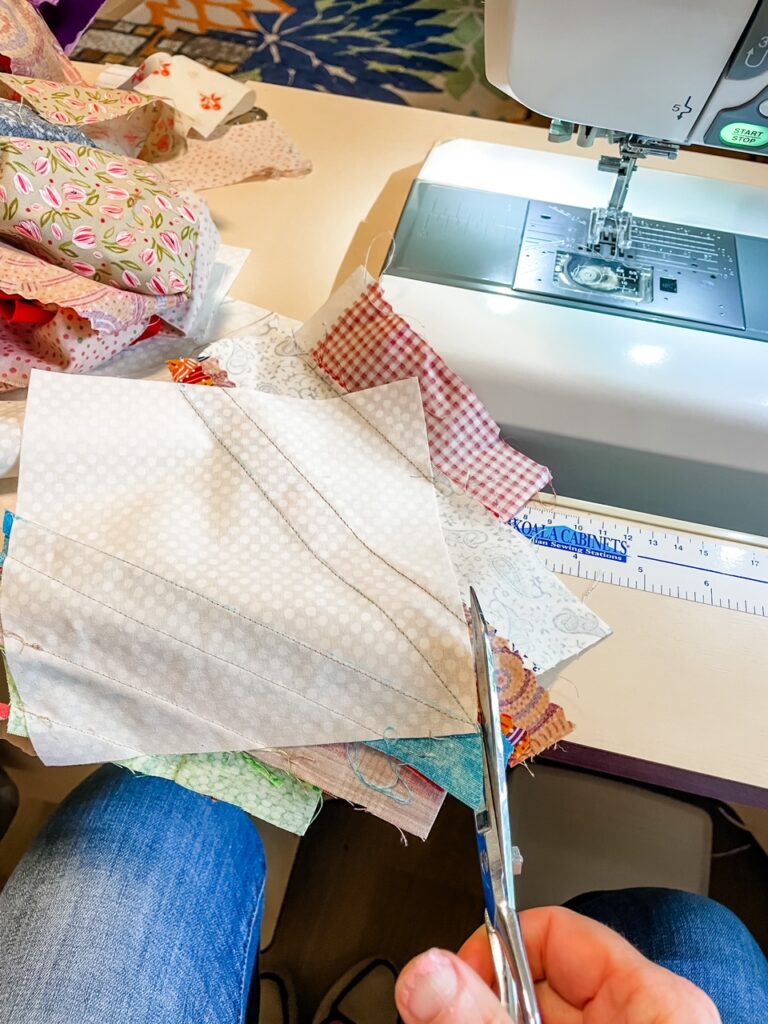
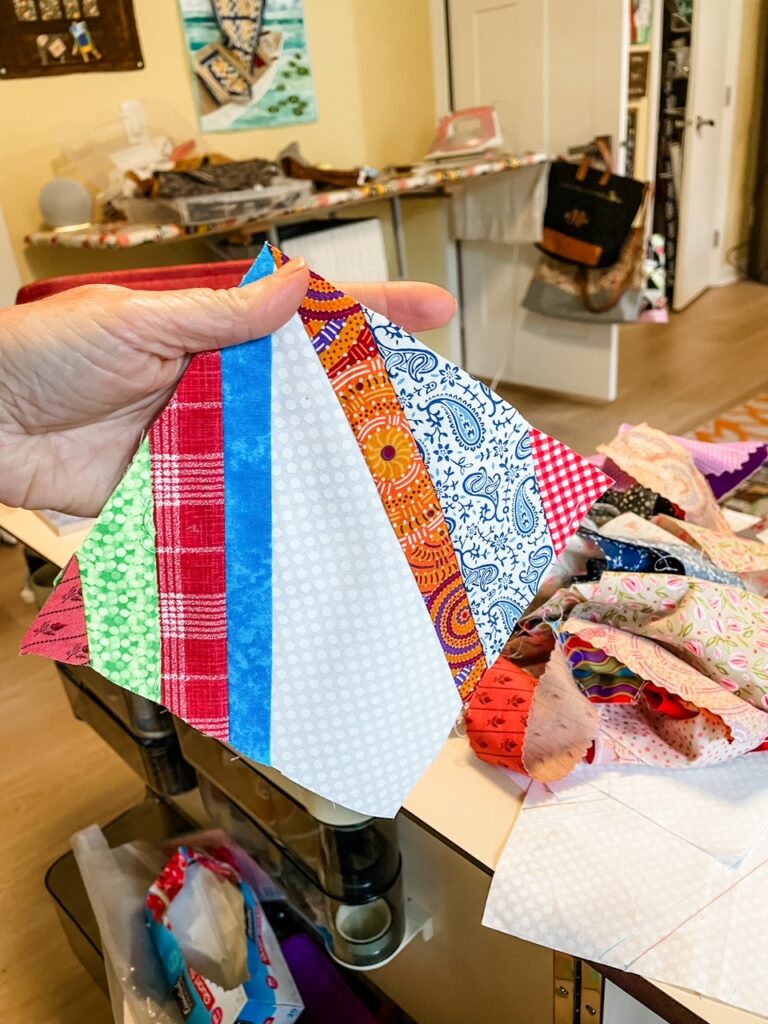
Good job! The first quadrant of your Scrappy Star String Quilt Block is finished. Sew three more quadrants, and you’ll have enough to finish the block.
Completing your Scrappy Star String Quilt Block
Lay two of the completed quadrants together with the right sides facing. Sew a ¼ inch seam through the quadrants along the side with the background fabric showing, matching at the point where the strips begin. Press open the seam. You will have a 6.5 by 12.5 rectangle.
Repeat with the remaining two quadrants, making another rectangle.

Sew the two rectangles together on the long edge, matching corners and the place where the strips begin. Press the seam open.
Hooray! Your Scrappy Star String Quilt Block is done! And it looks great. Give yourself a pat on the back!
One completed block would make a great front for a 12-inch square pillow.
But if you had fun sewing this block, you can make more to make a baby, lap, twin, or full-size quilt. See the Background Fabric section above for suggestions on the number of blocks you’ll need to do different projects.


