This post may contain affiliate links. Full disclosure policy
THIS POST MAY CONTAIN REFERRAL LINKS. IF YOU CLICK THROUGH AND TAKE ACTION, I MAY BE COMPENSATED, AT NO ADDITIONAL COST TO YOU.
There are so many reasons to love crafting. For example, I love how crafting lets me give my home decor a face-lift without spending piles of cash. (That’s money I’d just as soon spend updating my wardrobe, thank you very much.)
We only moved into our home a year ago, so it really is too soon to be talking about redecorating. Still, especially when the seasons change, it’s nice to change things up and give your home a bit of a decorating boost.
I spent a lot of last weekend doing exactly that. After a trip to town for craft supplies and a trip upstairs to raid my craft room, I got to work creating a couple of fun, easy craft projects to dress up my home and welcome the fall season.
MASON JAR LEAF LANTERNS
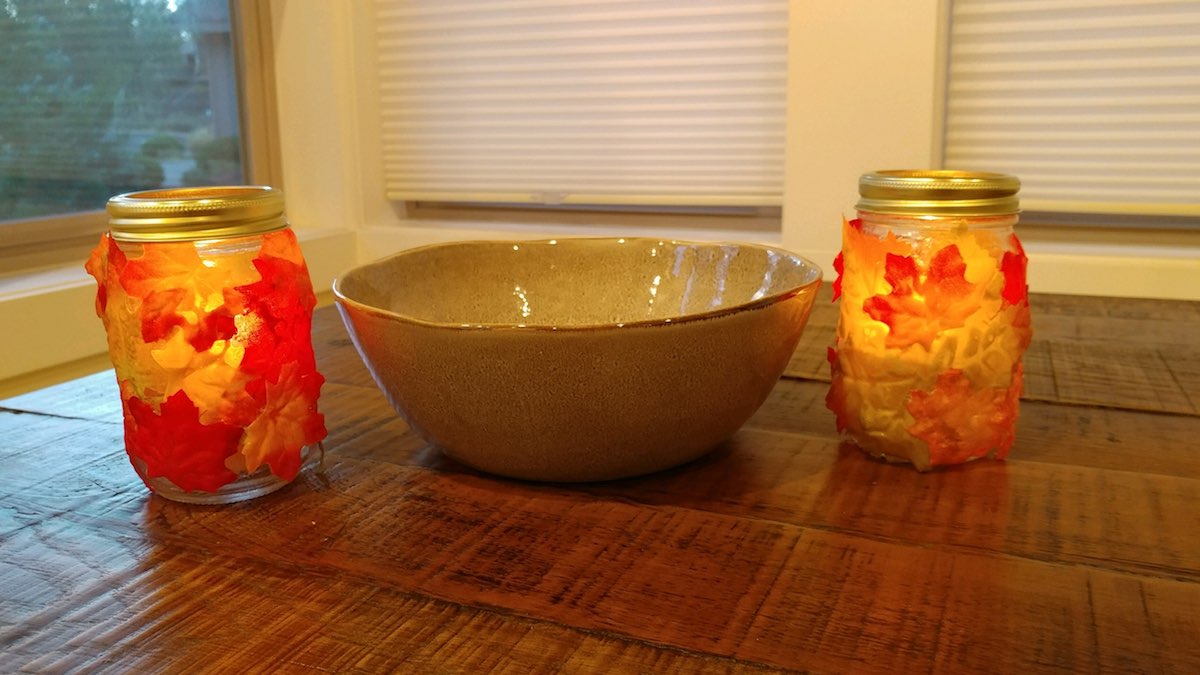 A mason jar, craft store leaves, some Modge Podge, and a bit of patience is all you’ll need to create these darling leaf lanterns.
Why patience?
I saw a similar leaf lantern online but didn’t quite love them. The leaves were sticking out at weird angles all over the jar. It just looked kind of messy to me. I thought they’d be much prettier if the leaves were laying flat over the surface of the jar.
As I soon discovered, there was a reason those leaves were sticking out. No matter how much Modge Podge I applied, those darned leaves just would not lie flat and stay that way. I went through half a jar of Modge Podge and still couldn’t get those suckers to behave!
Honestly, I came pretty close to giving up. Then I remembered something that one of my quilting friends, Pam, says when her seams won’t lay flat.
“Steam the snot out of it!”
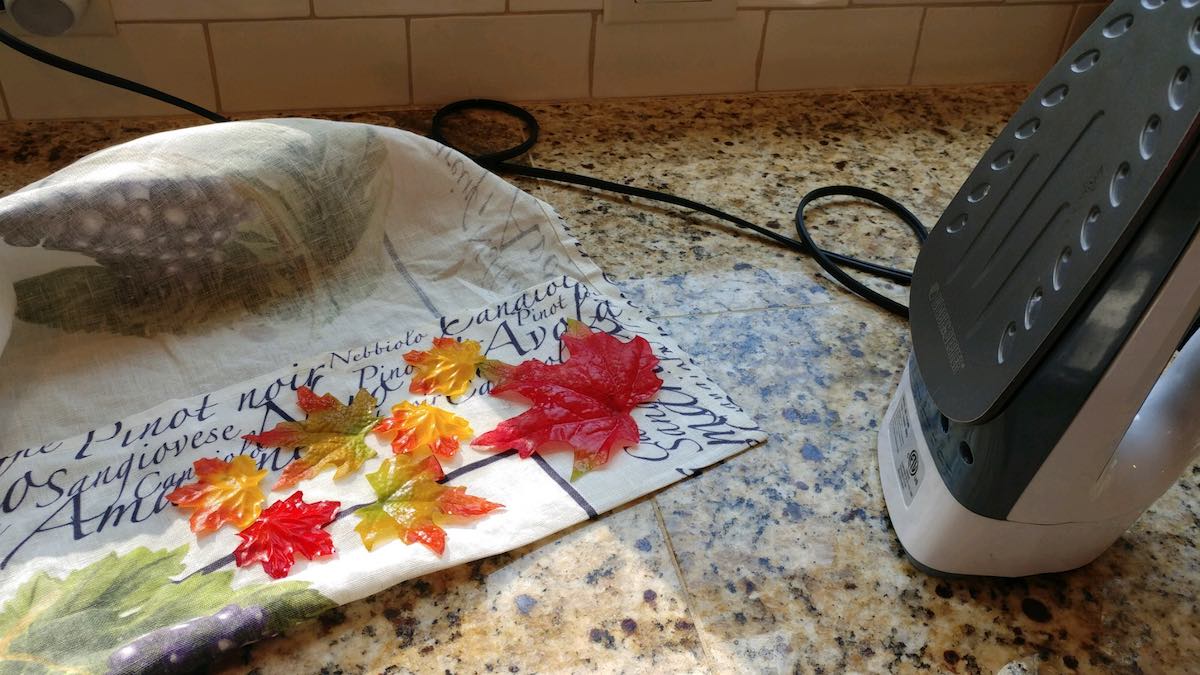
Sure enough, after a good press with lots of steam, those leaves were much easier to work with. They still didn’t lay perfectly flat and it still took some patience to get the job done, but I’m happy with how they came out.
Here’s how to make yours…
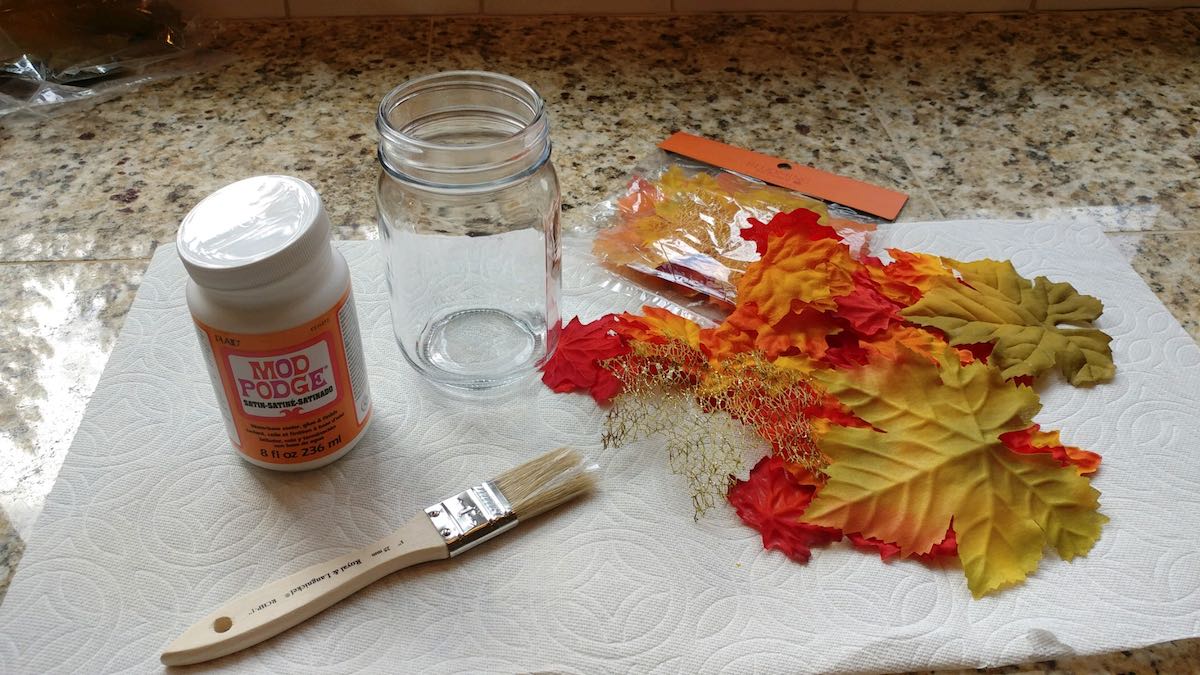
Supplies:
- 2 pint sized mason jars
- 1 jar Modge Podge
- 1 bag leaves from craft store
- 1-inch wide paintbrush
- 2 votive candles in your favorite fall scents
Instructions:
- Prepare the leaves by running them under water until they are thoroughly wet. Then put leaves flat on ironing board, place a pressing cloth on top, and press with a very hot iron. If needed, turn over and press again, using steam. (Even after ironing, the leaves probably won’t be perfectly flat, but you’ll be able to work with them.)
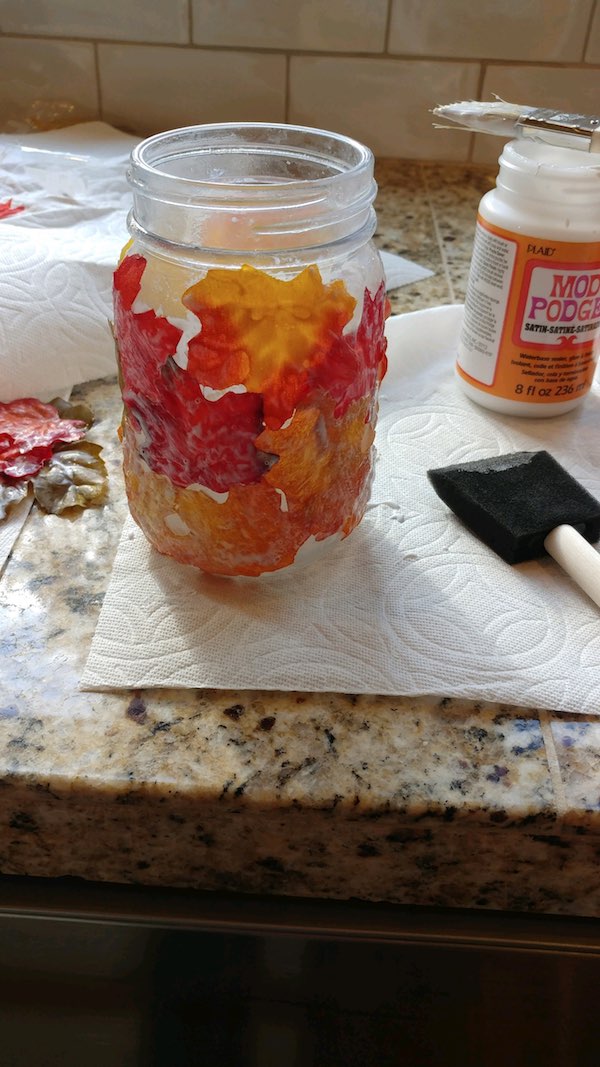
- Use paintbrush to apply Modge Podge to side of the first jar. Work in sections so the Modge Podge doesn’t dry before you put on the leaves. Apply Modge Podge to the back of a leaf, the place on the jar, pressing with your fingers to flatten it as much as possible. Repeat, placing a few more leaves to cover the section. Paint more Modge Podge over the top of the leaves.
- When the sides of the jars are completely covered with leaves, set aside until the Modge Podge is completely dry and clear.
- Place votive candles inside each jar and light to cast a warm, cozy glow to the room.
PINECONE DOOR SWAGS
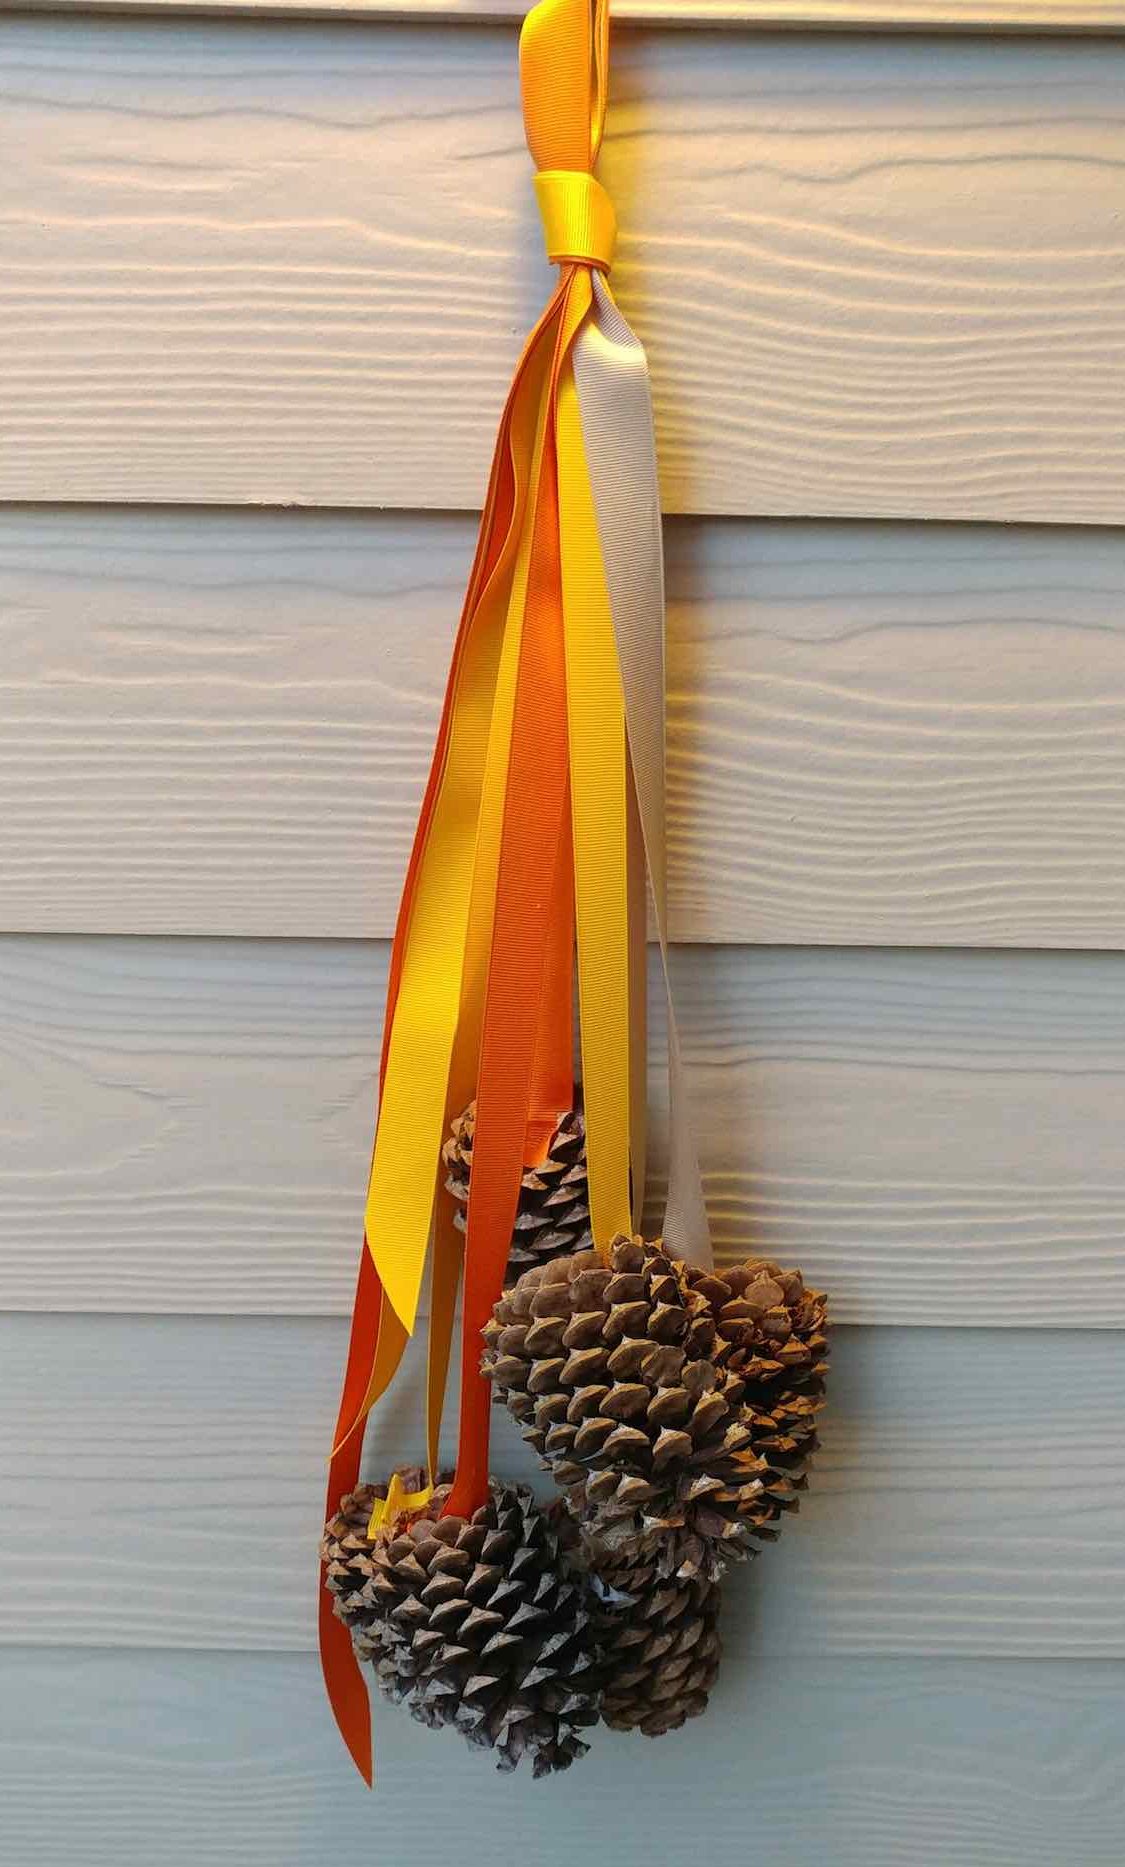 I can’t tell you how many times I’ve heard someone say, “I don’t have a crafty bone in my body!” My answer to that?
Codswallop!
(Seriously. That’s what I say. It’s actually a pretty great word. Try it some time.)
Everybody has a creative side. Maybe yours has atrophied from lack of use but it’s there. Trust me.
If that describes you, then these Pine Cone Door Swags are the ideal craft for you. Really, these are crazy easy to make and crazy cute. Give ‘em a try.
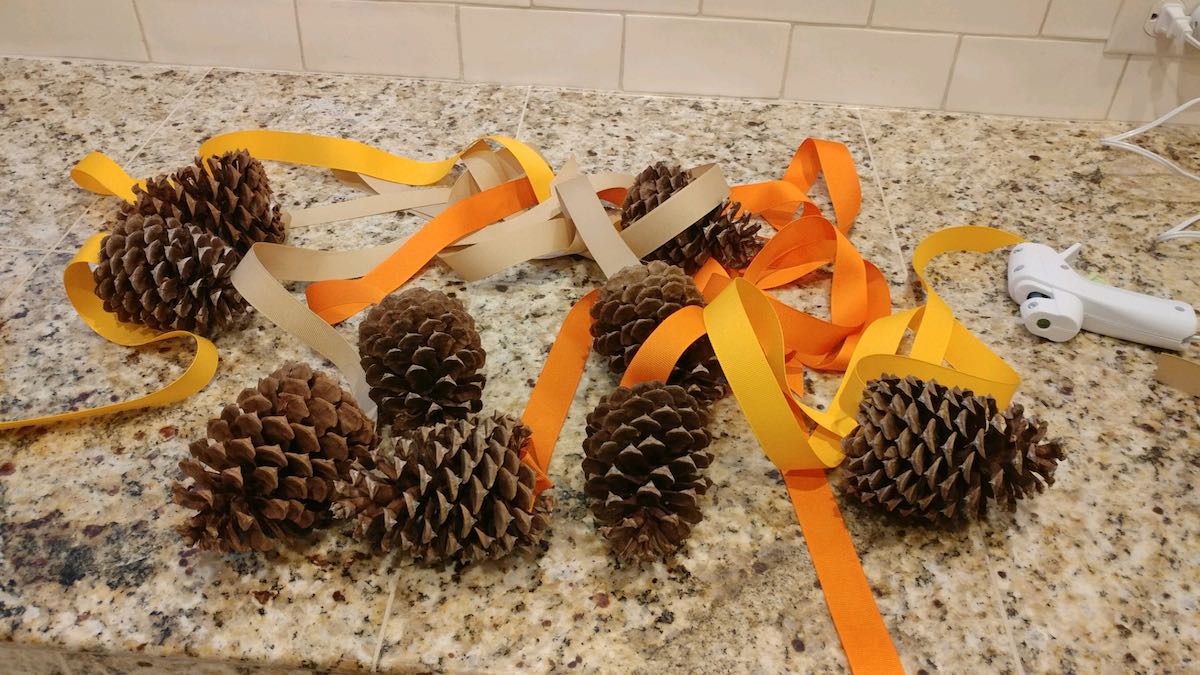
Supplies:
- 12 pinecones
- 1-inch wide grosgrain ribbon, 3 rolls, 3 colors
- Glue gun
- Glue sticks for gun
- Scissors
Instructions:
- Cut 4 long pieces of ribbon (about 2 feet or so, doesn’t need to be exact) from each color, 12 ribbons total.
- Plug in glue gun and insert glue stick. When glue is hot, apply it to the flatter end of the pinecone. Be generous. You want a couple of inches of glue.
- Press one end of the ribbon onto the hot glue to make it stick. (Be careful! It’s called “hot glue” for a reason!) Set aside and allow glue to dry. Repeat with all 12 pinecones and all 12 lengths of ribbon.
- Take two of each ribbon with glued pinecone (6 for each swag) and arrange in a pleasing manner, adjusting ribbons and pinecones to different lengths to add visual interest.
- With the ribbons laying flat against one another near the top, tie ribbons into a simple slipknot at a length that looks good you, allowing the ends to hang down.
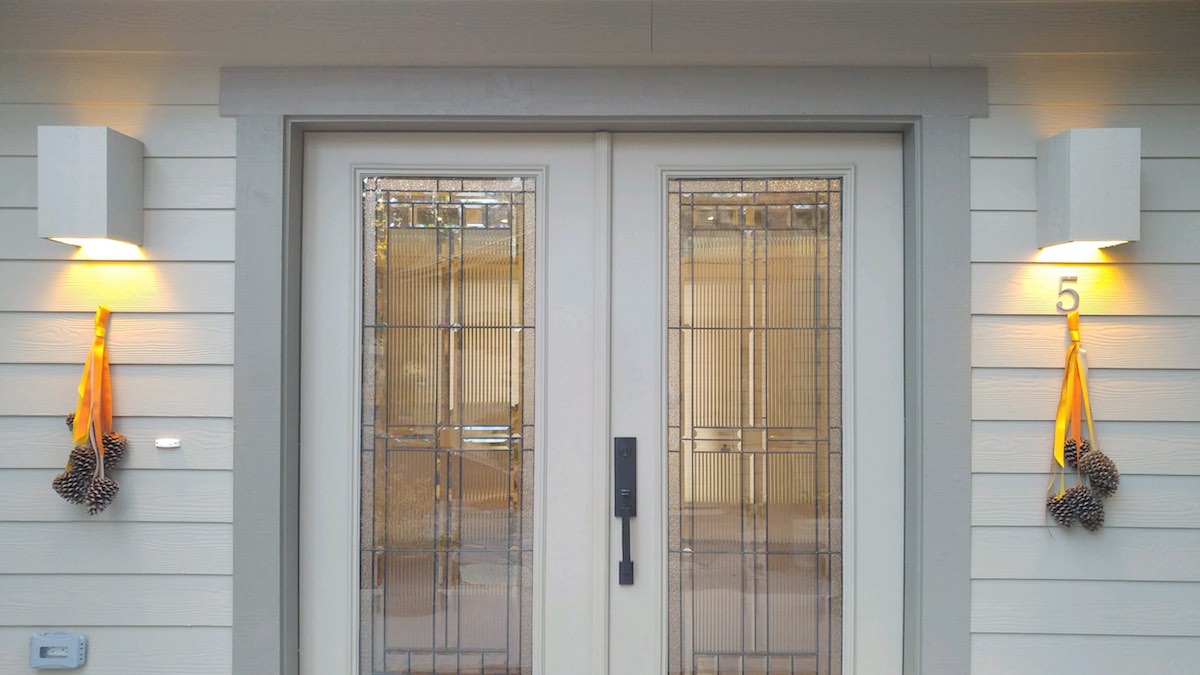
- Makes 2 swags
Happy Crafting!


