This post may contain affiliate links. Full disclosure policy
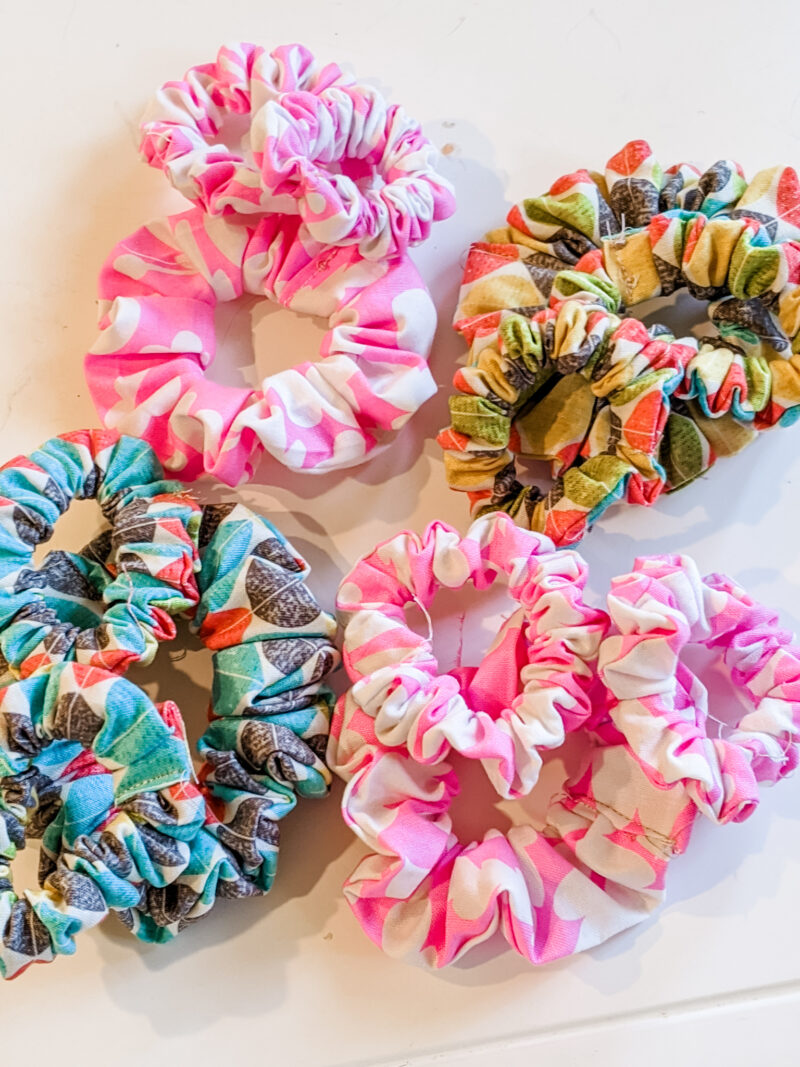
In case you hadn’t heard, scrunchies are back! And these easy DIY scrunchies stitch up in a snap. They’re fun to sew and are perfect for gift giving!
The clock is ticking in my quest to create homemade gifts for everyone on my Christmas list this year. Some of the gifts I’m making require many hours of time. That means I need to balance out my list with projects that are cute, useful, and quick to make. Does such a thing really exist?
Yes!! Easy DIY scrunchies for the win!
What’s Not to Love About Easy DIY Scrunchies?
Well…nothing really.
Anybody with hair long enough to put into a ponytail would love to get a homemade scrunchie. It’s the kind of gift that someone will actually use. Another thing I love about easy DIY scrunchies? You can personalize them to your, or the gift recipient’s, personal taste.
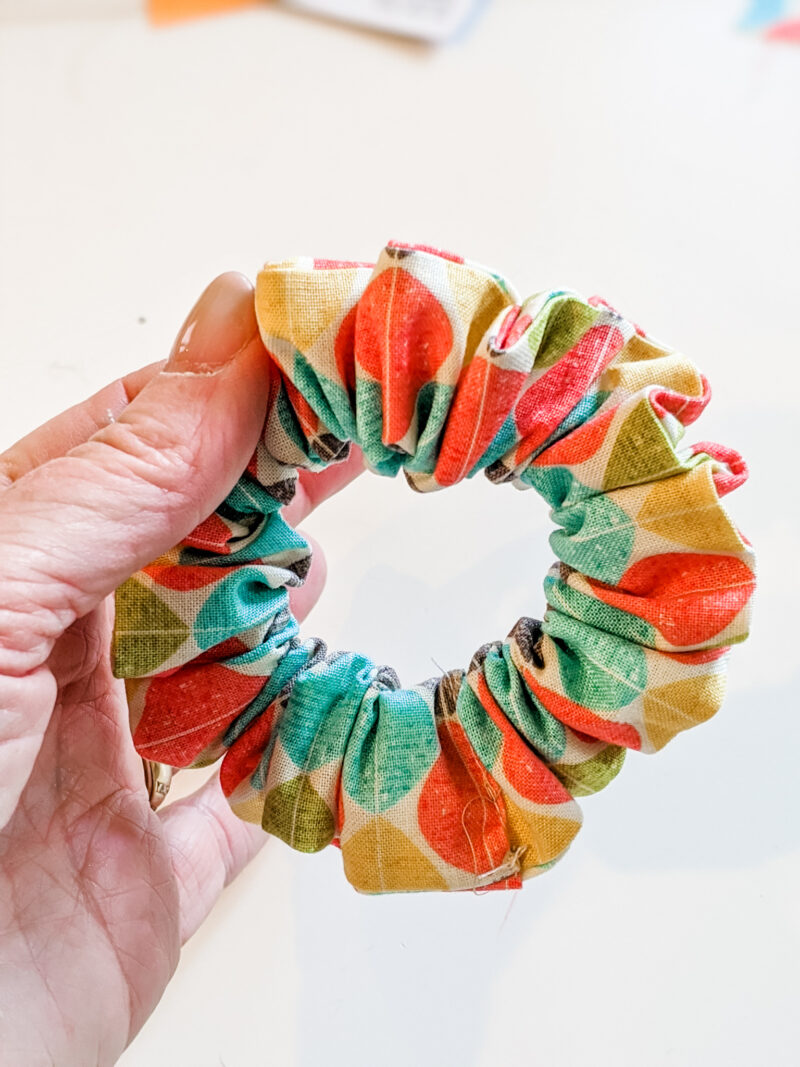
Tailor your fabric colors or patterns to the taste of the lucky giftee. If your sister likes earth tones, stitch up a whole wardrobe of scrunchies in chocolate brown, rusty red, copper, and burnt orange. Does she root for the home town team? Sew a DIY scrunchie in her favorite team colors. What a fun way to show her support on game day!
Is your best friend a dog lover? Book lover? Chicken lover? Gardener? Teacher? Firefighter? Airline pilot? Use novelty fabrics to create an easy DIY scrunchie to celebrate the things she loves most.
There are so many fun novelty fabrics available these days. A quick online search will help you find fabric focused on just about any hobby or interest.
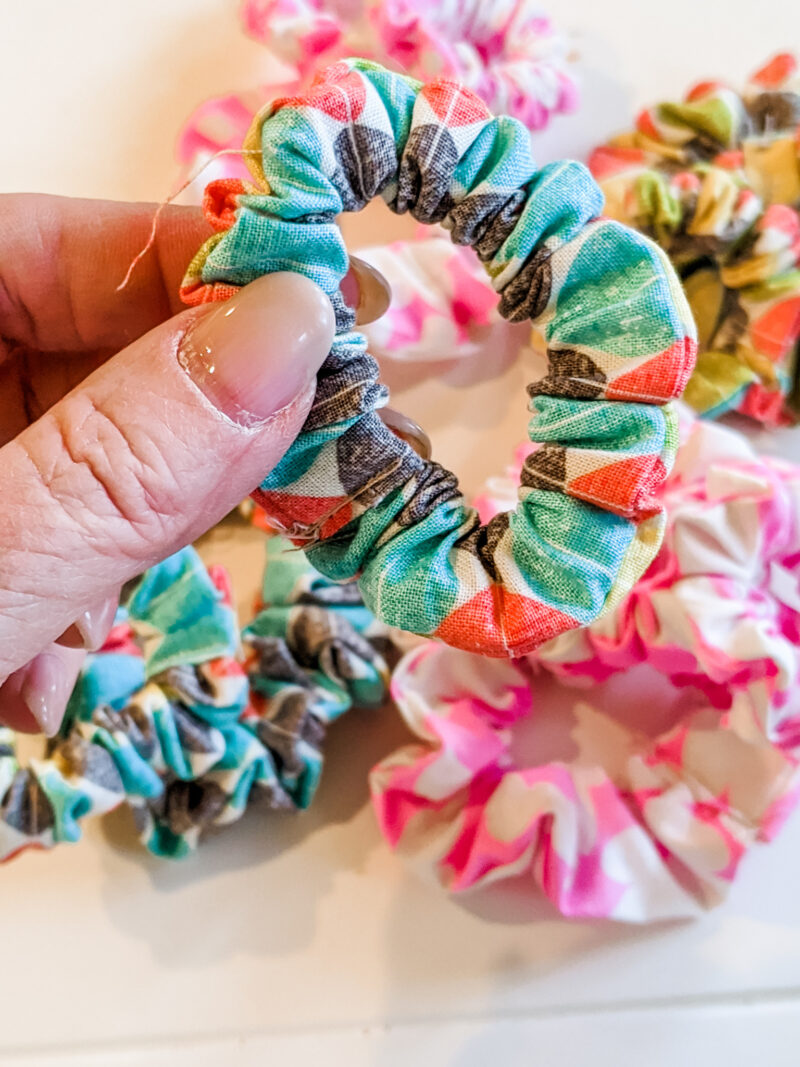
And since these are DIY scrunchies, you can make a size that’s just right. Scrunchies can be sized for children or adults, people whose hair is thick, thin, or in between. I’ve had fun making a wardrobe of matching mother-daughter scrunchies for my granddarlings and daughters-in-love. So cute!
Also, easy DIY scrunchies are a great way to use up the fabric scraps!
What do You Need to Make these Easy DIY Scrunchies?
You do need a sewing machine and basic sewing skills to make DIY scrunchies. But you certainly don’t need to be an expert. DIY scrunchies really are easy. They’d make a great first project for a new sewist.
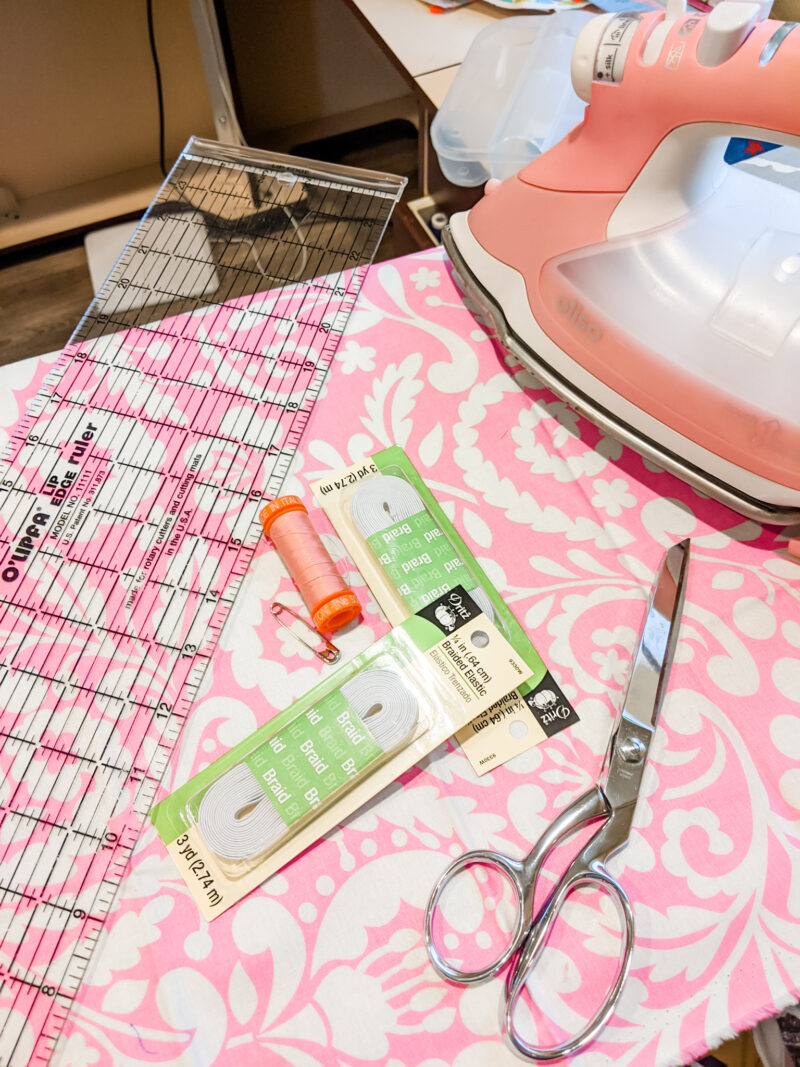
You’ll also need…
- Fabric
- Thread
- ¼ inch wide elastic
- Large safety pin
- Scissors and/or rotary cutter and cutting mat
- Ruler or measuring tape
- Iron and ironing board
What Size Scrunchie Should You Make?
The first step in making a scrunchie is to decide on a size and cut your fabric strip and your elastic accordingly. I use three basic sizes.
Small is best for toddlers and young children or to put on the ends of a braid. Medium works for older kids or adults with hair that is thin or average thickness. Large works well even for people who have thick ponytails, like me.
- Small: Fabric rectangle 2 inches wide and 15 inches long. 6-inch piece of elastic.
- Medium: Fabric rectangle 3 inches wide by 18 inches long. 8-inch piece of elastic.
- Large: Fabric rectangle 3.5 inches wide by 22 inches long. 9-inch piece of elastic.
How Do You Make These Easy DIY Scrunchies?
Making your own scrunchies really is easy! Just follow these four simple steps.
Step One: Iron Your Fabric Strip:
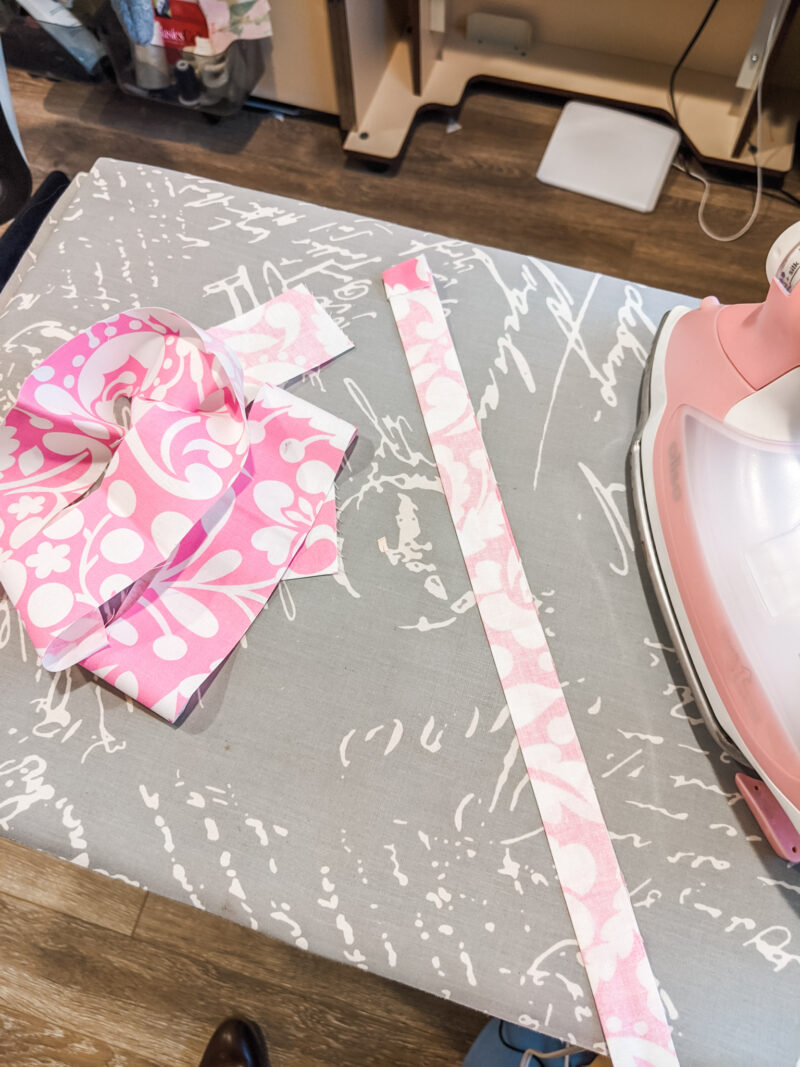
Lay your fabric strip on the ironing board with the wrong side showing. Fold over one end of the fabric about half an inch and iron it down. Flip the fabric over so the right side is showing. Fold the fabric strip in half lengthwise and iron.
Step Two: Sew and Turn a Fabric Tube:
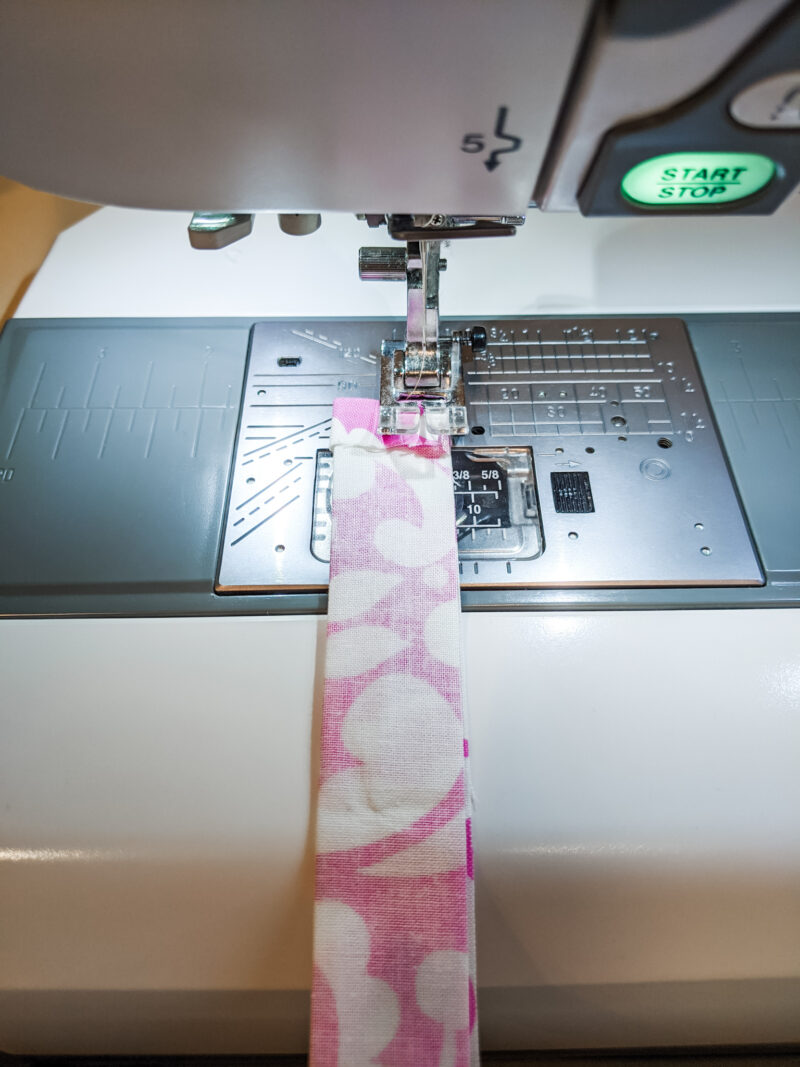
Take your ironed fabric strip to the sewing machine. Stitch down the long, unfolded side of the strip, using a quarter-inch seam. (Make sure the fabric is facing the wrong side out).
Put a safety pin into one side of the top edge of your fabric tube. Push the safety pin into the tube. Using the safety pin as a “handle”, gather the fabric and work the pin through the tube and turn the tube inside out.
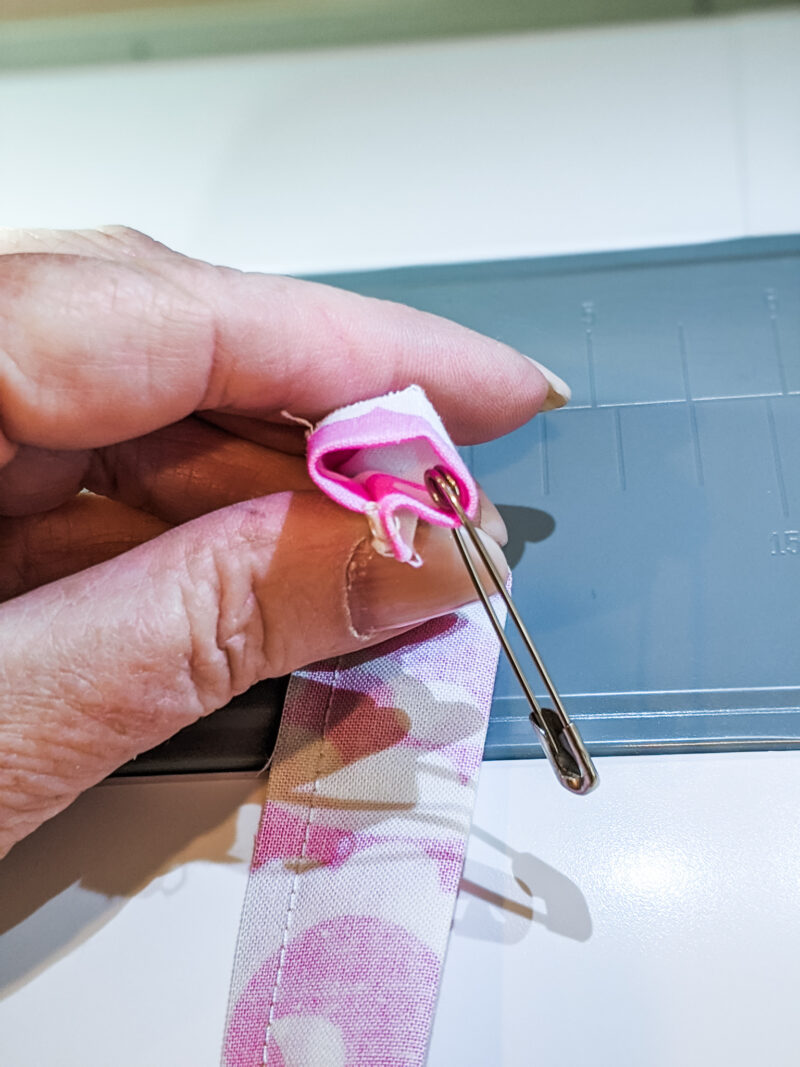
Step Three: Insert the Elastic
Remove the safety pin from the fabric. Pin it to one end of the elastic. While keeping hold of the unpinned end, push the safety-pinned end of the elastic through the fabric tube to the other end.
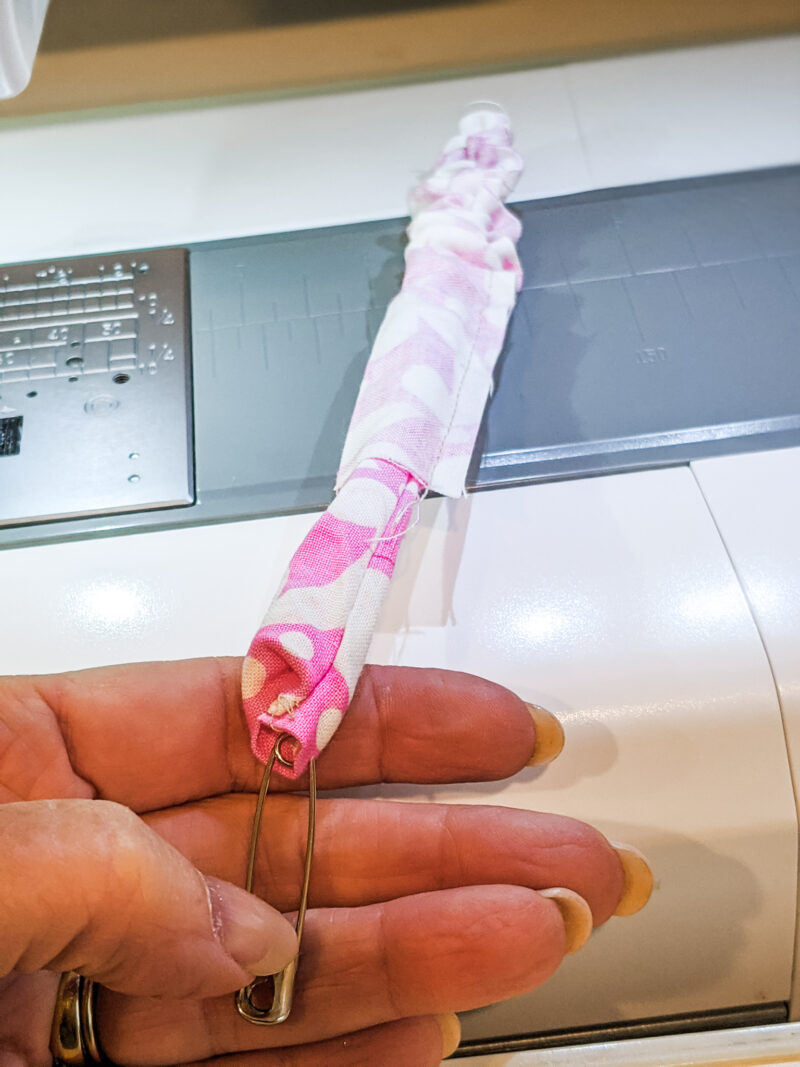
Remove the safety pin. Tie the two ends of the elastic together, making sure the knot is tight and secure. Work the fabric over the elastic knot, so it is hidden inside the fabric tube.
Step Four: Stitch to Close
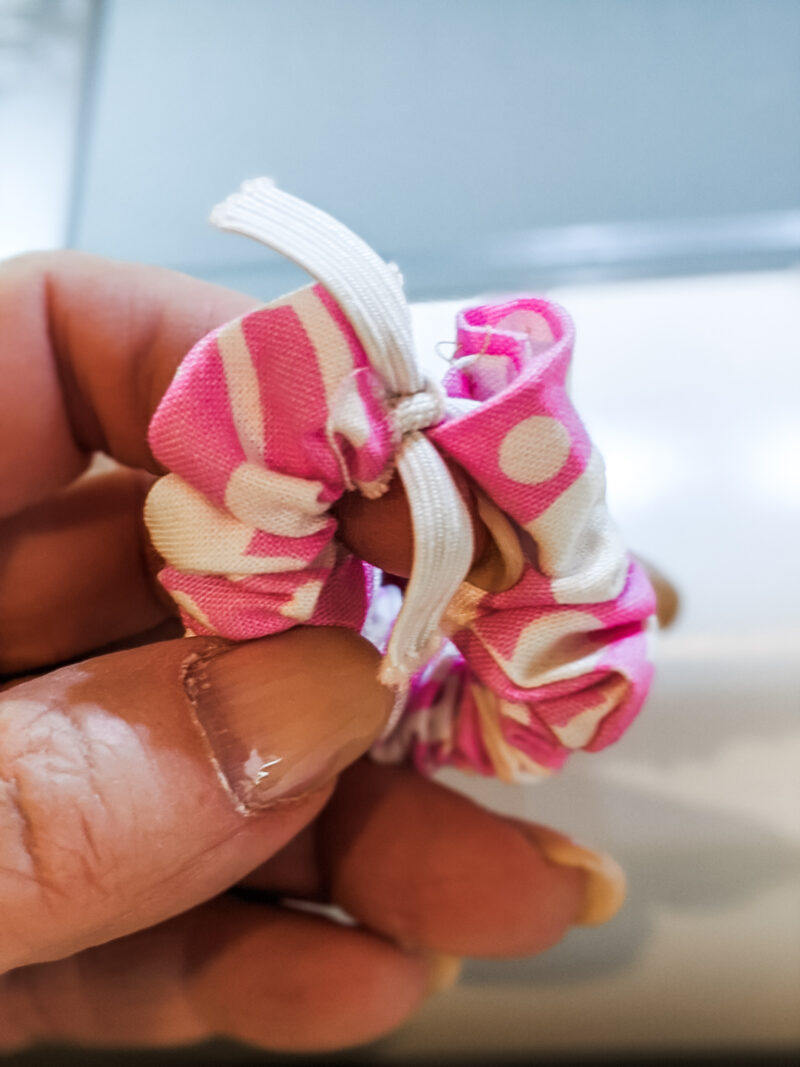
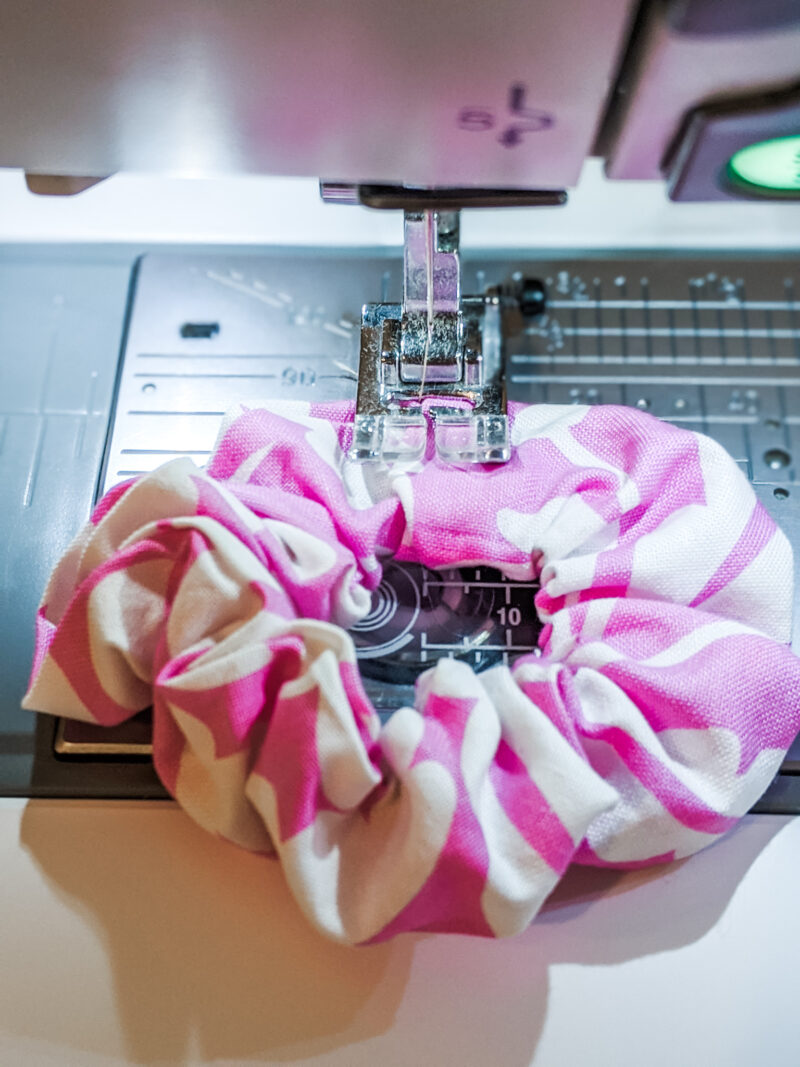
Before you sew, make sure your fabric hasn’t twisted. Push the unfolded end of your fabric tube inside the folded end, to hide the raw edge of the fabric. Stitch along the edge of the folded end of the tube, through the elastic and all layers of fabric.
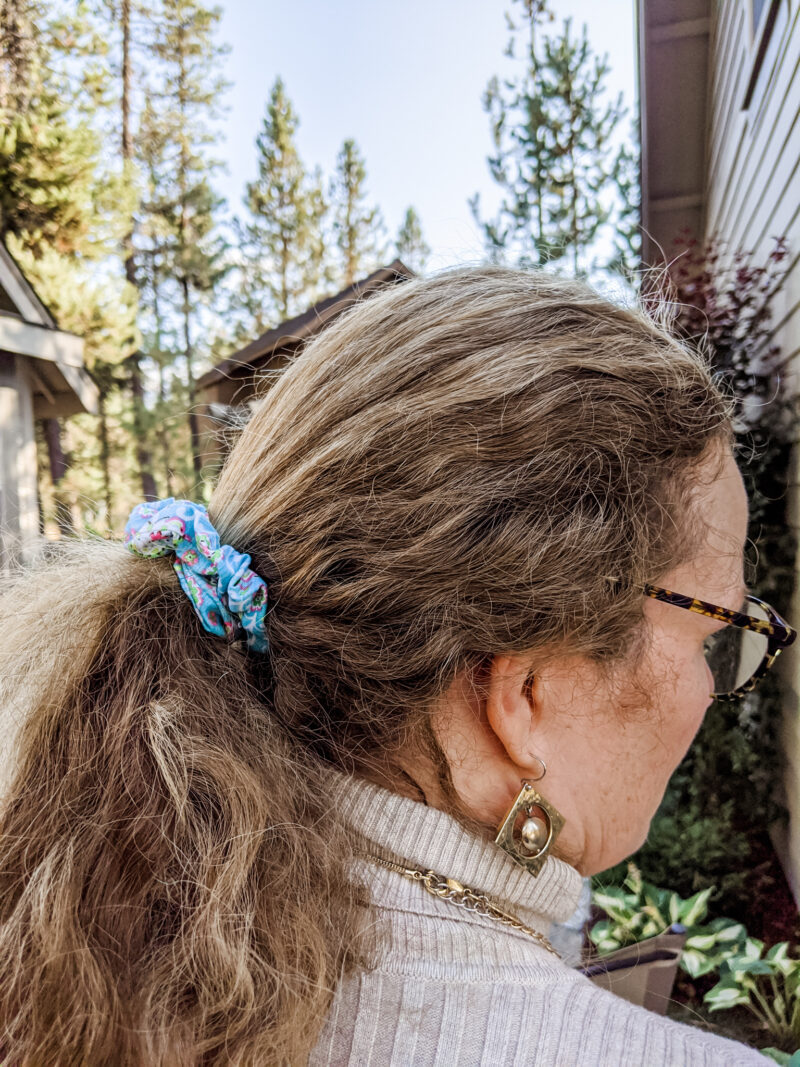
Rockin’ that Ponytail!
Voila! That’s all there is to it!
DIY scrunchies are fun to make and SEW easy! Stitch up a bunch for gifts this week, or as a little treat for yourself. Whatever size you make, whatever fabric you choose, DIY scrunchies are the best way to rock a ponytail!
