This post may contain affiliate links. Full disclosure policy
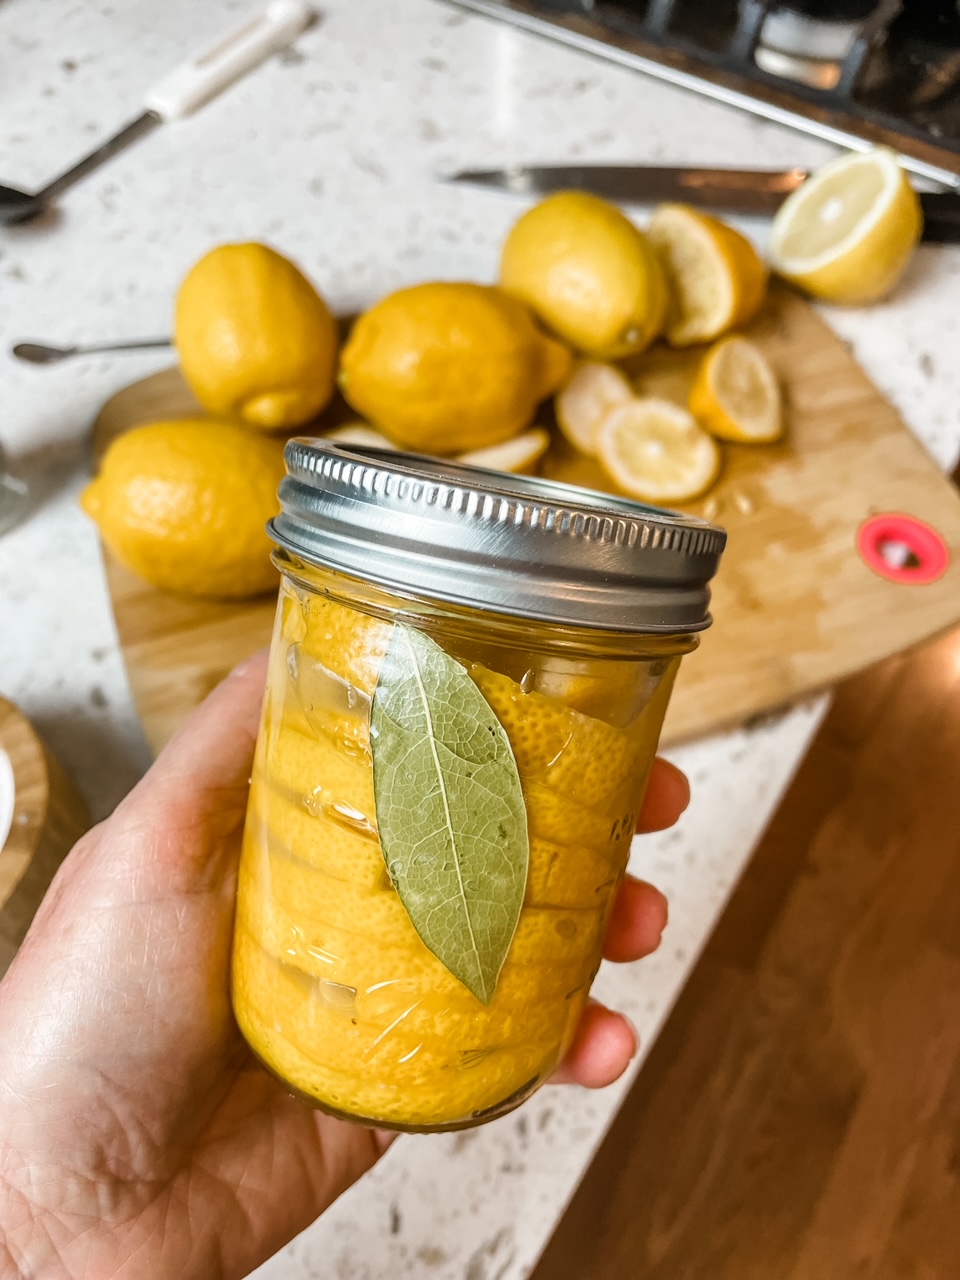
Preserved lemons can add a bold, bright, and intense lemon flavor to so many cuisines and dishes. And making DIY preserved lemons for yourself or as a gift for a friend is so fun and so easy!
What Are DIY Preserved Lemons?
Preserved lemons are simply fresh lemons that are jarred and cured in a brine of lemon juice and salt.
During the curing process, the bitterness of the lemon rind mellows, leaving the preserved lemons with an intense lemony flavor and aroma that makes a wonderful addition to all kinds of dishes and recipes.
How Can You Use DIY Preserved Lemons?
Preserved lemons are a common ingredient in Mediterranean, North African, South Asian, and Indian cuisines.
For example, Chicken Tagine is a Moroccan dish with chicken, preserved lemons, and olives that may be familiar. (If you’d like to try making it, here’s a good recipe by Tyler Florence of the Food Network.).
However, preserved lemons can easily be added to all kinds of dishes to add a bright, bold burst of pure lemon flavor. After removing the preserved lemon from the brine, rinse off the salt, chop the rind and add to…
- Pan sauces for chicken, fish, or seafood
- Pasta with vegetables and olive oil or butter
- Dips with yogurt or soft cheeses such as ricotta
- Grilled vegetables
- Salads
- Tapenades
- Grain bowls
- Couscous
How Do You Make DIY Preserved Lemons?
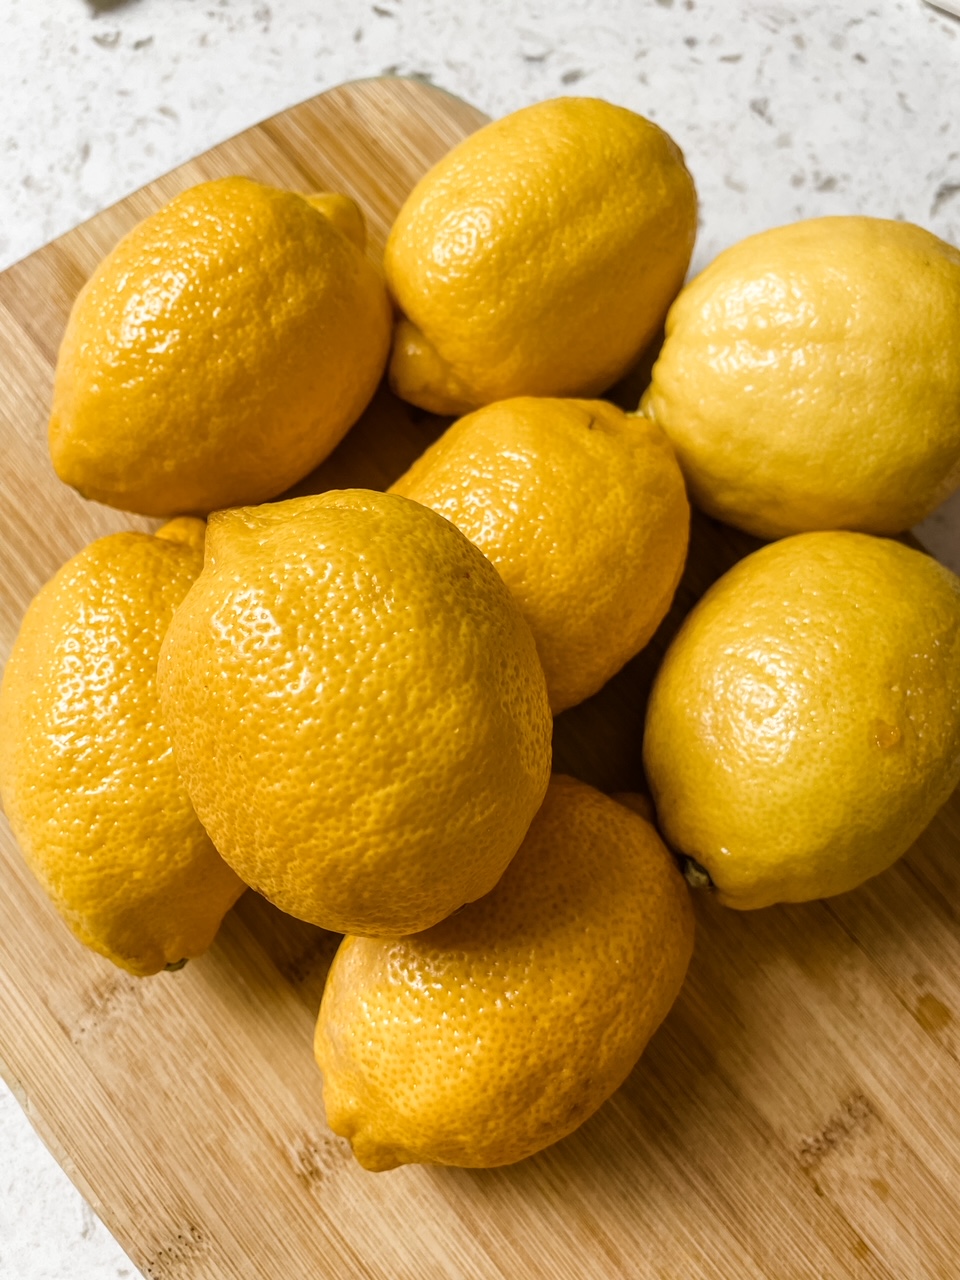
Making DIY Preserved Lemons could not be easier. And all you need to make them are fresh lemons, kosher salt, and jars. Make sure the jars are sterilized and clean before you begin.
I prefer to use sliced lemons but you can also quarter them. In either case, scrub the lemon with a vegetable brush to remove any waxy coating. Then cut the ends off the lemons, then either cut them into quarters or cut into slices about a quarter-inch thick. (To fill a pint jar, I used 2-3 lemons, depending on the size of the fruit, some to be sliced, some for the juice to be added at the end.)
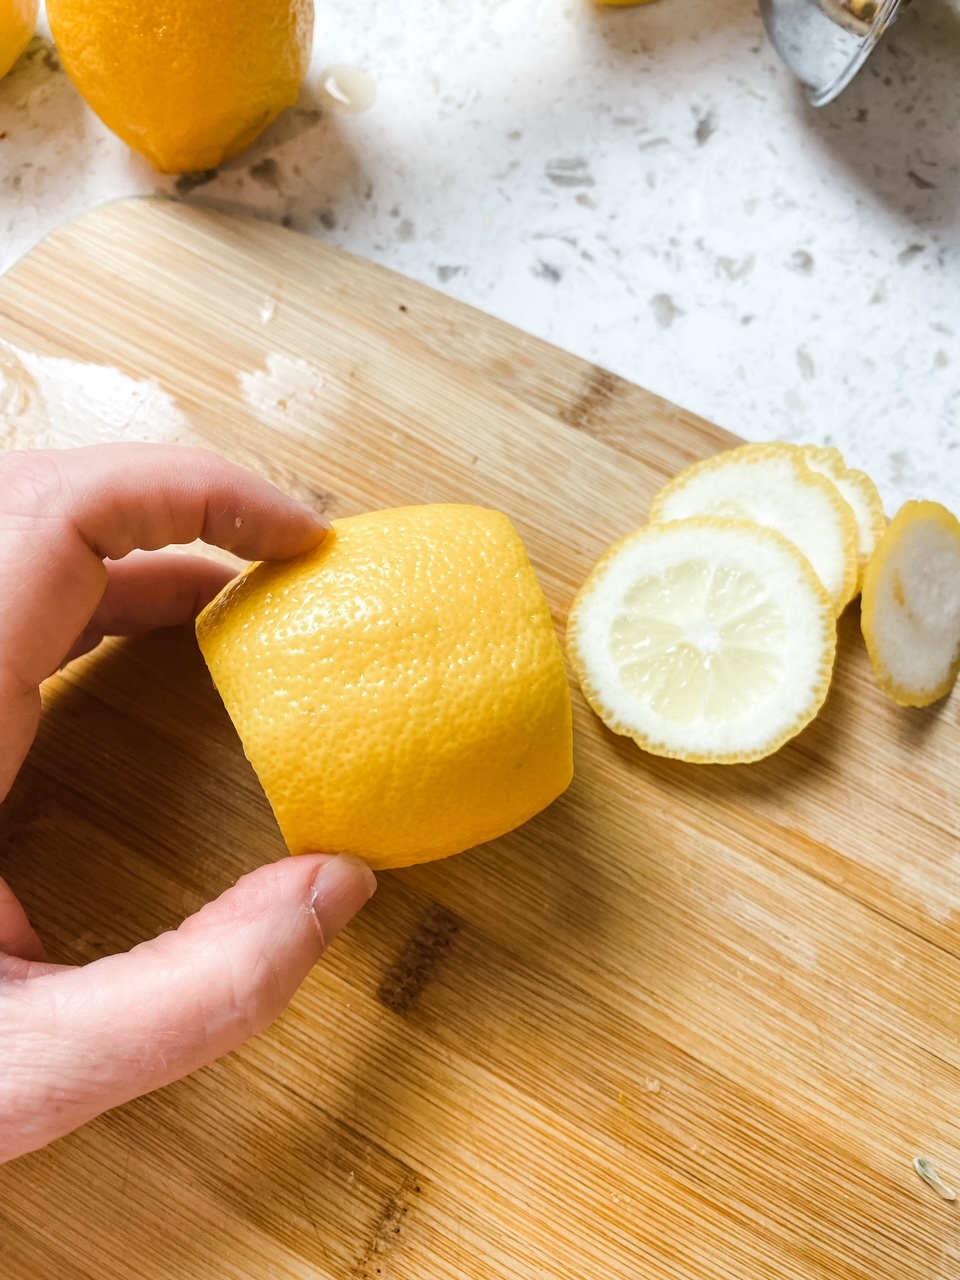
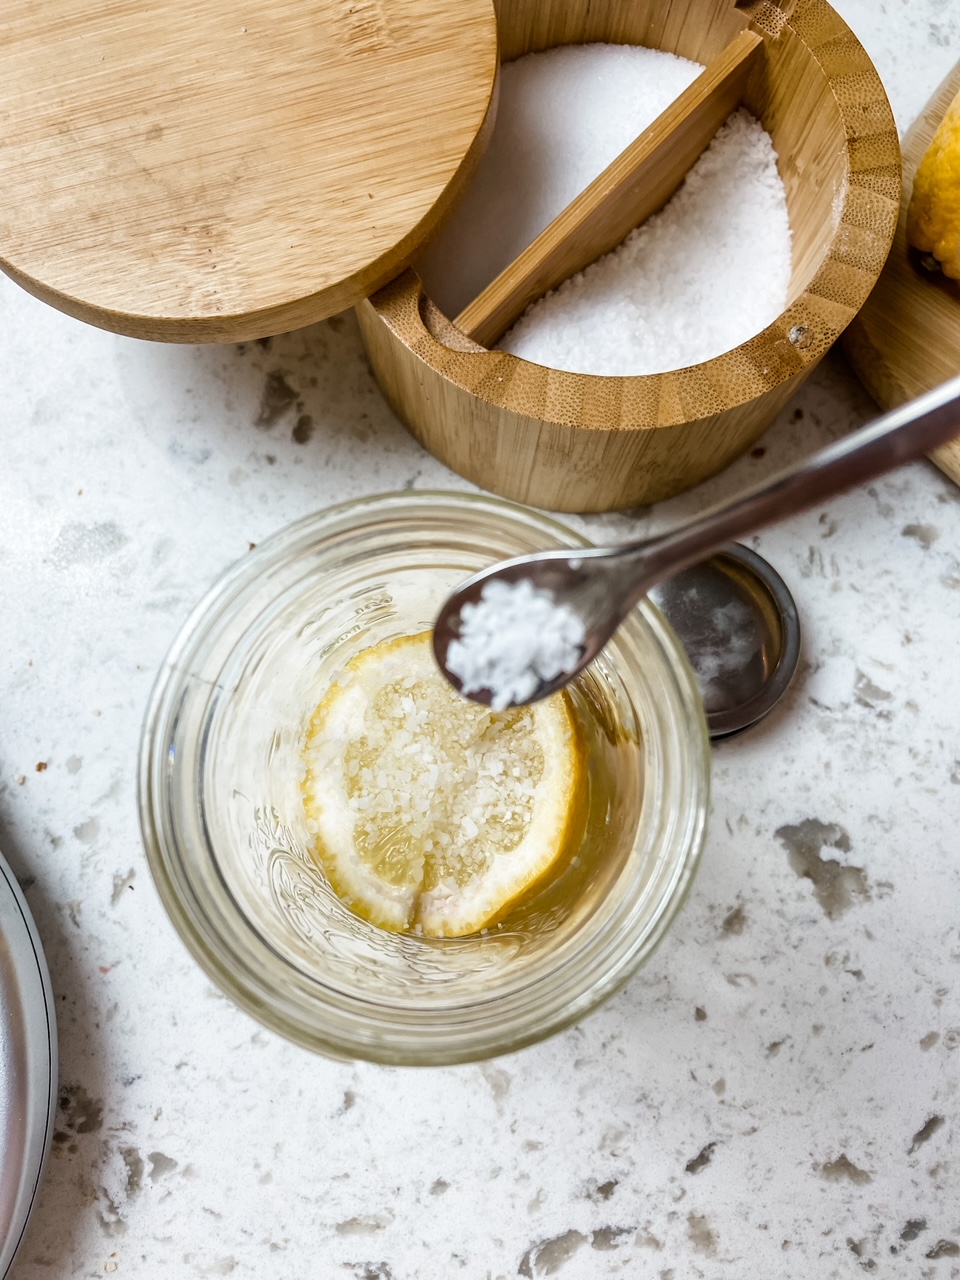
Sprinkle the bottom of the jar generously with kosher or sea salt. Place a slice of lemon in the jar and sprinkle a little more salt on top. Continue layering lemon slices and salt in the jar, pressing down on the lemon slices to help release the juice. If using lemon quarters, sprinkle generously with salt on all sides.
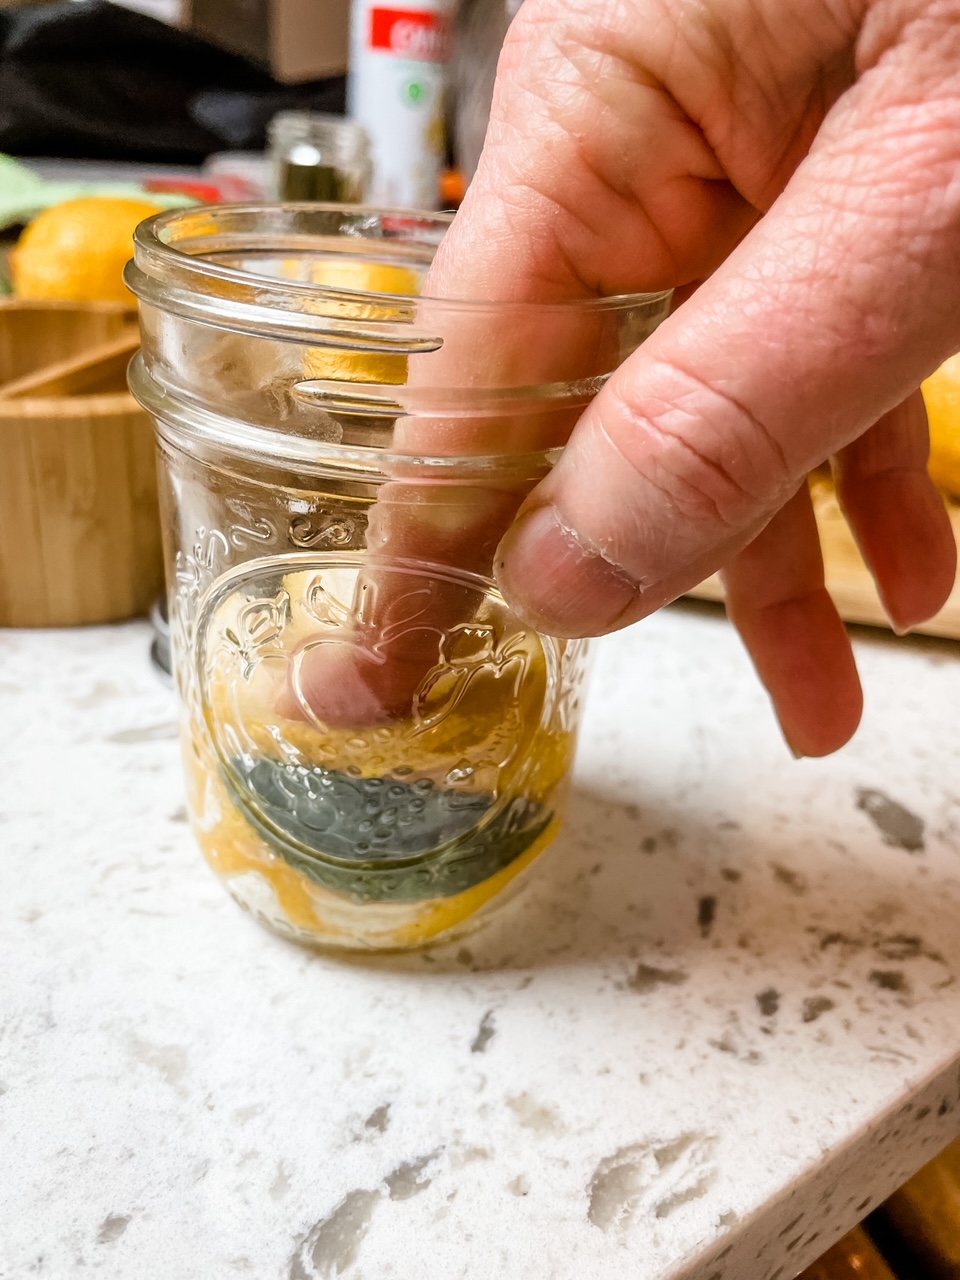
Pack the jar as tightly as possible, then add more salt to the top. Squeeze additional fresh lemon juice into the jar so the lemons are completely covered by the brine and place the lid on the jar.
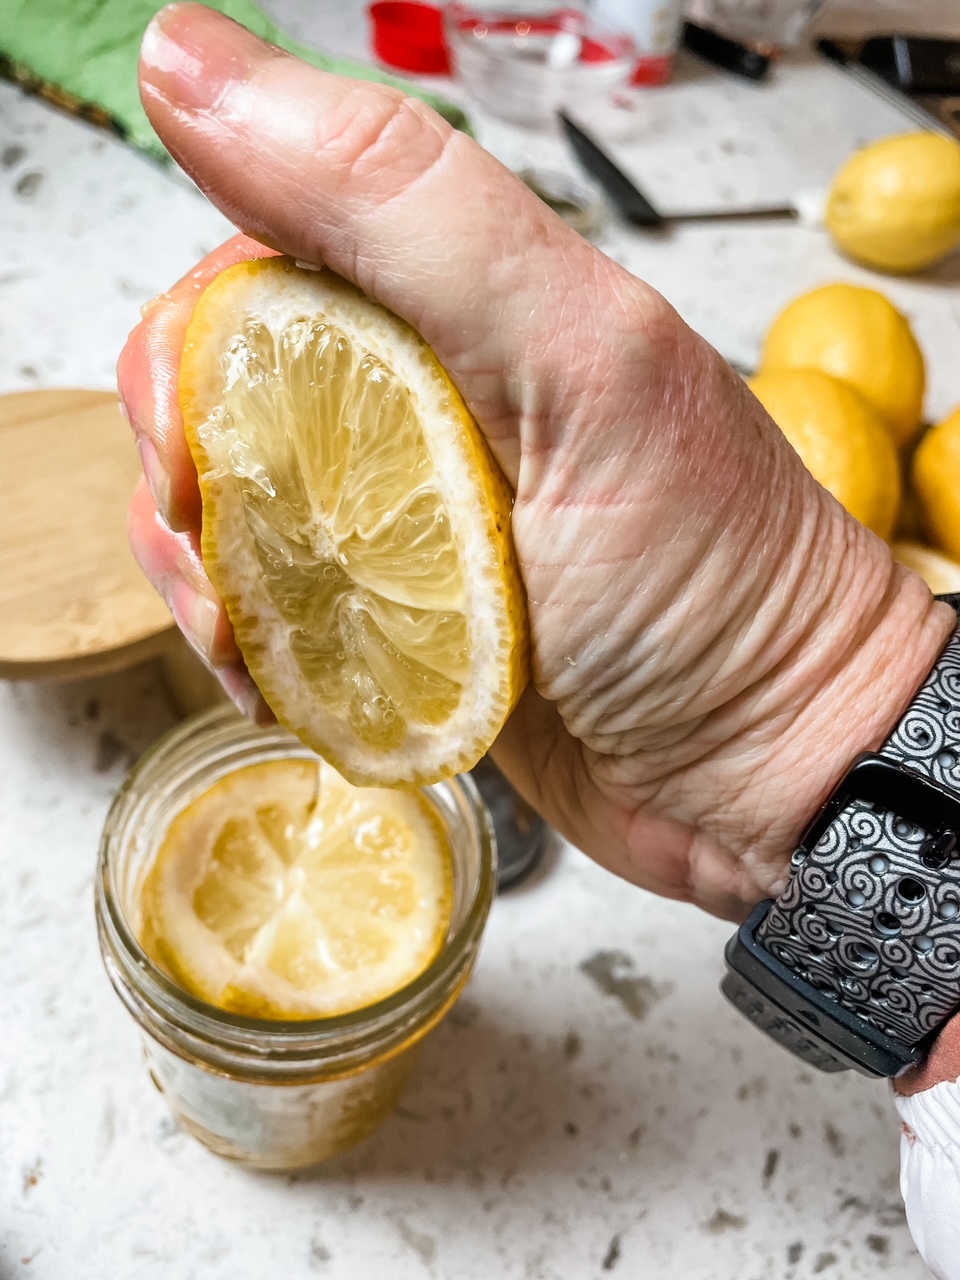
Leave the jars of preserved lemon on the kitchen counter for the next one to two weeks. Turn the jars daily, until the rind appears slightly translucent. Store in the refrigerator. As long as the preserved lemons are immersed in the brine, they should keep almost indefinitely.
A Great Gift: DIY Preserved Lemons
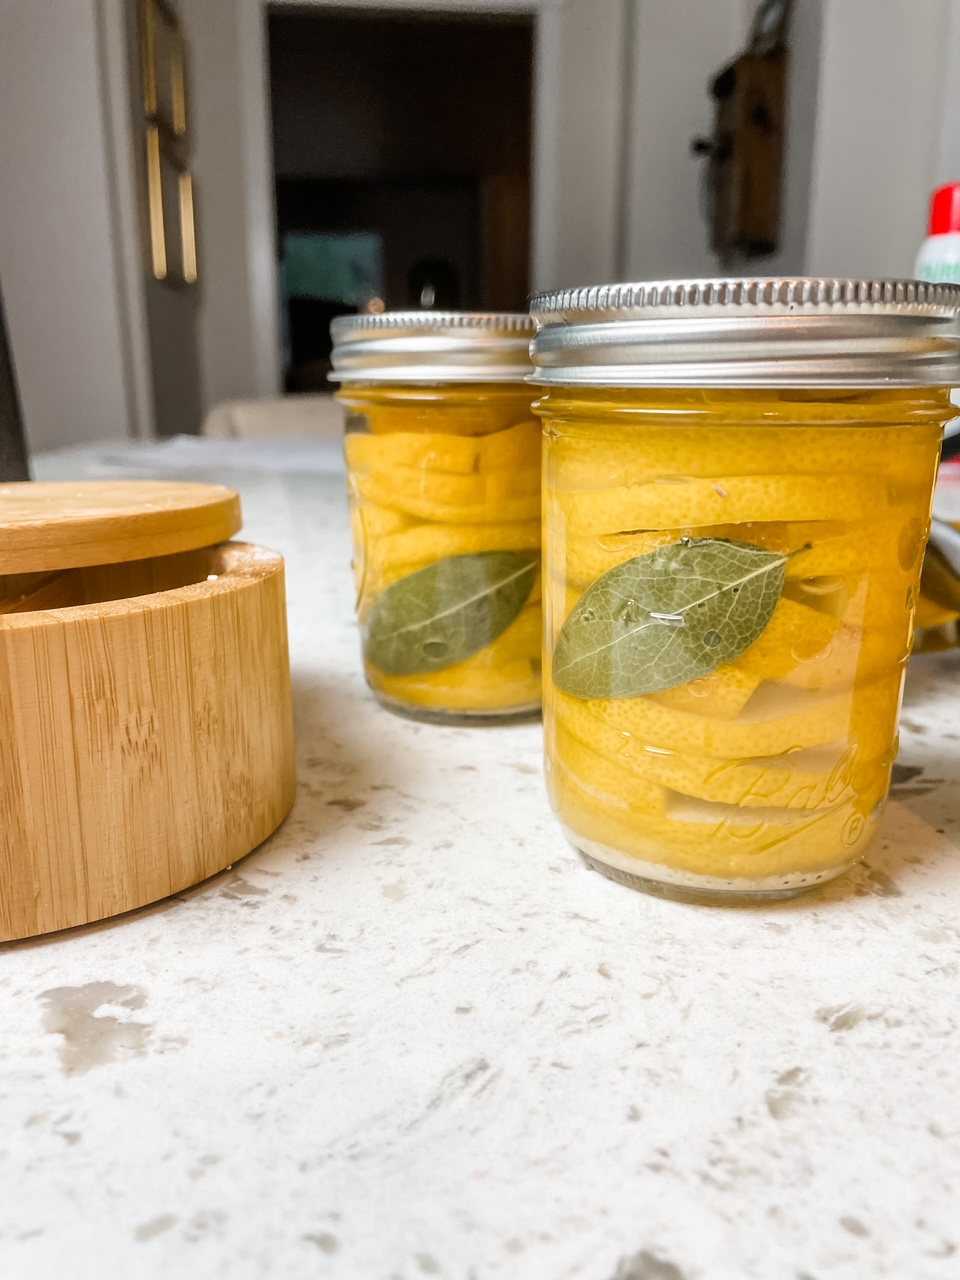
A pretty jar of preserved lemons makes a wonderful gift.
It’s not necessary, but I like to slide two bay leaves into the sides of the jar as I’m layering the lemon to add a touch of color. Covering the jar lid with some colorful fabric and tying it with a ribbon is a nice touch as well.
Your friend may not be familiar with preserved lemons. So if you’re giving them as a gift, it’s thoughtful to include a card with a recipe or a list of suggestions for how they can be used.
If you need a quick and easy gift for Christmas, birthdays, or a hostess gift, DIY Preserved Lemons are just what you’re looking for. Make some soon!


