This post may contain affiliate links. Full disclosure policy
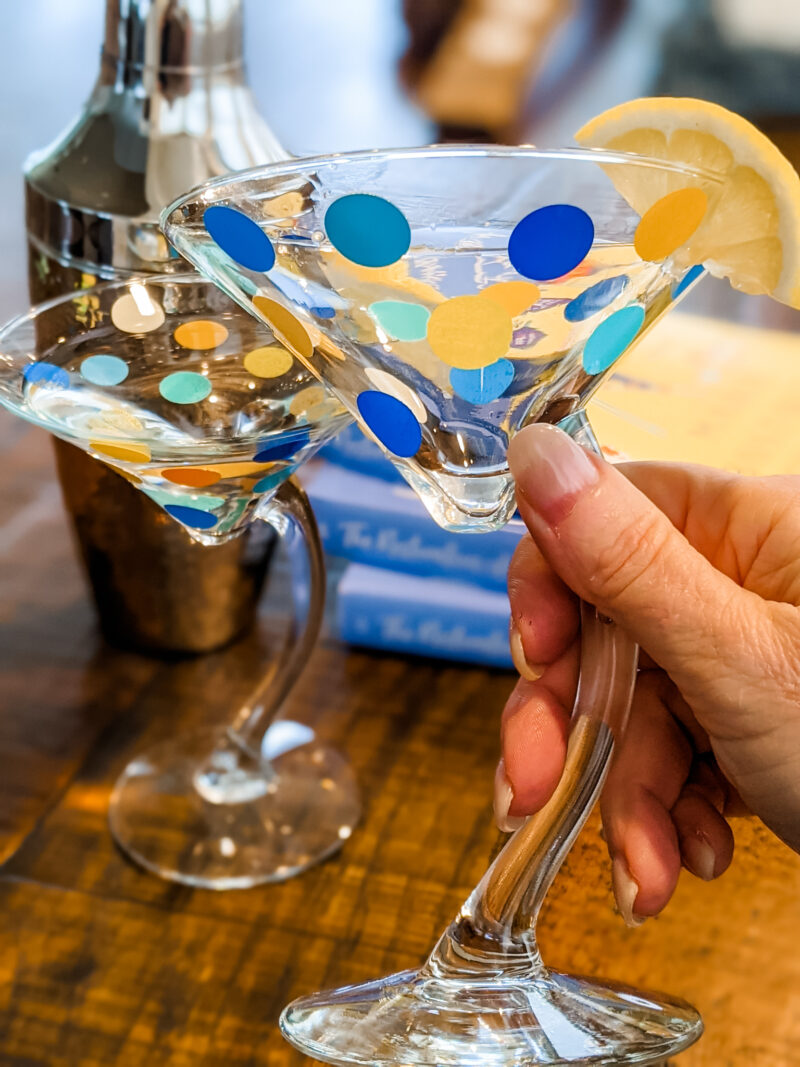
My DIY Polka Dot Martini Glasses are a fun, festive, way to celebrate any occasion from a book launch to a baby shower! They’re crazy easy to make and can be coordinated to match any color scheme!
The Right Glass makes All the Difference
My mom has been staying with us for the last three months. This has given me a chance to brush up on my martini making skills.
Mom believes that observance of the cocktail hour is an essential evening ritual. She also believes that the right glass makes the cocktail tastes better. I wasn’t convinced at first but I’m starting to agree with her.
There’s something so very civilized about lifting a sparkling clean glass to your lips at the end of a long day – a beautiful glass that feels good in your hand – and sipping an evening cocktail. It’s a small reward for a job well done, a little celebration for reaching the finish line.
But the right glass adds to life’s bigger celebrations too. That was the motivation behind my DIY Polka Dot Martini Glasses.
Festive Glasses for Special Occasions
Ahem….Did I happen to mention that I have a new novel, The Restoration of Celia Fairchild, coming out on March 2nd, 2021?
I’m VERY excited about it and trying my best to spread the news to basically everyone I’ve ever met in my life. (If you’d like to know more, check out this short, three-minute video I made, sharing more about Celia’s story and my motivation for writing it.)
Since I’ll be celebrating my book launch from home this year, I thought it would be fun to make some special glasses to toast the occasion. I also thought it would be fun to have something festive and “Celia” themed to drink from during my virtual book tour events.
Because yes, the right glass makes the drink taste better. And no matter the occasion – book launch, birthday, or baby shower – the right drink makes it even more special.
Especially if it involves polka dots and martinis AND you’ve decorated the glass yourself!
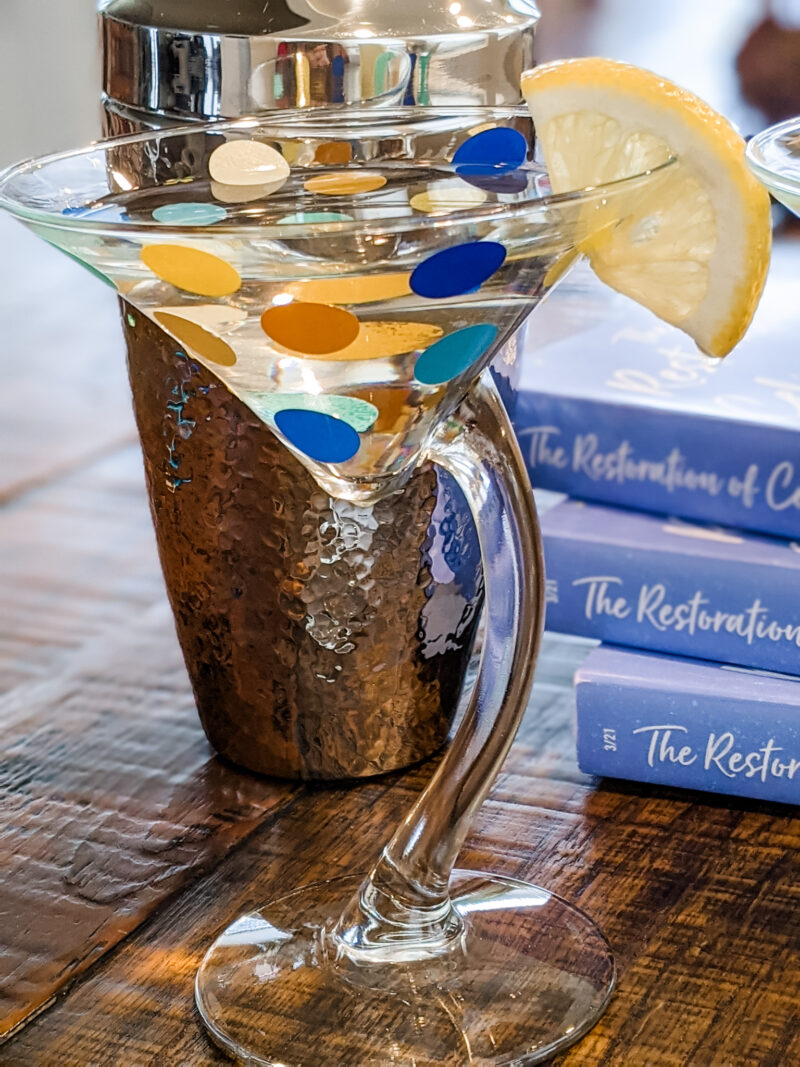
Color Coordinated for Any Decor, Theme, or Occasion
I decided to coordinate my DIY Polka Dot Martini Glasses with my book cover. But there are really no limits to what you do here!
You can make your DIY Polka Dot Martini Glasses in holiday themes. I had so much fun making my book-themed glasses that I’m planning to do another set with red, pink, white, and silver polka dots for Valentine’s Day.
Think how much fun it would be to make a red and green set for Christmas? Black, silver, and gold for New Year’s? Or on St. Patrick’s Day, instead of green beer, why not serve lime martinis in shades of green polka dot glasses?
But holidays are just the beginning! You can DIY Polka Dot Martini glasses to coordinate with the color schemes of weddings, bridal, or baby showers. Make some as a birthday or housewarming gift in your best friend’s favorite colors. Or in team colors for your favorite sports fan!
The possibilities are almost endless. And that’s a good thing! Because once you see how fun and easy it is to create DIY Polka Dot Martini Glasses, you’ll want to make a lot of them!
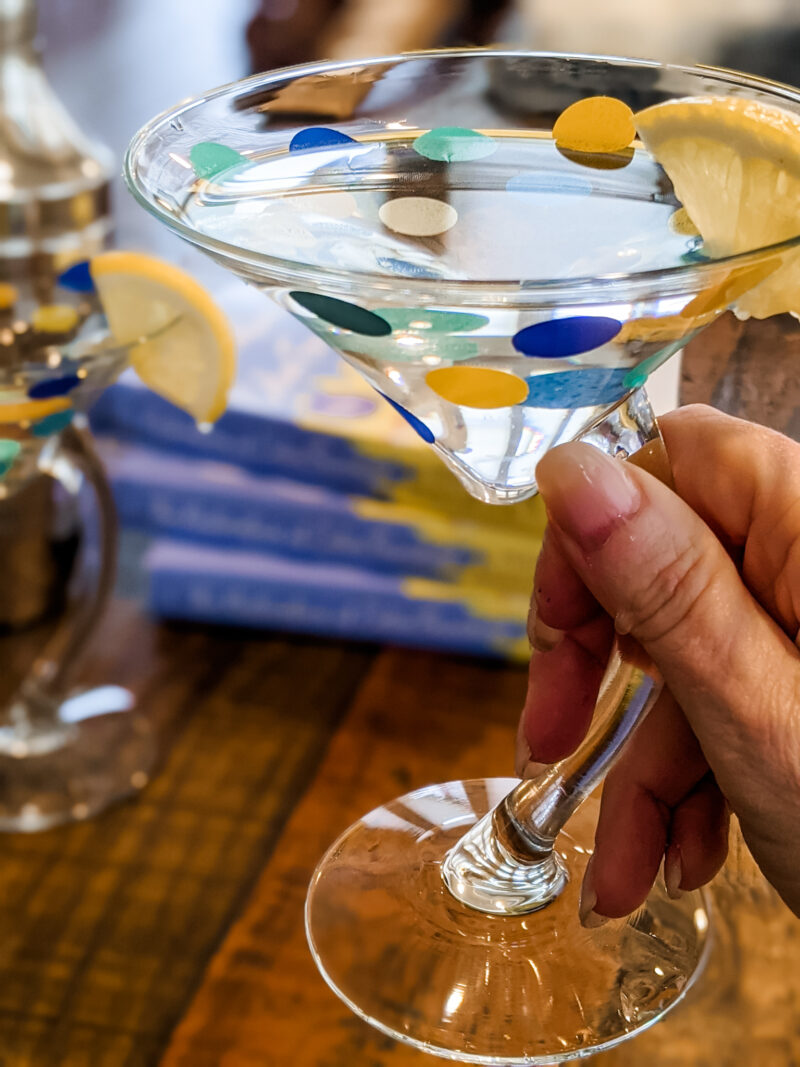
What Do You Need to Make Your DIY Polka Dot Martini Glasses?
- Martini Glasses. (I got my curved stem glasses some time ago. They’re hard to find now but I also love these z-shaped stems. Fun and cute but not terribly expensive!)
- Circle Punch (5/8 inch size is perfect)
- Adhesive Vinyl Sheets (This set that I got comes with 50 vinyl sheets, which is a lot. But it’s got so many color choices. I know I’ll be using them again and again.)
- Seam ripper or straight pin. (This is to help take the backing off the vinyl. Anything with a small point will do.)
How to Make Your DIY Polka Dot Martini Glasses?
When I say this project is easy to make, I’m not kidding! It took me less than 30 minutes to make two glasses! Here’s how to do it.
- Wash and thoroughly dry your martini glasses. You want to make sure the surface is perfectly clean and smooth so that the vinyl will adhere.
- Choose your vinyl colors. I ended up using eight shades of blue and yellow for my glasses. I think it’s nice to have some variety in the colors but you can use as many or as few as you like.
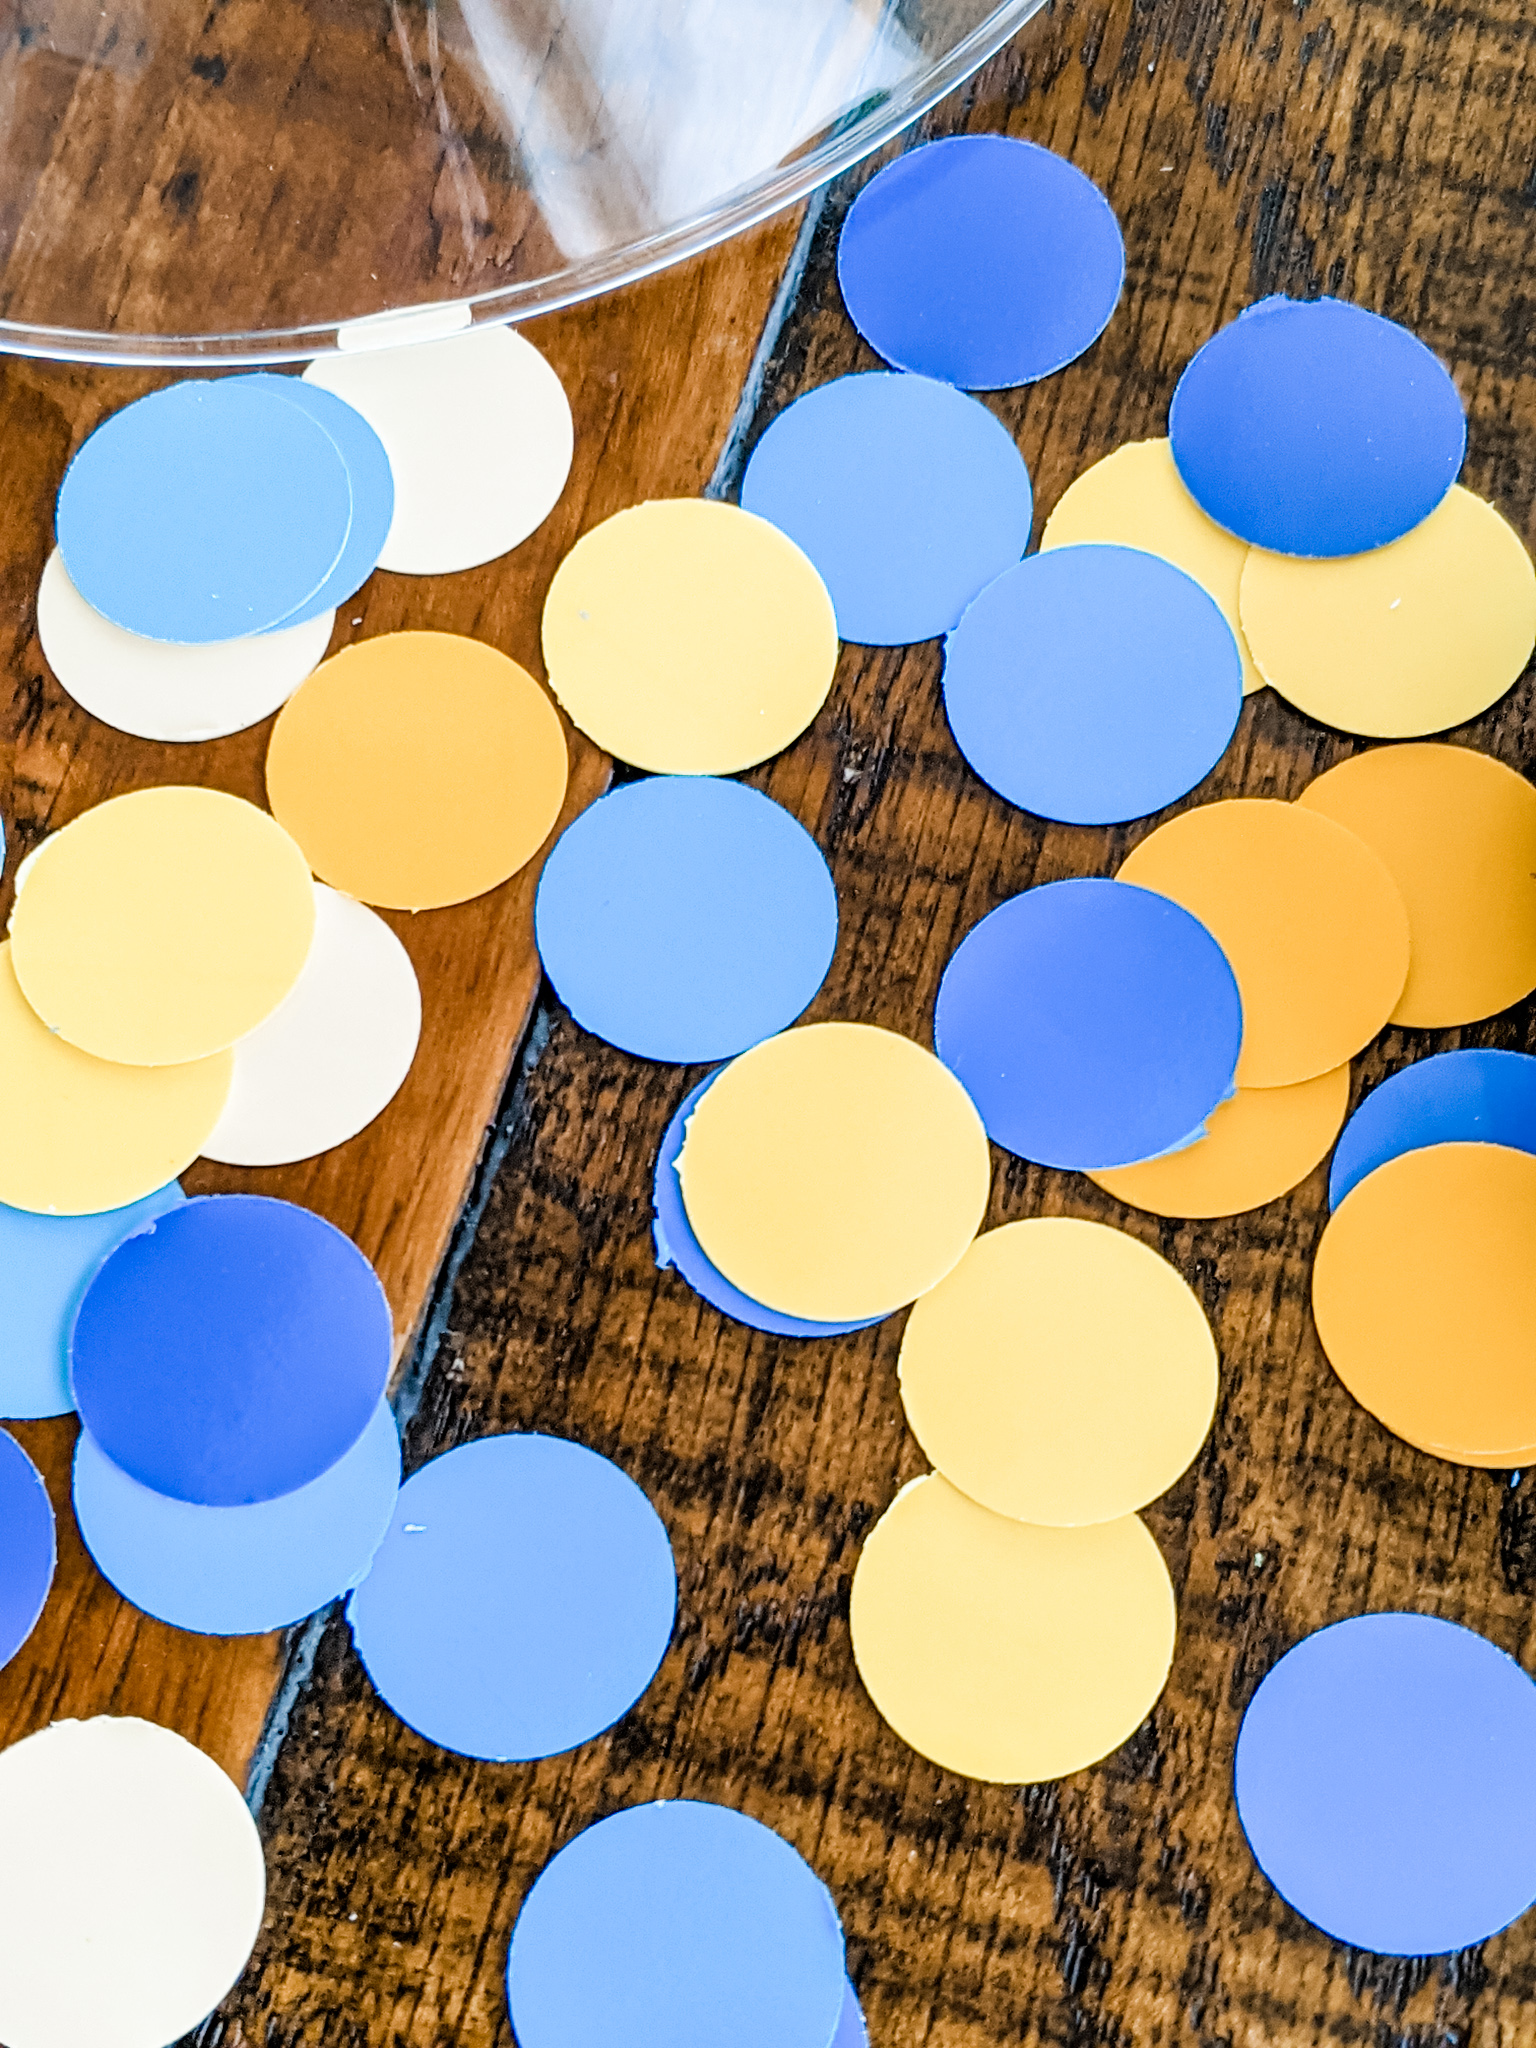
- Use the 5/8 circle punch to cut out several polka dots from each sheet of the vinyl adhesive colors you’ve decided to use on your glass.
- Flip the glass upside down on a table. Gently push seam ripper or straight pin onto the edge of one of the polka dots, wedging it between the vinyl and the paper backing. (This is the most challenging part of the project. Be patient and work under a nice bright light!)
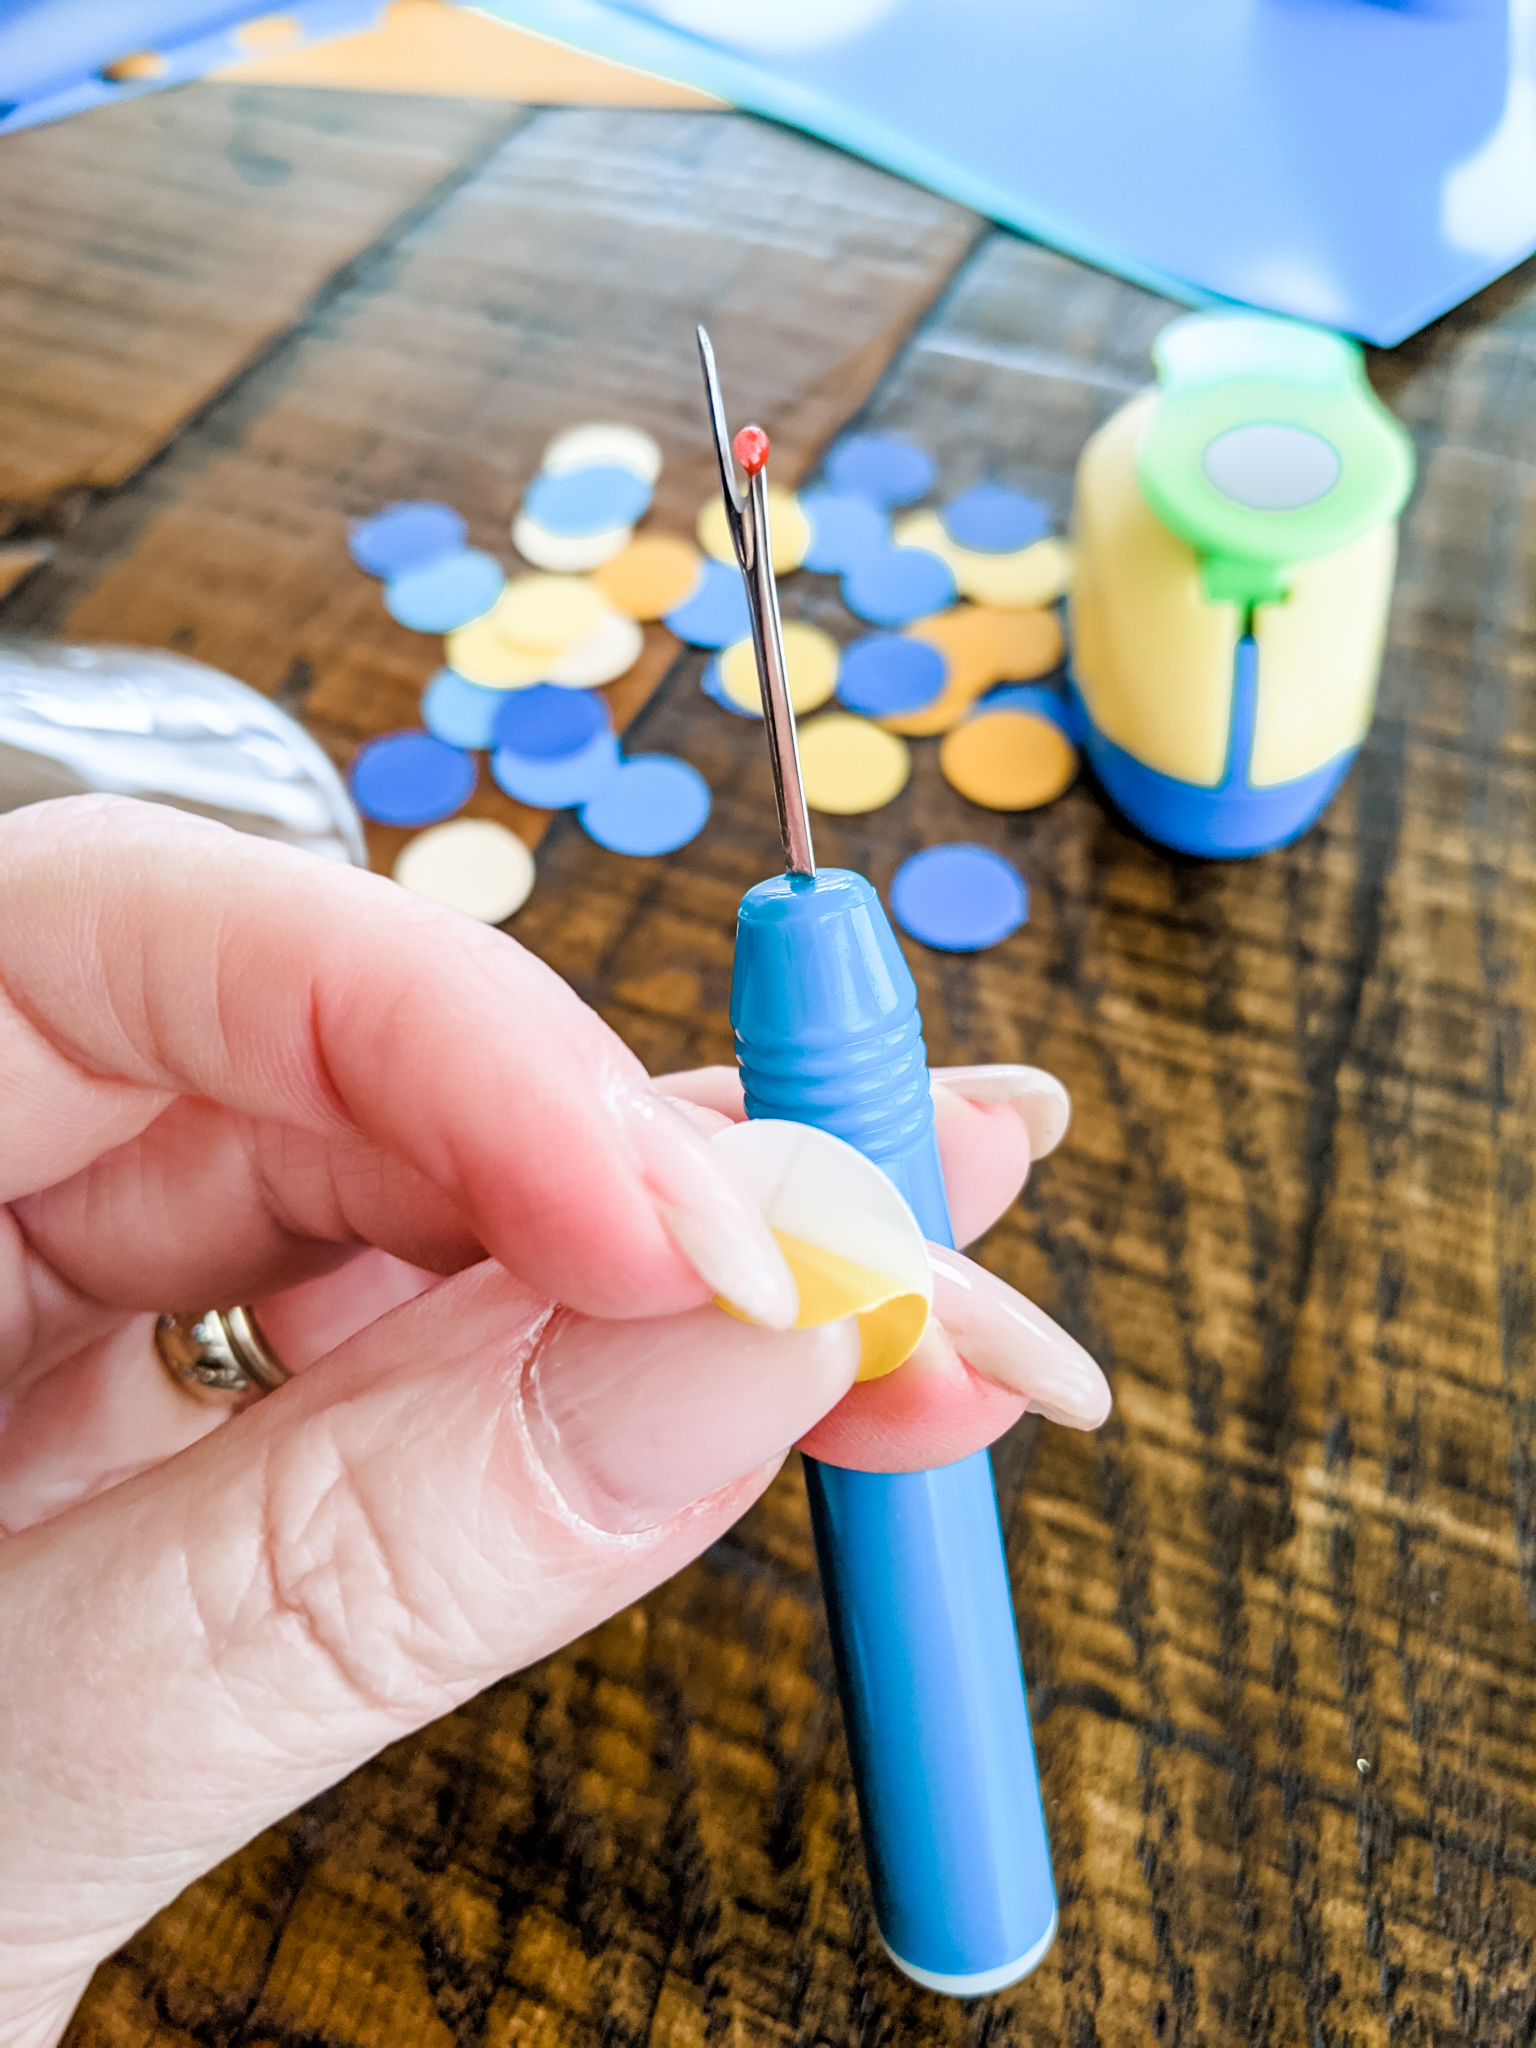
- Peel off the backing and place the polka dot onto the glass. Press and smooth the dot down firmly, to make sure it adheres to the glass.
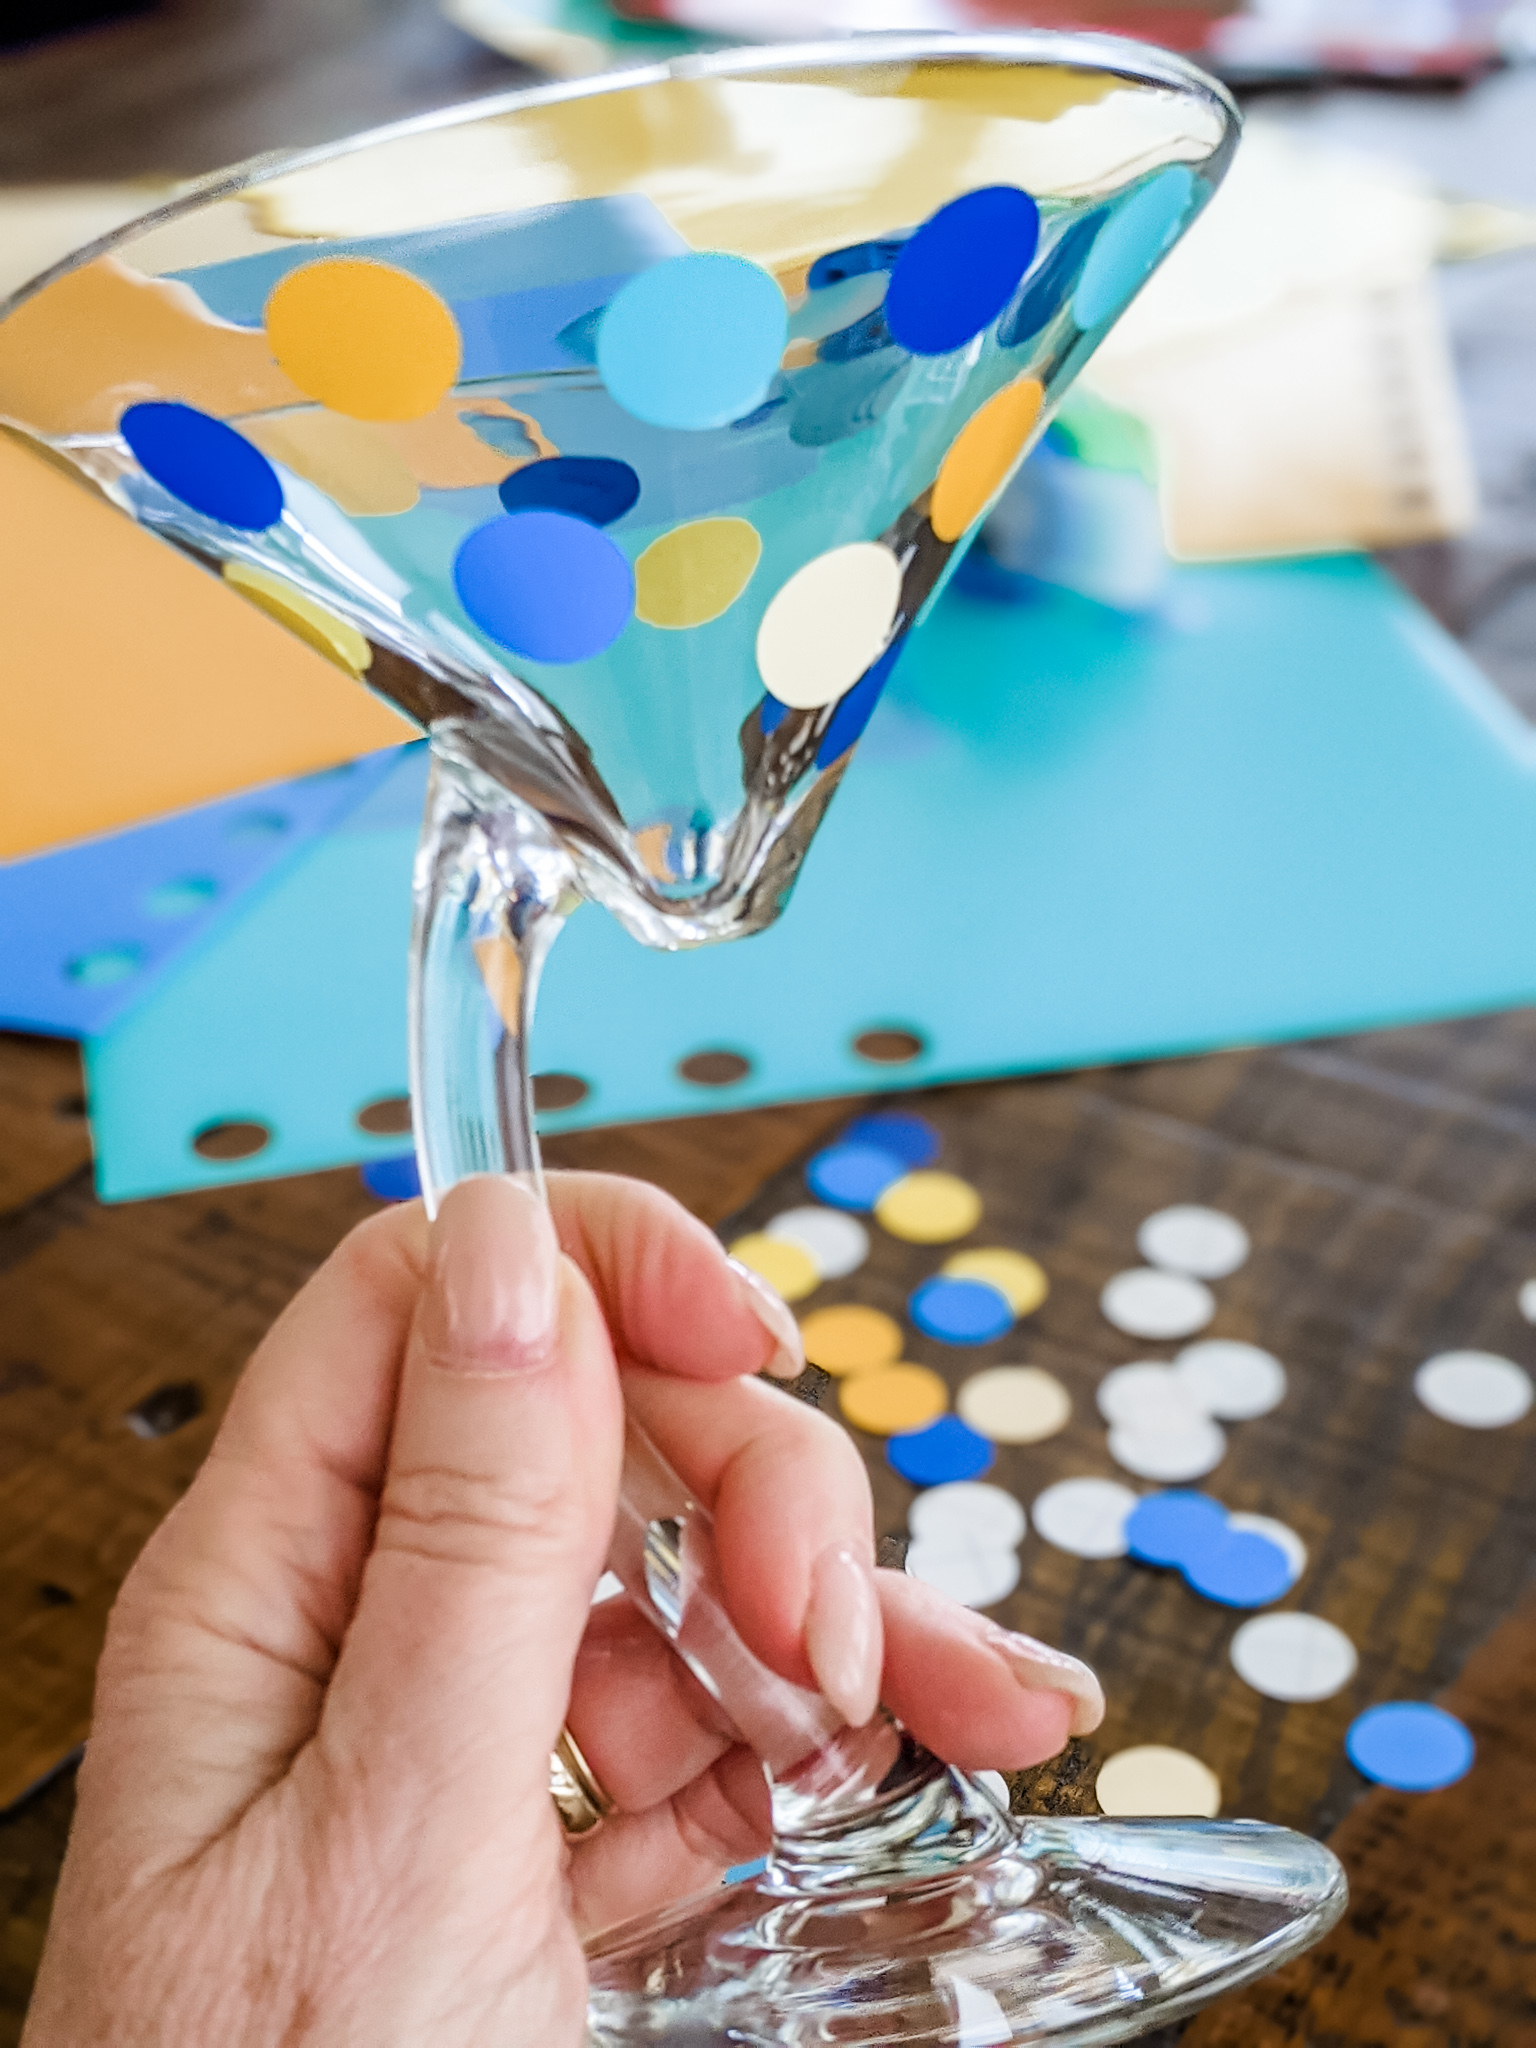
- Repeat the process, placing dots in a random pattern over the surface of the glass.
- If you make a mistake or decide you don’t like the placement of a particular polka dot, gently work the seam ripper or pin under the edge of the dot to lift slightly, then peel off the dot with your fingers.
That’s all there is to it!
How to Care and Wash Your DIY Polka Dot Martini Glasses
If you press the polka dots down firmly, they should adhere to the glass and continue to be useful indefinitely.
However, you should NOT wash them in the dishwasher! If you do, the polka dots will begin to peel off.
Instead, wash your DIY Polka Dot Martini Glasses by hand, using warm water and a little dish soap. Then dry with an absorbent dishtowel or turn upside down on the counter or in a dish rack to air dry.
I had so much fun making these DIY Polka Dot Martini Glasses. I think you will too! They’re perfect for gifts and will make any occasion festive, fun, and just a little more special. Try making some for yourself soon! Cheers!


