This post may contain affiliate links. Full disclosure policy
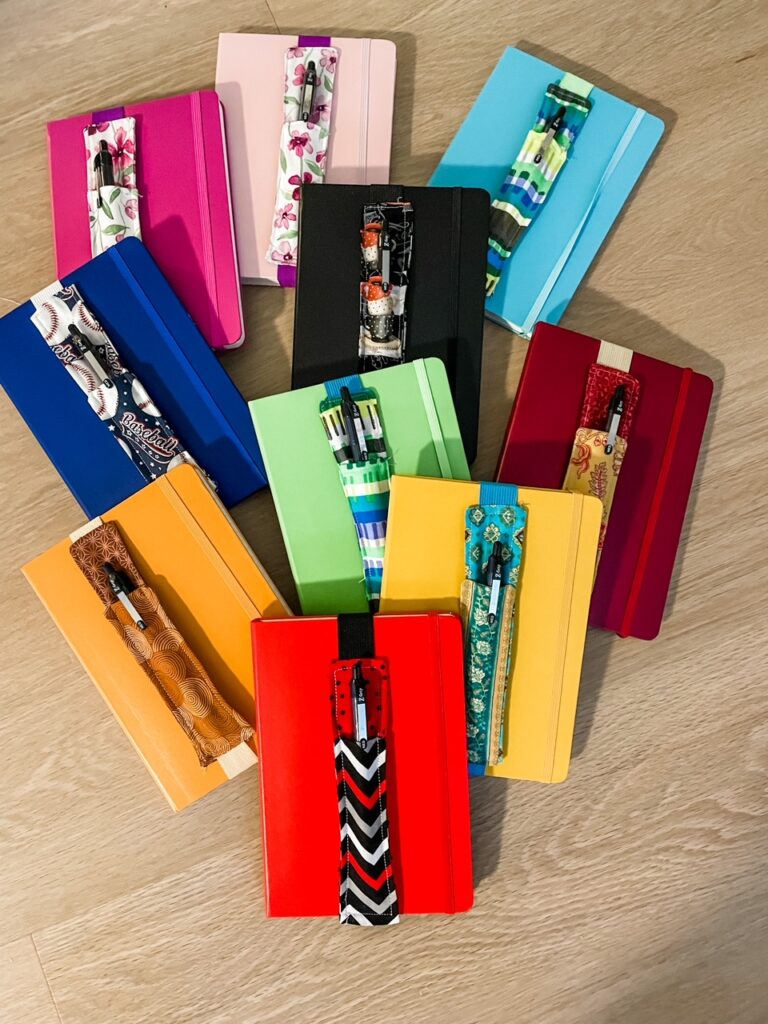
These DIY Pen Pouches are fun to make and simple to sew gifts. Stitches up in under an hour! Pair with a colorful notebook for a gift everyone will love! Great way to use up fabric scraps too.
DIY Pen Pouches – Yes! You Can Make That!
You’ve probably had this experience if you’re even a bit crafty. You spot something in a store or see a picture online and think to yourself, “I bet I could make that myself.”
It happens to me all time. That’s how my DIY Cocoa Spoons project started (my version is extra chocolatey, more like cocoa cubes than spoons). And that’s how I set out to make Pen Pouches.
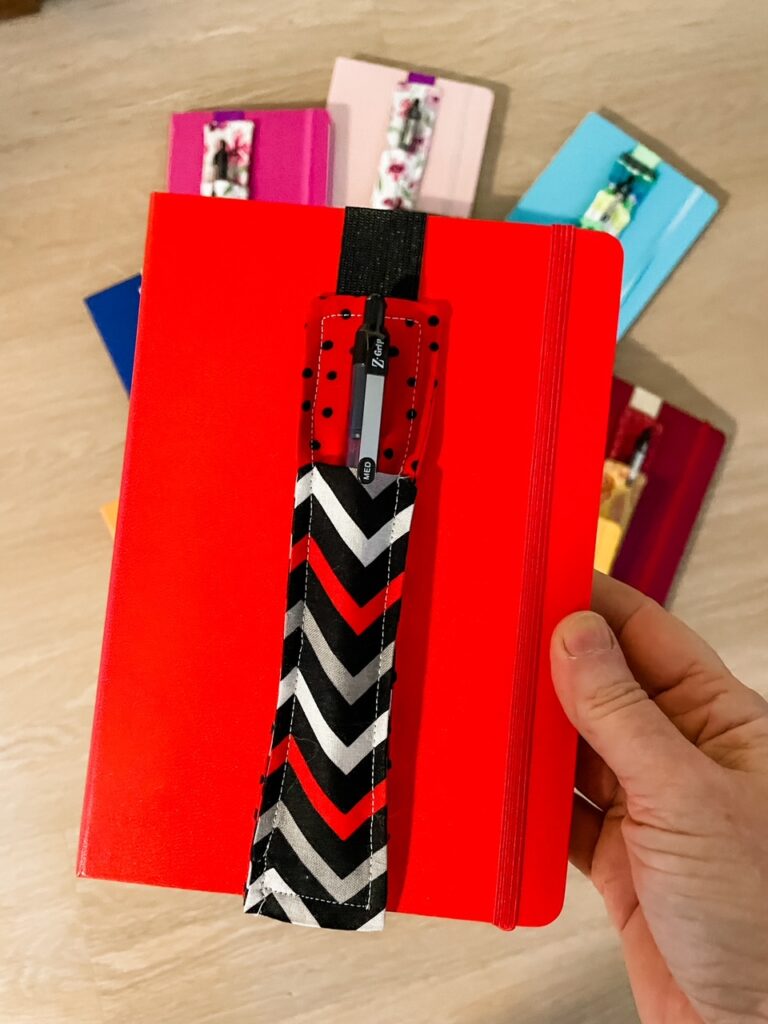
Recently, I popped into my local bookstore and spotted a rack with pen pouches. These nifty pouches have elastic bands that slip over the cover of a book with a little pocket that’s just the right size for a pen. That way, when you want to underline, take notes, or write a journal entry, you don’t have to look something to write with.
Genius!
With Christmas around the corner, there were so many people I could think of who would love having a pen pouch, including me, that I basically bought the bookstore’s entire inventory. The problem was that they didn’t have that many in stock.
So, I started thinking, “Hmm…Wonder if I could make that.”
Turns out I can. More importantly, so can you!
What Do You Need to Make DIY Pen Pouches?
If you do much sewing or quilting, chances are you already have almost everything on hand – especially fabric scraps! Making DIY Pen Pouches is an excellent way to make use of them.
- Fabric scraps
- Elastic
- Rotary cutter or scissors
- Ruler
- Iron
- Purple Thang or Stylus
- Thread
- Sewing machine (a walking foot is helpful but not absolutely necessary)
- Notebooks – optional
A few notes and recommendations about the above….
Fabric Scraps Crafts: Perfect for Your DIY Pen Pouches
This is an excellent project for using up fabric scraps or extra jelly roll strips (you’d need to trim the strips to 2 inches). You can either make the pouches from one fabric or use two coordinating fabrics, one for the back of the pouch and one for the front.
You can just do pretty colors or maybe use novelty fabrics as a nod to the giftee’s particular interest. For example, I made some with little coffee cups for a friend who likes his java and a baseball fabric to make a pouch for my favorite sports fan.
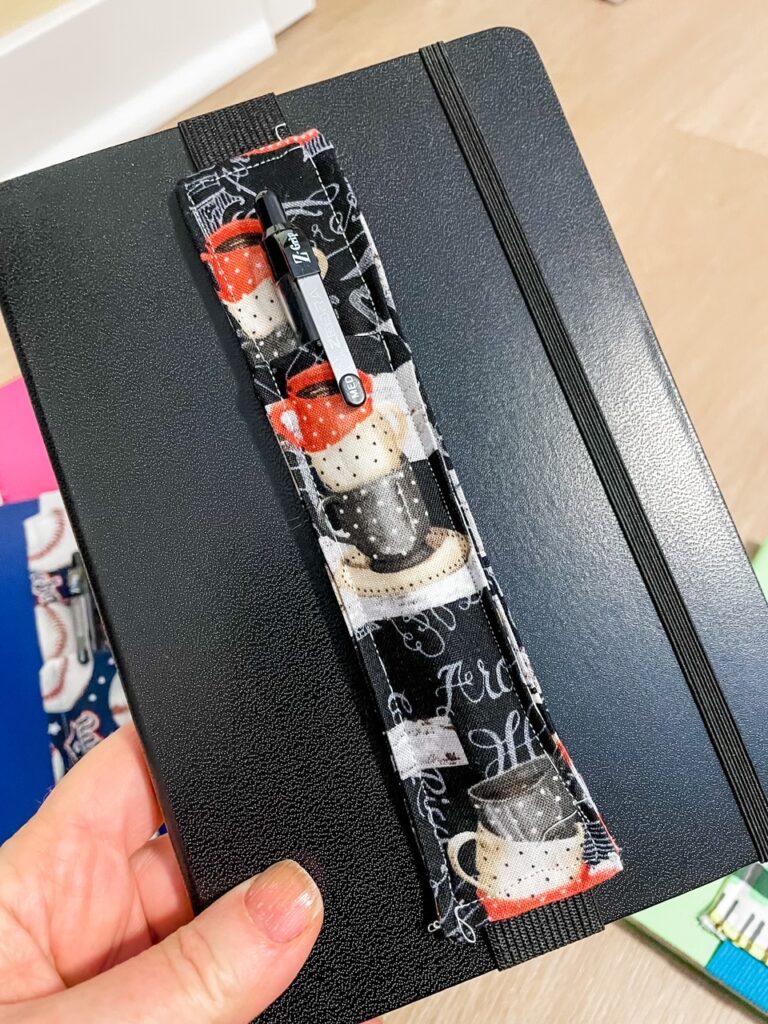
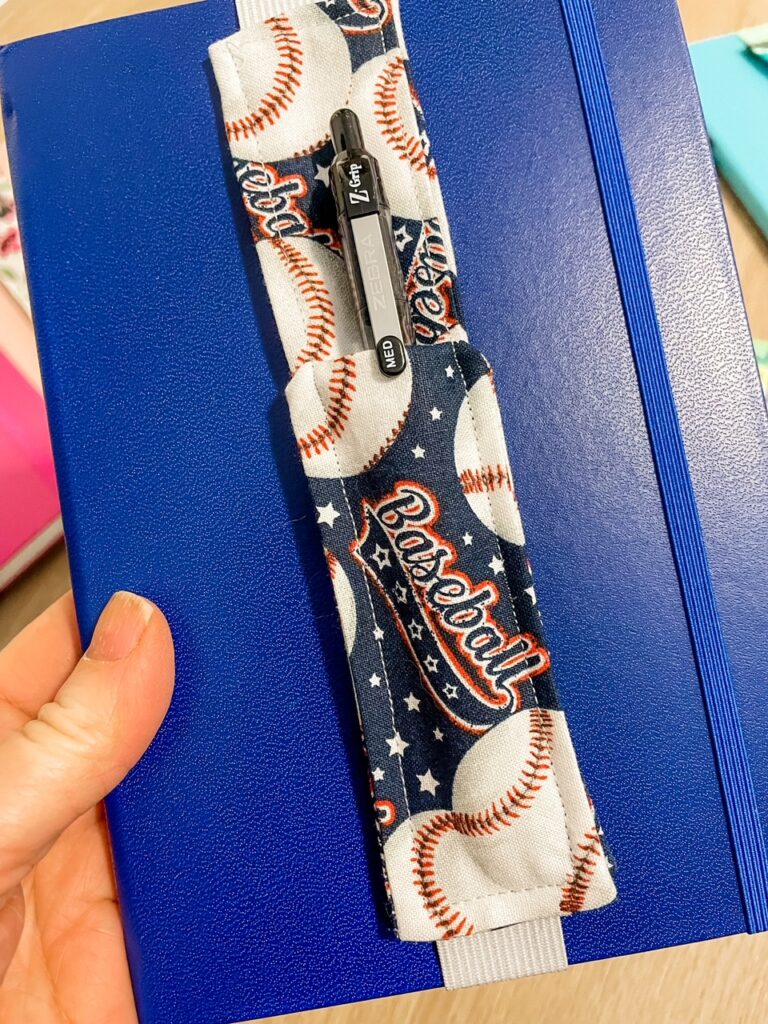
Elastic
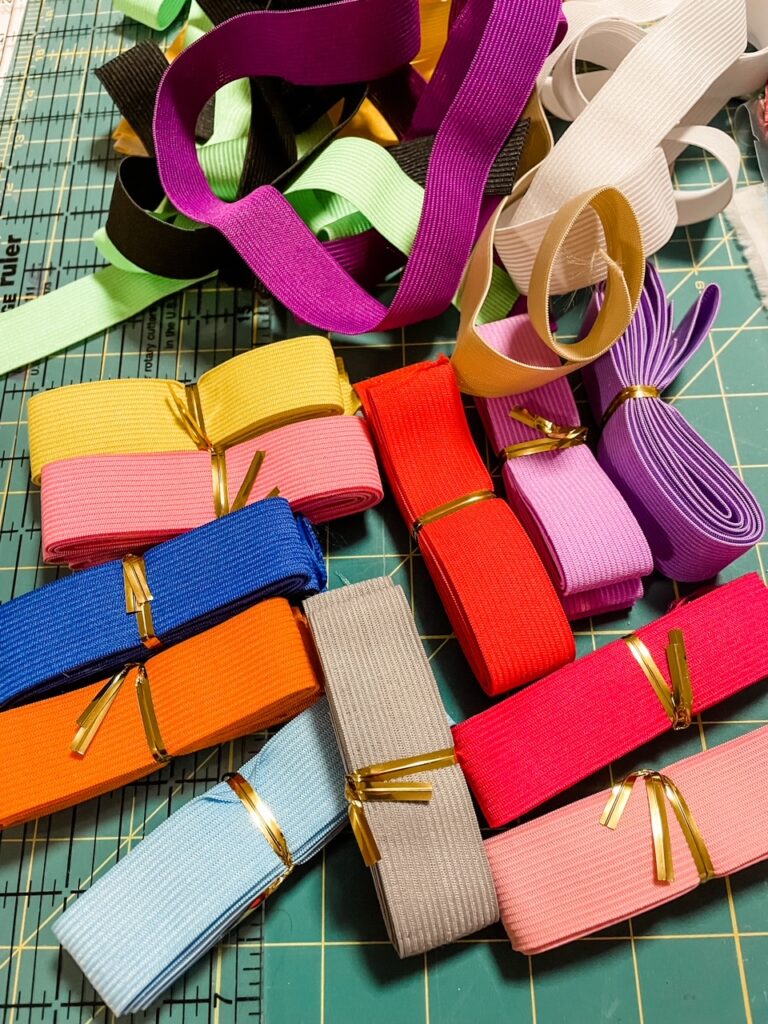
Any 1-inch width elastic will work just fine. However, I found a collection of 18 different colors of elastic (30 yards total), so I was able to coordinate the elastic with my fabrics. So cute and a pretty good deal, plus I’ll have plenty for future projects!
Purple Thang / Stylus
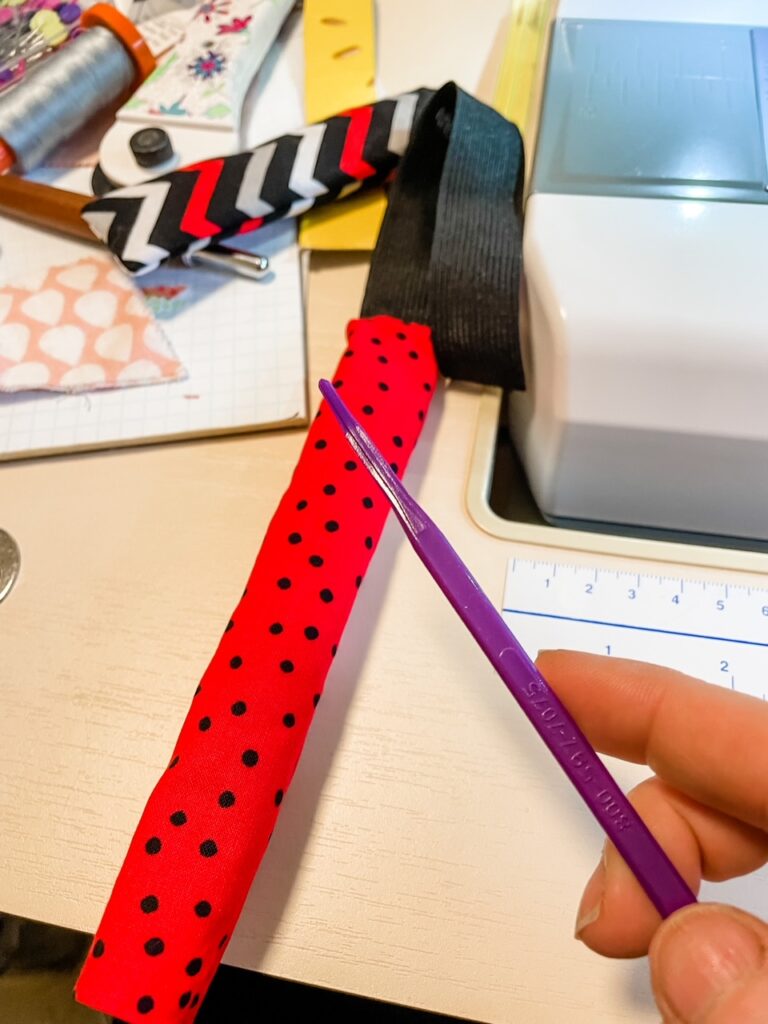
You’ll need some kind of stylus to push out the corners of the fabric after you turn the pouches. There are a lot of styluses out there, but I really love the Purple Thang (which now comes in many colors). I was introduced to them years ago, and they’re so helpful!
You can use the pointy end for pushing out turned corners. Or use the flat paddle end to help guide and nudge bulky seams when I’m sewing and hold down fabric edges when trying to press fiddly seams. My Purple Thang has saved me from burning my fingers so many times!
Optional: Notebooks
Including a good quality notebook with your DIY Pen Pouch makes for an incredibly lovely and useful gift. But as I learned when I started searching, high-quality notebooks can be pricey!
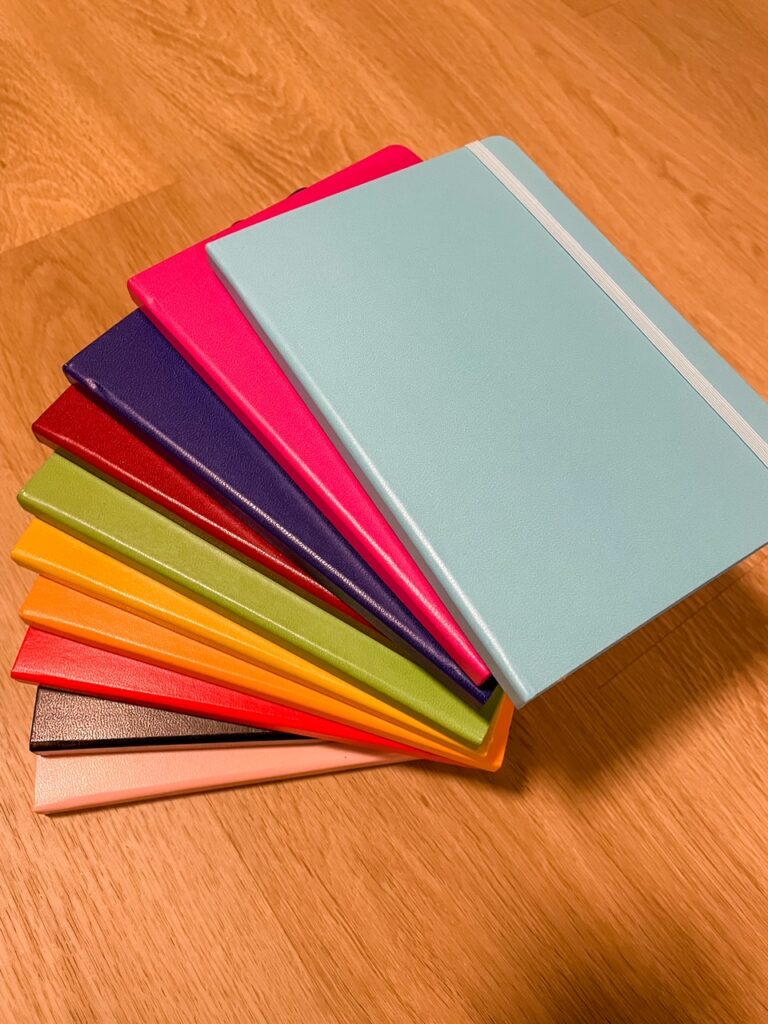
I’m so glad I came across this multi-colored 10-pack of Paperage notebooks. The covers are very sturdy, and the lined pages are nice and thick. Best of all, they come in so many beautiful colors! I had a lot of fun coordinating my fabrics with the notebooks.
How to Make Your DIY Pen Pouches
Once you’ve assembled your supplies, you’ll be ready to make your pen pouches. Here’s how you do it…
Prep the Fabric and Elastic
- Cut two rectangles of fabric, 2 by 7.5 inches. Cut two more rectangles 2 by 5.5 inches. Cut a 1-inch wide piece of elastic to a 9-inch length.
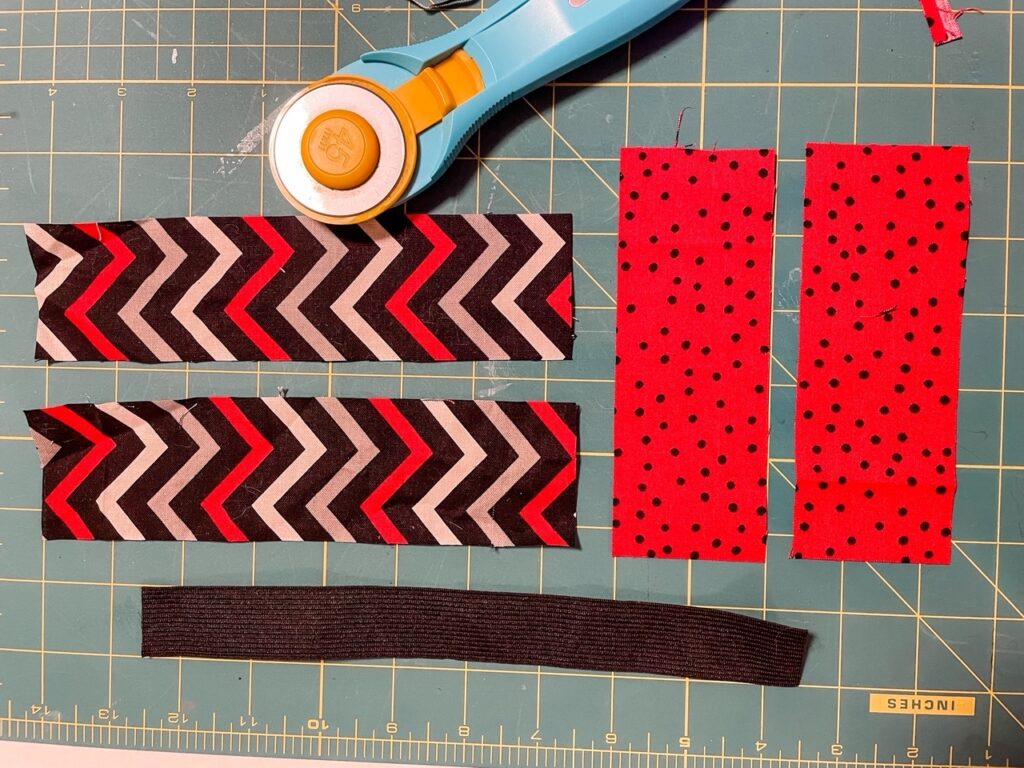
- Press up a quarter-inch hem on one end of each fabric rectangle. Press the hem to the wrong side of the fabric.
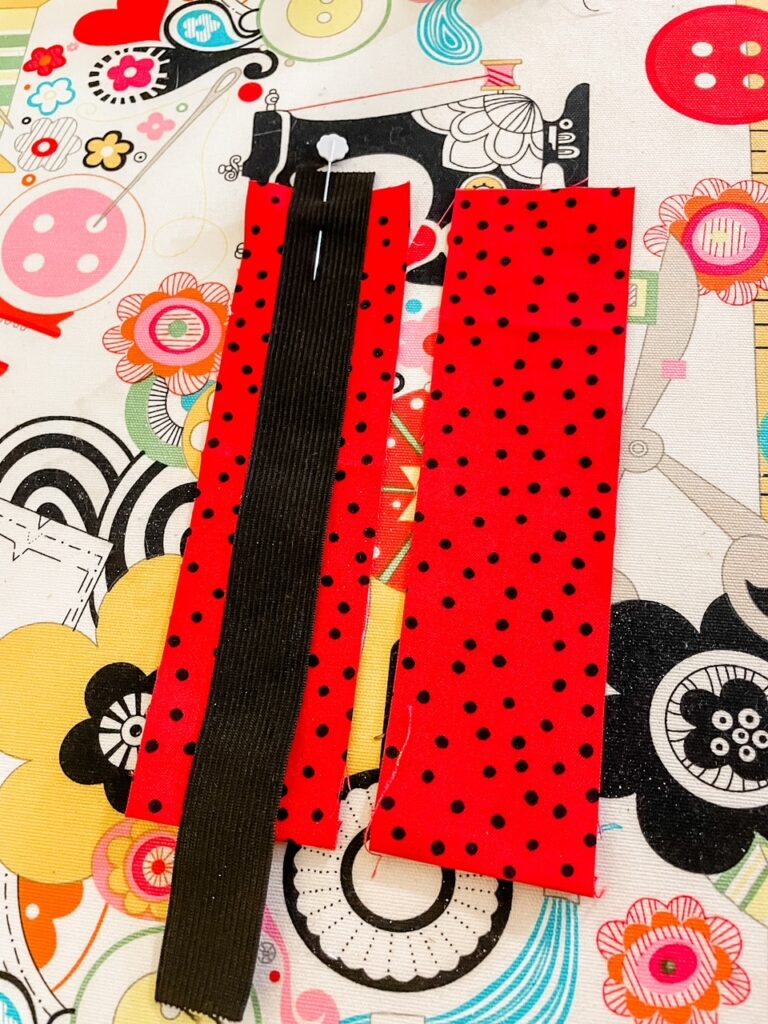
- With the right sides of the fabric facing each other, center the elastic between the rectangles as shown, with the elastic laying all along the rectangle and extending about a quarter inch above the fabric edge. Pin the elastic and fabric to hold it in place.
Sewing the DIY Pen Pouches
(All stitching and seams should be a quarter-inch.)
- Pin or place the shorter rectangles together with the right sides of the fabric facing. Sew along on a long edge (with the hemmed edge at the bottom) using a quarter-inch seam. Stitch around 3 sides of the rectangle, leaving the hemmed edge unsewn. (A walking foot can be helpful for the sewing, but it isn’t required.)
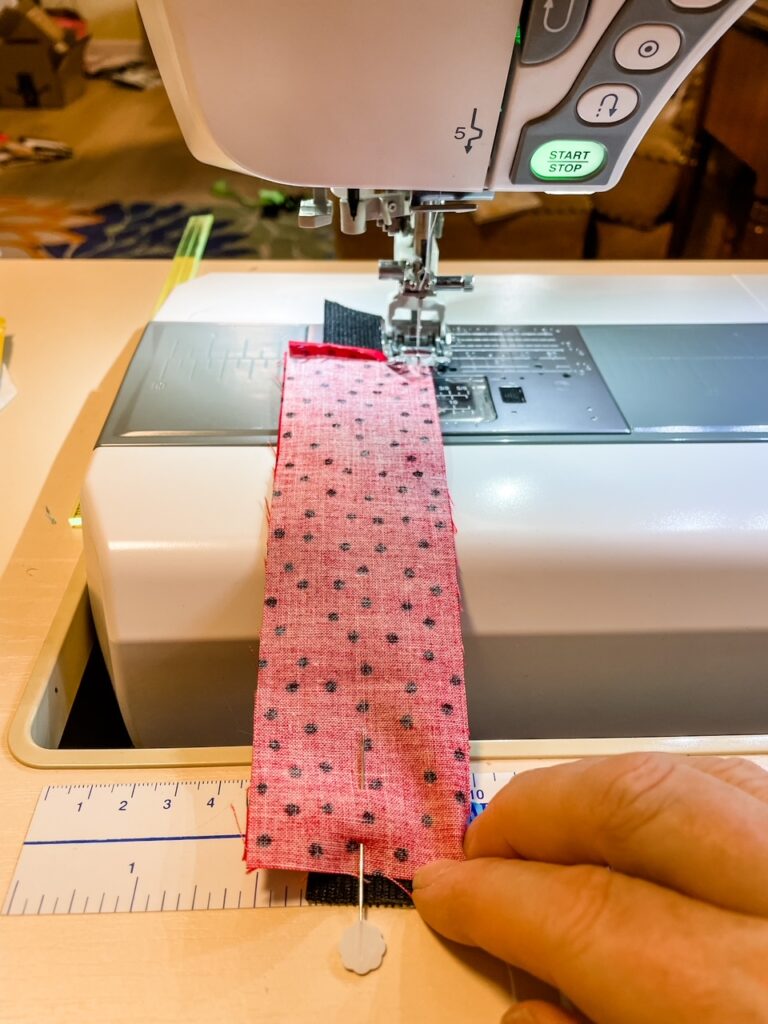
- Clip the fabric corners, taking care not to cut the stitching threads. Turn the rectangle inside out, using a Purple Thang or stylus to push out the corners. Press the small rectangle and set it aside.
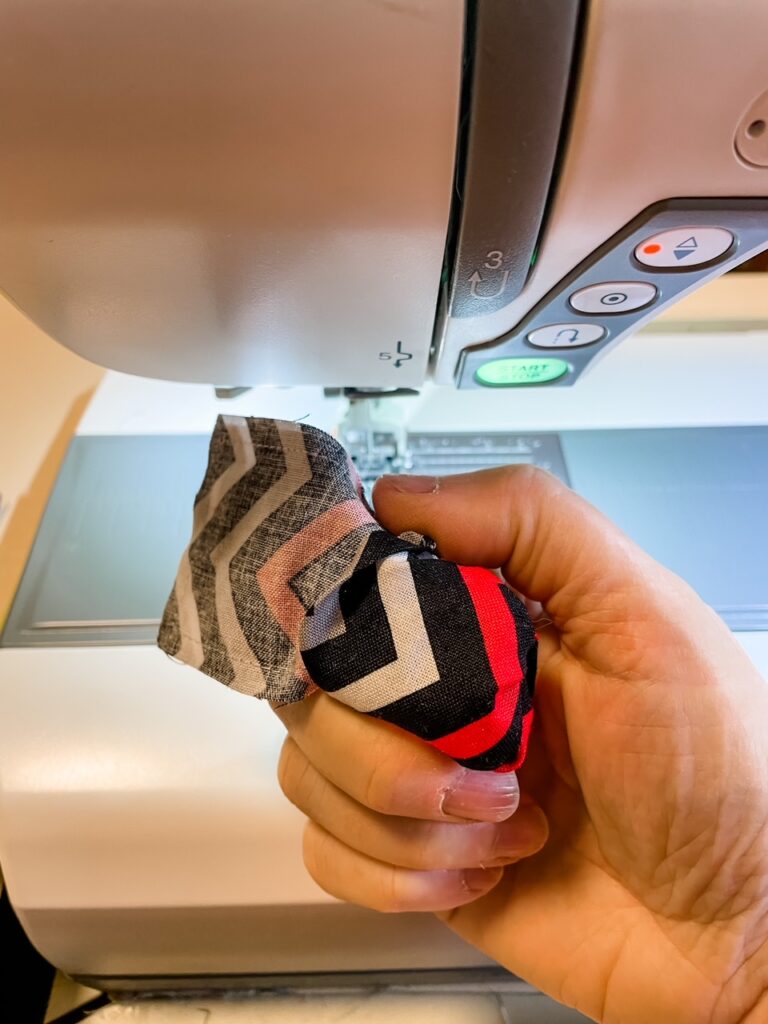
- You should already have the longer rectangles pinned with the elastic centered between the fabric and pinned. Sew as you did the shorter rectangle, stitching a quarter-inch seam around three sides, leaving the hemmed edge unsewn.
- Clip the corners as before. Pull on the elastic to help turn the long rectangle inside out. Push out the corners as out before and press.
- Layer the shorter rectangle on top of the longer rectangle, with the unsewn hemmed edges at the bottom. Sew one of the long edges to stitch the front piece to the back and then all the way to the top of the pouch. Turn and sew the short edge at the top, then turn and sew the remaining long edge all the way to the bottom. (Do not sew the bottom, hemmed edge in this step.)
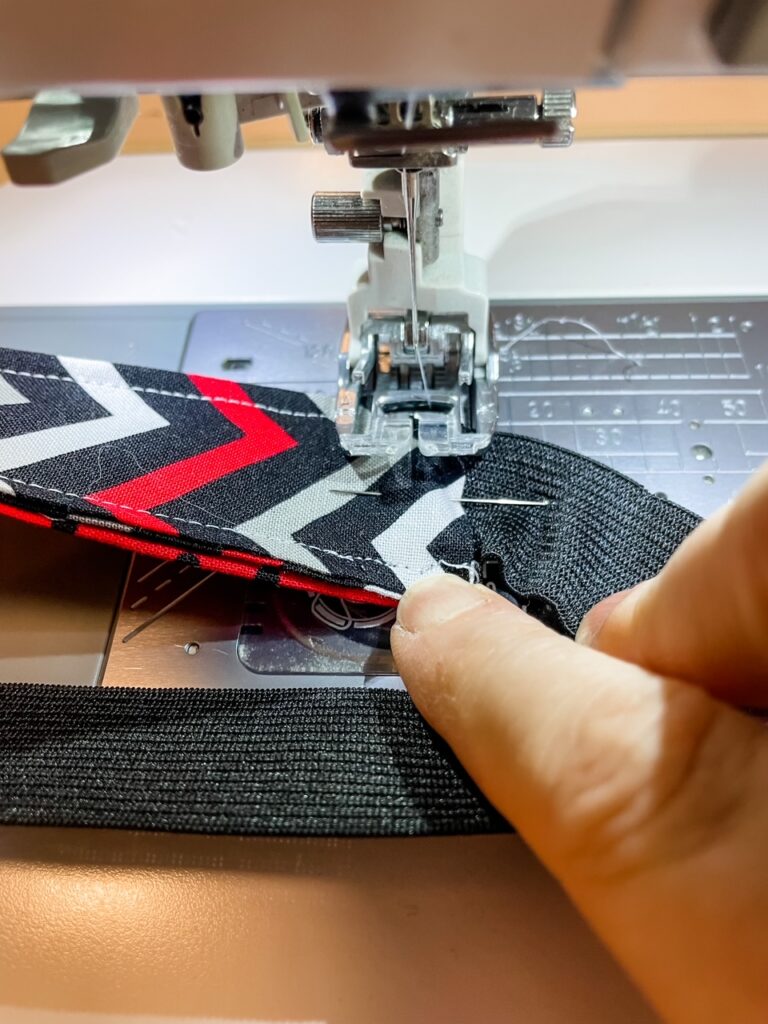
- Tuck the loose end of the elastic into the opening at the bottom, pushing about a quarter inch of elastic into the opening. Sew across the bottom edge to secure the elastic and close the opening.
- Clip any stray threads. Your Pen Pouch is finished!
