This post may contain affiliate links. Full disclosure policy
As I explained in last month’s craft post, I’m on a mission to make all my Christmas gifts this year. It’s an ambitious goal and we’ll see if I actually make it, but I’m going to give it my best shot.
One of the ways I plan to get to my goal is to try and make at least one craft project every month (and then share them with you!) This month is kind of tricky. I’m on the home stretch of a March 15th deadline to turn in the manuscript for my next novel, so crafting isn’t exactly on the top of my list right now.
However, crafts don’t always have to be difficult or take a lot of time. There are plenty of easy to make crafts that anybody would love to receive as a gift.
FINDING INSPIRATION – DIY BEESWAX WRAPS
A couple of years back, a friend sent me a packet of beeswax food wraps at Christmas. I’d never heard of them before and maybe you haven’t either.
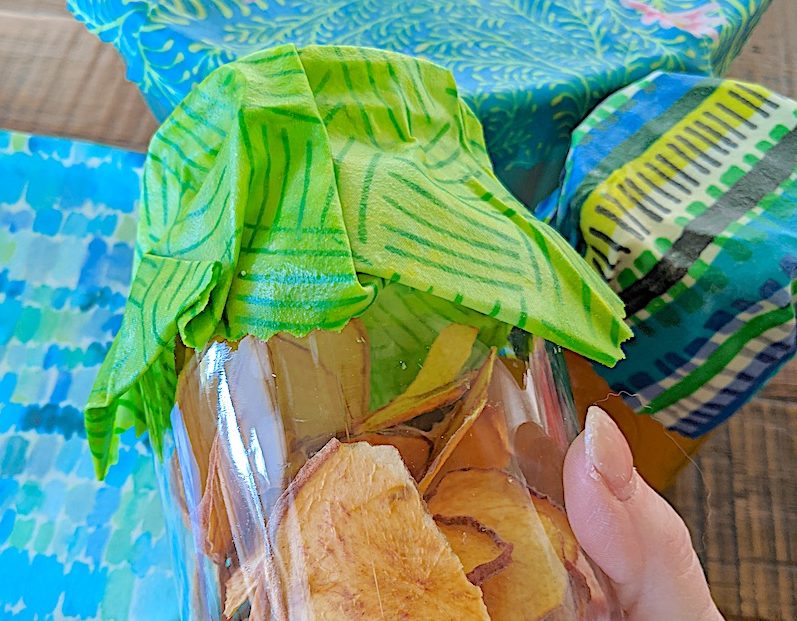
Beeswax food wraps are pieces of fabric that are coated with a mixture of beeswax, pine resin, and jojoba and/or coconut oil. The beeswax makes them moldable so they’ll fit around the tops of jars and bowls, or fold easily to wrap foods, just like you would plastic wrap. The pine resin makes them just a little sticky so they stay put once they’re molded into the shape you want. And unlike plastic wrap, beeswax food wraps can be used again and again. That’s good for your pocketbooks and the for the planet!
I just loved the wraps my friend sent to me and wanted to have more on hand. Turns out they’re pretty expensive to buy – a set of three wraps can cost $18 or more. But making your own is fairly easy and much more cost-effective.
WHAT YOU’LL NEED
The most important things you’ll need to make DIY beeswax wraps are the ingredients for the beeswax coating and some fabric. The second part was definitely not a problem for me. As you can see, I have plenty of leftover fabric in my scrap bin!
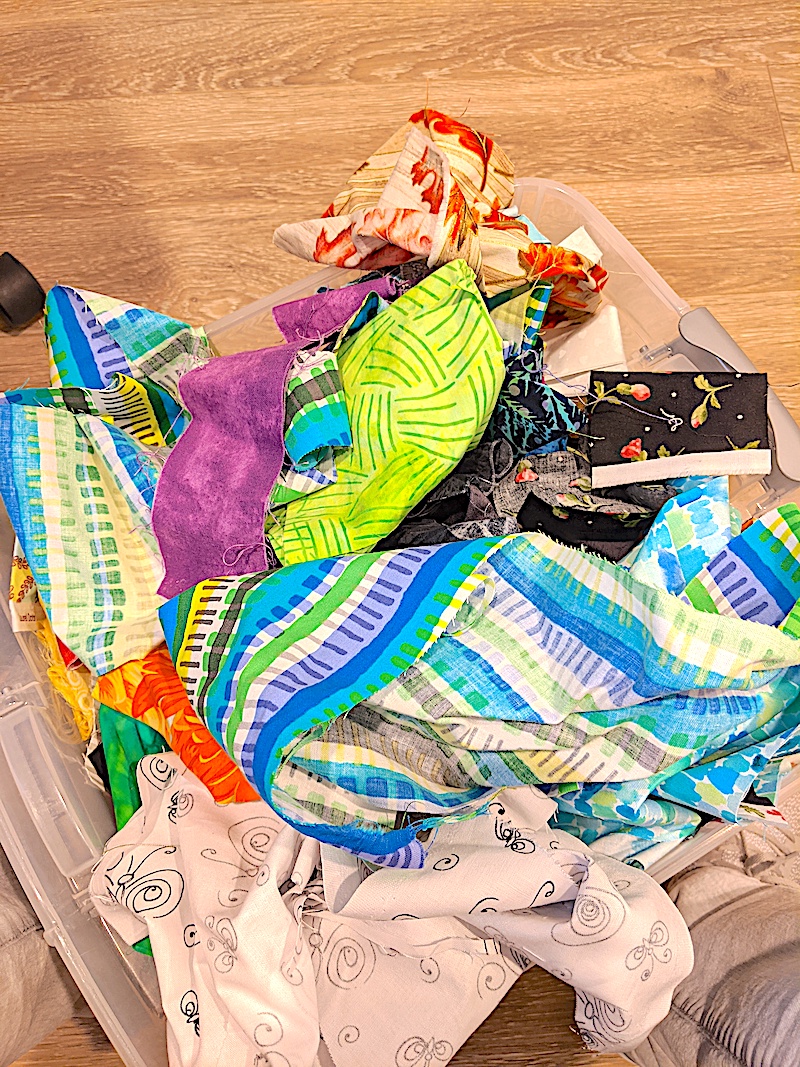
The beeswax coating can be a little trickier. I read quite a few different tutorials before trying to make my own DIY beeswax wraps and found several differing opinions.
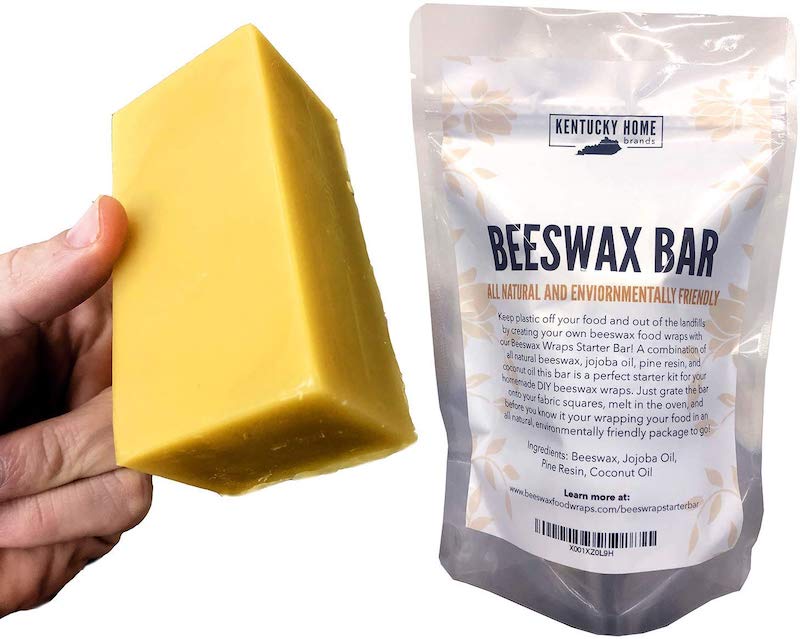
Some said they left out the pine resin but that seems to make the wraps less sticky over time. I want to make sure that anything I wrap has a good seal, so I definitely wanted to use pine resin. However, purchasing wax, resin, and jojoba oil and then melting them together in the right proportions sounded like a lot of work. So I was thrilled when I found these beeswax bars with the resin and oil already mixed together!
The beeswax bar ran about $20 and the packet said it will make around 20 wraps, depending on the size, so that’s still a lot less expensive than buying them. My plan is to give collections of four wraps as Christmas gifts. Since I already have fabric, that means I’ll be able to give friends a useful, environmentally friendly, homemade gift for about $5. Not bad!
(I’m guessing that most of you have plenty of fabric scraps at home. But if you don’t, just ask your quilter friends. Trust me, they’ll have you covered.)
Besides fabric and beeswax coating, the only things you’ll need to make your DIY beeswax wraps are…
- Parchment paper
- Inexpensive paintbrush (2 inches is a good size)
- Heavy bottomed cooking pot
- Jar
- Baking sheet
- Kitchen knife (NOT your good one!)
- Pinking shears (not absolutely necessary but good to have)
FIRST, THE FABRIC
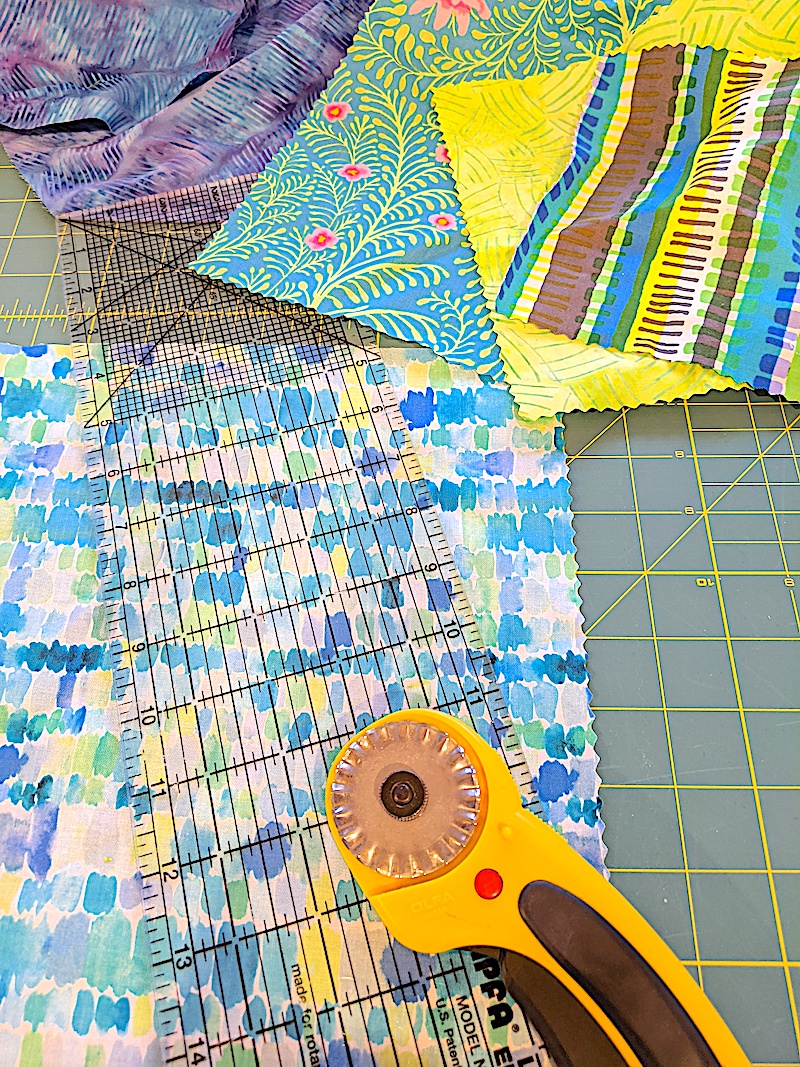
The first step is to prepare the fabric for your food wraps. You should only use 100% cotton fabric for making wraps. Leftover quilt scraps are ideal.
If you have pinking shears or a rotary cutter with a pinking edge, it’s a good idea to trim the edges of your wraps. This will keep the edges from fraying. There’s no rule about what size or shape to cut the wraps. However, squares are probably the most useful shape.
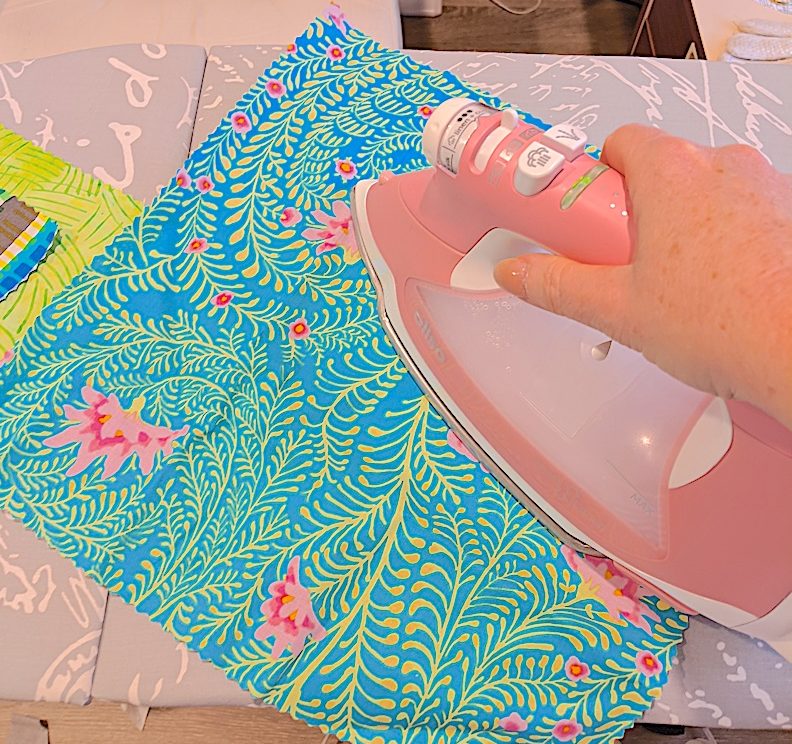
I cut wraps of different sizes, large, medium, and small. It’s helpful to have different sizes for different uses. Give the fabric a quick press after cutting. (Here, as always, my Oliso iron comes in very handy – just as it always does!) The wax will apply more evenly and easily if the fabric is perfectly smooth.
PREPPING THE BEESWAX MIXTURE
Getting the beeswax bar ready to melt was definitely the most difficult part of this project. The bar is big and thick and just did not want to cut!
From my pre-project reading, I knew that I wasn’t the only one who had trouble with this. Some tutorials recommended buying beeswax pellets, but then I’d have to deal with the whole pine resin and oil issue, so I preferred the premixed bar. Some tutorials suggest using a cheese grater on the beeswax, but I love my cheese grater too much to do that to it.
After several minutes spent unsuccessfully trying to cut the bar, I came up with a solution that worked pretty well. I placed the beeswax bar on a plate covered with parchment paper and put it into the microwave for 2 minutes at 50% power.
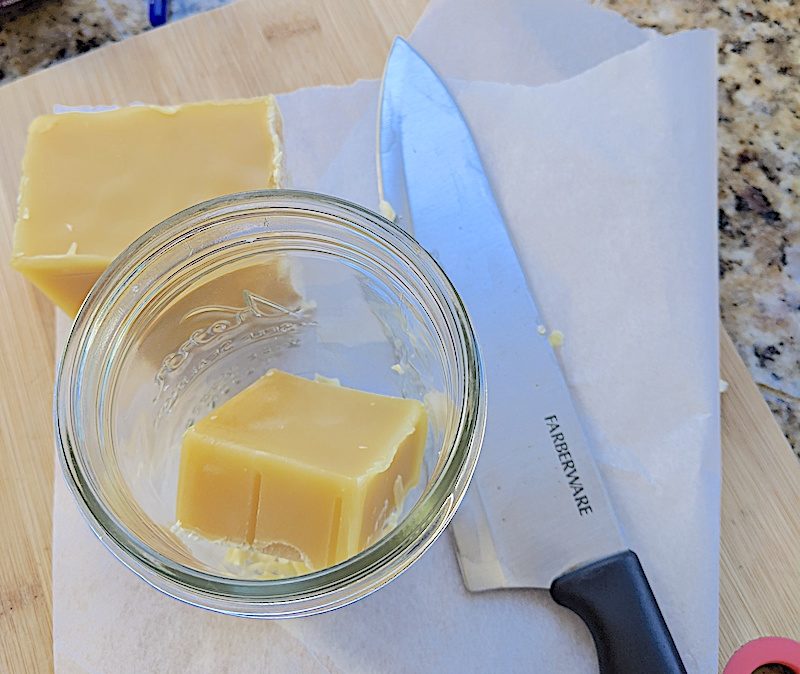
That softened the wax enough so that I was finally able to cut it into chunks. It still wasn’t easy, but it was doable. If you use a rocking motion to cut halfway into the bar, you can probably just pull the piece apart. Once you’ve finished, a good scrub with very hot water will clean the wax from your knife, but I wouldn’t use my best chef’s knives for this project.
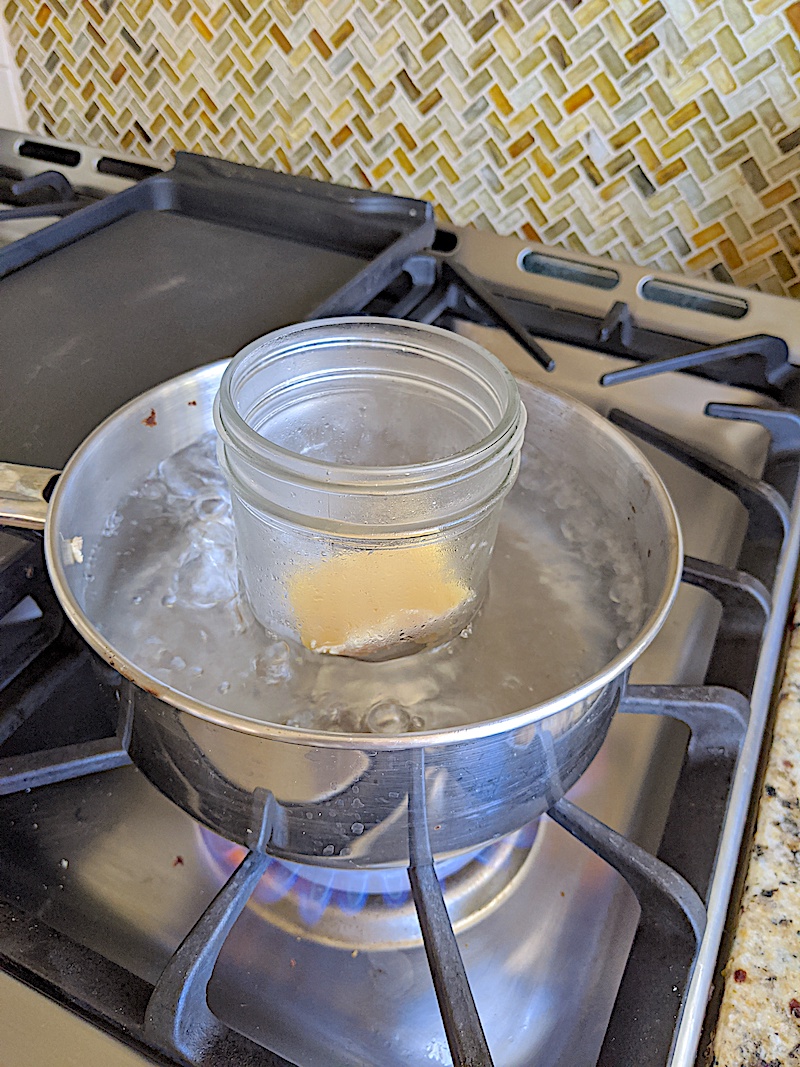
Once the wax is in pieces, you just need to melt it. Some tutorials suggest a double boiler, but I didn’t want to clean wax from my good pans so I just boiled the water in a heavy-bottomed pan and put the wax in an old mason jar for melting. It worked just fine.
APPLYING THE BEESWAX COATING
This part was a bit of a learning curve for me.
I started by putting a piece of parchment paper on the counter near the stove, laying the fabric on the parchment, then dipping the brush into the melted wax and brushing it on as quickly as possible and flipped it over and did the other side.
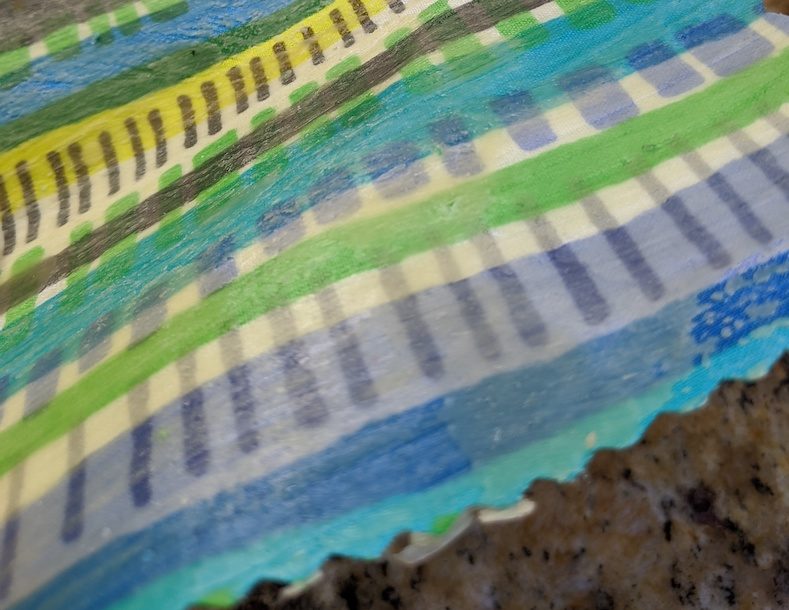
That worked okay, but I had a tendency to apply more wax in some spots than others. And since the wax dried really quickly, I ended up with an uneven result and even a few odd-looking dots where the wax dripped from the brush. It wasn’t terrible and it probably would have served the purpose. But these are for gifts so I wanted them to look nice.
The oven method worked much better for me.
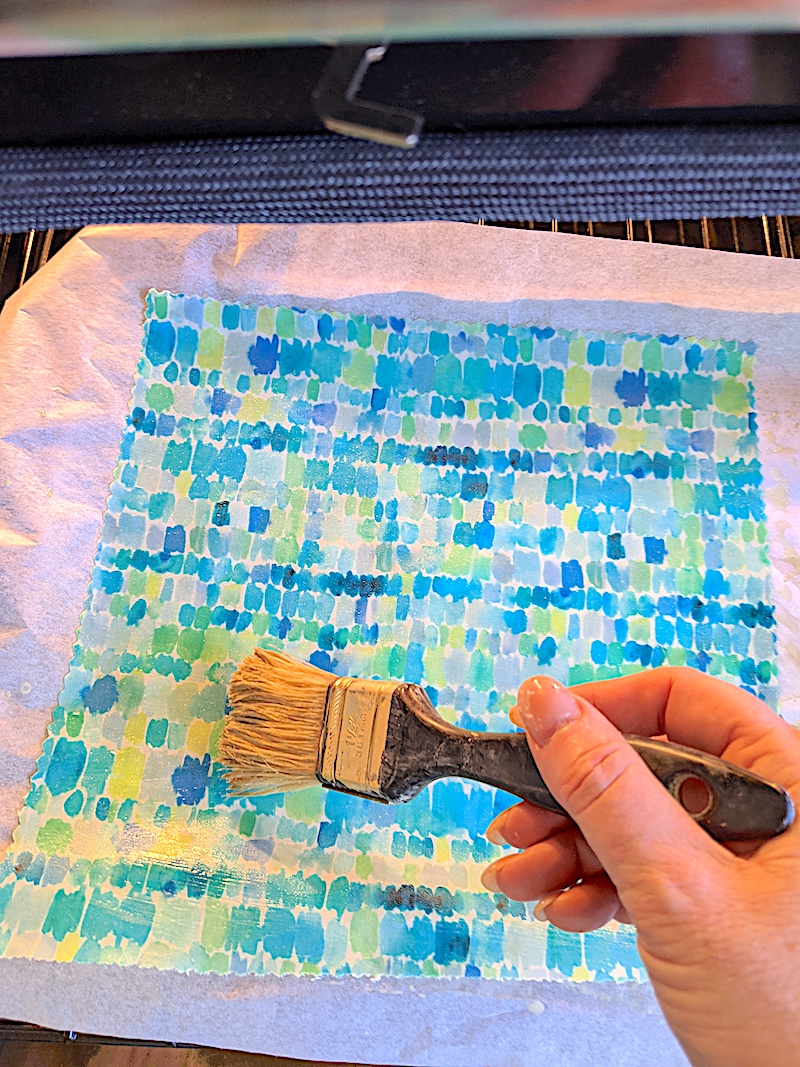
I just heated my oven to 200 degrees, lined a baking sheet with parchment paper, and laid the fabric on the parchment. Next, I brushed the wax on each piece of fabric, then closed the oven door to give the wax a chance to melt again.
After a couple of minutes, I opened the oven door, pulled out the oven rack with the backing pan still on it, and quickly ran the brush over the fabric to even out the melted wax. Don’t forget to repeat the process on the other side.
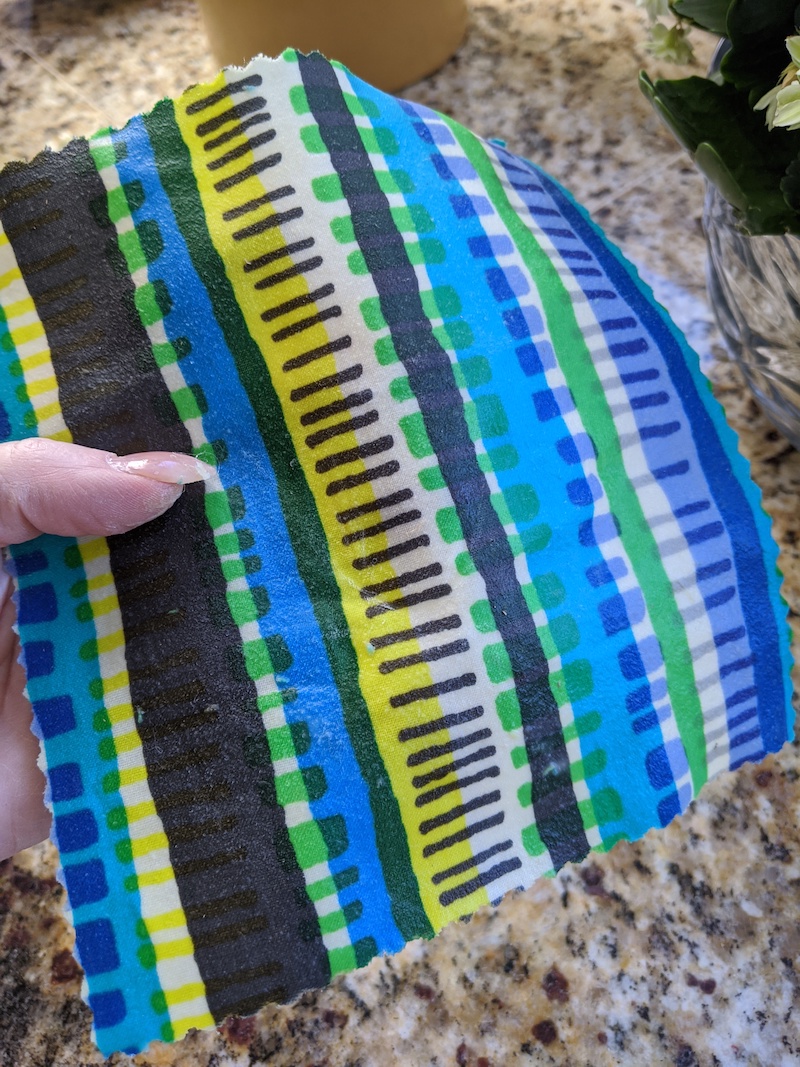
The result was much better! The wax was evenly coated over the entire wrap and was much nicer looking.
After brushing on the wax, I just picked each wrap up with my finger, fanned it for a few seconds, then laid it on parchment to finish drying.
IT’S A WRAP!
That’s all there is to it!
Beeswax food wraps are great for covering jars, bowls, sandwiches, or wrapping up leftovers. You can use them over and over again. Just wash with cold water when you’re cleaning, so you don’t melt the wax.
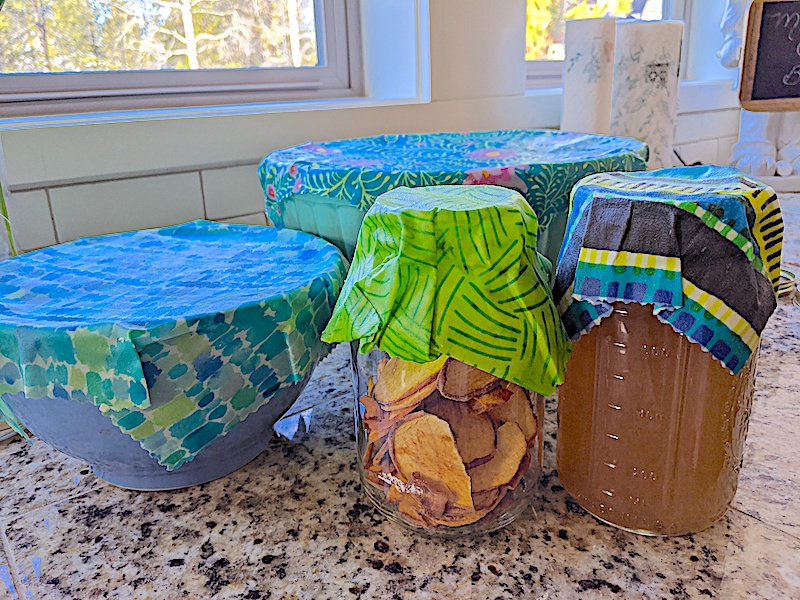
These DIY beeswax wraps are a snap to make and a great way to use up leftover fabric. And they’ll help you or the lucky people who receive them as gifts, to cut down on your use of plastic wraps.
Good for your wallet, good for the planet, and GREAT for gift giving!


