This post may contain affiliate links. Full disclosure policy
I am a big believer in the importance that creativity plays in crafting a happy, meaningful, and fierce life. In my opinion, creative expression ranks very high on the list of human necessity, not very far after air, water, food, and shelter.
When I’m talking about creative expression, I mean creating something original, something that comes from your own brain and heart and soul. When it comes to crafting, I consider originality the ideal.
But sometimes the ideal is out of reach. Sometimes life simply bowls you over with a whole avalanche of crazy you never saw coming. Forget originality, you’re just fighting your way to the top of the mess and so you can breathe! That’s where I’ve been for the last few weeks, tumbling along with the avalanche and feeling overwhelmed.
In my experience, crafting and prayer are the world’s best antidotes to overwhelm, especially when done simultaneously. This weekend, I really, really, really needed both. And so, in spite of the avalanche, I put a fence around a few hours of my Saturday and hustled myself up to my crafting studio to clear my head and settle my soul.
Sometimes You Just Need To Sew
Much as I love making my own patterns, I simply didn’t have the mental bandwidth to come up with an original design this weekend. Instead, I dug into my stash and pulled out a nifty little product I keep on hand for occasions like this – a Pods Precut Quilt Kit from Maywood Studio.
I love Pods Precuts because they come in lots of beautiful colors and patterns, have everything I need to finish the quilt top, including binding fabric and clear pattern instructions, and are accurately cut so they’re ready to stitch. They’re perfect for those moments when you just need to sew, not think. Something else I like about pods is their flexibility. If you want to make a baby quilt or table runner, you just need one pod. If you want to make a lap, full, queen, or even king-sized quilt, you just add more pods until you have enough for the size you need.
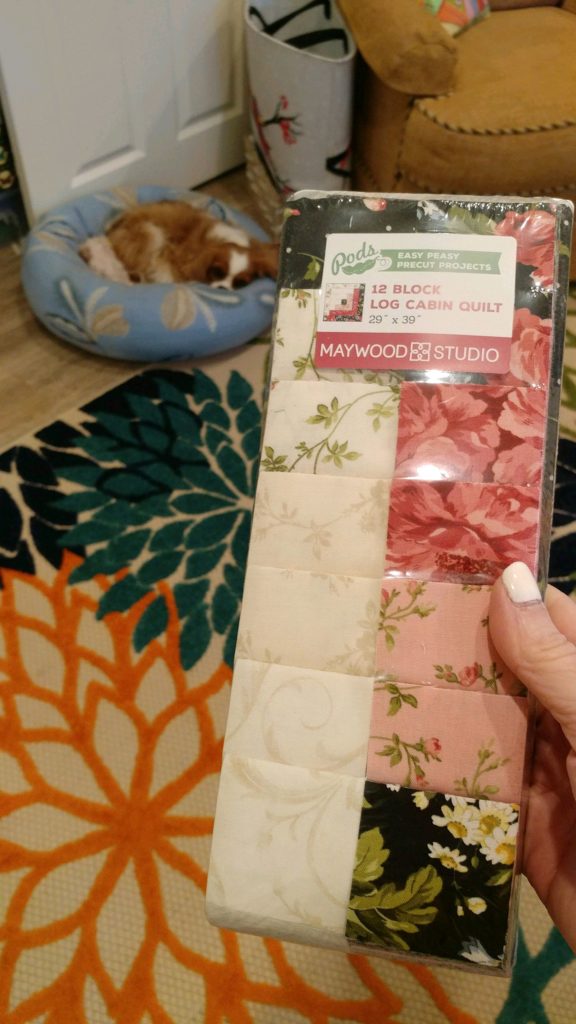
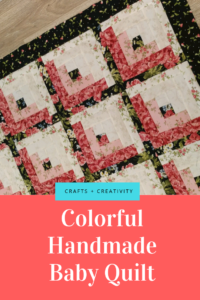
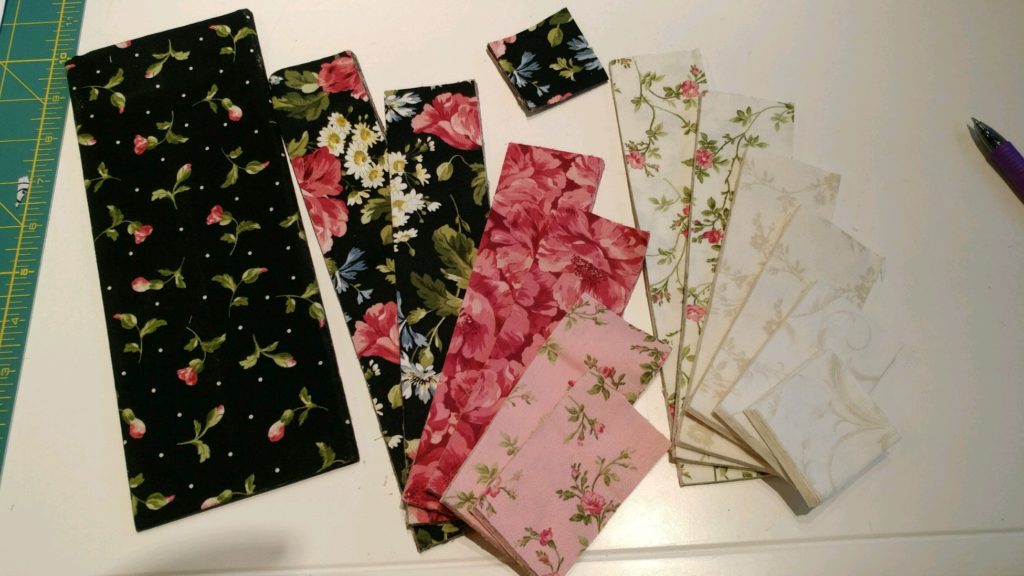
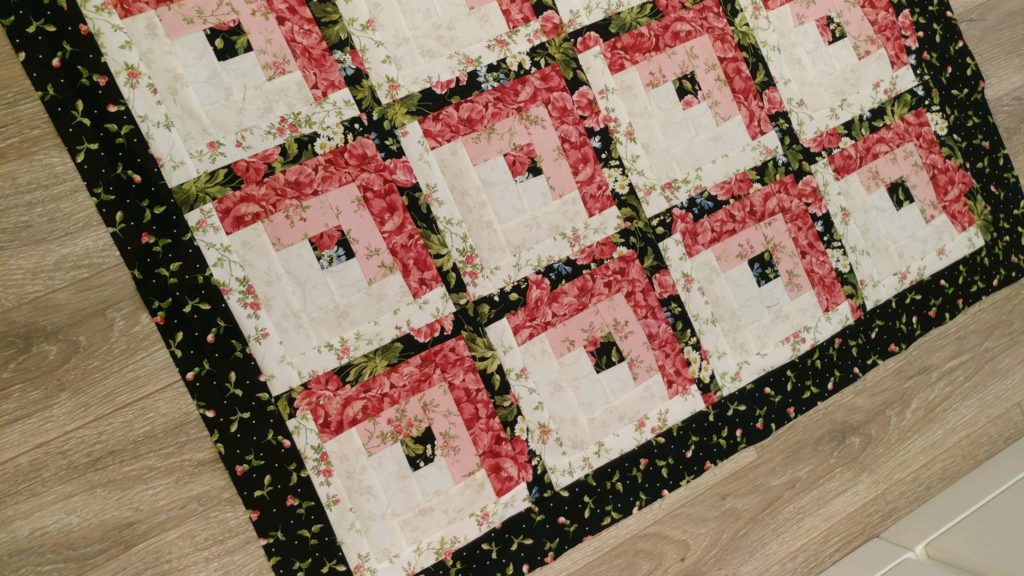
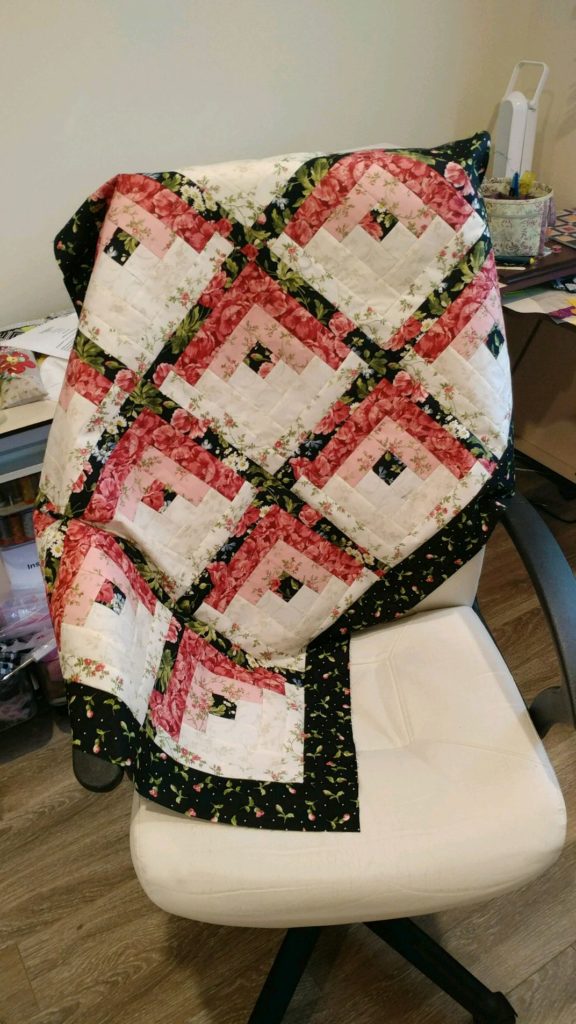
A family friend just had a baby girl, so I pulled a pretty, feminine pink and black floral Pod Precut from my stash and got to sewing a log cabin baby quilt. Because I bought these Pods some time ago, you might not be able to find this exact fabric. However, there are lots of lovely Pod Precut collections available that almost anyone can sew into a beautiful quilt (whether a baby quilt or otherwise.)
Here are a few specific options I love:
Everybody Loves A Log Cabin
The log cabin is a great block and a classic choice for beginners. That’s why I chose a log cabin quilt as a first project for Ivy Peterman, one of the main characters in A Thread of Truth which I wrote way back in 2009!
Though I’ve been quilting for about 35 years, log cabin quilts continue to be among my favorites. They are pretty to look at, easy to make, and very satisfying to sew. If you’ve never made a quilt before, a log cabin quilt is an excellent place to start. If you use a Pod Precut, you’re practically guaranteed a good result. The cutting has already been done for you and the stitching is all straight lines – easy peasy!
A Quilt For Anyone – Beginners Or Experts
When you open the Pod Precut, you’ll find a set of instructions, a larger piece of fabric that you can use for binding the quilt, and precut patches for every block. I like to lay the patches out so I can see exactly what comes next before I start sewing.
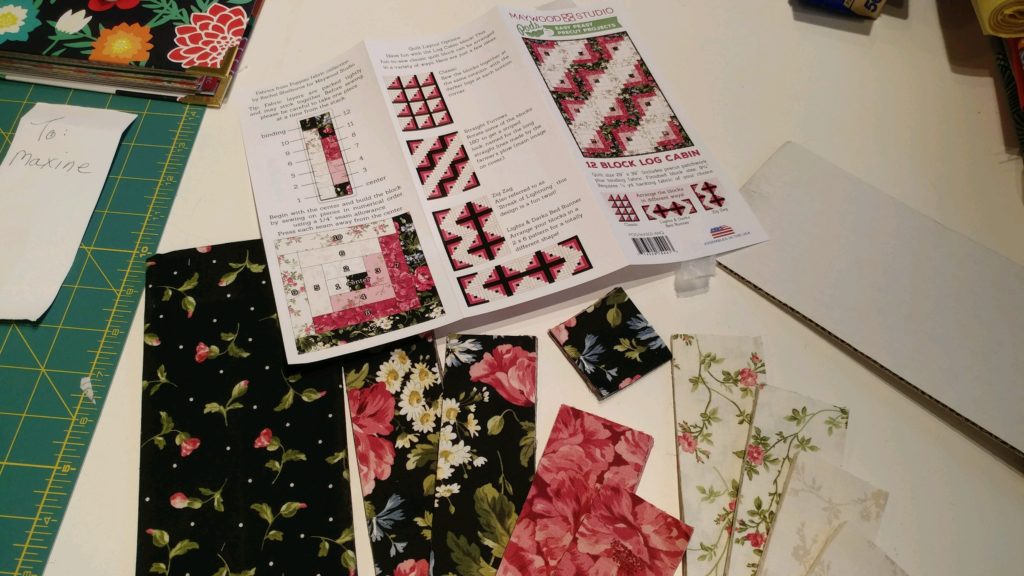
Log cabin blocks start with two squares, sewn along one edge with the right sides of the fabric facing together. (In quilting, we always use a ¼ inch seam and press the seam to one side, usually the darker side, with a hot iron after we finish sewing.) After sewing the seam and pressing the block open, you’ll have a rectangle.
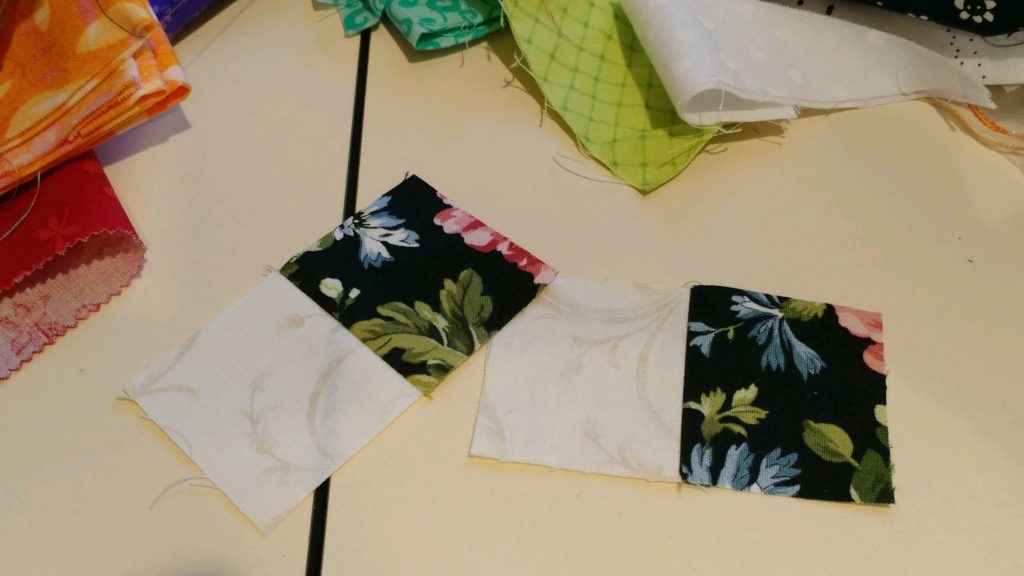
Once you’ve sewn the first rectangle and are sure you’ve done it correctly with a good quarter inch seam, sew all the rest at the same time, assembly-line style. This is called “chain-piecing”. It will save you a ton of time!
For this baby quilt, the black square will be the center of the block. Making sure the black square is on the same side each time, sew a light-colored rectangle along the long edge of the light/dark rectangle. Press that block open. You’ll now have a square!
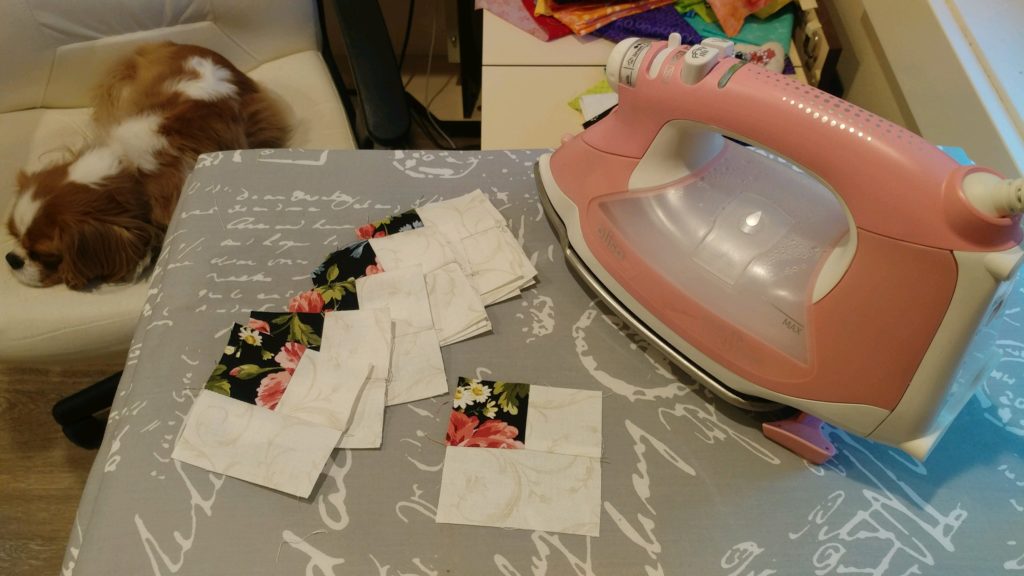
Practice Makes Perfect (And Quilts)
(Pretty cool, right? I’ve been quilting for a gazillion years but I still get excited whenever I press a block and see how my pretty patches have come together.)
I’m not going to try to go through step-by-step instructions here, the pattern included with your Pod Precuts will do that. I just wanted to give you an idea of how easy and fun it can be to make this quilt. Basically, you keep sewing rectangle patches around the sides of the square until the block is done, then sew the blocks together.
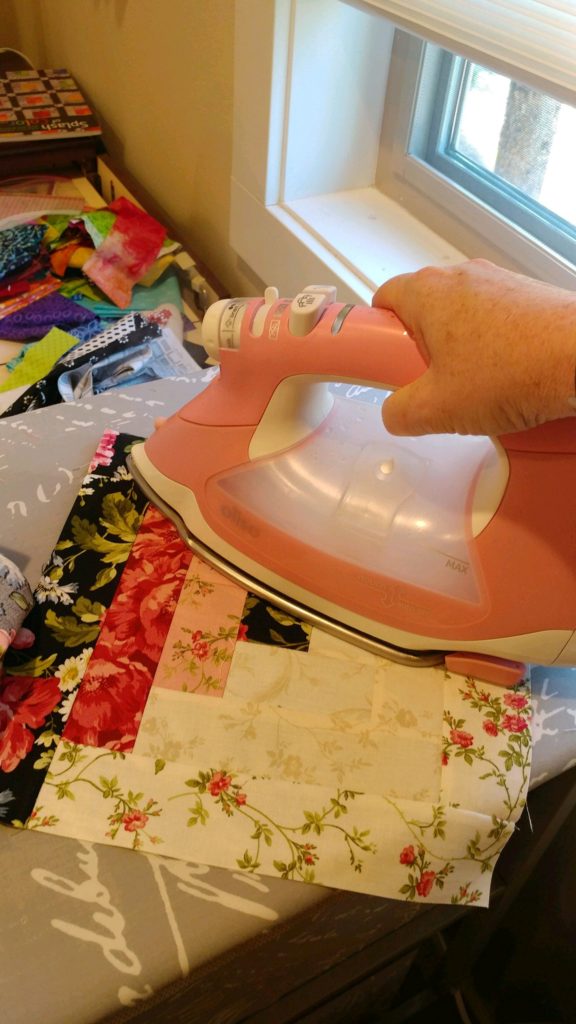
Another option is to do what I did and use the large piece of fabric to create a border instead of using it for binding. One Pod Precut kit makes a baby quilt that is 29” x 39” but I wanted mine to be just a little bit larger. Adding a 3’ inch unfinished border on each side increased the side to 34” x 44” – a generous but not too big baby quilt. I’m going to bind it with some pretty pink fabric I already had on hand.
Even if you’ve never quilted before, anyone with basic sewing skills should be able to a Pod Precut baby quilt top in about 4 hours. An experienced quilter can probably finish it in 3 hours or less. It’s that simple. However, every project is made better (and more enjoyable) if you have the right tools.
An Iron For The Job
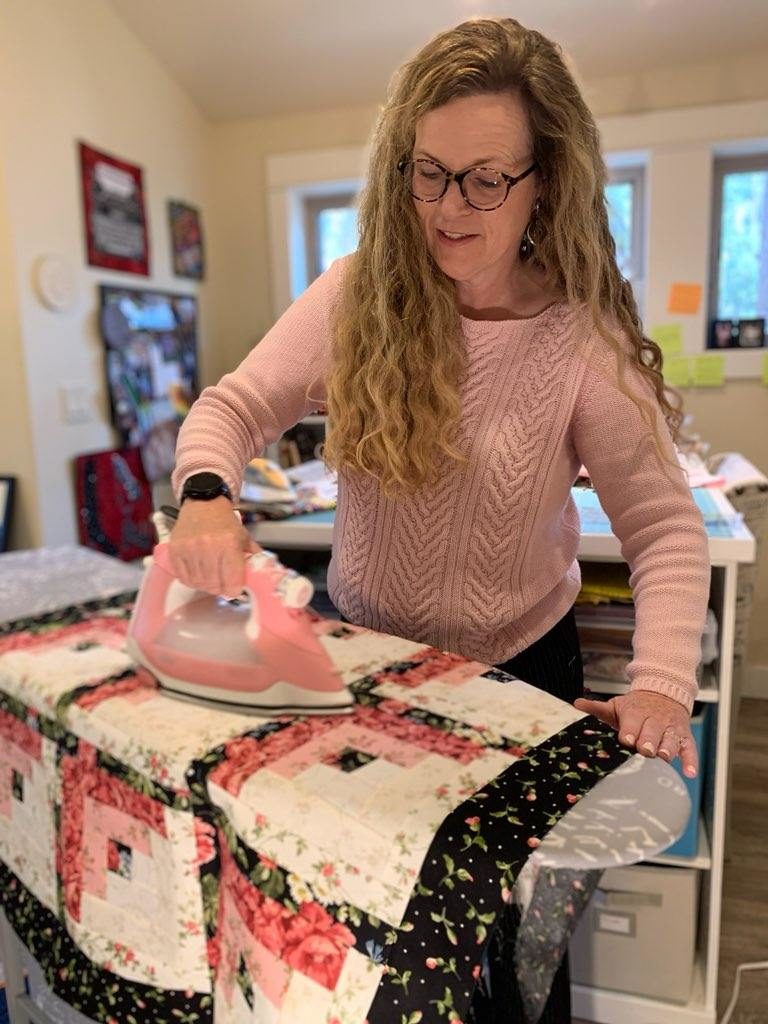
Apart from a sewing machine and scissors, a good iron is probably the most important tool in a quilter’s arsenal. The wrong iron can make a quilter cry and tempt her to say bad words. The right iron can make quilting a joy and give your quilts a precise, polished finish.
So you can imagine how excited I was when the Oliso Company sent me one of their Smart Irons as well as a Mini-Iron to try for myself. Having test-driven both irons for a couple of projects, I can tell you that these nifty irons fall squarely into the joy-enhancing category.
(Disclaimer: I was given this product in exchange for a fair and honest review. This Oliso Smart iron review reflects my honest, personal opinions and experiences.)
Oliso Mini-Iron
I recently used the Oliso Mini-Iron on a Hawaiian Ti Leaf wall hanging. This project had lots of little fiddley seams and each had to be pressed before the next seam could be sewn.
Having the Mini-Iron sitting at the sewing machine and ironing on a pressing mat saved me lots of getting up and down. It was a perfect tool for this project. Since it’s so small (not a much bigger than my hand) and very lightweight; this would also be an ideal take-along iron when you go to a quilt retreat or class.
In spite of it’s miniature size, this mini-iron gives a powerful burst of steam in both the horizontal or vertical position. (I am thinking it would be a neat travel iron for garments too, good for steaming out wrinkles when I’m on the road). The reservoir was big enough that I was able to use it for quite a while before refilling. It has a full 8-foot cord that swivels; a welcome, useful and somewhat surprising feature in such a small iron. I also like the way it fits in my hand and how neatly it fits onto the “Solemate” silicone base. There was no fear of scorching my fabric or accidentally burning myself.
The only thing I didn’t love about the Oliso Mini-Iron is that the handle got a little bit hotter than I might have liked. But that wasn’t enough to make ironing with it uncomfortable and it certainly wouldn’t be enough to prevent me from giving it my enthusiastic recommendation. If you’re in the market for a small project iron, I don’t think you can do better than an Oliso Mini-Iron.
Good news! Oliso has kindly supplied me with TWO of these nifty little Mini-Irons to giveaway to two of my Fierce Friends! Click here to enter the giveaway but do so right away, as the winners will be chosen on Monday, October 21st. Good luck!
Oliso Smart Iron Review – If Only I’d Had It Years Ago
True Story.
Six or seven years ago, I was sitting on the floor and ironing a quilt. Don’t ask me why but I was.
The phone rang. I got up to answer it and stupidly left my iron laying plate down on the carpet.
Well, you can guess what happened. That’s right; a great big iron-shaped burn mark on my carpeting. Fortunately, my husband was out of town and I found a carpet remnant in the basement. Our handyman patched up the carpet and I moved a potted plant over the patch. My husband didn’t know what happened until we moved.
Now, I’m sure that none of my fierce friends would be so foolish as to leave an iron on the rug. But mistakes DO happen and that’s one of the biggest reasons I love my new Oliso Smart Iron. The patented iTouch technology puts an end to accidental scorching!
Here’s how it works…
Unlike most irons, the Oliso Smart Iron is always left with the plate down (this took me a little time to get used to). When you touch the handle, the iron automatically lowers to the fabric. When you let the handle go, it automatically lifts up, away from the fabric. So even if you go off to answer the phone and forget about the iron, there will be NO scorching. Nada!
Iron Clad Features
And that’s really just the start of the Smart Iron’s very smart features.
I loved the side fill feature with the built-in “funnel” design that meant no spills during filling. It’s a small feature but one of those little conveniences that makes you wonder why somebody hadn’t thought of this before. The tank is generously sized, which means less filling and more time quilting. I also like that it uses plain old tap water, not distilled. Few things are quite as frustrating as getting ready to quilt but realizing you can’t because you forgot to buy more distilled water. And though this might seem a little silly, I really loved the bright pink color! (Hey, I’m a quilter. Color makes me happy.)
But, of course, what really matters when you’re ironing is the steam. The steam on my new Oliso is as powerful and steady as any iron I’ve ever used. And with seven different steam settings, I’m able to find just the right one for whatever type of sewing I’m doing on any kind of fabric, from delicate silk dupioni to heavy wool.
In short, I’m thrilled with my new Oliso Smart Iron and impressed by its features.
Retailing at $169.00 for a Quilters and Sewers model isn’t cheap but the price of an Oliso Smart Iron isn’t out of line with other specialty sewing irons. I’ve paid as much as that for irons I’ve liked much less in the past. And since an excellent iron is such an important tool for quilting, I think an Oliso Smart Iron is definitely a worthwhile investment. I love mine.
But, of course, one of the best investments you can make in pursuit of a happy, fulfilling, fiercely-lived life is time spent doing things you love. Whether it be quilt, painting, coloring, singing, gardening, or cooking – your unique brand of creative expression is a gift to yourself, and the world.
THIS POST MAY CONTAIN REFERRAL LINKS. IF YOU CLICK THROUGH AND TAKE ACTION, I MAY BE COMPENSATED, AT NO ADDITIONAL COST TO YOU.
