This post may contain affiliate links. Full disclosure policy
THIS POST MAY CONTAIN REFERRAL LINKS. IF YOU CLICK THROUGH AND TAKE ACTION, I MAY BE COMPENSATED, AT NO ADDITIONAL COST TO YOU.
One of the really cool things about writing a blog is that, every now that then, you get free stuff. Some bloggers receive appliances, or furniture, or even fancy vacations from companies. They hope the blogger will enjoy that product and write a post about it.
Okay, sure. I guess those are pretty good items to get. You know, if you’re into that kind of thing. But what have I been offered?
Crafting supplies! Which, as we all know, is way cooler.
Stencils? Stencils!
Seriously, when the folks from StencilRevolution.com got in touch with me a couple of months ago and asked if I’d like to try some free stencils, I was really excited! Surfing their website made the creative side of my brain light up like crazy. After a couple of minutes, I had ideas for all kinds of ways to put these stencils to work in my craft projects – starting with a charity quilt.
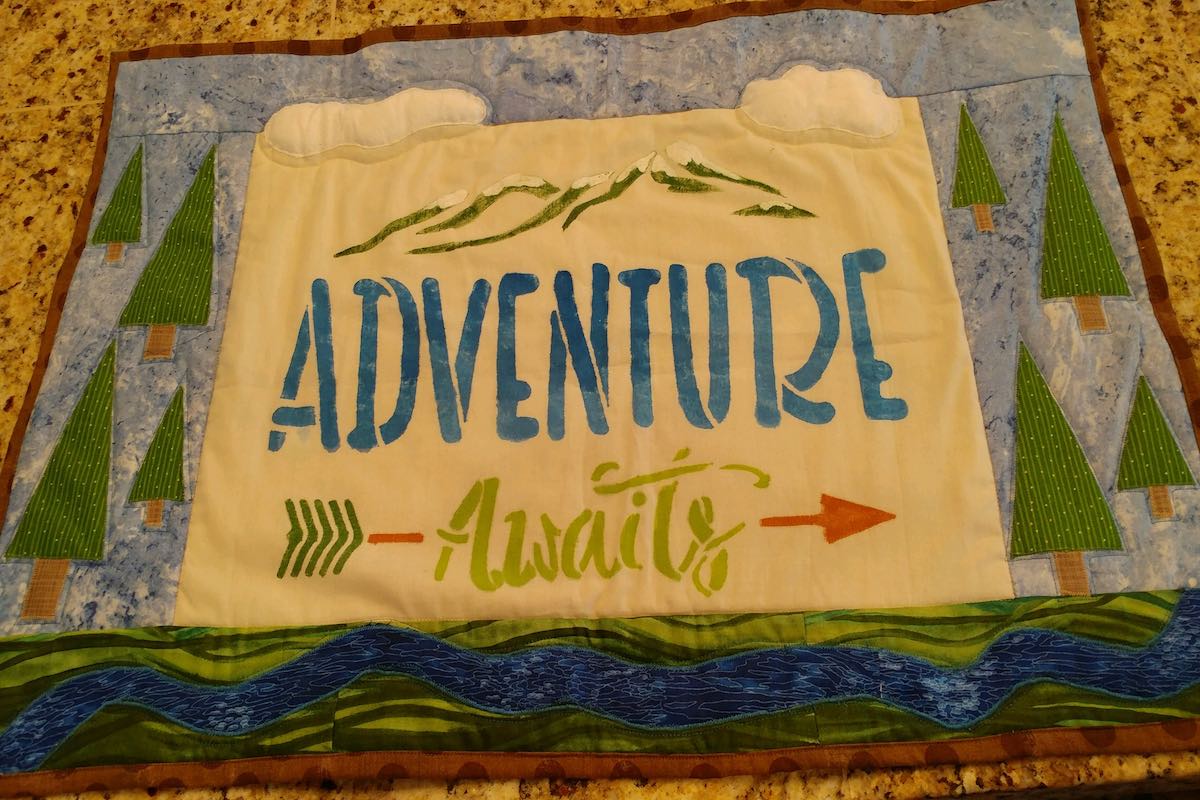
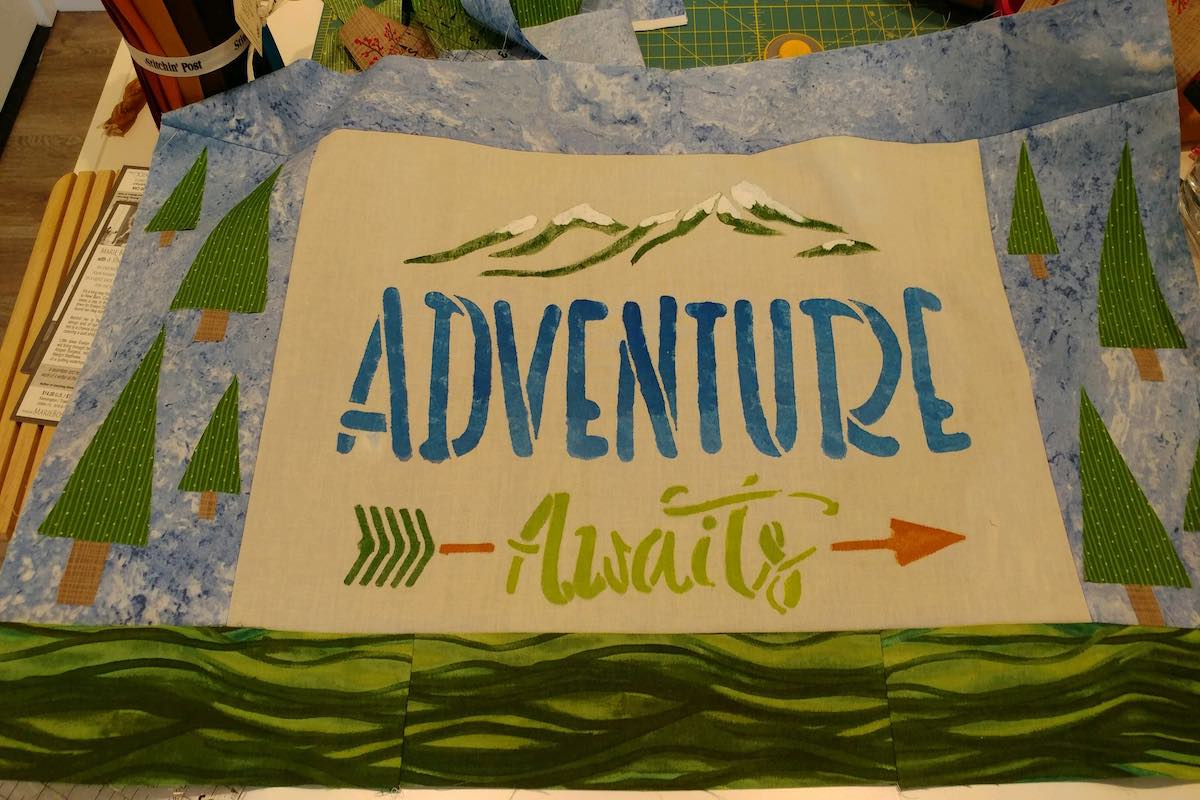
Not long ago, someone from my local quilt guild asked the membership to donate quilts to an auction for the Wildland Firefighters Foundation, an organization that provides immediate financial and crisis assistance to families of fallen and injured wildland firefighters. My guild sister said that outdoorsy themed items had gone well in the past. The second I saw the “Adventure Awaits” stencil, I knew it would be perfect focal point for a quilted wall hanging.
The Adventure Begins
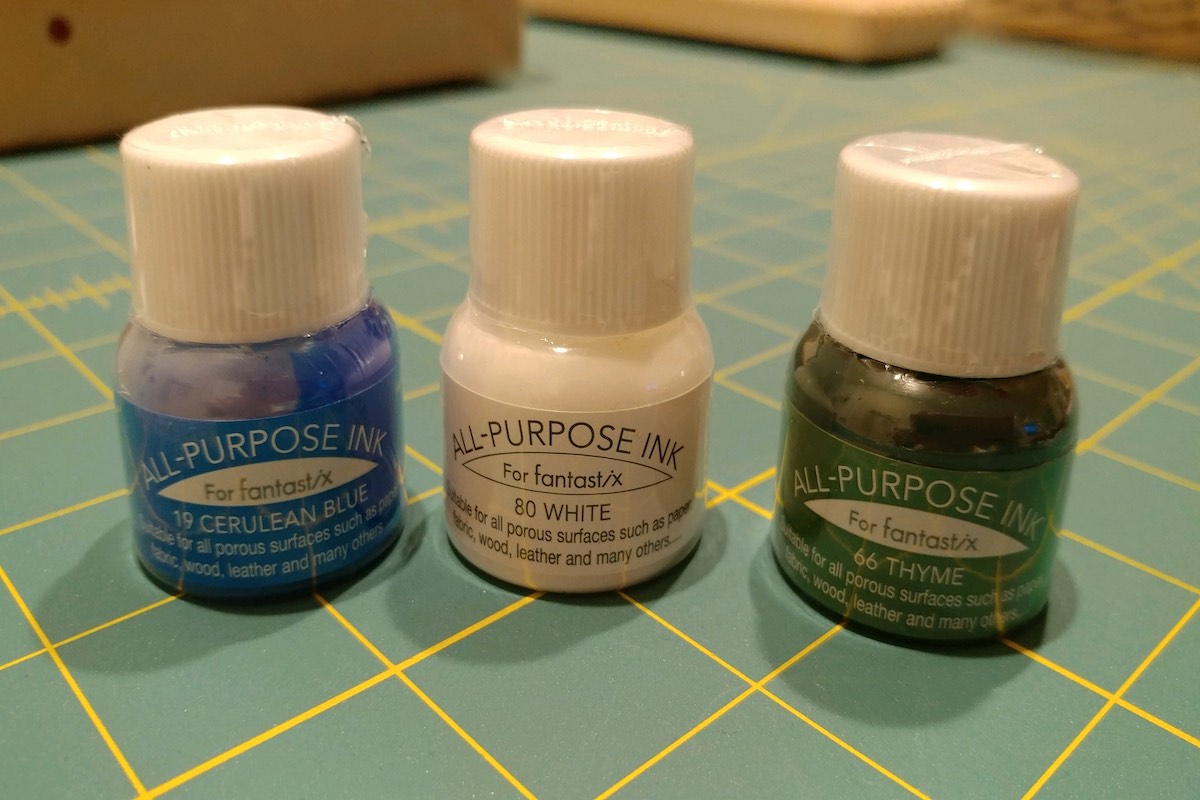
The first step in making my quilt was placing the 18 x 12 inch “Adventure Awaits” stencil onto a piece of plain muslin. Using a small sponge and different colors of ink (All Purpose Ink is available here), I transferred the stencil image onto the fabric.
Because I simply laid the stencil onto the muslin, there was a little “bleeding” of the ink along the edges. Next time, I’m going to try using a spray adhesive – the same kind I use for quilting basting – on the back of the stencil. However, by being careful not to apply too much ink to the sponge I was still able to get a good result.

After transferring the image, I used a paintbrush to add a bit of snow to the top of the mountains.

Next, I started searching through my stash for fabrics to complete the project. Luckily, I had absolutely everything I needed!
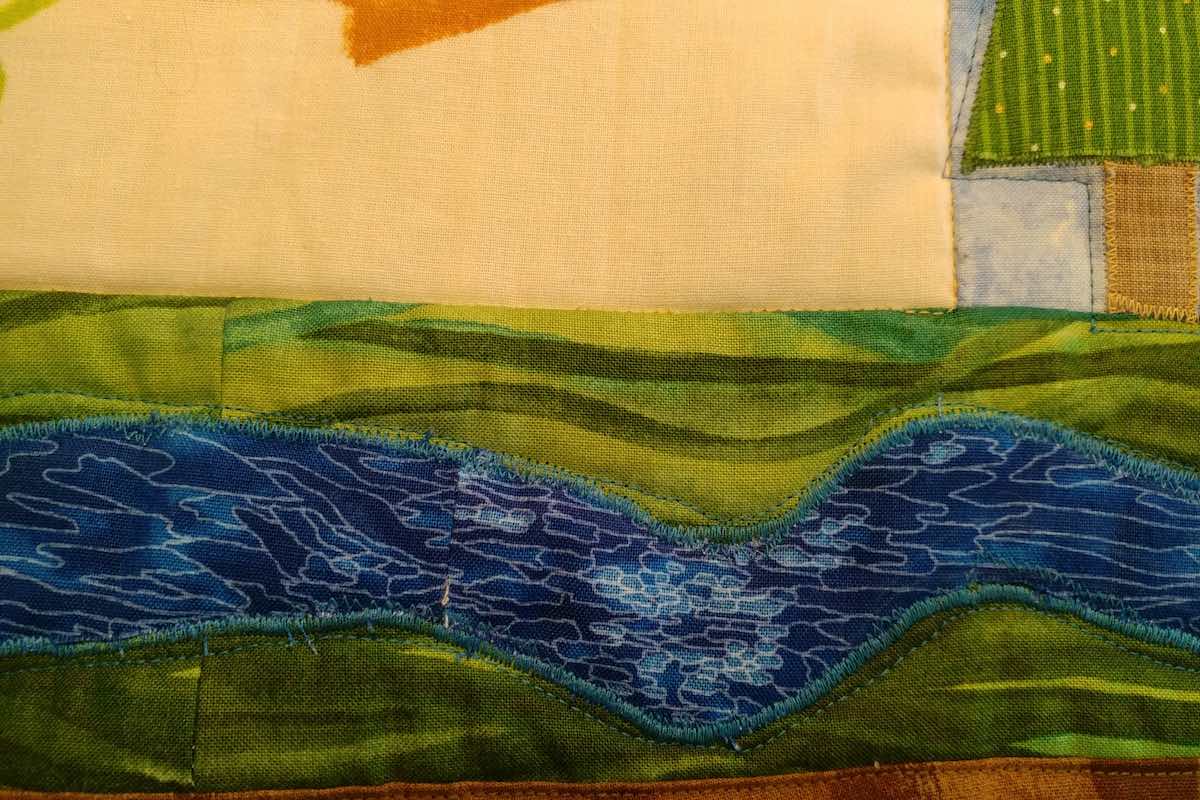
A beautiful dark blue with little bubbles and whorls was perfect for my stream. I found a mottled light blue for my sky, a piece with some wonderful waves of green that were just right for a grassy field, and some bright green on green stripe for the pine trees.
(This is why it is important to have a large and varied fabric stash! I explained this to my husband. Several times. He is still not convinced.)
No-Pattern Quilting
Before you ask, there was no pattern here. I just made it up as I went along. Improvisational quilts are such fun to make! These days, probably three quarters of the quilting projects I make are of my own design and I really enjoy it. Even when it is something as simple as this little wall hanging, there’s something incredibly satisfying about making a piece that is totally original. If you haven’t tried it before, you really should!
Some people find working without pattern daunting at first but really, why should it be? The worst thing that could happen is that you’ll wreck a little fabric or perhaps make an ugly quilt. (Hey, I’ve made a few ugly quilts even with a pattern.) But you might end up making something really cute, or fun, or even beautiful, something that’s all yours, something you can feel proud of. Give it a try!
The Adventure Continues
Anyway, back to my cute little quilt…Once I had the stencil section completed, I simply added light blue “sky” strips on the left and right sides of the quilt, another “sky” strip to the top edge, and a green “grass” section on the bottom.
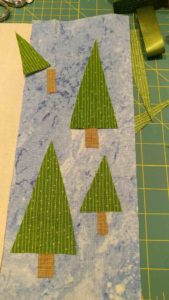
Next, I cut out several green triangle shapes for my trees, some little brown rectangles for the tree trunks. I used MistyFuse and a hot iron to adhere them to the fabric. I used chalk to draw a meandering stream on a strip of blue fabric, then ironed it to the grassy section, again using MistyFuse.
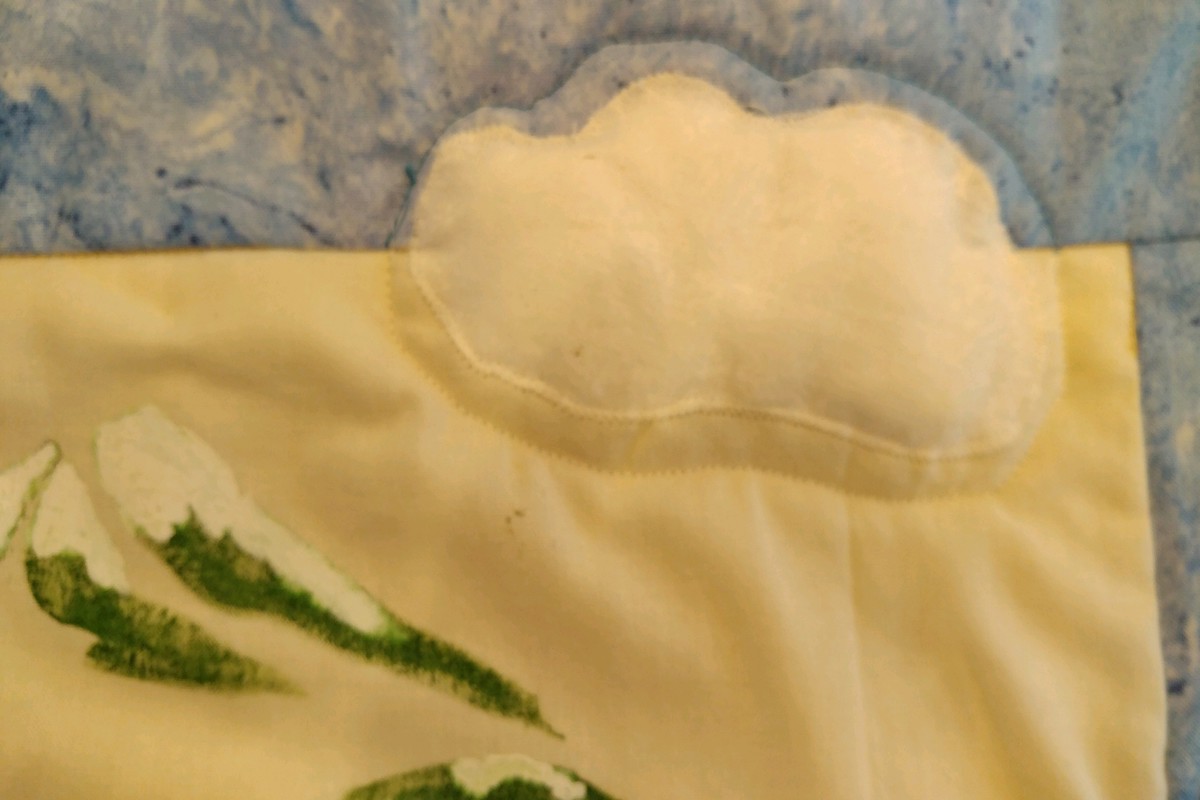
When all my appliques were in place, I stitched the edges on my sewing machine with a tight zigzag. The curves of the stream were quite gentle, so I didn’t lower the feed dogs on my machine. By going slowly and guiding the fabric carefully, I was able to sew smooth, even curves. After adding my trees and stream, my little quilt was looking pretty good! But the top looked a little bare to me. I added two trapunto clouds to give the piece a little added dimension.
 If you’ve never heard of it, trapunto is a technique whereby a little extra stuffing or batting is added to a quilt to make it puff out a bit. Perfect for clouds, right? And it was very easy to do. I cut a couple of slits into the base fabric in the back, being careful not to cut the appliquéd clouds, and then stuffed in a bit of cotton. The batting and backing covered up the slits, so I didn’t even bother stitching them closed. Such a simple technique but it made a big difference.
Wrapping up the Adventure
Finally, I added the batting and backing to the quilt, did a single line of echo quilting around the trees, stream, and clouds, bound it with brown fabric, and stitched a hanging sleeve onto the back.
That was it!
I only put four or five hours into this quilt but it but such fun to make. Hopefully, this cute little quilt will catch someone’s eye at the Wildwood Firefighters Foundation auction. I’m proud to raise money for this very worthy cause.
Using the stencil couldn’t have been easier and it gave me a chance to create something unique. I’m excited about finding other ways to use stencils in my future projects!
