This post may contain affiliate links. Full disclosure policy
THIS POST MAY CONTAIN REFERRAL LINKS. IF YOU CLICK THROUGH AND TAKE ACTION, I MAY BE COMPENSATED, AT NO ADDITIONAL COST TO YOU.
There’s something about celebrating old traditions and fond memories of the past that puts a smile on my face. With more than 50 years behind most of us, we certainly have a lot to reminisce about and share with our kids and grandkids.
Since I’m writing about simple joys this week, starting with my long-held love of homemade ice-cream, another summer tradition emerged from the past. It might have started as a craving.
I remember berry picking and canning with my grandma in the Pacific Northwest, in late July and August when the local berries were literally bursting with summer flavor and the bushes were heavy with fruit. Strawberries, raspberries, blueberries, blackberries, and marionberries – I didn’t not discriminate. Foraging around the woods with my three sisters, picking berries, and racing each other toward the ripest and brightest, we would haul back buckets of summer goodness.
Then the real work would begin. Sterilizing the mason jars, stirring hot fruit for hours, sealing the cans. It was hot. And time-consuming. But worth the effort if only for the year-round taste of summer and the kernels of wisdom that were shared by grandmother during the process. Isn’t that what grandmothers are for, anyway?
While I don’t often can summer jams these days, and my berry picking days are far and few between, I do enjoy making easy freezer jam each summer. But for this post, I wanted to make it just how grandma used to do.
In Search of the Perfect Recipe
Unfortunately, I don’t have written instructions for the way we used to make jam. So I had to do a little research to find the perfect recipe. What I found was that there seems to be two schools of thought: the added pectin jam recipes and the recipes without jam, simply fruit and sugar. On the one hand, the idea of using a thickening agent like pectin generally saves time, results in more jam since you aren’t boiling the heck out of it, and also requires a lot more sugar. On the other hand, no pectin recipes seemed to take longer and some fruit, like raspberries, doesn’t have the natural pectin needed to make it gel adequately.
I came up with a couple of criteria for my recipe testing. First of all, I preferred a lower sugar recipe without any weird sugar alternatives. You’d be surprised how many recipes actually called for more sugar than fruit. Second, I don’t want to spend the entire day sweating over a hot stove. And third, it had to be delicious.
There were mixed reviews on the low sugar pectin so I removed that from the list of contenders. I decided to do a little experiment. Why not do a side by side comparison of added pectin and no pectin raspberry jam? My goal was to find a recipe that would be just as delicious with less than half the sugar. Yes, you read that right.
Here’s how I did it.
Equipment
Before you get started, make sure you have the following items.
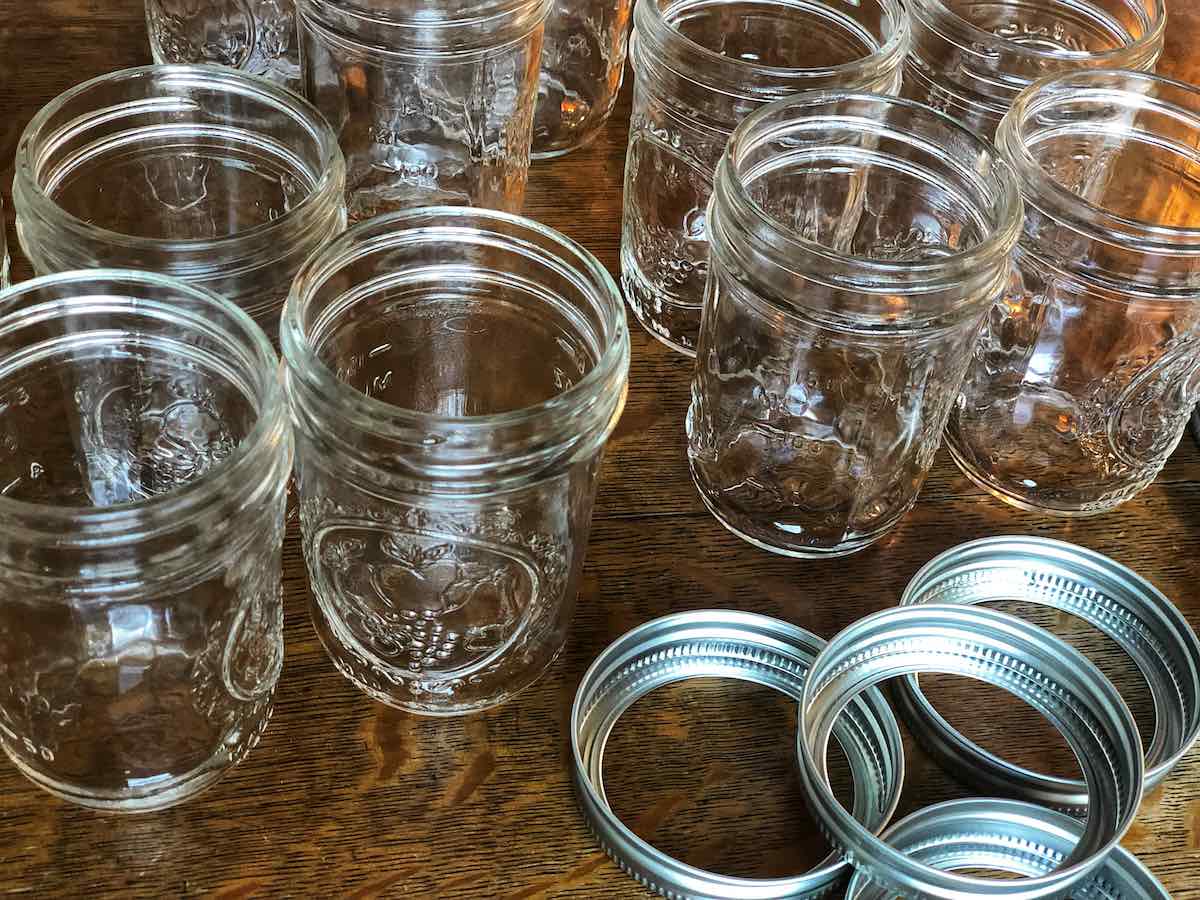
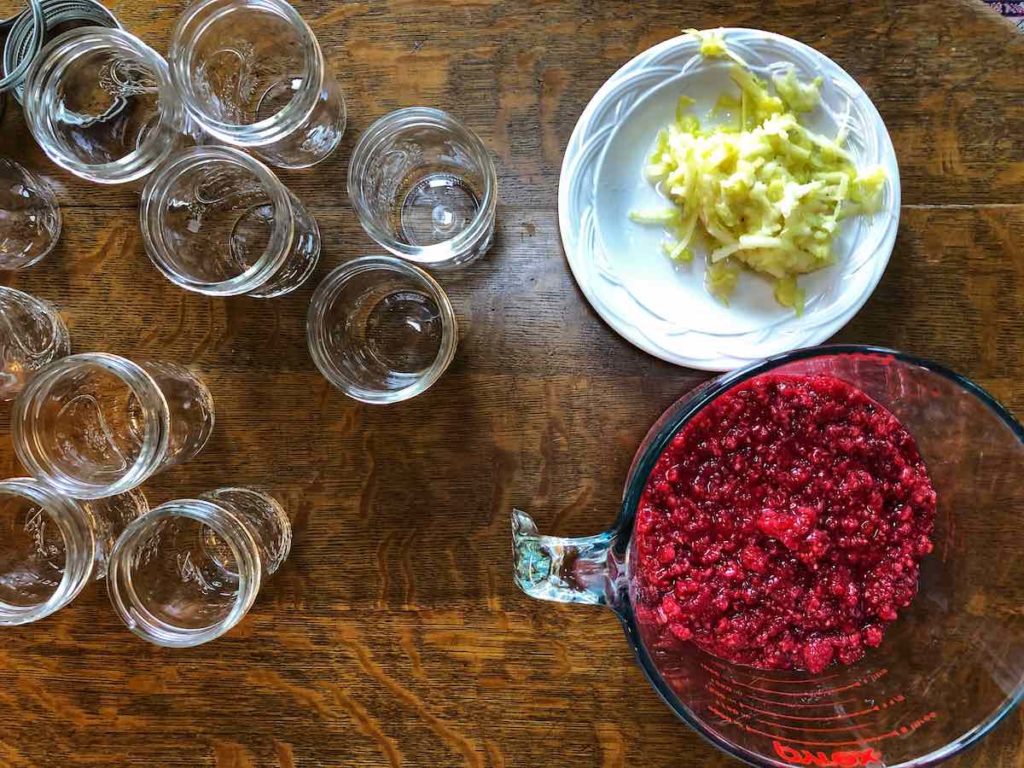
12 8 oz ball jars, (sterilized according to instructions)
canner or large pot to seal jars
deep sauce pan (2 in my case since I made two different kinds)
potato masher like this one
ideally one or more grandchildren
Preparing the Fruit for Glory
The first step is finding an enthusiastic grandchild to pick the summer’s finest bounty, preferably one with eagle eyes. If none are available, just buy some berries at the store.
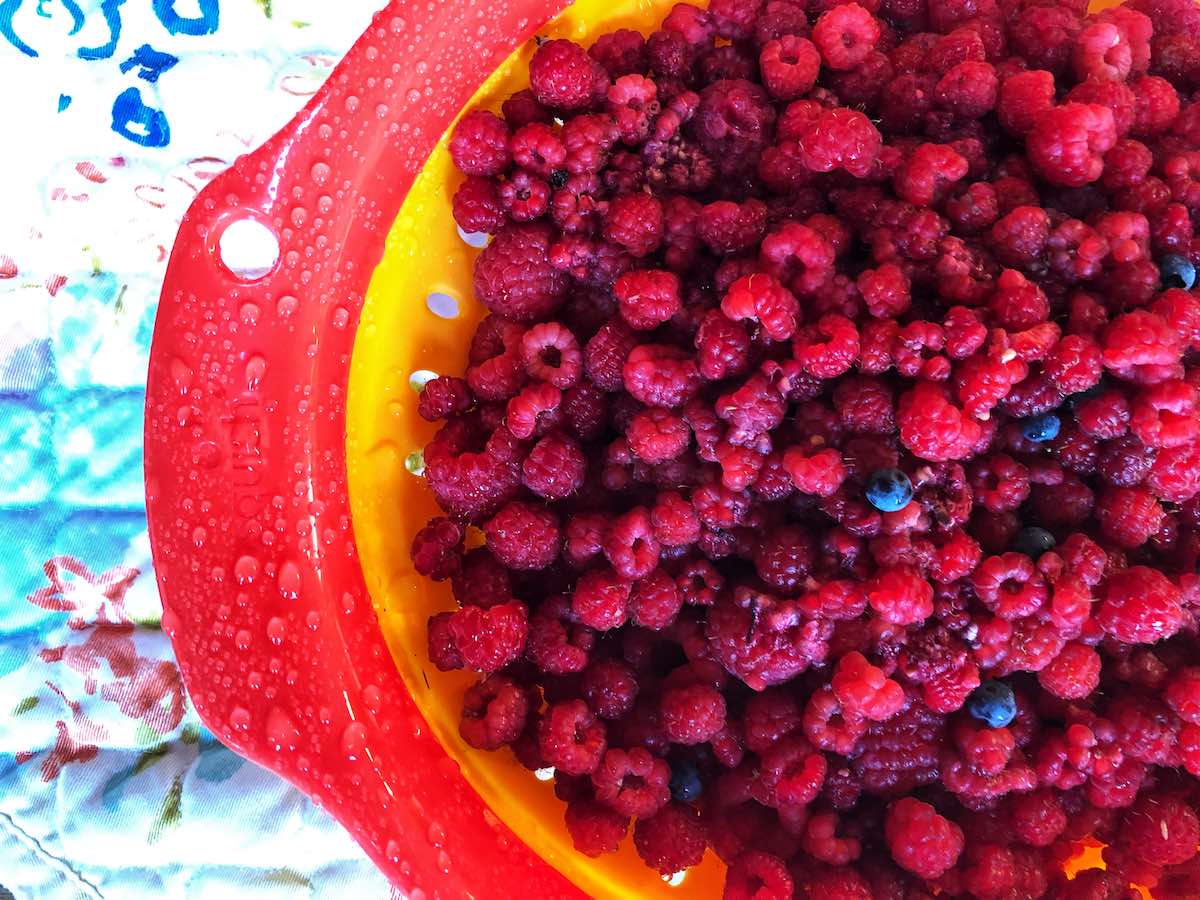
Then rinse the berries. Bask in the beauty of their vibrant colors. Snack on a few. Try to save enough to make jam, otherwise you’ll need to start back at step 1.
Then mash them up using a potato masher.
Once mashed, the fruit condenses by approximately a third. In my case, I was left with 10 cups of mashed fruit. An optional step here is removing some of the seeds by running the fruit through a sieve. I opted to skip this step because seeds just don’t bother me and I didn’t want to waste any more precious berries. It’s your choice.
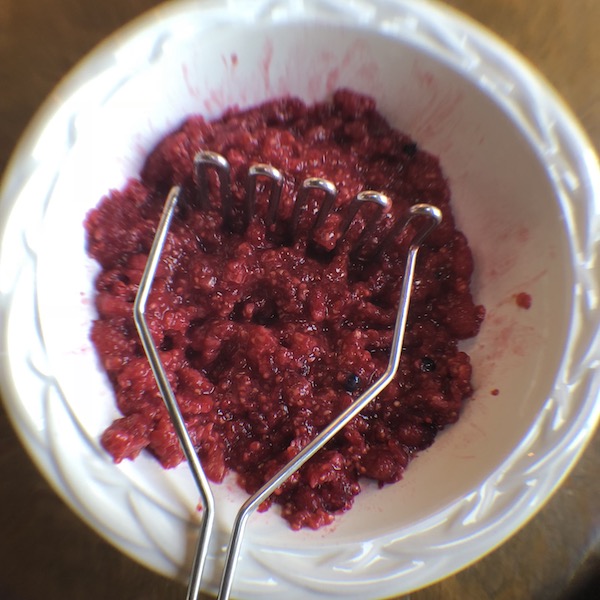
Place the mashed berries in a large pot and heat until it a full rolling boil and doubles in volume. Rolling means that the bubbling boil won’t be slowed down by stirring. Continue rolling boil for 2 minutes.
Now that the fruit is prepared to be jammed, choose your adventure. Will it be with Sure Jell version or the one without pectin with less than half the sugar? Follow the appropriate recipe below for next steps.
No-Pectin Raspberry Jam Recipe
Print
NO-PECTIN RASPBERRY JAM RECIPE
Description
I had a hypothesis here (don’t I sound like a scientist?). To avoid a potentially runny jam, I thought that surely a grated apple would help add natural pectin like it does in my blueberry pie recipe.
The recipe follows a pretty standard old-fashioned jam recipe but without the long cooking times and the addition of a slash of fresh lemon juice, because isn’t everything better with lemon juice? Yes.
Ingredients
- 5 cups mashed berries
- Half cup of grated apple (I used a honeycrisp but I’d bet a Granny Smith would be delightful as well)
- 1 tbs fresh lemon juice
- 3 1/3 C sugar in separate bowl
Instructions
- Measure 5 cups of prepared fruit and bring to a boil.
- Once fruit mixture has boiled for 2 minutes, add the sugar, grated apple, and lemon juice. Stir well.
 Boil for two more minutes, stirring constantly. Remove from the heat.
- Pour into prepared jars without delay, leaving a 1/4 inch at the top.
- Wipe jar rims and tops, making sure no jam will mess with the proper seal. Cover with two-piece lids. Screw on tightly.
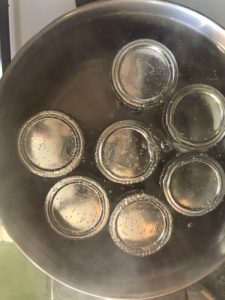
- Place jars in canner or if you just use a large pot of boiling water like I did, make sure that the jars are covered by an inch or two of water. Process by boiling for 15 minutes.
- After jars cool, check the seals by pressing the lids with your finger. If they spring back, the seal didn’t work and the jars will need to be stored in the fridge.
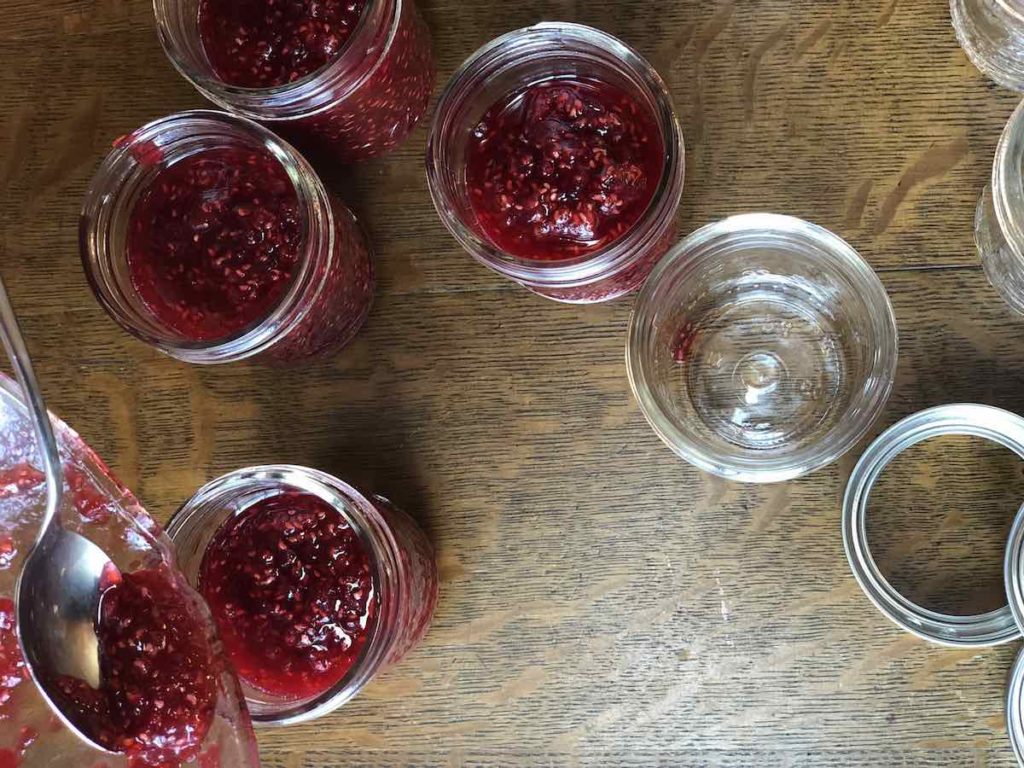
- Jars should seal once cooled and the jam will set once it’s cooled. It takes a little longer to set than the version with pectin.
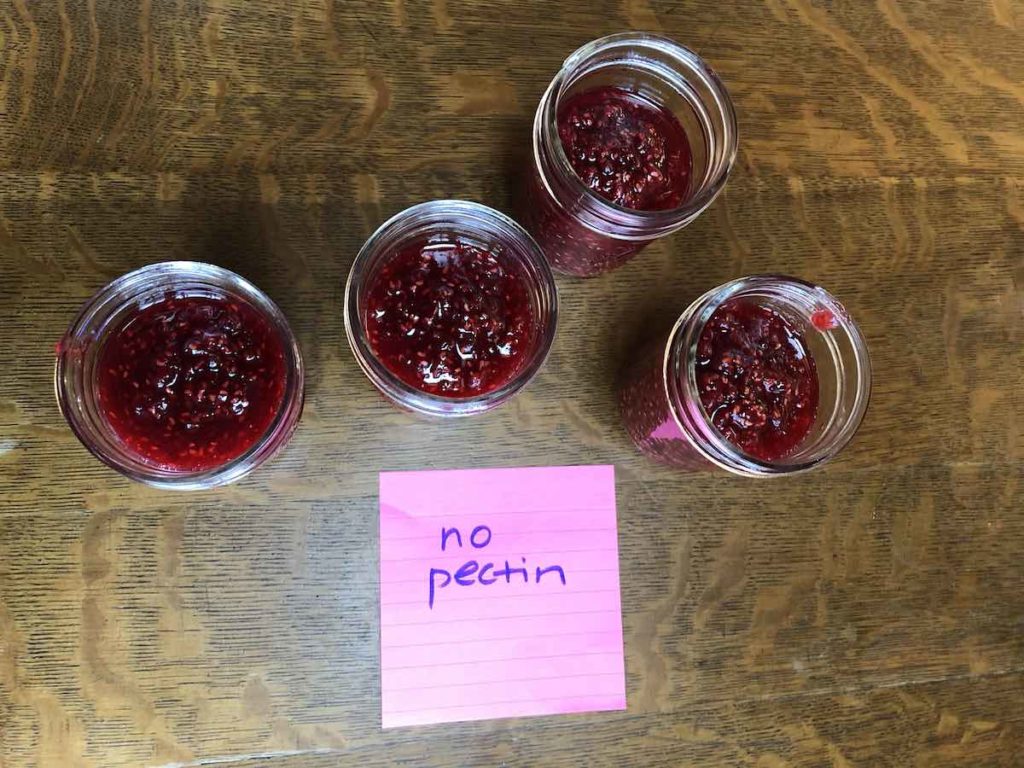
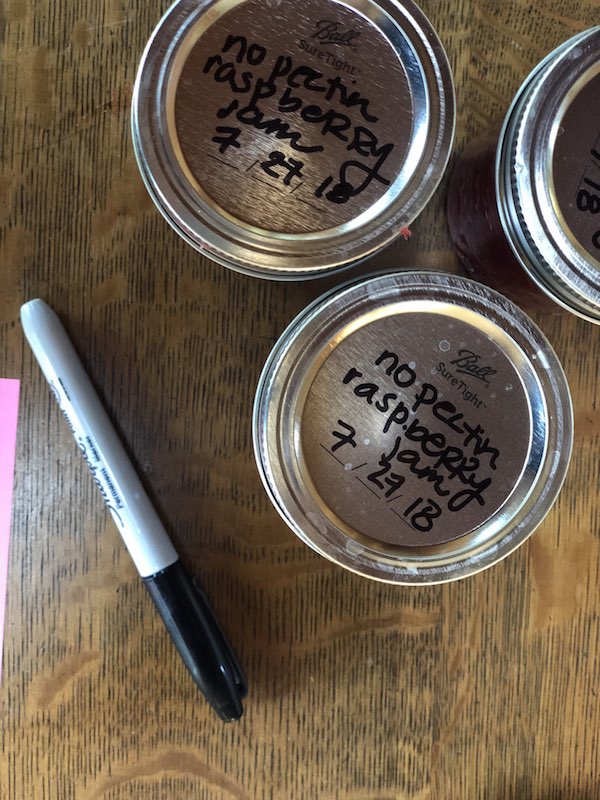
- Using a permanent market, label your jams so you can remember when you made them and what went in them!
Raspberry Jam Recipe with Pectin
Print
RASPBERRY JAM RECIPE WITH PECTIN
Description
For this recipe, I followed the instructions that came with the Sure Jell pectin, with the exception of adding lemon juice. My instinct was to just cut the 7 ungodly cups of sugar on this one, but the instructions said to not even think about that because it will mess up the proportions needed to make it gel. They sounded pretty serious about this so I did exactly what they said.
Ingredients
- 5 cups mashed berries
- 1 tbs lemon juice
- 1/2 tsp butter (optional)
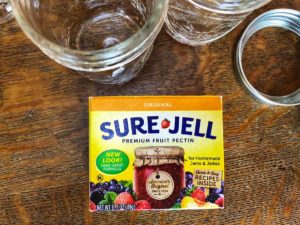
- 1 package original Sure Jell premium fruit pectin
- 7 cups sugar in separate bowl
Instructions
- Measure exactly 5 cups prepared fruit into large pot.
- Stir in the Sure Jell pectin.
- This is totally optional, but you can add butter here to reduce foaming.
- Bring the fruit mixture to a rolling boil (a boil that doesn’t stop bubbling when stirred) on high heat, stirring nonstop.
- Add the incredible and concerning amount of sugar. Try to not think about it. Close your eyes if you have to. Stir well.
- Return to rolling boil and stir constantly for one minute. Remove from heat.
- Skim off any foam with a spoon.
- Pour into prepared jars without delay, leaving a 1/4 inch at the top.
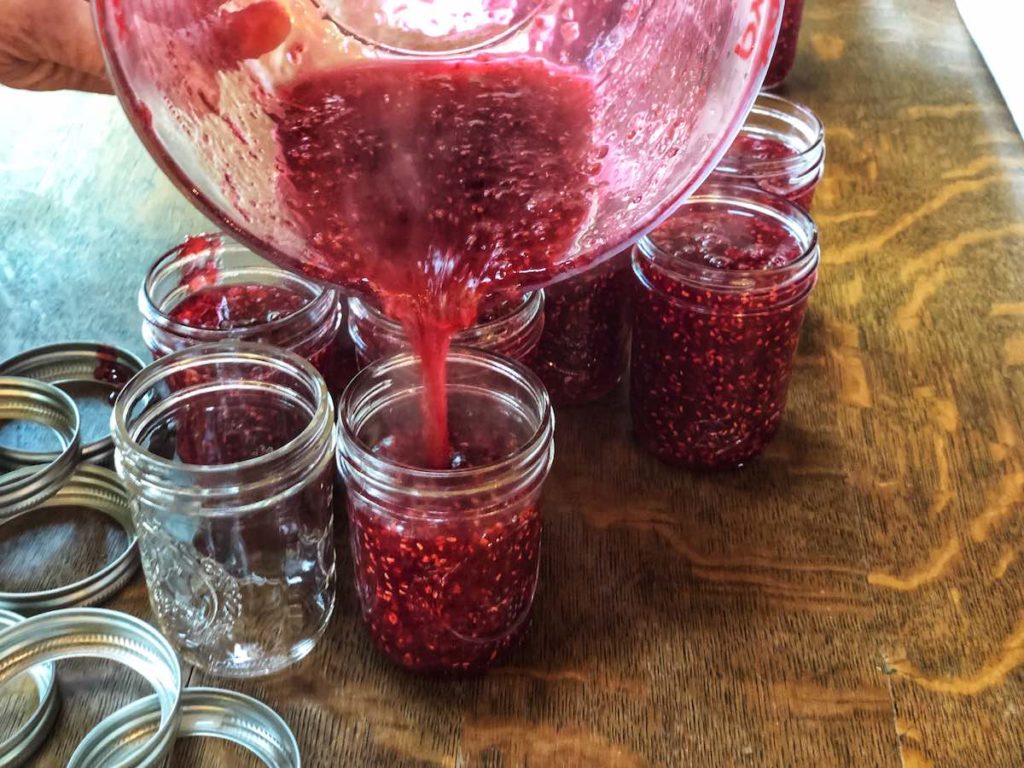
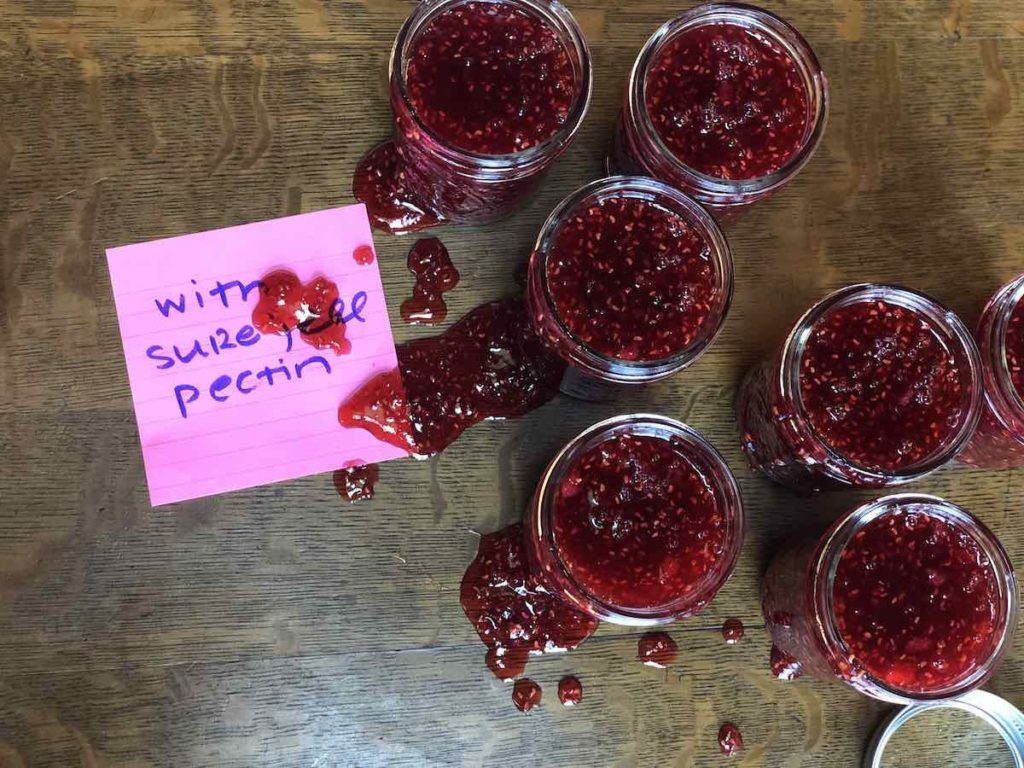
- It’s okay to make a mess here. Embrace the chaos. This is a good time to do a taste test (careful, it might be hot!)
-
Wipe jar rims and tops, making sure no jam will mess with the proper seal. Cover with two-piece lids. Screw on tightly.
-
Place jars in canner or if you just use a large pot of boiling water like I did, make sure that the jars are covered by an inch or two of water. Process by boiling for 10 minutes.
-
After jars cool, check the seals by pressing the lids with your finger. If they spring back, the seal didn’t work and the jars will need to be stored in the fridge.
-
Make sure to label your jams so you can remember when you made them and what went in them!
The Final Verdict
I did a final test with a small group to really get to the bottom of this. Which recipe was better? Here’s what we agreed on.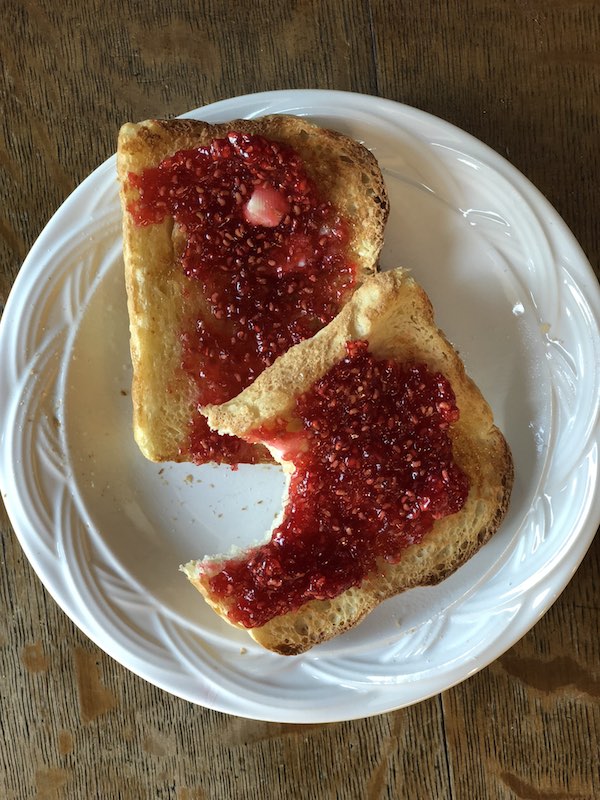
Color: Both recipes had the same vibrant, bright, and jammy color.
Taste: The no-pectin version wasn’t quite as sweet, which makes sense considering it had less than half the sugar. I personally didn’t miss the added sugar. Both were delicious and maintained that very berry flavor. Five stars for taste!
Consistency: The jam made with Sure Jell not surprisingly jelled quicker and thicker. The one without pectin jelled adequately once it cooled. A day later, the consistency is just about the same.
Application: Both versions were exceptional on English muffin bread, while wheat bread, and croissants. That was the extent of my testing.
Calories: Don’t even get me started on the sugar or the points. Maintaining my Weight Watchers Freestyle plan just wasn’t the goal here. The lower sugar version obviously is slightly less calories.
In the end, we all agreed that the lower sugar version with no added pectin was the winner by far, especially when you considered that it was less than half the added sugar.
Whatever you prefer, homemade jam is an excellent staple for your Prepared Pantry and an important tradition to enjoy and pass on to future generations. If you decide to share the goods with others, having homemade jam on hand always makes for a perfect hostess gift or just a way of saying you care through a random act of kindness.
I hope you enjoy this simple joy like I have! I’m sure you will.
