This post may contain affiliate links. Full disclosure policy
THIS POST MAY CONTAIN REFERRAL LINKS. IF YOU CLICK THROUGH AND TAKE ACTION, I MAY BE COMPENSATED, AT NO ADDITIONAL COST TO YOU.
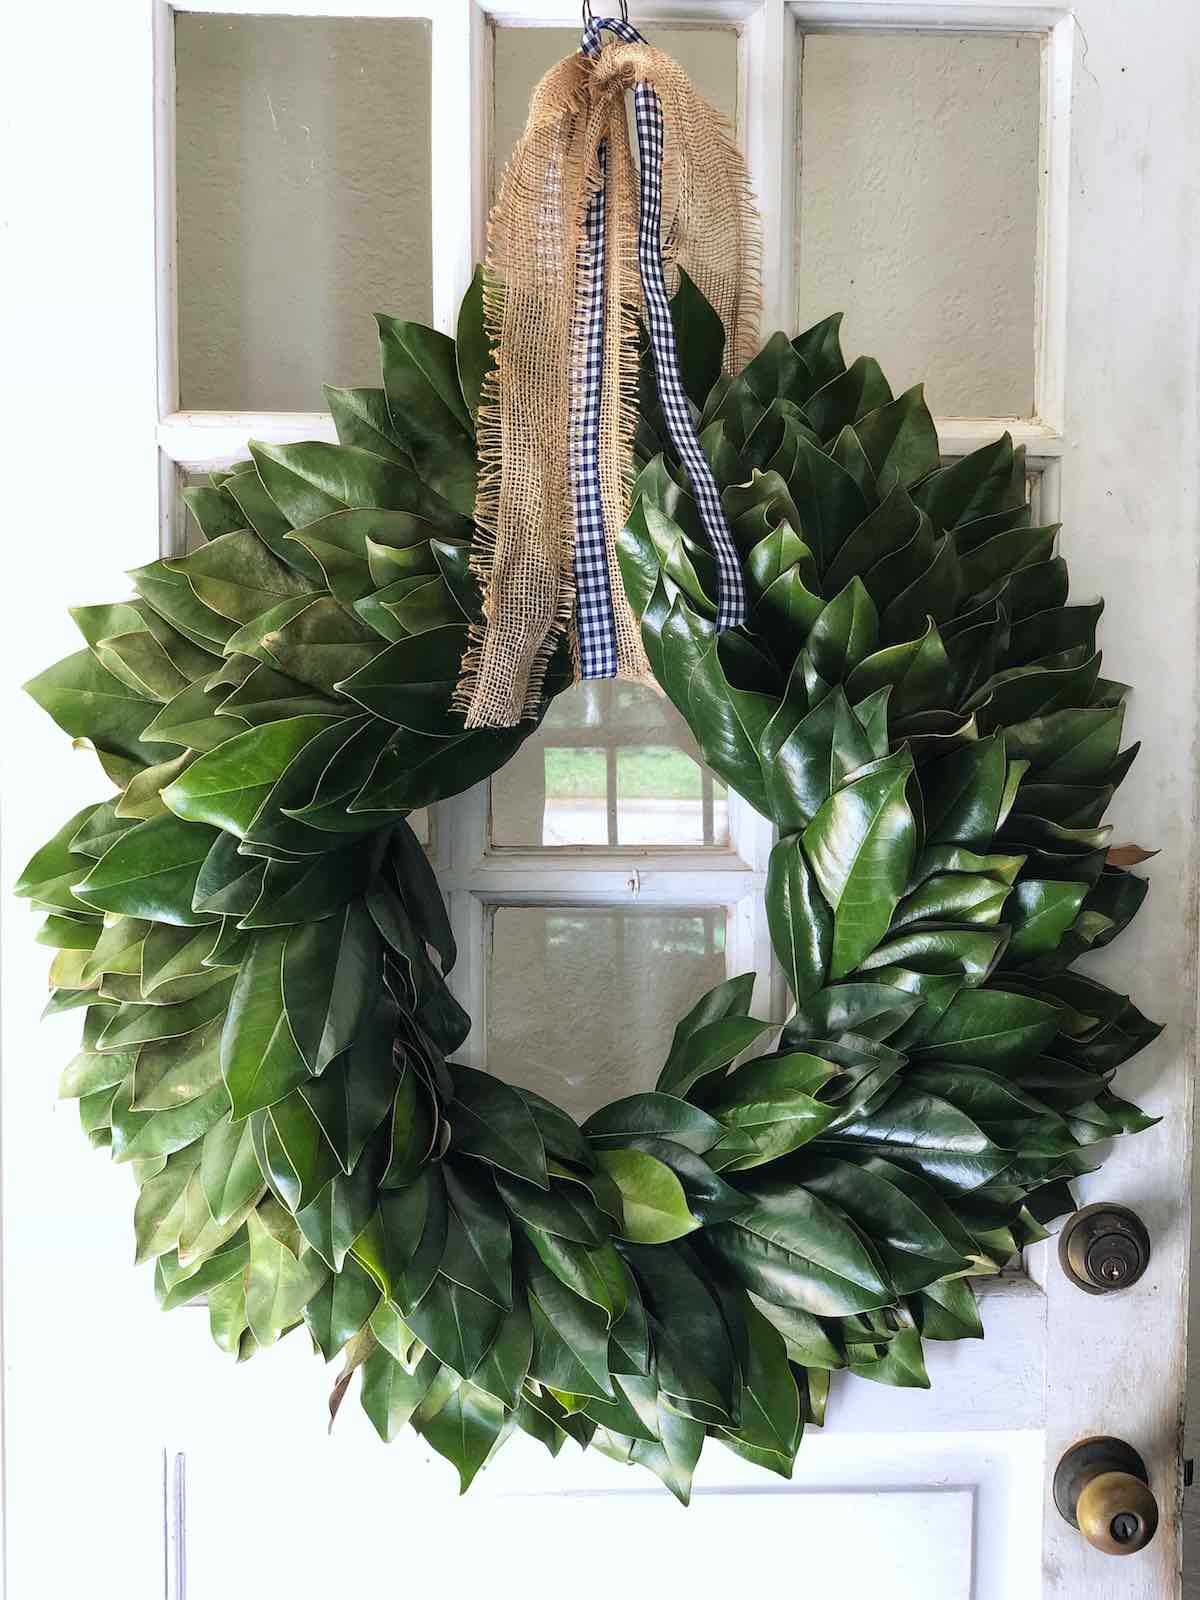
If you haven’t noticed, I’ve been on quite the Fall crafting kick. So when my daughter in love recently called me up to tell me that she just made two amazing homemade wreaths for Fall, I had to share.
She may not be over fifty (that would be weird, right?), but she is fierce as can be and crafty to boot! How did I luck out on a daughter-in-law that loves crafting as much as I do? I’ve enjoyed bonding over our love of crafting and it’s fun to see my grand-darlings joining in on the fun as well.
I certainly hope my son appreciates how beautiful his doors look like this season. He would be a fool not to.
Wreaths are the ultimate symbol of hospitality and festivity. And fresh wreaths made with local foliage mirror the season’s colors better than anything you can buy. Plus, store-bought ones or wreaths from the florist don’t come cheap!
So why not try your hand at making your own wreath? My daughter-in-love promises that if you can safely wield a hot glue gun and are tall enough to trim leaves off of a magnolia tree, both of these wreaths will be a cinch.
Perhaps she will mail one of these to me. Wouldn’t they look lovely on, say, my front door?
I’m heading out of town for a few days but cannot wait to give a wreath a try when I return home to The Pinery!
Acorn Wreath
It’s that time of year for many parts of the country where acorns scatter the ground and squirrels run wild. So why not pick up a few acorns and make something wonderful? The squirrels have enough acorns.
What You’ll Need
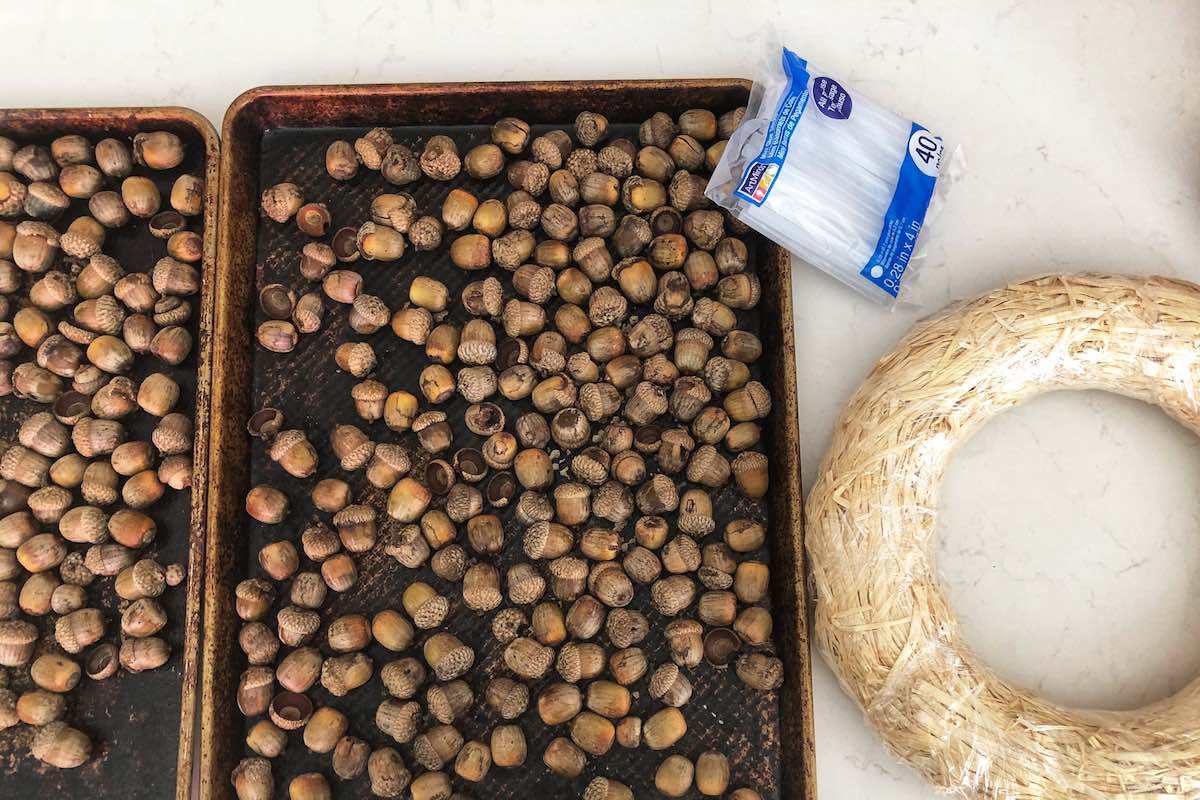
- 1- to 14 inch straw wreath form
- 16 cups of acorns
- hot glue gun and a ton of hot glue sticks
- ribbon for hanging and general flare
Instructions
- Collect around 16 cups of acorns. You will need more than you think. Look for acorns that aren’t half eaten by squirrels or bugs. Try to have some of the acorns still “wearing their hats.”
- Clean and roast the acorns. Here’s a tutorial that explains how to do that and why you should.
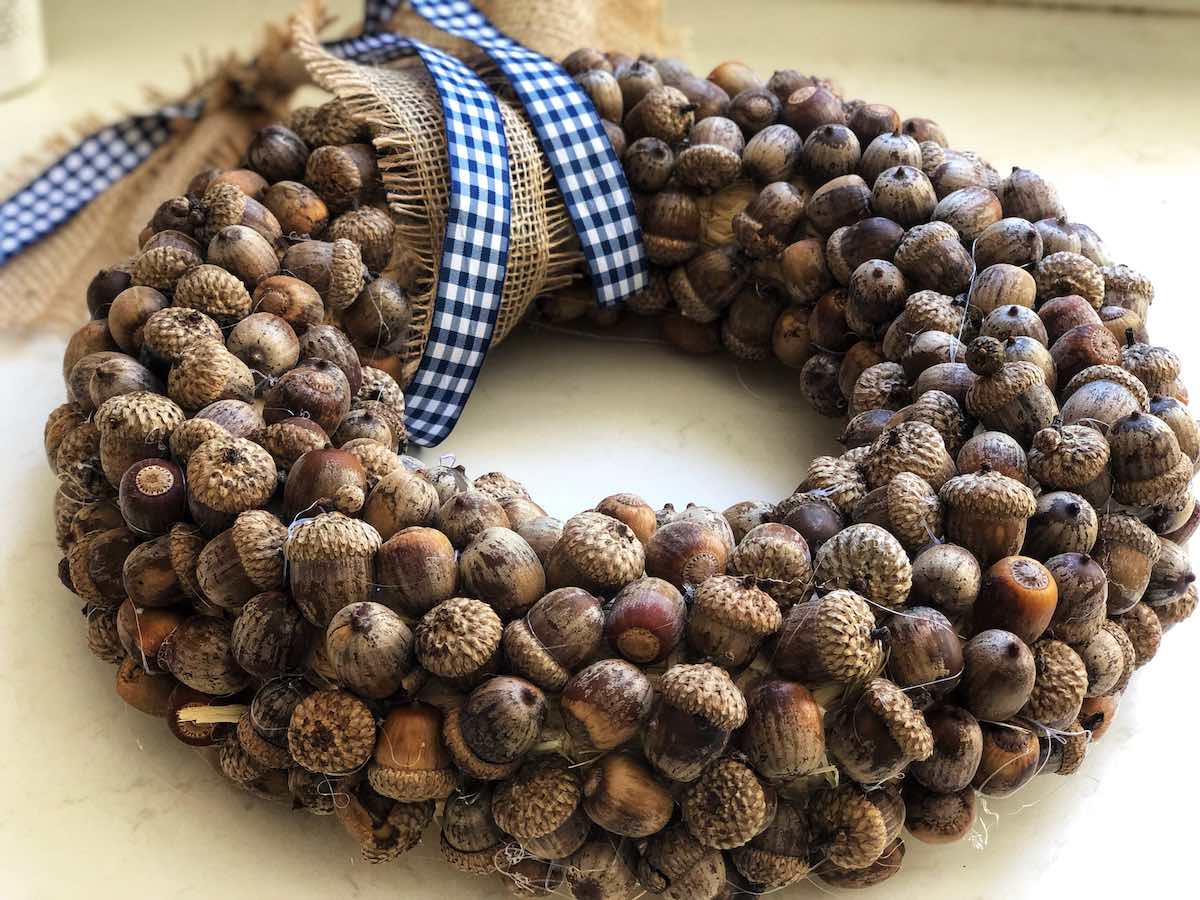
- Using a generous amount of hot glue directly on the straw wreath form, place each acorn individually. Try to use glue under and in between the acorns to help them stay put once it dries.
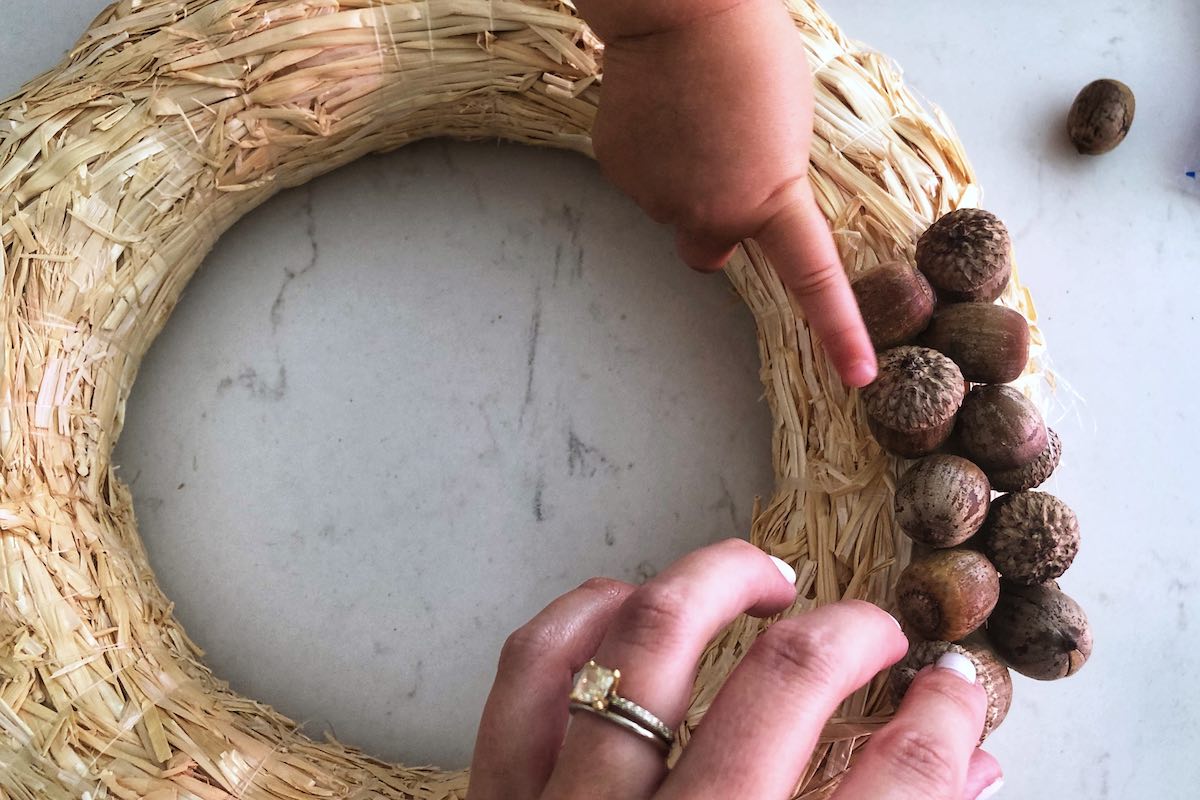
- Mix up the angles of the acorns, because perfection is overrated. Plus, the variety masks any mistakes you might make!
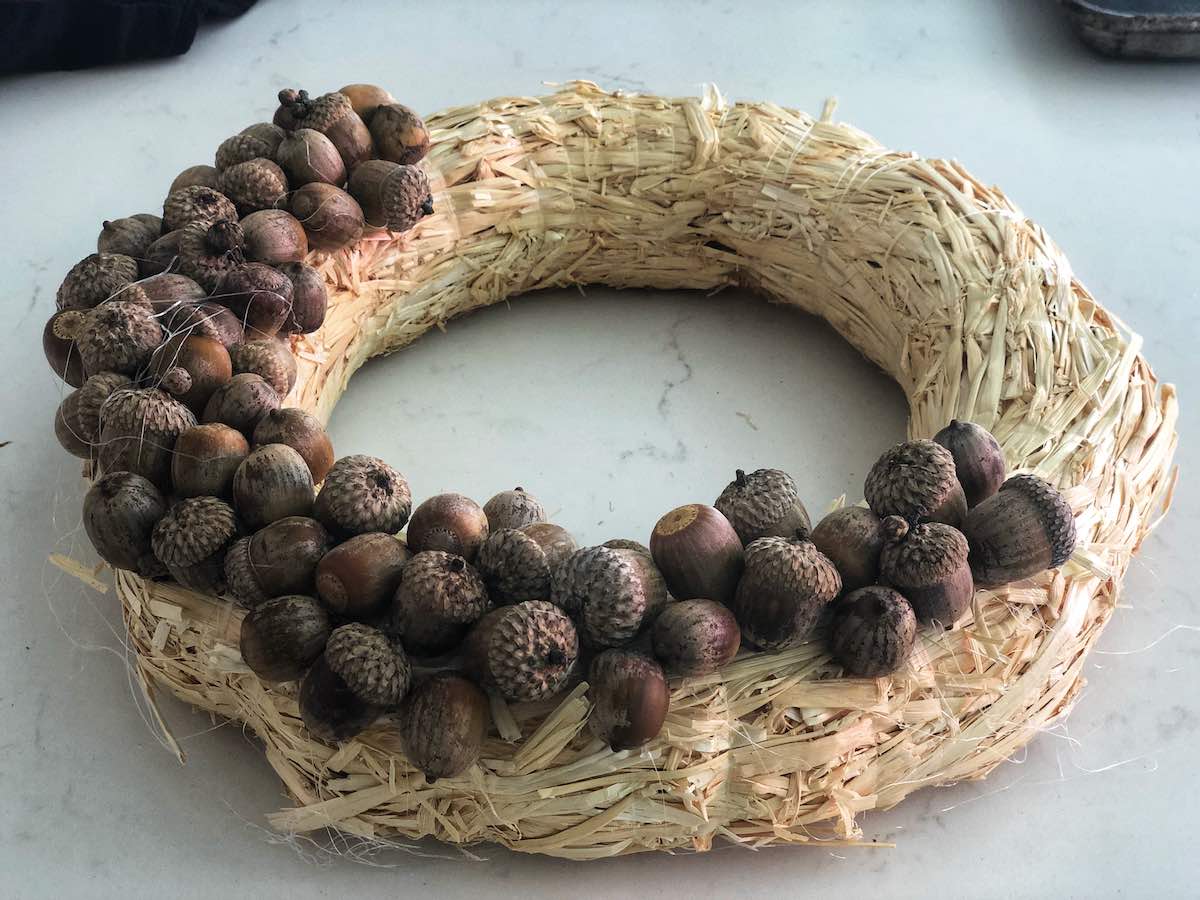
- Work your way around the entire front of the wreath until completely covered on the front and sides.
- Remove any visible hot glue strings.
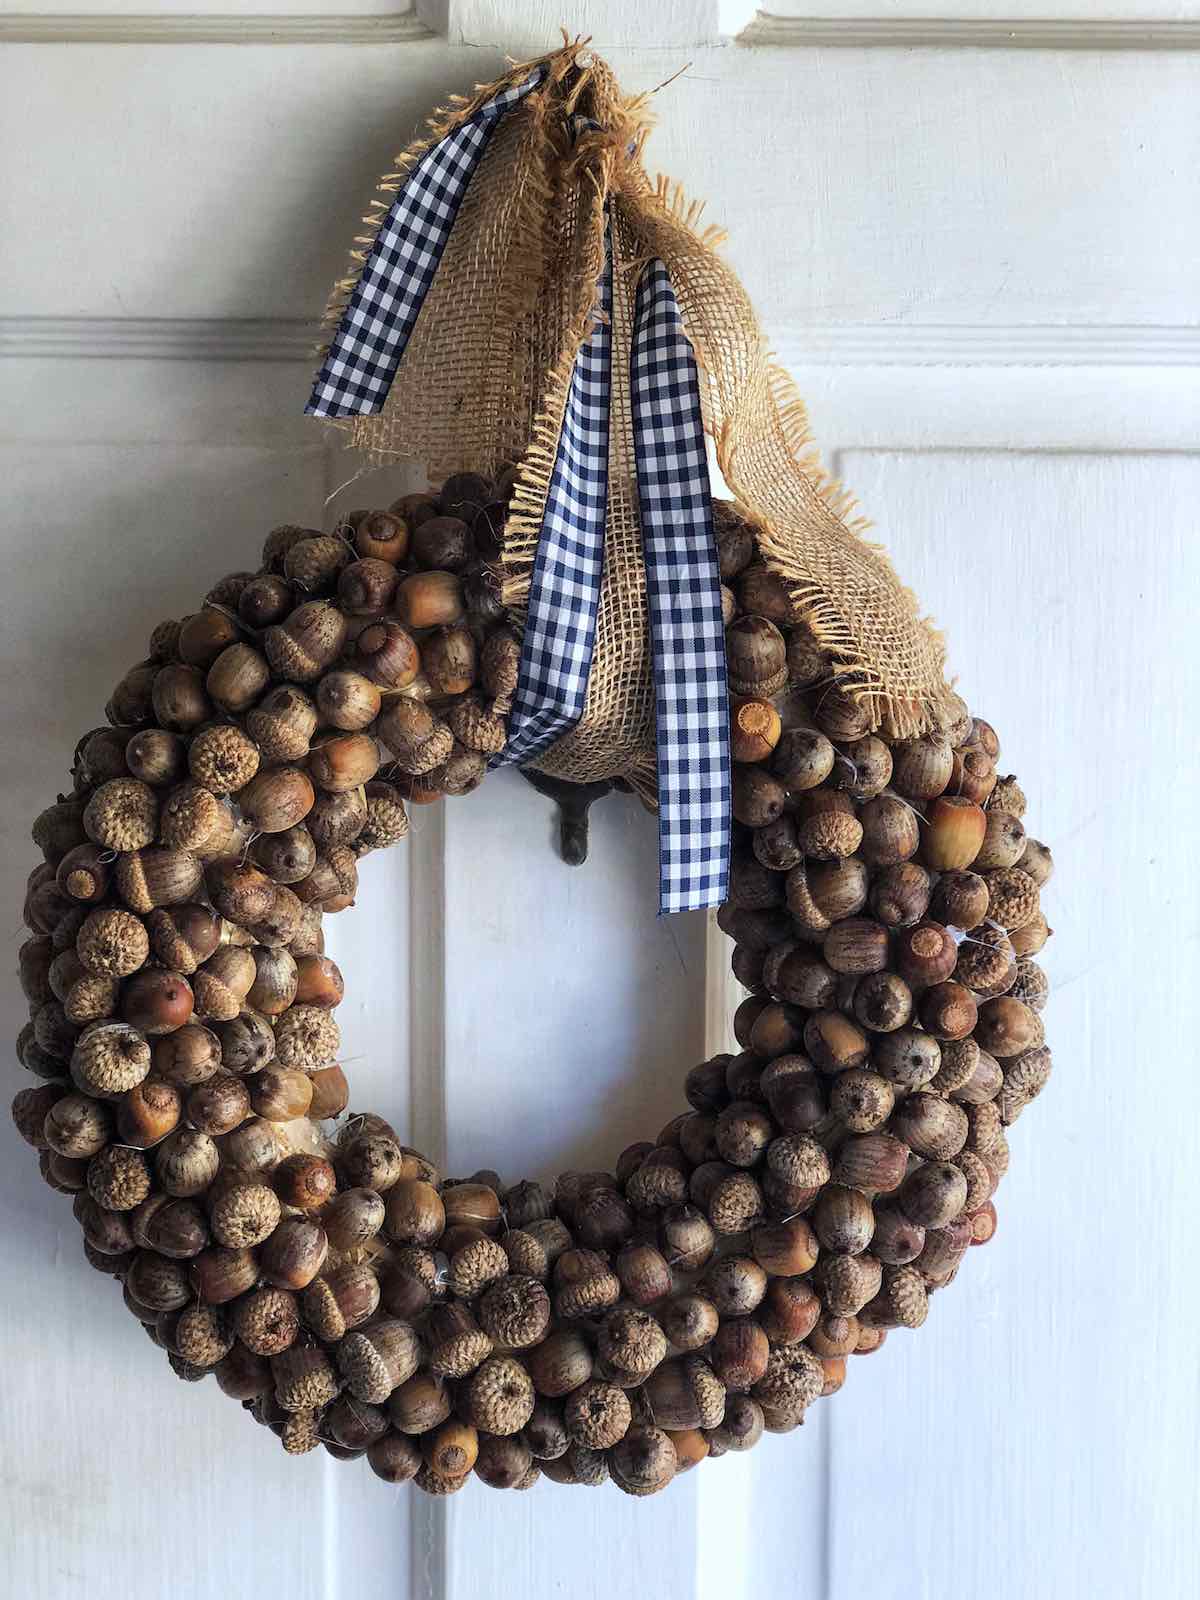
- Loop ribbon around the top and display on your door with pride. You did it!
Note: If squirrels are especially pesky in your neck of the woods, spritz finished wreath with clear acrylic spray. You really can’t blame them for wanting to make a buffet out of your acorn wreath. Just try to make it as unappetizing as possible.
Southern Magnolia Wreath
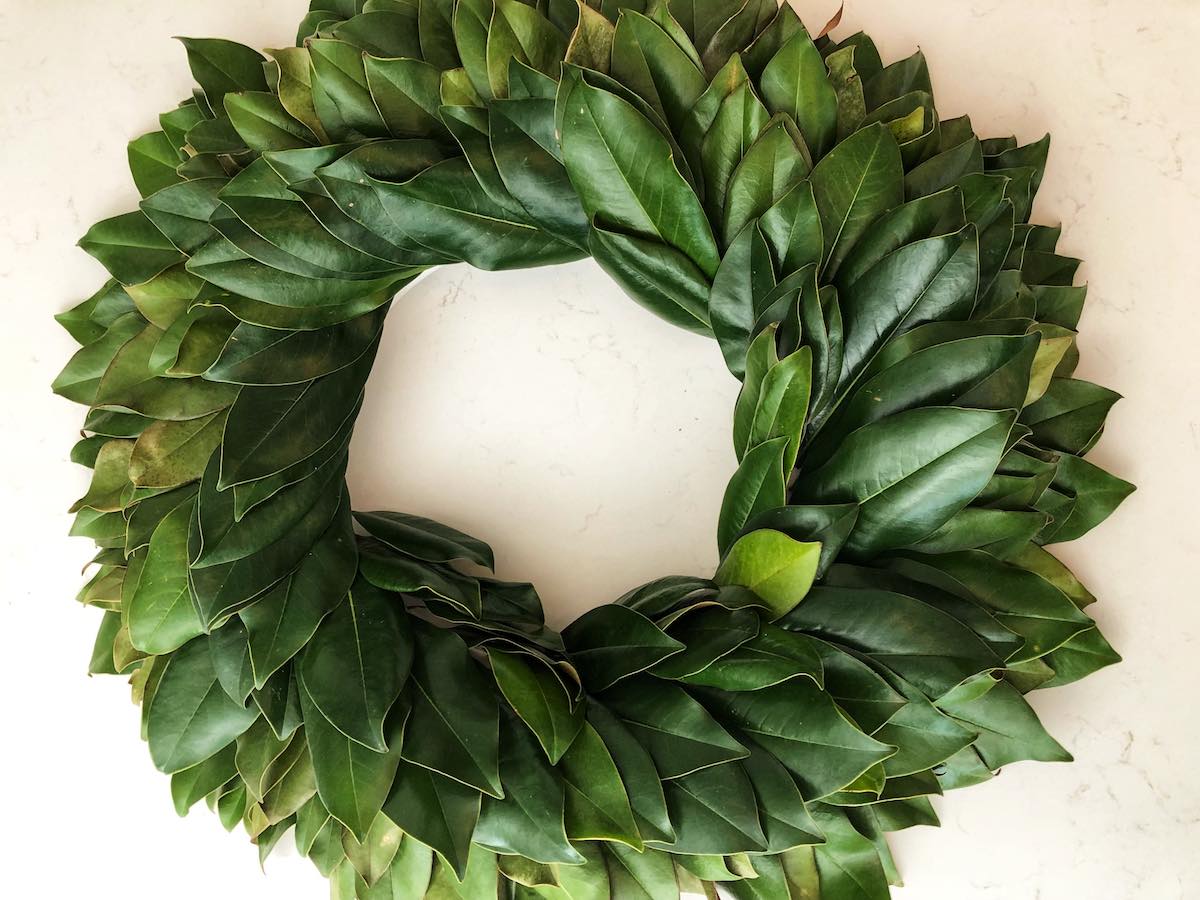
My daughter-in-love has a giant Southern magnolia in her front yard, so trimming 100 leaves was no problem for her! Here in Bend, a Southern magnolia is about as common as a palm tree. But a similar technique could be used with all kinds of leaves or greenery. See the note below.
What You’ll Need
- About 100 magnolia leaves, with as much of the stem intact as possible
- 10 to 14 inch Styrofoam wreath form
- sharp object to poke holes in wreath (like a kebab stick)
- Ribbon for hanging and adornment (navy gingham and frayed burlap ribbon were used here)
Note: If magnolias don’t grow where you live, try boxwood, spruce sprigs, or other local foliage. You can’t go wrong!
Instructions
- First, sort out your leaves by size so that wreath will have a more uniform appearance.
- Starting at the outermost side of the wreath, Using a sharp object to “pre-drill” the holes on the styrofoam wreath form, pierce wreath at an angle to ensure that leaves arrange themselves at a uniform angle throughout. Drill holes every 3/4 of an inch or so. Do four or five concentric circles until close to the innermost part of the wreath.
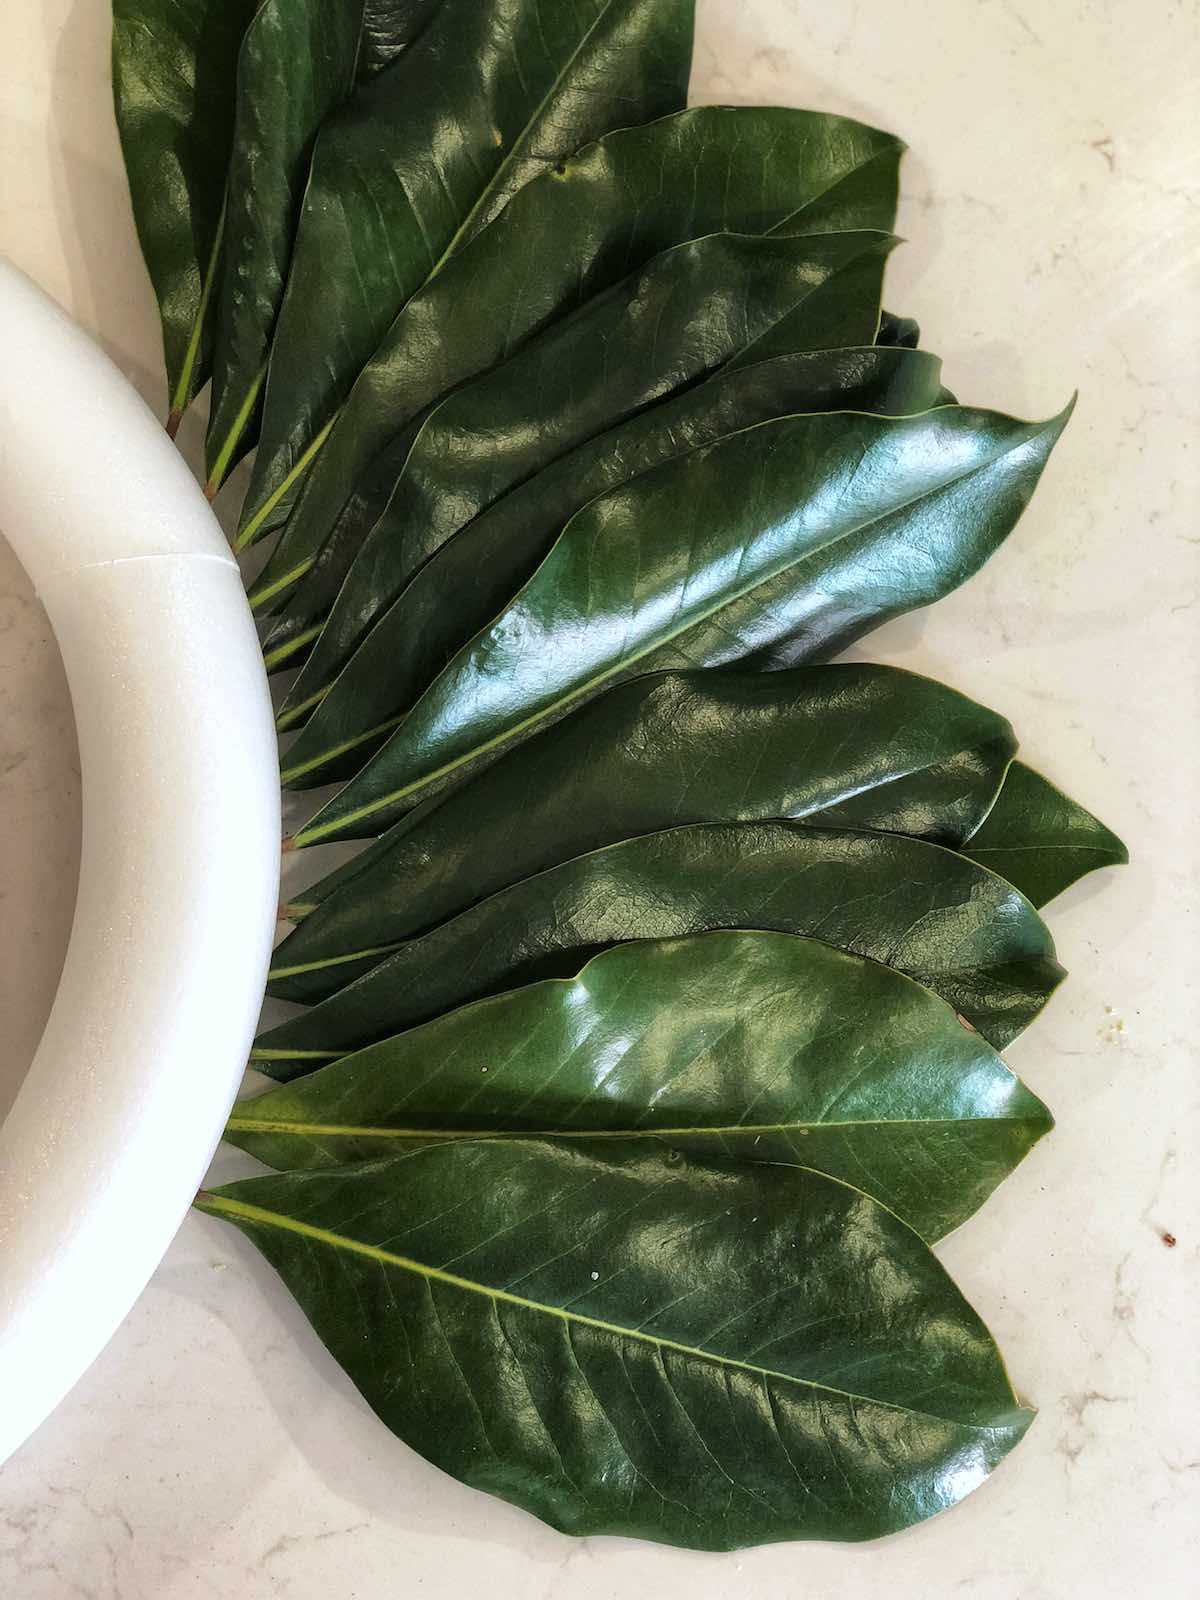
- Now it’s time to add those pretty, shiny leaves! Start with the largest ones on the outermost circle and work your way around. You might need to trim the stem to more of a tapered shape to help it fit in the hole.
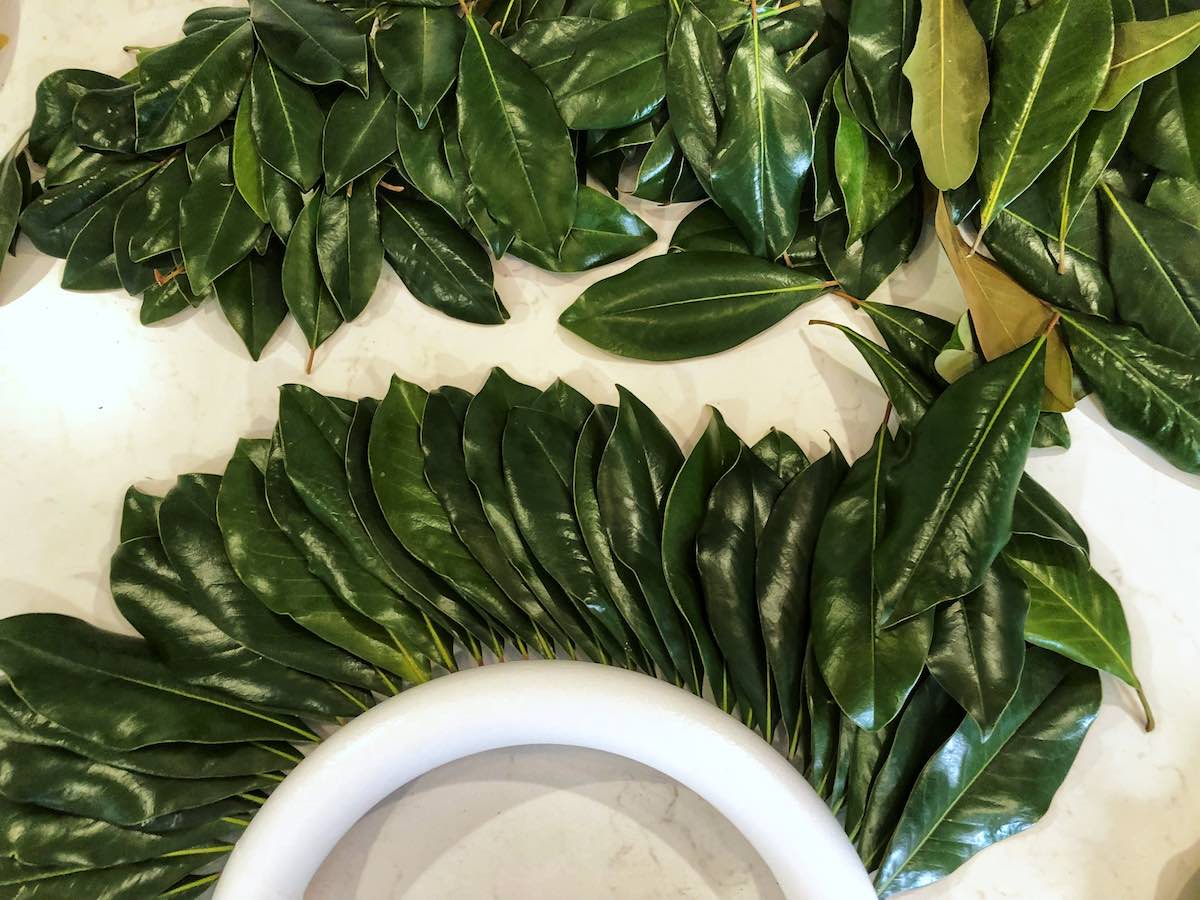
- Keep going ’til all the holes are filled with beautiful foliage and the form doesn’t show any more.
- To help the bright green stick around a little longer, spritz leaves with foliage sealer.
- Wrap a generous amount of ribbon around the top and put this beauty on display!
Note: If wreath form is still showing, you can use a foam brush with green paint to make it blend in a little more.
