This post may contain affiliate links. Full disclosure policy
These Easy Sew Corner Bookmarks are super quick to sew and cute as can be. There’s no better way to use up your fabric scraps. A terrific homemade gift that any bookworm will love!
Getting A Gift and Making A Gift – Easy Sew Corner Bookmarks
Presents are one of the many perks of my job. No kidding!
I don’t know if it’s the same for all authors, but darling readers frequently come to my book events bearing gifts. Often, it’s something they made themselves, which makes them even more precious to me.
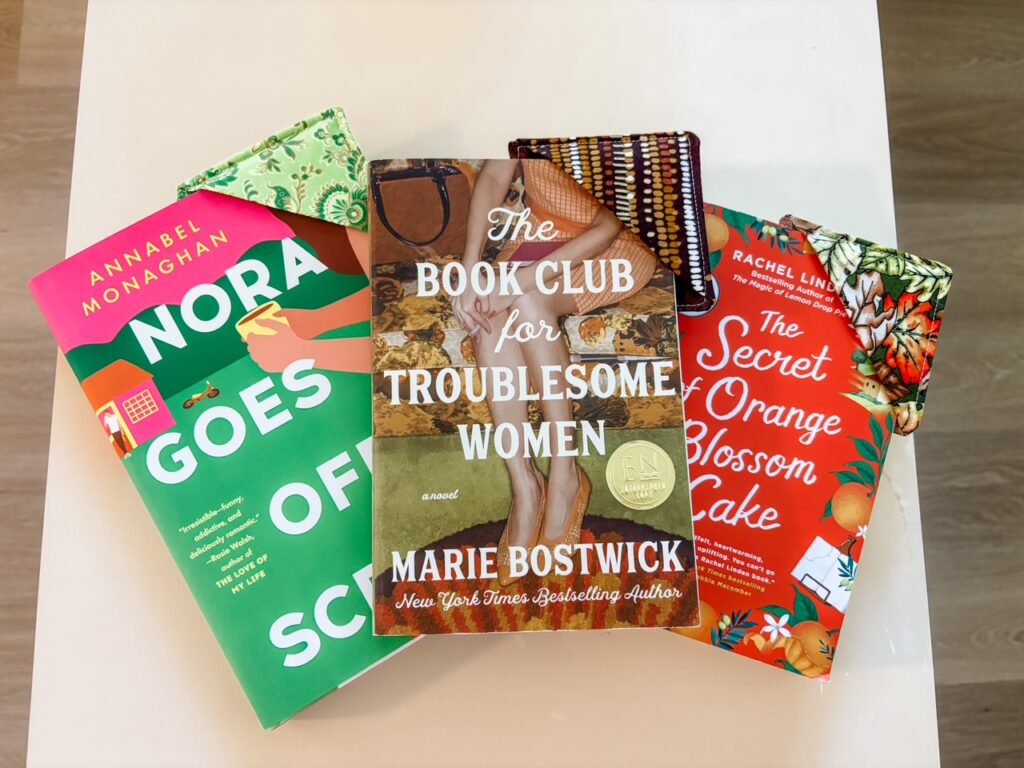
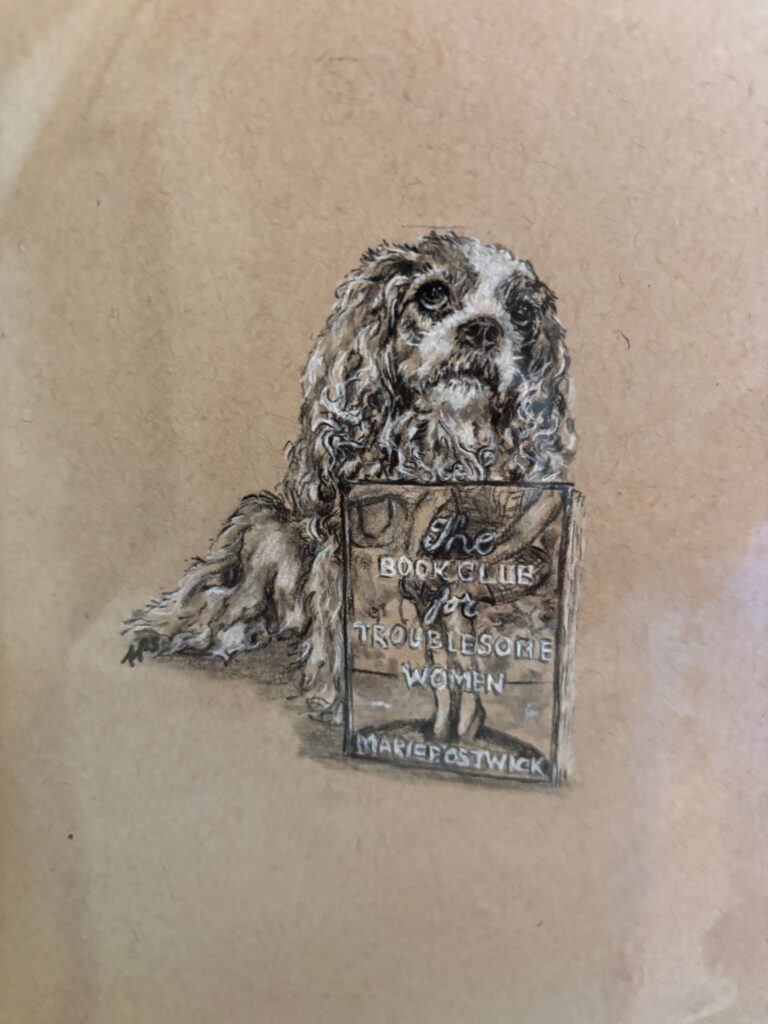
One of the presents a reader brought during my Book Club for Troublesome Women tour was a darling, hand-drawn portrait of Showgirl. Drawing is not among my skills, so I was very impressed by this woman’s talent and deeply touched by her thoughtfulness.
Another kind reader brought me a corner bookmark she’d sewn herself. I was delighted and put her gift to work immediately.
Once I was home, I decided I’d like to make a few more for myself. Because can you ever have too many bookmarks? I don’t think so, especially if you read as much as I do.
Making my own Easy Sew Corner Bookmarks has been a lot of fun, and even a little addictive. They’re very satisfying to sew and a perfect stitching break for busy days.
I love making them in colors that complement the cover of a book I’m giving to a friend. It’s a thoughtful, one-of-a-kind gift that won’t break the bank. And it’s a great way to use up fabric scraps!
Sound like your kind of project? Then follow along with my tutorial and learn to make your own Easy Sew Corner Bookmarks!

What Do You Need to Make Easy Sew Corner Bookmarks?
To start with, you’ll need basic sewing equipment and notions. That includes a sewing machine, iron and ironing surface, pins, thread, marker, ruler, and a rotary cutter and cutting mat, or scissors.
You’ll also need some kind of pointer to help push out the fabric corners. I love my That Purple Thang sewing tool for this task, and for helping to gently push the fabrics along when I’m stitching bulky seams.
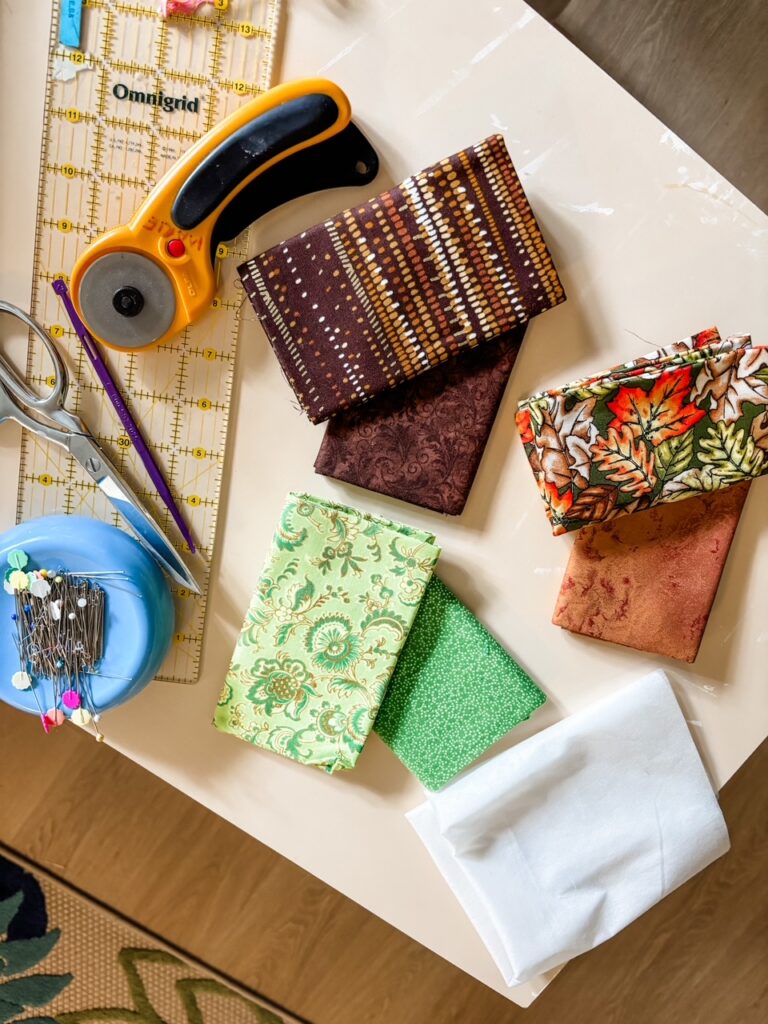
And here are the materials you’ll need for each bookmark…
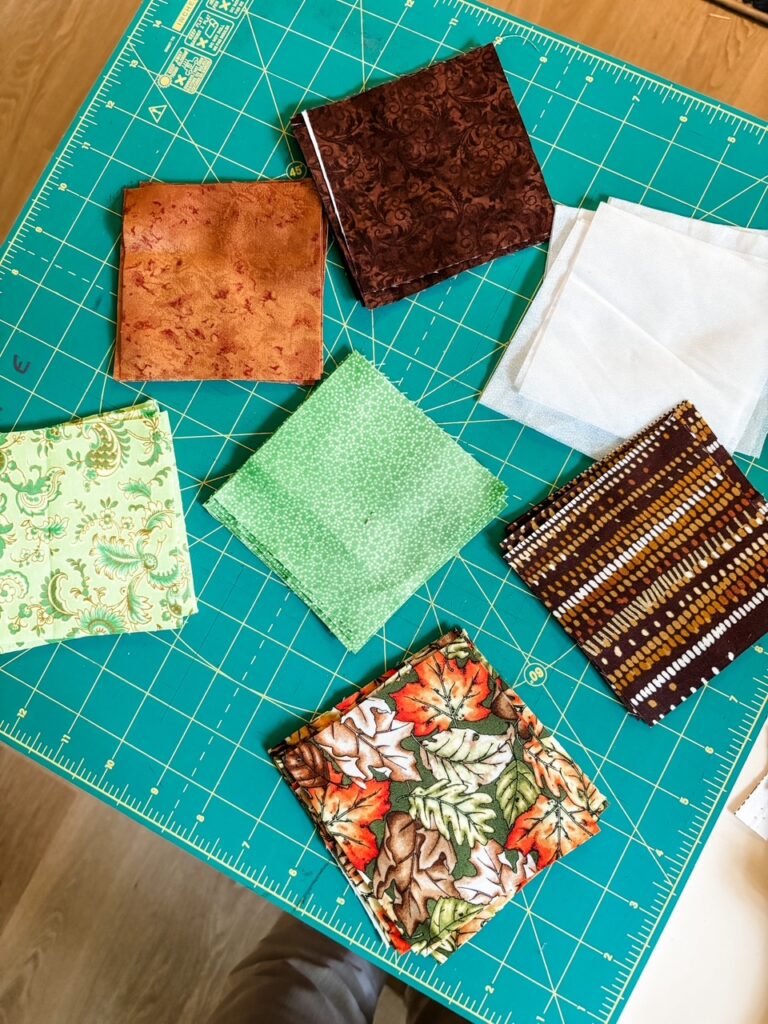
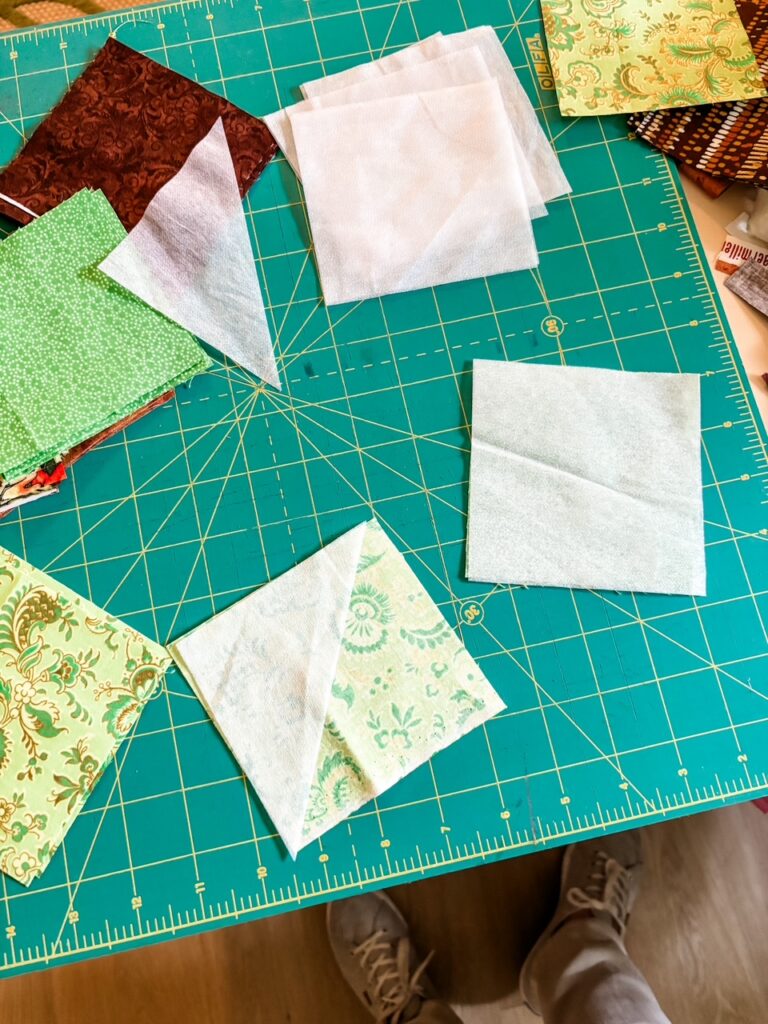
- Three 4-inch squares of 100% cotton fabric
- Three 4-inch squares of lightweight, non-woven fusible interfacing
The fabric squares will be used on the front, back, and corner sections of your bookmark.
You can use just one color of fabric if you want. However, I recommend using two or three fabrics that complement one another.
Using fabrics with contrasting colors and patterns looks so pretty and will give your bookmarks a little more pizazz!
Easy Sew Corner Bookmarks – Prepping and Stitching
Step 1: Lay an interfacing square, fusible side down, on the wrong side of the front and back squares. Press with a hot iron to fuse the interfacing to the fabric.
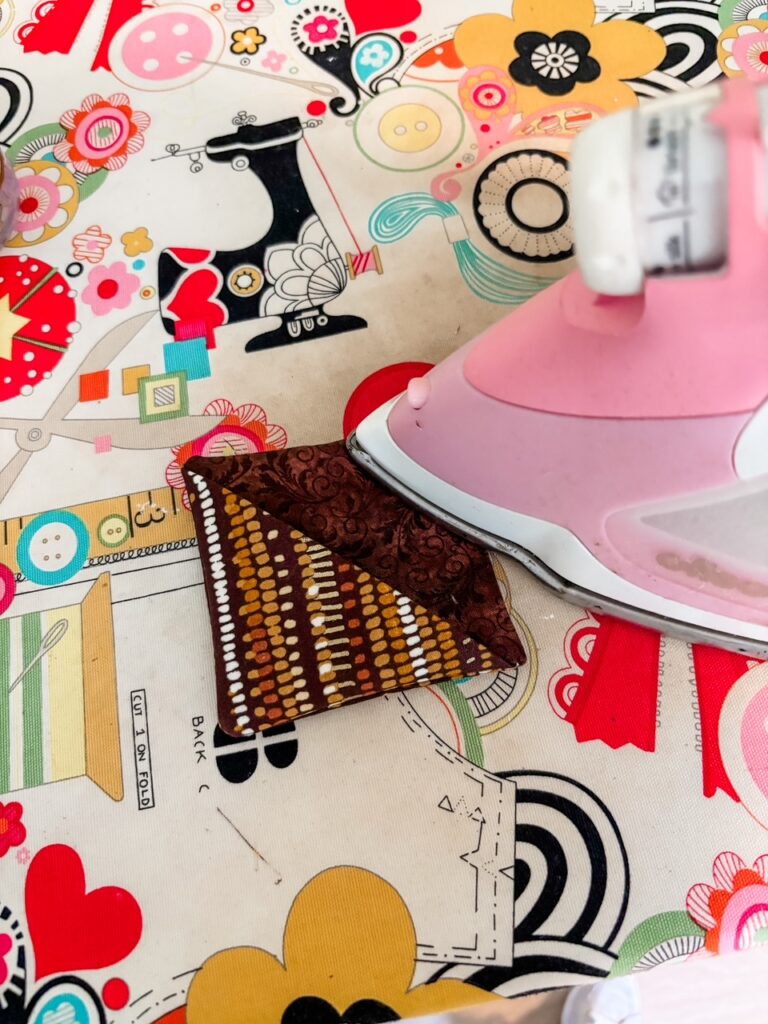
Step 2: Cut the remaining interfacing square in half diagonally. Place it on the wrong side of the corner square and press as above. Fold the corner square diagonally, interfacing to the wrong side of the fabric. Give the folded edge a quick press.
Step 3: Position the folded corner in the corner of the top fabric square, right sides together. Layer the bottom fabric square on top of them, right sides together.
Step 4: Pin through all layers on all four sides of the fabric square. Make a mark or place a pin on the bottom edge of the square about an inch in from both corners. This will remind you to leave the space between the marks unsewn.
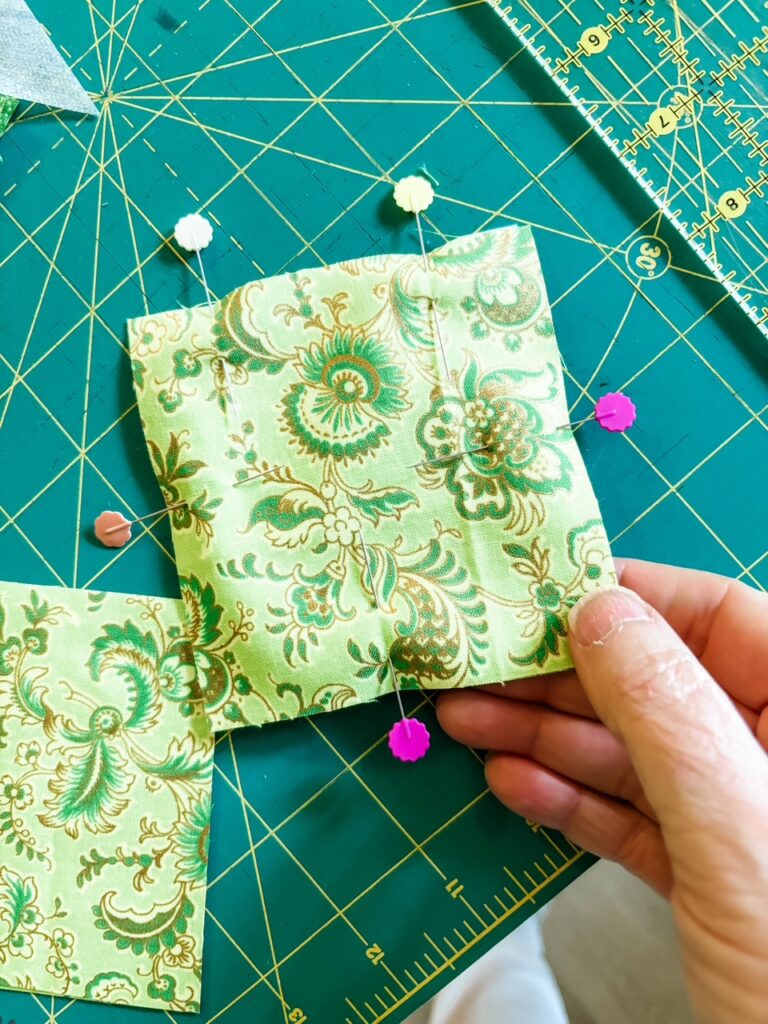
Step 5. Using a quarter-inch seam, stitch around all four sides, beginning at the first mark (or pin) and ending at the second mark, leaving an opening between them. Be sure to backstitch at the beginning and end. Clip the threads.
Easy Sew Corner Bookmarks: Turning and Top-Stitching
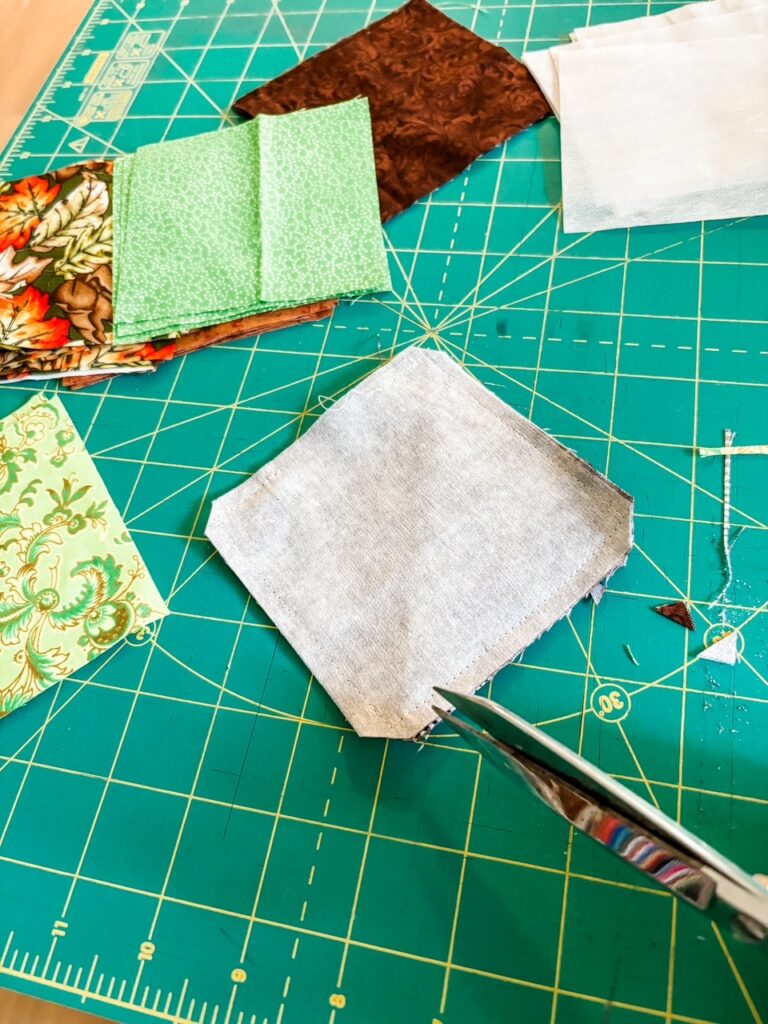
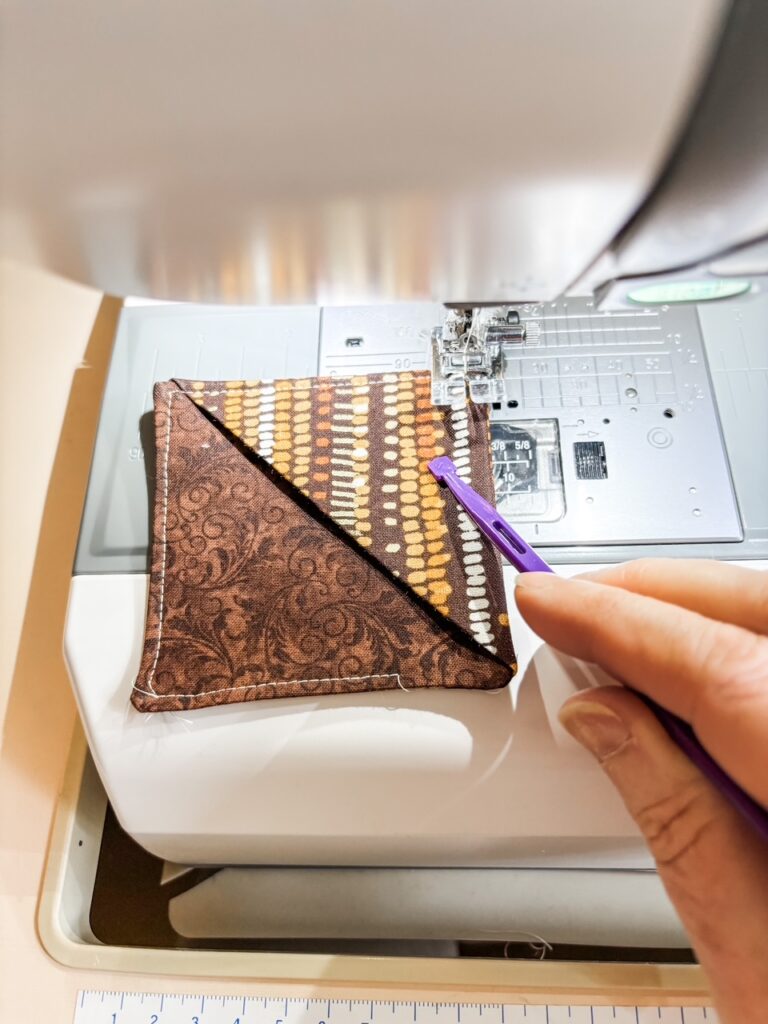
Step 6: Clip the corners of the fabric, taking care not to cut any stitches. Turn the square inside out, so the right side of the fabric is showing. Use That Purple Thang or a stylus to push out the corners.
Step 7: Give the bookmark a quick press to set the seams. Topstitch around all four sides of the bookmark, about an eighth of an inch from the edge. Clip threads.
Easy Sew Corner Bookmarks: Tips and Notes
If you’ve done any sewing at all, this really should be an easy project for you. Once the fabrics and interfacing are cut, I can sew a bookmark in ten minutes or less.
- However, there are a lot of layers of fabric and interfacing here. That can make sewing a little tricky, especially when you’ve got short seams. Normally, I use a walking foot when dealing with bulky seams. That might do the trick for you. But I found that my regular sewing foot did a better job than my walking foot.
- Using my That Purple Thang tool was very helpful, letting me give the fabric a little extra encouragement to keep scooting along.
- Make sure you’re using a lightweight interfacing to help reduce bulk.
- If you’re still having trouble, leave the interfacing out of the corner piece. However, I don’t recommend leaving out all the interfacing. Interfacing will give your bookmark structure and keep it looking crisp.
A final note.
Printing out whole blog posts can be a pain, using up a lot of paper and ink. So, I’ve included the basic instructions below, like I normally would for recipes.
Though it doesn’t include pictures, all the instructions are listed and will be easy to print out. If you need a visual, just refer back to the blog post.
Happy sewing! And reading!
Print
Easy Sew Corner Bookmarks: A Fabric Scrap Project
Ingredients
Equipment and notions: Sewing machine, iron and ironing surface, pins, thread, ruler, pointer or stylus for turning the fabric, rotary cutter and cutting mat or scissors.
Materials: Three 4-inch squares of 100% cotton fabric. Three 4-inch squares of lightweight, non-woven fusible interfacing.
Instructions
Step 1: Lay an interfacing square, fusible side down, on the wrong side of the front and back squares. Press with a hot iron to fuse the interfacing to the fabric.
Step 2: Cut the remaining interfacing square in half diagonally (can save leftover piece to use in another bookmark). Place interfacing triangle on the wrong side of the corner square and press. Fold corner square diagonally, interfacing to wrong side of fabric. Give the folded edge a quick press.
Step 3: Position the folded corner in the corner of the top fabric square, right sides together. Layer the bottom fabric square on that top of them, rights sides together.
Step 4: Pin through all layers on all four sides of the fabric square. Make a mark or place a pin on the bottom edge of the square about an inch in from both corners. This will remind you to leave the space between the marks unsewn.
Step 5. Using a quarter inch seam, stitch around all four sides, beginning at the first mark and ending at the second mark, leaving an opening between the marks. Be sure to backstitch at the beginning and end. Clip the threads.
Step 6: Clip the corners of the fabric, taking care not to cut any stitches. Turn the square inside out, so the right side of the fabrics are showing. Use That Purple Thang or a stylus to push out the corners.
Step 7: Give the bookmark a quick press to set the seams. Topstitch around all four sides of the bookmark, about an eighth of an inch from the edge. Clip threads.