This post may contain affiliate links. Full disclosure policy
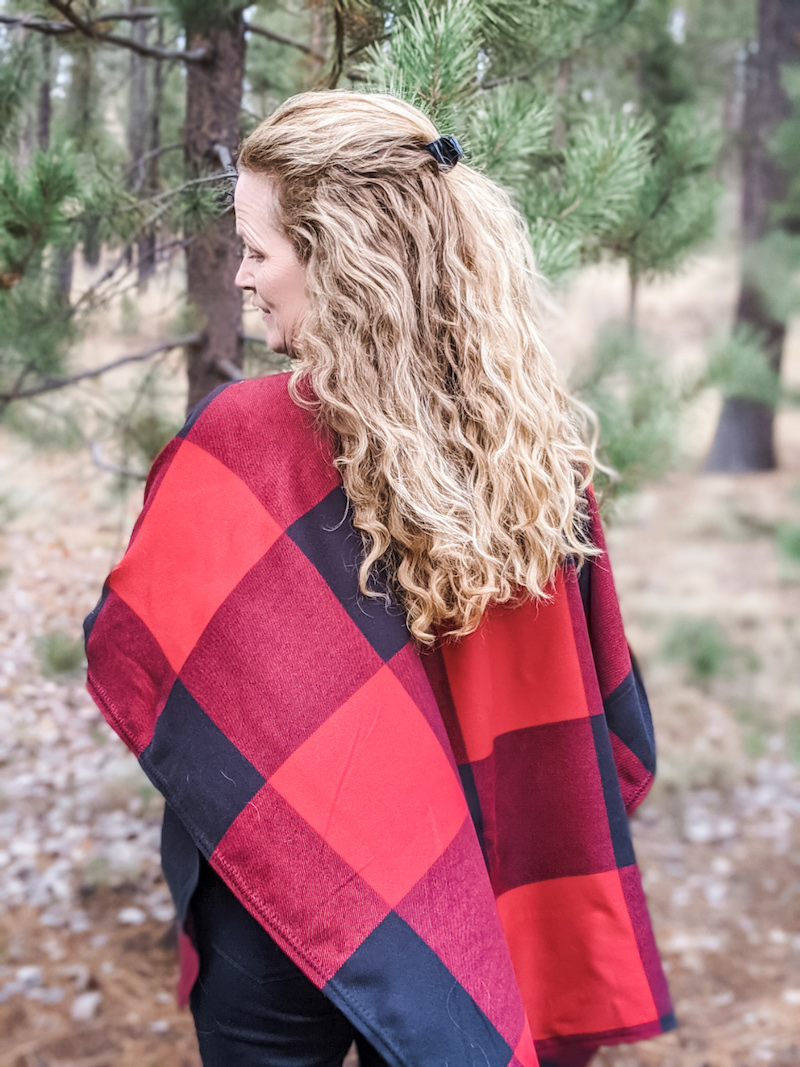
If you’ve shopped for clothing lately, you know that ruanas are the must-have accessory for fall and winter. But did you know that creating a beautiful DIY ruana requires only basic sewing skills? My DIY Ruanas are pretty, practical, patternless, and make perfect gifts!
What is a Ruana?
Ruanas are basically ponchos that have an opening in the front. Like a poncho or a shawl, ruanas add an extra layer of warmth on a chilly day. They also add a touch of style to your outfit and are one of my favorite accessories.
I’ve been buying and wearing ruanas for years. But it wasn’t until a couple of months, when I saw a pretty ruana in a local boutique with a $129 price tag, that I had an epiphany…
Hey! I can make these myself!
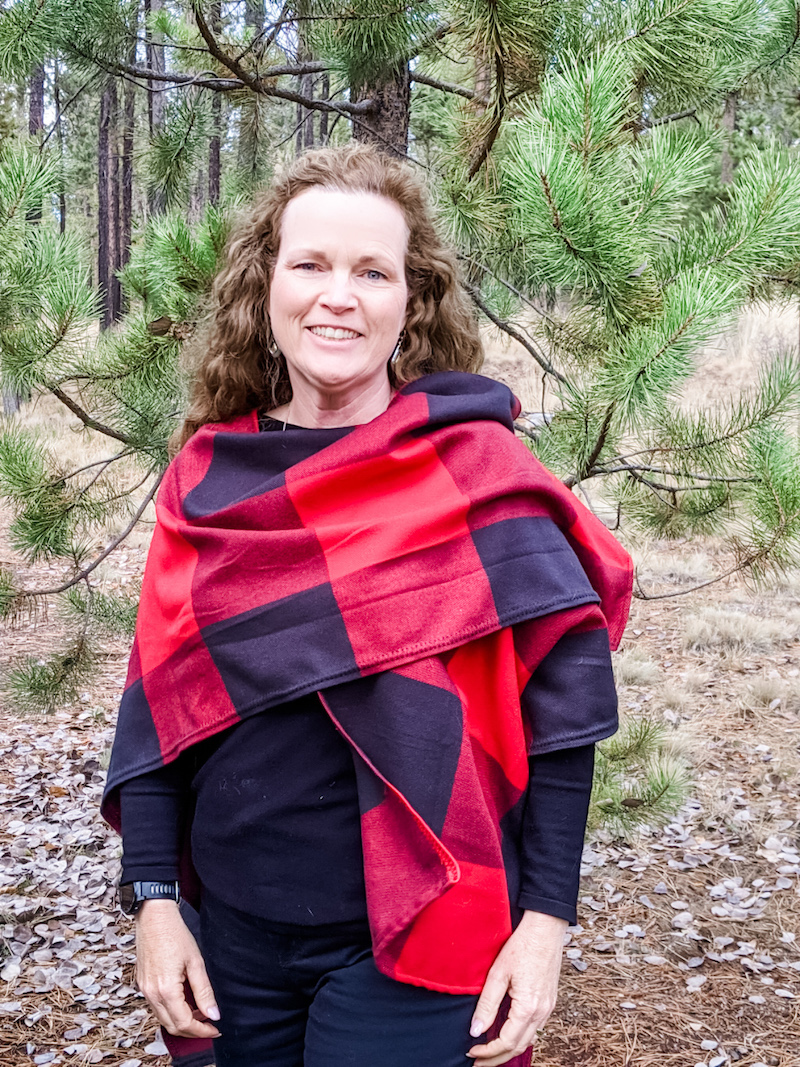
Honestly, I can’t imagine why it took me so long to figure that out because ruanas are incredibly simple to make. If you know how to use a straight stitch on your sewing machine, you can make a DIY Ruana.
And you should!
Ruanas can add a touch of style to any outfit, from a little black dress to your favorite blue jeans. And something else I love about ruanas? The lovely drape of a ruana draws the eye away from any bumps or bulges, providing a fashionable visual diversion.
Also, ruanas are a pretty accessory that’s also practical. When the weather turns cool, nothing beats wrapping up in warm, cozy ruana. That’s why I’m making several as gifts this year as part of my campaign for a handmade Christmas.
Why Make a DIY Ruana?
The first reason to make a DIY Ruana is because you can.
Yes, you. Really.
This is the simplest of all sewing projects. Even if you’ve never sewn anything before, if you can find someone to lend you a machine and show you how to sew a straight stitch, you can make a DIY ruana.
Depending on what finishing stitches you decide to use, you should be able to make a ruana in one to two hours. My sample took about ninety minutes to make, but only because I decided to use decorative stitching.
The second reason to make a DIY Ruana is that sewing one for yourself is going to save you a ton of money. I’ve seen ruanas priced anywhere between $40 to $150 dollars that weren’t any nicer than those I’ve made for myself.
The cost of your DIY ruana will vary depending on the fabric but, trust me, it will be much less expensive than buying one. The ruana I made for this tutorial, using fabric I bought on sale at my local Joann’s, cost me less than $15.
What Do You Need to Make a DIYY Ruana?
The materials and supplies you need to make your own ruana are pretty basic.
- A sewing machine
- Scissors or rotary cutter
- Chalk or other fabric marking tool
- Long ruler or straight edge
- Circular shape template – 5 to 7 inches in diameter (a saucer works perfectly)
- Straight pin
- Cotton thread
- Fabric – 45 to 48 inches wide (wider fabric will work too) and 60 to 70 inches long
If you have access to a sewing machine, chances are good that you already have these items on hand. The only thing you’ll probably need to purchase is fabric. And that leads us to one more question.
What Kind of Fabric Should I Use for a DIY Ruana?
You can use so many different types of fabric to make a ruana. Wool flannel, lightweight fleece, Melton wool, and woven specialty fabrics to name a few.
What I look for when choosing ruana fabric is something that’s warm but also has some movement to it. I love that elegant draping effect of lighter fabrics, and being able to toss one side over my shoulder like a scarf.
But heavier, more blanket weight fabrics also make beautiful ruanas. If you live in a cold climate, a warm woolen ruana is absolutely wonderful!
How Do I Make My DIY Ruana?
Making your own ruana couldn’t be easier. Just follow these simple steps.
- Decide how long you’d like your ruana to be. A 60-inch length of fabric works well for people of average height. That’s what I used in the sample. However, if you’re taller or would like a longer drape on your ruana, you can increase the length up to 70 inches.
- Fold your fabric in half, so the selvedge edges of the fabric are on the left and right sides. The folded edge of the fabric should measure between 45 and 48 inches, depending on the width of your fabric (I prefer 48-inch width). The side edges will measure between 30 and 35 inches, depending on the desired length of your finished garment.
- Mark the center of the folded edge with a pin. Center your circle template on the pin, an inch or two below the fold. (Any 5 to 7-inch diameter circle you can trace around will do. A saucer is perfect.)
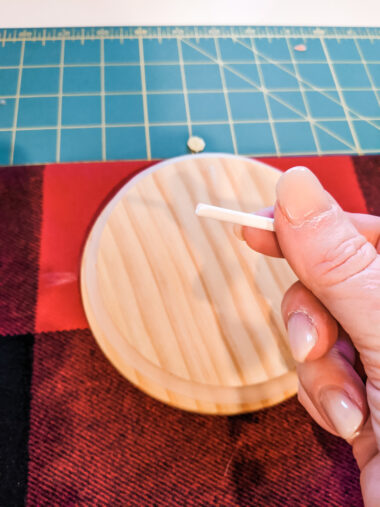
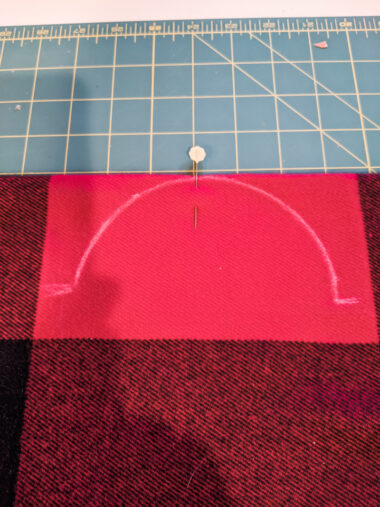
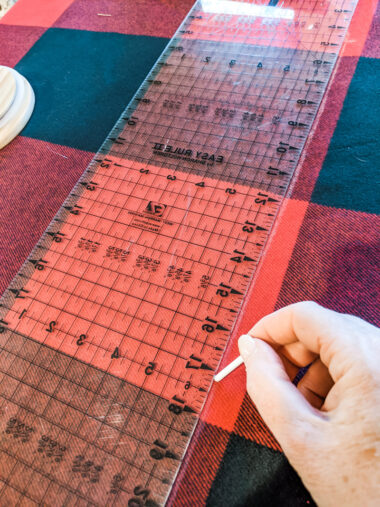
- Use chalk or marking tool to trace a half-circle around the top of your template. Remove the template. Place a ruler or straight edge at the bottom of each half-circle. Trace a line to the bottom edge of the fabric on each side. (Make sure that your line is straight all the way down. No listing to the left or right!)

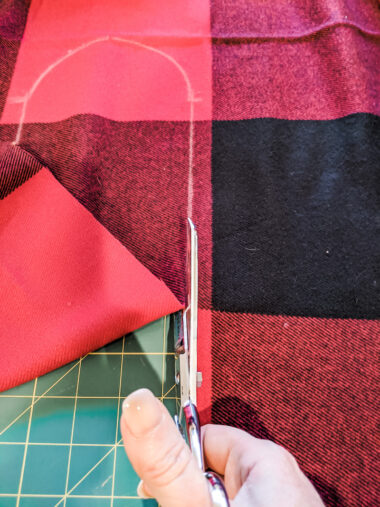
- Unfold your fabric. Use scissors or a rotary cutter to cut along the chalk line to create your ruana opening. (Pro Tip: Hold onto the fabric scrap. You can use it to test the tension on your machine or to audition decorative stitches before you begin sewing.)
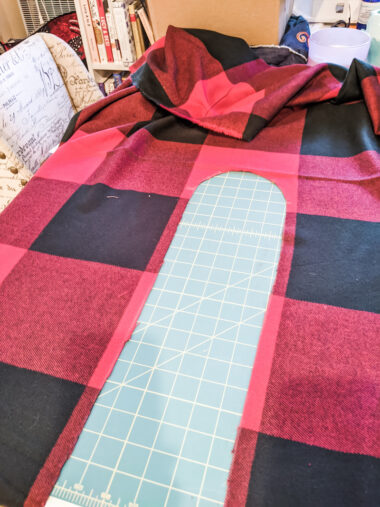
- Create a ½ inch fold around the edges of the ruana opening and press with a hot iron. Repeat the process on the side edges. (If you’re using a fabric that could ravel and only plan to straight stitch the edges, fold and press the edges a second time.)
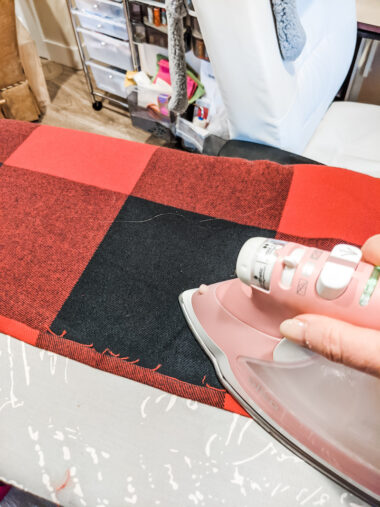
- The curve at the top of the opening is quite gentle and should be easy to sew without cutting. However, if you’re concerned about sewing the curve, make two or three small quarter-inch cuts along the curve. Just be careful not to cut too close to the folded edge.
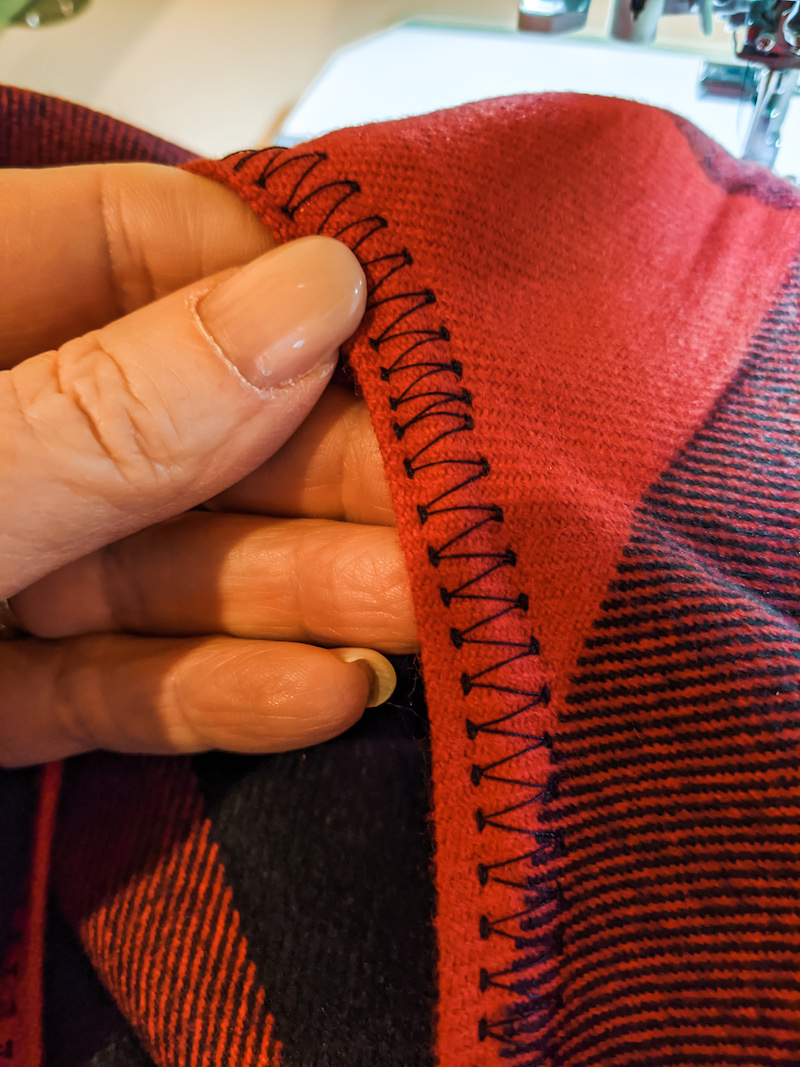
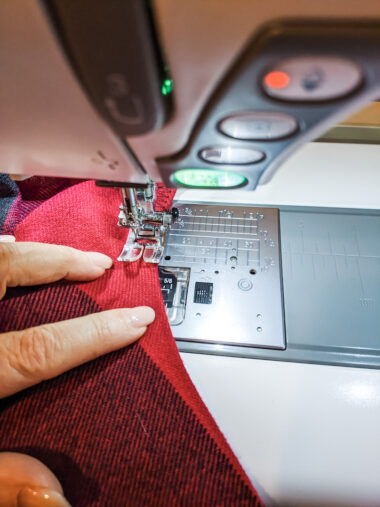
- Choose a stitch to finish your ruana. A simple straight stitch is perfectly fine. However, this is a wonderful opportunity to try out some of the decorative stitches on your sewing machine! I chose a decorative blanket stitch for my ruana. It’s pretty and it will also keep my fabric from raveling.
- Sew along the folded edge of the ruana center opening. (Remember, driving a sewing machine is like driving a car. It’s a good idea to slow down on the curves!) Repeat the sewing process along the left and right sides of the ruana.
- Take your ruana back to the ironing board. Fold the bottom edges over ½ an inch and press. If your fabric is prone to raveling or fraying, fold and press a second time.
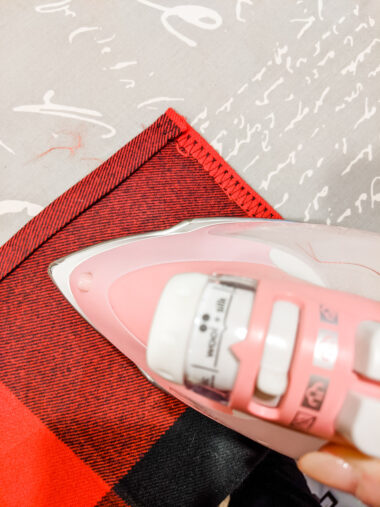
- Sew along the left, right, and back folded bottom edges of your ruana.
- Congratulations! Your beautiful ruana is finished! Give yourself a big pat on the back!


