This post may contain affiliate links. Full disclosure policy
THIS POST MAY CONTAIN REFERRAL LINKS. IF YOU CLICK THROUGH AND TAKE ACTION, I MAY BE COMPENSATED, AT NO ADDITIONAL COST TO YOU.
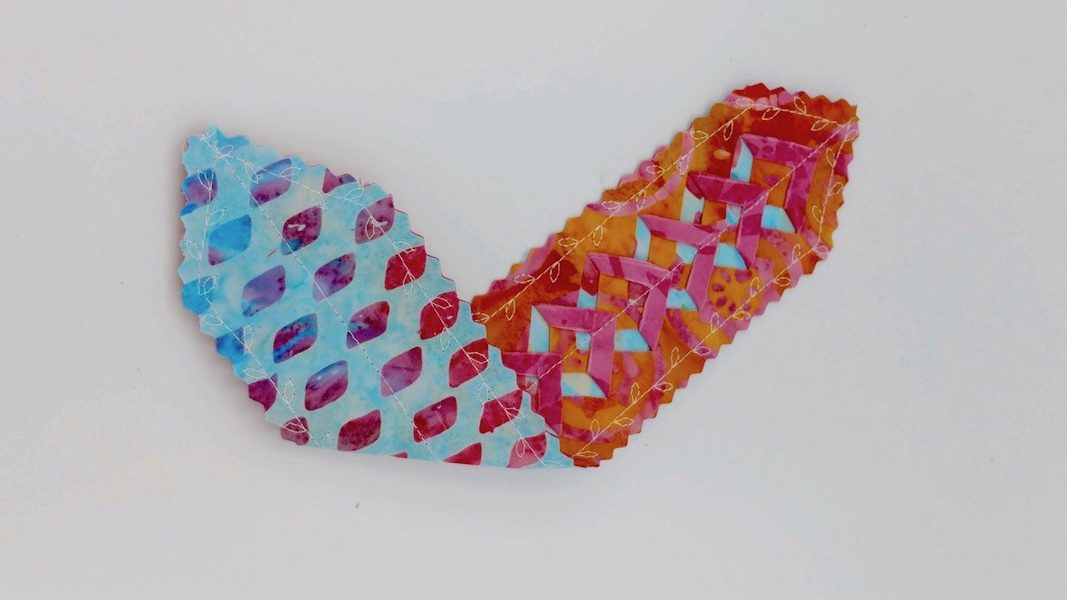
During my last book tour, one of my readers gave me a beautiful bookmark, made with pretty batik fabric. I was fascinated with the clever latticework design and thought it would be fun to make some myself.
It’s not shocking that a craft project combining pretty fabric, book accessories, and sewing techniques would pique my interest. In fact, those are truly a few of my favorite things!
It took me a few tries to figure out the technique. And once I did…Well, I may have created a monster. I am now completely addicted to making these bookmarks! Dear family and friends, you will now receive a bookmark as a gift for each holiday. There is no such thing as too many lattice batik homemade bookmarks. It’s common knowledge.
I’m always on the lookout for quick and cute crafts to give as gifts and these bookmarks more than fit the bill. It takes less than an hour to stitch up one of these little treasures and the latticework design is sure to inspire oohs and ahhs from anyone who receives one.
Here’s how to make one for yourself or a friend.
SUPPLIES
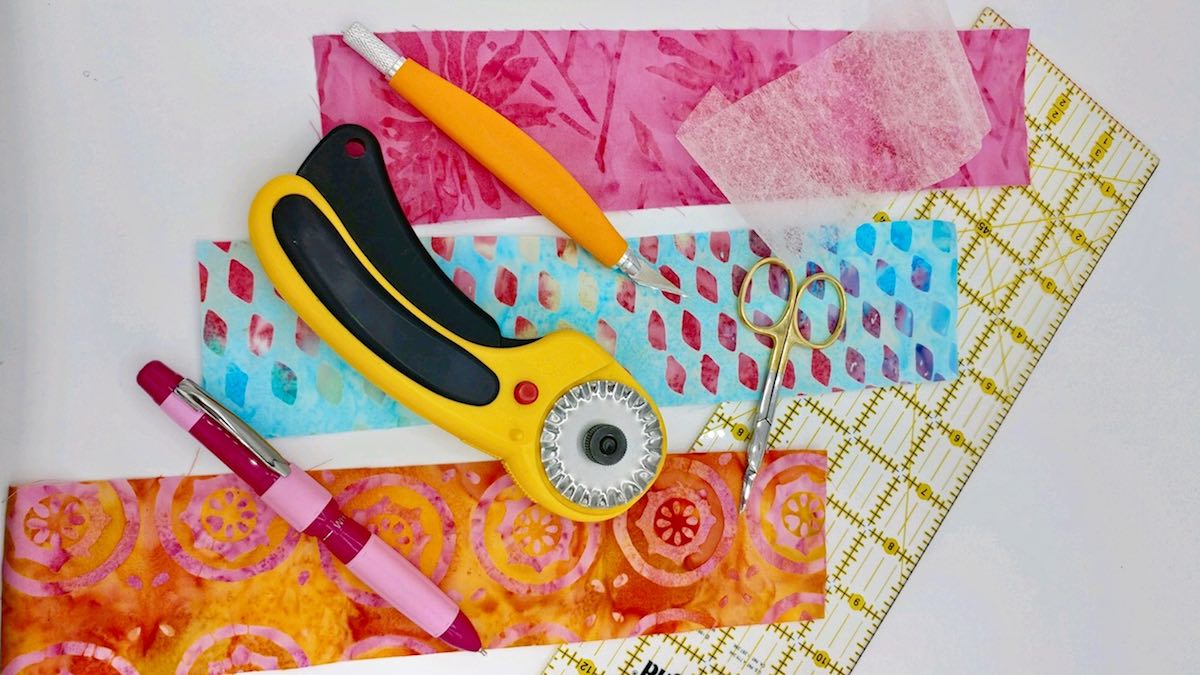
| 3 strips batik fabric in contrasting colors, 2.5 x 11 inches |
| 3 strips batik fabric in contrasting colors, 2.5 x 11 inches |
| 1 strip of fusible web (such as Misty Fuse), 2.5 x 11 inches |
| Washable marking pencil or chalk |
| Embroidery Scissors |
| Detail knife or Exacto knife |
| Rotary Cutter w/ pinking blade or pinking shears |
| Clear ruler for marking |
| Cutting mat |
STEP ONE – MARKING YOUR FABRIC
Decide which fabrics will be on the front, back, and center of your bookmark. We’ll mark our cutting lines on the center fabric, so the lines won’t show on the front of the finished bookmark.
I like to use to Sew-Line pencils for marking. It gives me a nice, precise line and I can change colors of chalk to get one that is easy to see on the fabric I’m using. Accurate marking is very important in this project, so pay attention and take your time.
Using your clear ruler as a guide…
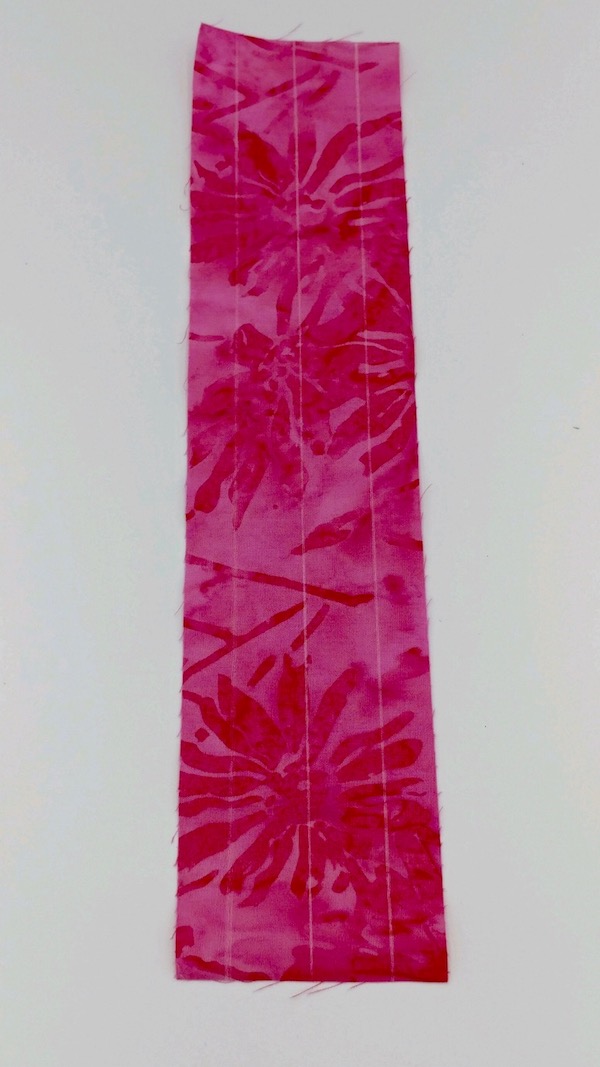
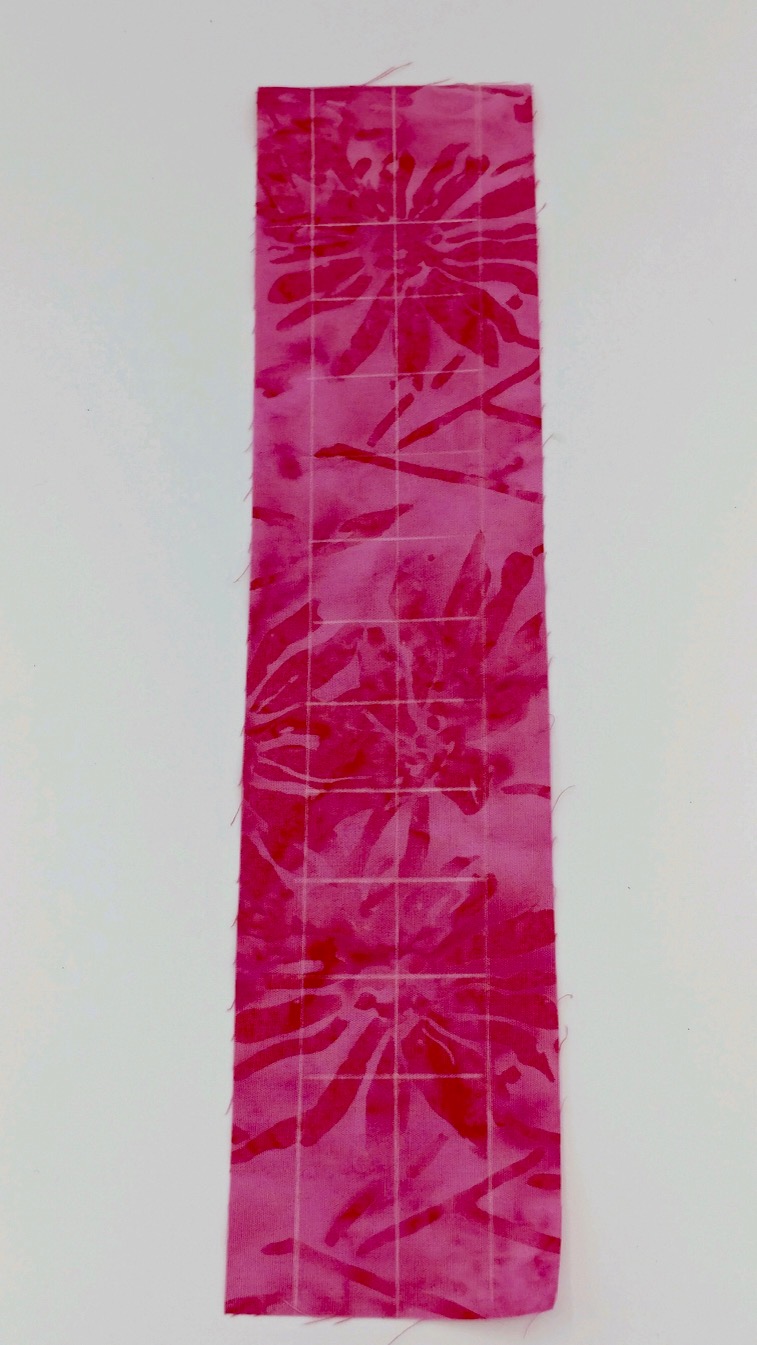
Mark a vertical line down the middle of your center strip, 1.25 inches from the edge. Then, mark another vertical line .25 inches in from each of the outer edges.
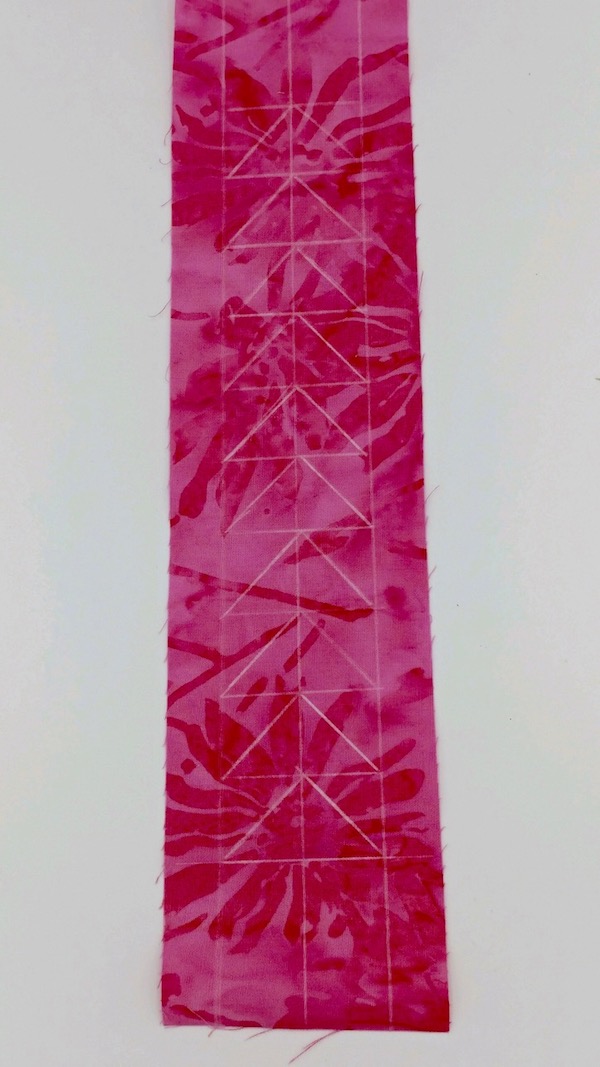
Next, mark a horizontal line 1.5 inches from the bottom of the strip. Then, mark another horizontal line .75 inches from the first time. Continue marking lines at .75 inch intervals to create 2 row of 10 boxes, each box .75 inch square.
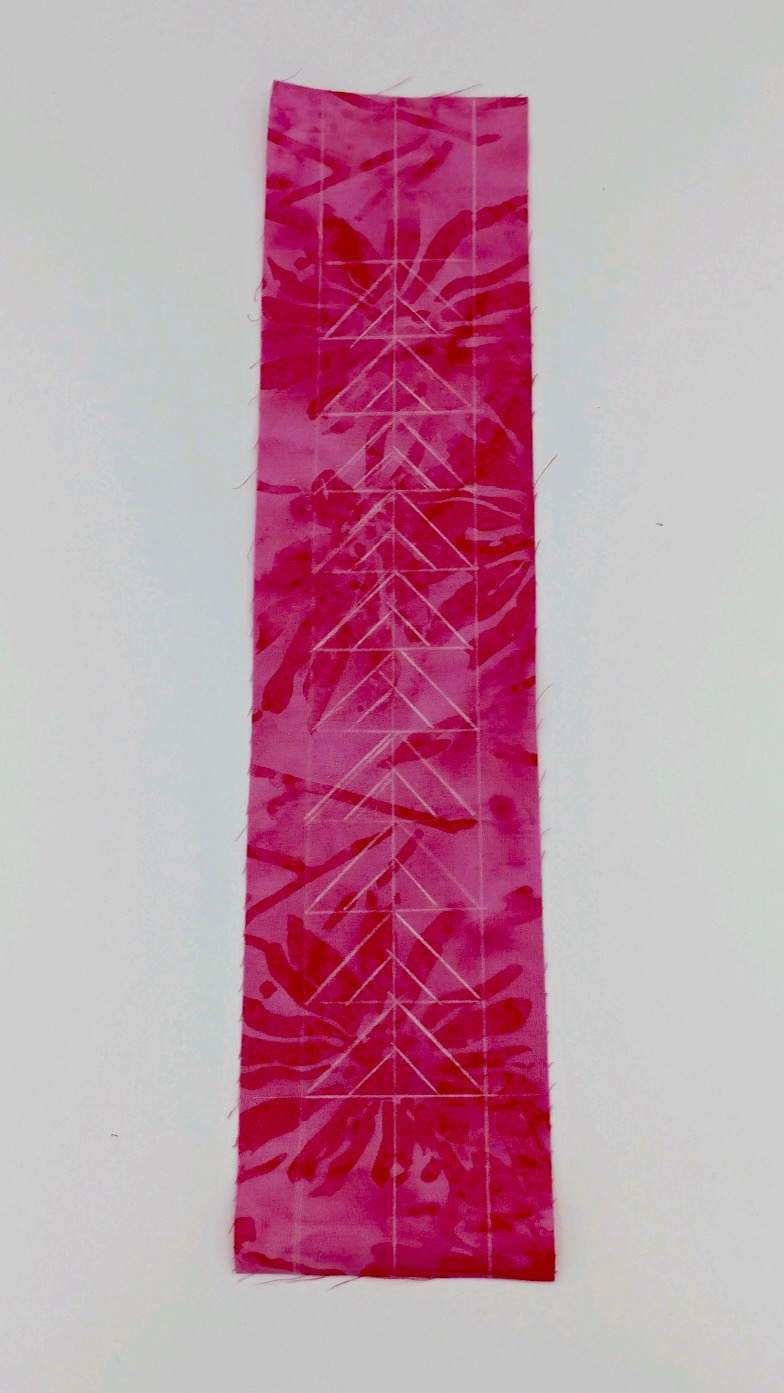
Now, mark an angled line from the lower outer corner of each box to the upper inner corner of each box . Then mark a second angled line, .25 inch beneath each of the previously marked lines.
STEP TWO – FUSING AND CUTTING
Place a strip of fusible web between your marked center strip of fabric and the front strip of fabric (make sure the marked side of your strip faces out, so you’ll be able to see it later.) Use a very hot iron to fuse all the front and center fabric together.
After a lot of experimentation, I found that the best results come from using both a detail knife and embroidery scissors to cut the lattice. You can try using just one or the other if you prefer, but using the technique below will give you a clean, straight cut with no loose thread.
After you use the detail knife to cut small slit only one side of each angled line (in other words, cut just the left side angles or the right, depending on your handedness). Now, with the slits as an entry point, use your embroidery scissors to cut along both sides of each angled line, creating a V shape. When you’re finished, each V should lift up easily from the fabric.
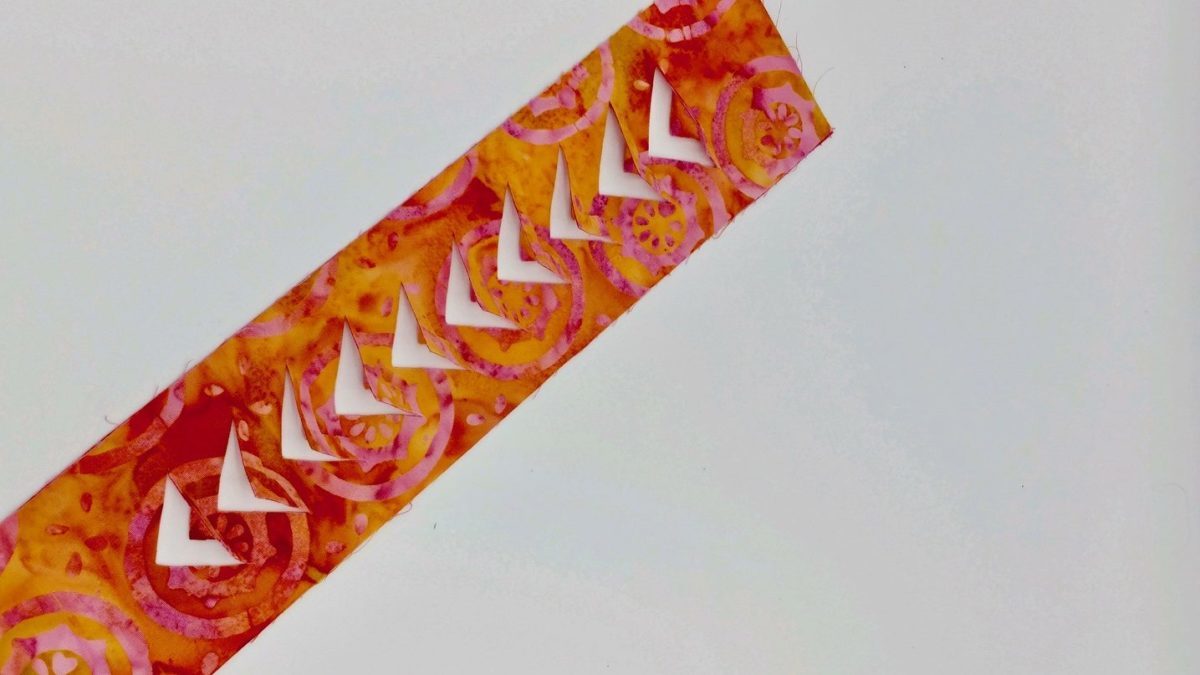
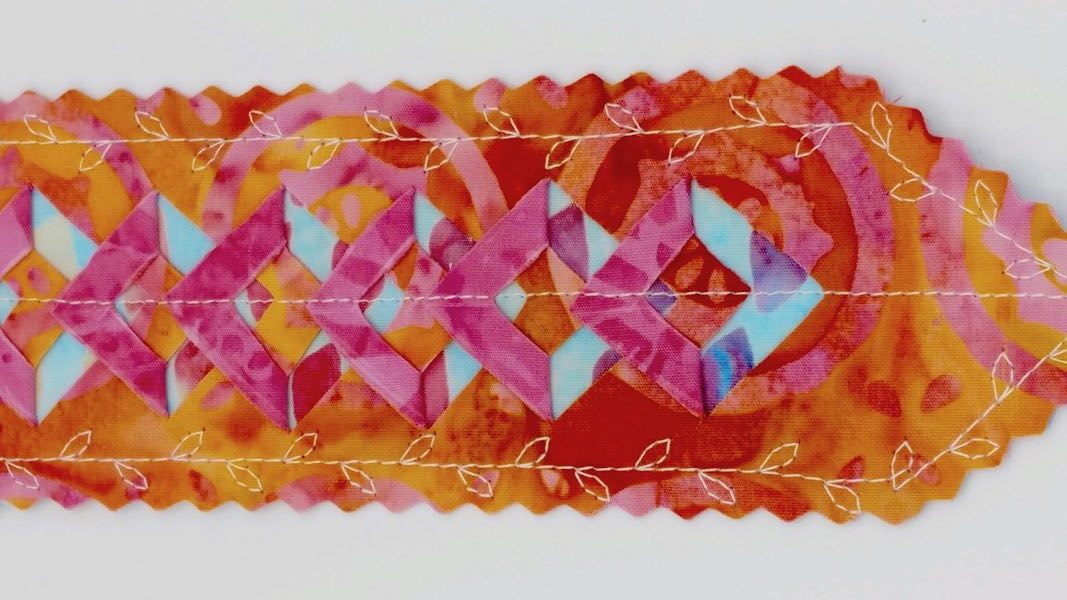
With the cutting finished, use a very hot iron to press each of the Vs upward, overlapping as necessary, to the fabric on the center strip is visible.
Take a moment to admire your handiwork! Looks pretty neat, doesn’t it?
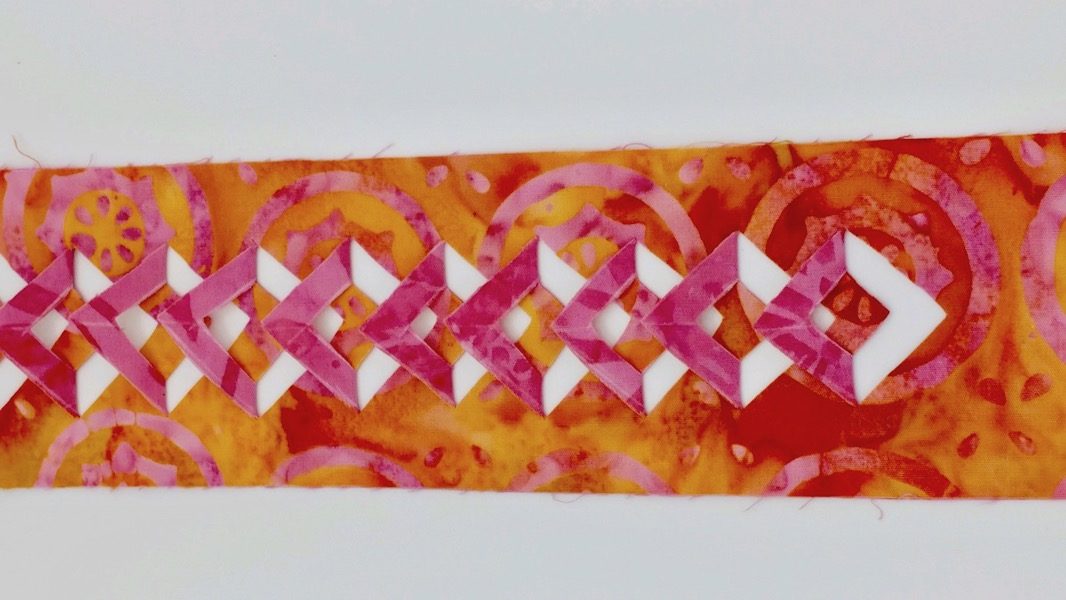
STEP THREE – LAYERING, PINKING, AND STITCHING
Layer the finished lattice strip of fabric over the bottom strip of fabric, making sure edges are even. Machine sew or hand stitch a vertical line along the center of the layered strip, sewing through the apex of each overlapping V to anchor the points.
Using your rotary cutter with a pinking blade or pinking shears, cut trim the long left and right sides of the strip, to give the edges a pretty detail. (It’s a good idea to use your clear ruler as a guide, or to mark an even cutting line before you cut. It’d be awful to get this far and then have your edge look wonky!)
On each end of the strip, mark a 45 degree line from the center of the strip to the outer left and right edges, the trim with your pinking blade or shears as above.
Finally, machine sew or hand stitch around the entire outer edge of your bookmark. If you’re using a sewing machine, this is a great opportunity to play with some of those decorative stitches you’ve been dying to use!
Voila! You just finished making the world’s cutest bookmark! Congratulations!
