This post may contain affiliate links. Full disclosure policy
THIS POST MAY CONTAIN REFERRAL LINKS. IF YOU CLICK THROUGH AND TAKE ACTION, I MAY BE COMPENSATED, AT NO ADDITIONAL COST TO YOU.
If the Mother’s Day Gift Guide or the Mother’s Day Pistachio Bundt cake didn’t tip you off, Mother’s Day is Sunday, May 12th.
Yes. This weekend.
You’ve still got time to Amazon Prime her a copy of my latest book, but why stop there?
Wouldn’t it make your mother feel special if you arrived with a DIY flower arrangement in hand in addition to a little gift, a few hugs, and a card? (Seriously, Fierce friends, don’t forget the card!)
Nod your head. The answer is yes. Though some of you may be saying, “Yes. But how?”
Good news, friends. You’re in the right place.
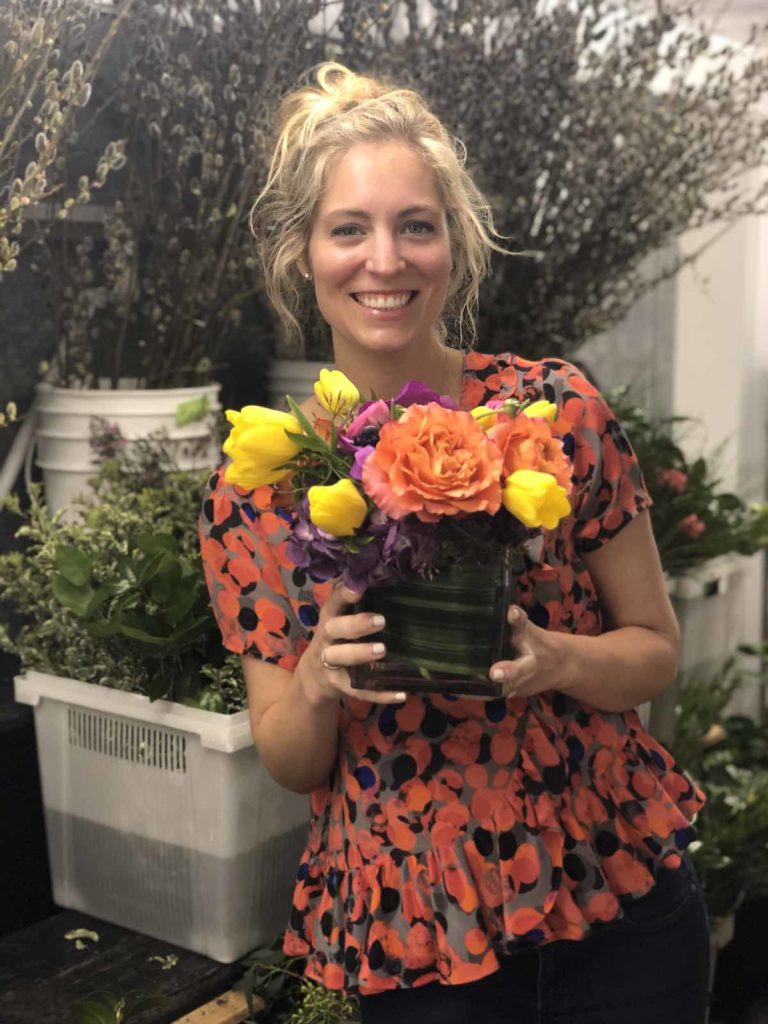 In addition to my wildly popular blog on DIY flower arrangements, my lovely daughter in law recently attended a flower arranging class with some girlfriends. Naturally, I picked her brain about all that she learned! She took copious notes. And lots of pictures!
Here she is. Isn’t she adorable? As a side note, she is a mom herself, mother to two of my adorable and terribly advanced grandarlings. This last part is my opinion but is, I assure you, utterly unbiased.
Daughters-in-law and mothers-in-law share a unique and special relationship. I have been blessed with THREE! Since I never had a daughter of my own (even though the doctor assured me my third son was a girl), I am delighted to have these wonderful young women in my life. What makes it even better is that we share so many similar and decidedly girly interests – cooking, sewing, reading, art, fashion, and flowers among them. Small wonder that I refer to them as my daughters-in-love. I really do love them like my own.
As I said, the daughter and mother in law relationship is very special but sometimes it can be a little complicated. If you’re feeling the need to get a better handle on how to be a good mother in law, I wrote a post for that. You can save the flower post for later and head on over to the land of mother in law wisdom.
If you are still on board with the flower arranging, let’s jump right in.
Prep
Choose flowers that you love in palettes that you love. If you can, hit up your local florist for discount flowers on weekends (apparently this is a thing! That’s what my DIL told me.) or even incorporate flowers from your backyard with some grocery store stems.
Cut each stem at an angle to maximize the surface area they can soak up water.
Trim all foliage off, since an excess of leaves makes the water dirty.
Choose a vase that will work well with your vision. Low, dense arrangements are definitely having a moment right now.
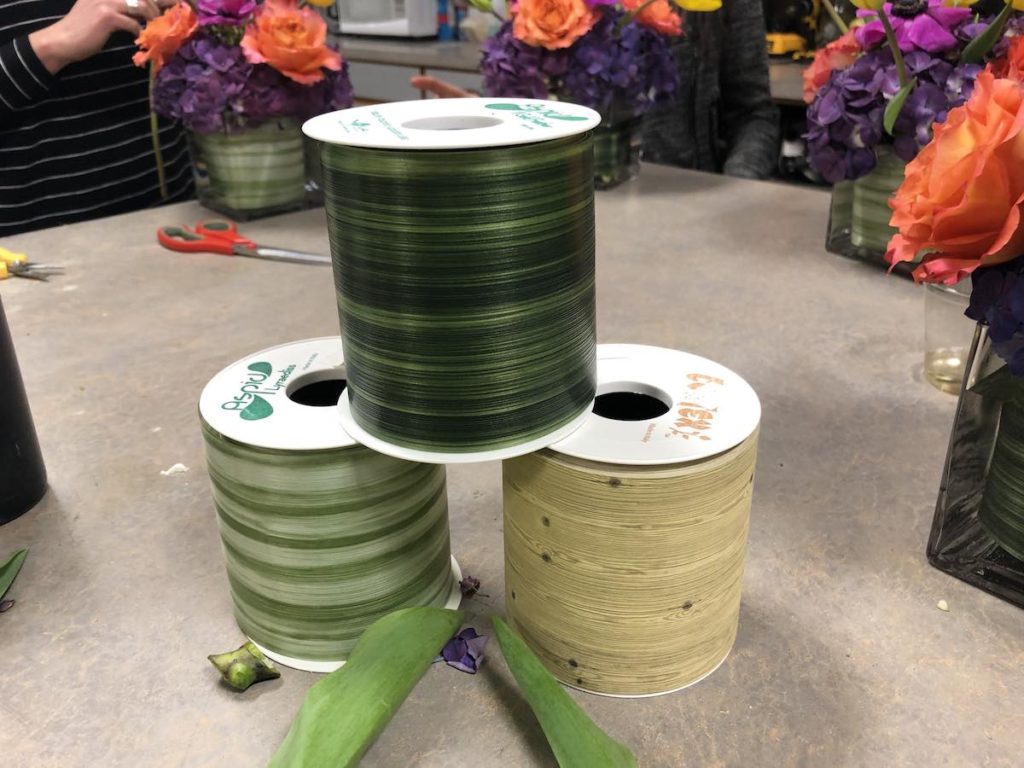 Cut a piece of fancy florist ribbon to wrap around the inside of your vase if you are using a clear glass vase. This stuff comes in all sorts of colors, resembling tropical leaves or simple birchwood and it hides the less than lovely stems all jammed beneath the surface. Another helpful tidbit is that you can re-use your ribbon! How cool is that?
Elements
A general rule of thumb is to place things in groups of threes. This results in a classic, well-balanced look that everyone loves. But don’t be afraid to bend or even break that rule of three.
There’s nothing wrong with trying a more abstract, bespoke style for your arrangement. Consider grouping flowers as you’d find them in a garden, placing a larger and showier blooms on one side of the arrangement or adding some unexpected design features. These more romantic arrangements are great examples of why balance and symmetry aren’t always the answer.
Here’s a couple of examples.
In this one, a monochromatic color palette is really punctuated by a succulent. And who doesn’t love a succulent? Apparently they can last for about 6 months if properly cared for so you can just keep reusing them. Genius! (I feel a blog post about a succulent door wreath coming on – stay tuned). 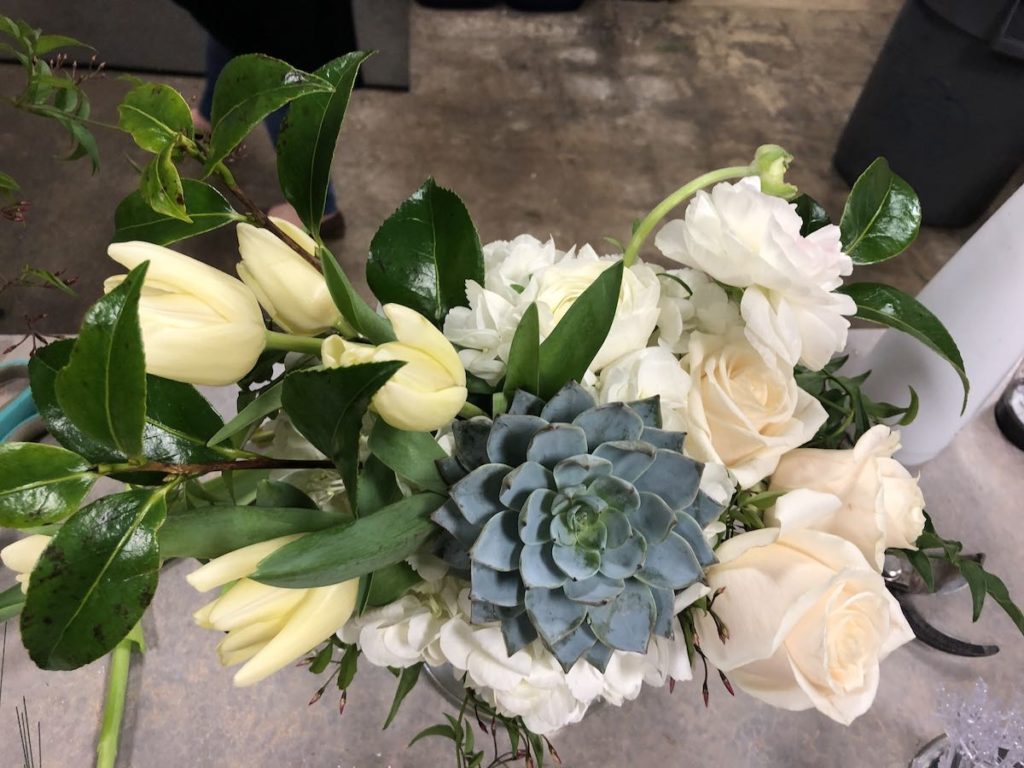
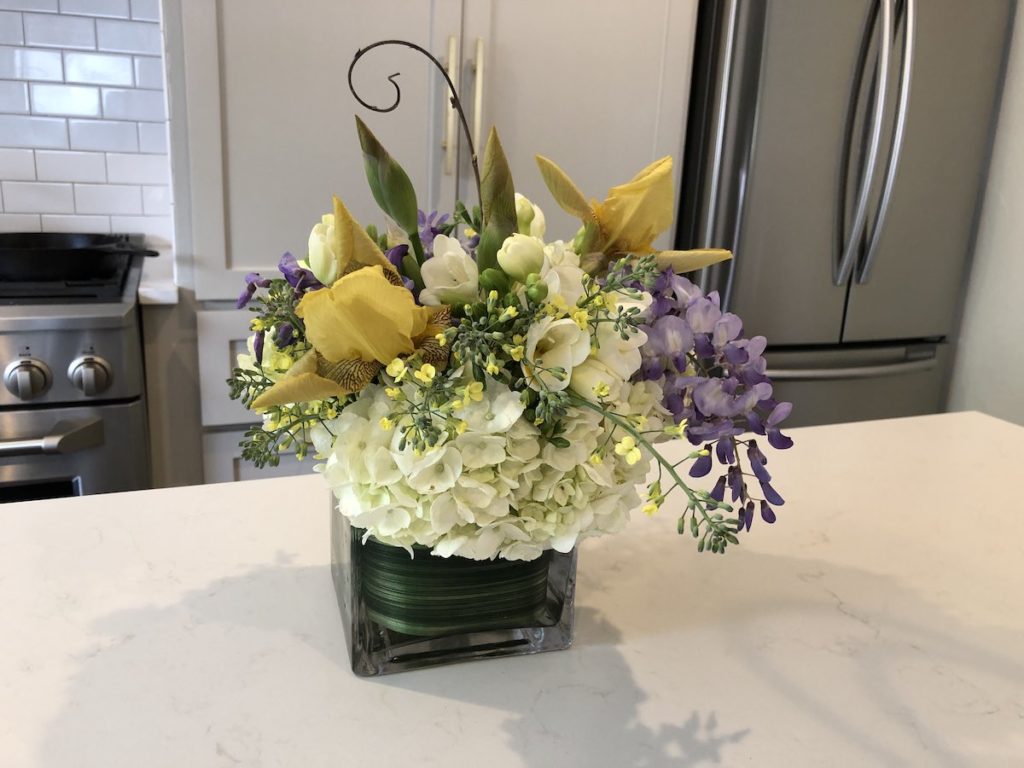
This arrangement pictured below was made from a combination of grocery store stems and the daughter in love’s own flowers. Irises add a bold structural element and the whimsical wisteria vine up top makes my heart sing. Wondering what the tiny yellow flowers are? They are broccoli flowers. Because, why not?
Here’s some helpful tips to get you started on flower arranging.
Foundation: Start every bouquet with a foundational piece that offers a little structure and framework. Flowers like hydrangeas are good for sticking other flowers into and holding them in place. Hydrangeas come in all sorts of colors so this is a no-brainer step. Another flower that works well for this is spider mums. For the hydrangea, eyeball where to cut the stem. The lofty bloom should float right at the top of the vase without the stem touching the bottom.
Now, I’ve always used green florist foam to do this, also called wet foam. But my DIL’s teacher said that foam can inhibit the flowers ability to absorb water. She suggested using florist tape arranged in a grid on top of the container to create a structure for decorating. That seems like a great idea to me.
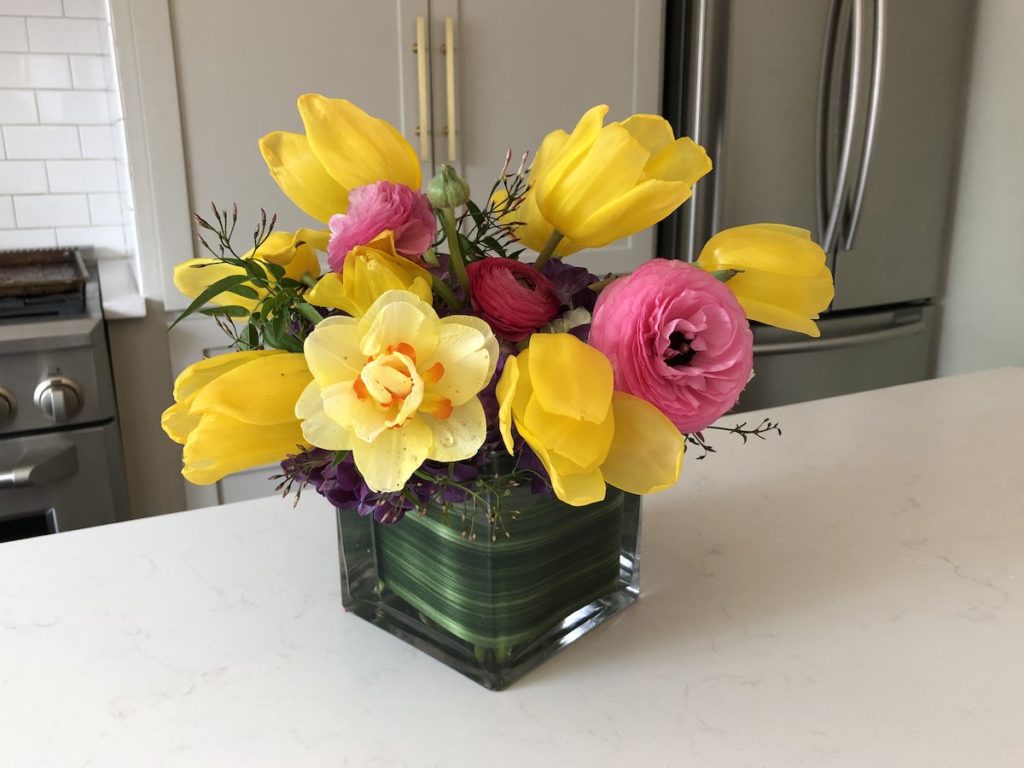
Flair: Now for the fun part! This is the time to go for those flowers that just make your heart happy. Look for pops of color, interesting textures, and lovely fragrances. If you are using roses, pull off the protective outer layers off. These “guard petals” are there as a buffer and aren’t as pretty as the inner petals. When using tulips, pull the lower foliage off and just leave a leaf or two in place. Again, too much foliage dirties up the water, meaning short-lived and sad-looking flowers.
Just for fun: Try adding a succulent to the mix or weaving in an aromatic jasmine vine or deflexus to give it a little depth and delicacy. Knockout roses from your own garden or even herbs like basil or lavender can add such a fun element to a bouquet. Not that the flowers need any help smelling amazing, but you get the idea.
See the jasmine peaking out from under the big yellow tulips?
Care
Since we’re going to all of this trouble, let’s make these blooms last!
- Fill your vase up with warm water to encourage growth. Your flowers might start really tightly balled up (peonies are known for this!), so this helps with that.
- Change the water frequently, at least once a day. Nothing will ruin your bouquet like dirty water.
- Use one of the flower food packets that comes with the flowers at the store for the first day. This will help them continue to open up. If you don’t have one of those handy little plant food packets, all of the old wives tales probably hold a little ruth – lemon, a drop of bleach, sprite, or vodka, a penny, or just a little sugar.
- Be careful where you keep your bouquet. If it’s near direct sunlight or a fruit bowl, it won’t last as long (the gas emitted from the fruit as it ripens is the enemy for your arrangement).
- As the days go on, pull out wilted flowers. They will have a negative affect on their friends. Feel free to even add new blooms or rearrange. You are not stuck with your design for the whole time.
See? Super easy.
This isn’t about skipping the florist and saving money, it’s about making something with your two hands for your mom. A one of a kind gift with her favorite colors and favorite flowers, perhaps even blooms from her own garden.
No matter what, make her feel special on Mother’s Day. And don’t forget a card!


