
This post may contain affiliate links. Full disclosure policy
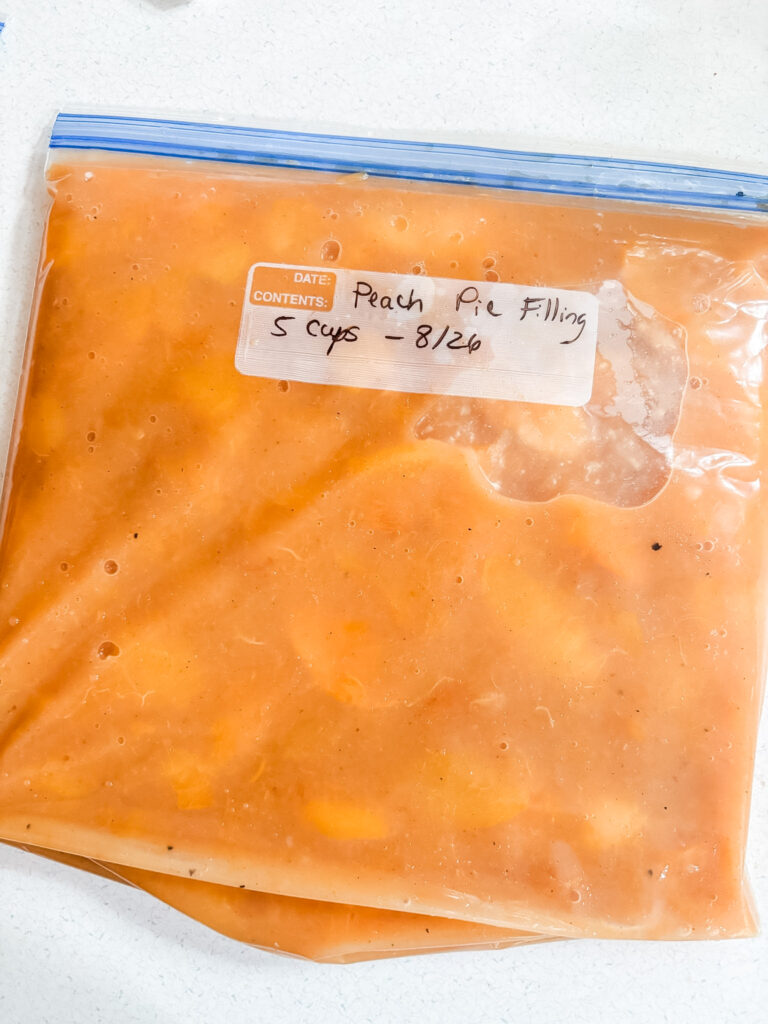
Right now, fresh peaches are at the peak of flavor. Peach season is short. But it’s easy to enjoy that sweet, delicious taste of summer peaches for months to come. Just make some Peach Pie Filling for the Freezer!
Got Plenty of Peaches? Make Peach Pie Filling for the Freezer
In my last post, I told you about how a good friend arrived on my doorstep with the summer’s greatest gift – a whole case of peaches from Washington’s Yakima Valley. What a treat!
Twenty-five pounds is a lot of peaches. That was way too many to eat fresh, and the peak flavor wouldn’t last long. I got to work processing them as quickly as I could.
We did peel and slice some to eat fresh. We used a few more to make Easy Peach Crostini Appetizers for guests. Be sure to check them out later; they’re really good!
I also dried several pounds to use for snacking and to use in my Easy Homemade Granola. I make a big batch every year. It’s great for Christmas gift giving. Be sure to check that one out too.
But before you do that, read on and learn how to make Peach Pie Filling for the Freezer. There’s no better way to enjoy the summertime taste of peaches in the chillier months to come.
How to Peel Peaches the Easy Way
The first thing we’ll do is prep the peaches. That starts with peeling.
Using a peeler or knife to peel the peaches ends up taking a lot of the peach along with the peel. Also, it takes a lot of time.
But there’s a much better method.
Start by bringing a big pot of water to a rolling boil on the stove. You’ll also need a big bowl filled with ice and some ice-cold water.
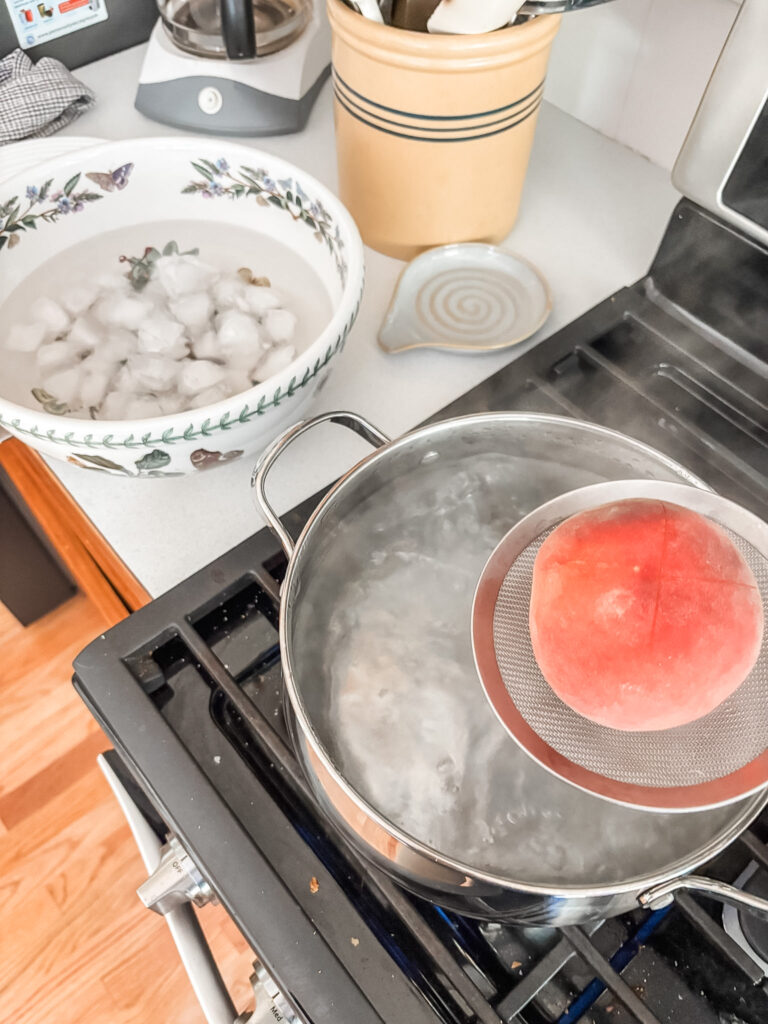
While the water is coming to a boil, use a paring knife to cut 2 to 3-inch X in the bottom of each peach. You’re just cutting through the skin, so you don’t need to make a deep cut.
Once the water is boiling, drop one or two peaches into the water. Leave them in the pot for 30 to 45 seconds. Remove them with a slotted spoon and plunge immediately into the ice water bath for a minute or two.
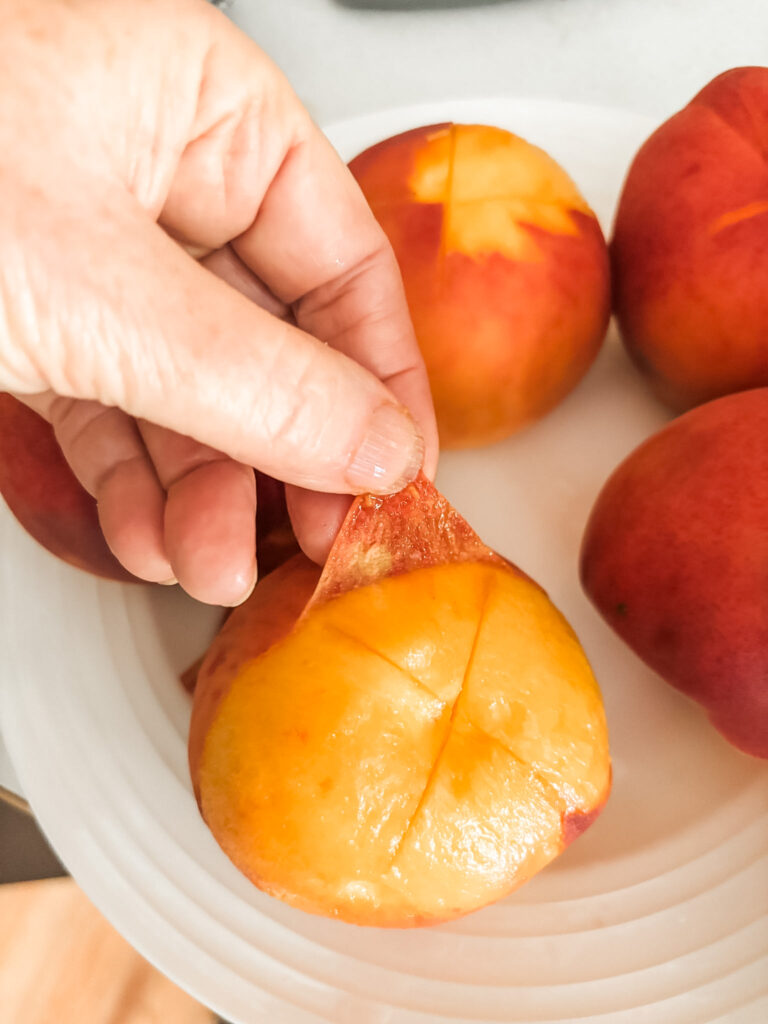
When they’re cool enough to handle, peel the skin off with your fingers. If the peaches are ripe, the skins will practically slide off. Use a vegetable peeler to remove any bits of skin that don’t peel off easily.
Next, you’ll remove the pit and cut the peach into slices, then put them in a nice big mixing bowl.
Making the Filling: Flour vs. Cornstarch vs. Tapioca
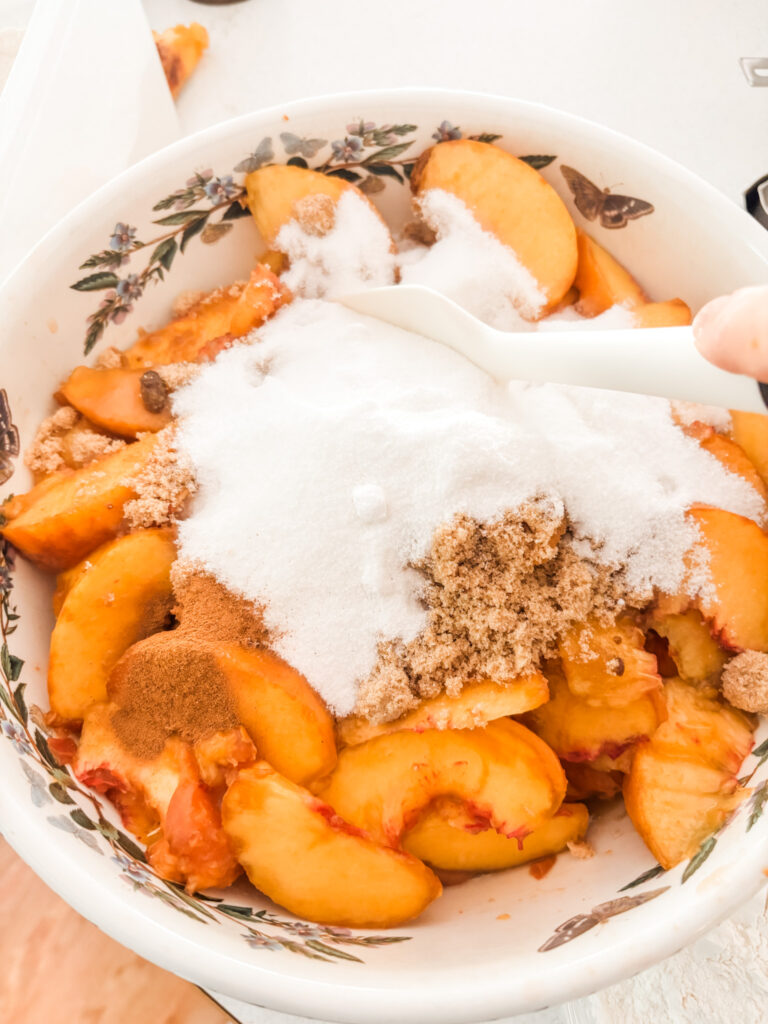
With the peaches peeled and sliced, you’re ready to make the filling.
This is a very simple process. You’ll just add some lemon juice, white sugar, and brown sugar to the bowl. Then you’ll gently stir to release the peach juices and partially dissolve the sugars.
After that, you’ll add a little salt, cinnamon, and some flour. Again, you’ll want to be gentle when you’re stirring. It’s really more like folding than stirring.
Let’s talk about the flour for a moment.
Flour is what I’m using to help thicken my filling. Some people prefer to use cornstarch and/or tapioca to thicken pie fillings. There are plusses and minuses to each method. If you’d like to know a little more about them, this post from Martha Stewart goes into greater detail.
Because I’m making peach pie filling for the freezer, I’m using flour. Cornstarch tends to break down when it’s frozen, and I don’t want to end up with a soupy pie.
I didn’t have any on hand, but quick-cooking tapioca would be another good option for thickening a frozen filling. If you go that direction, use half as much tapioca as flour.
Cooking, Cooling, and Storing Your Peach Pie Filling
Flour does need to be cooked so the filling thickens properly and won’t taste starchy. (If you’re using quick-cooking tapioca, you can stir it into the mixture without cooking.)
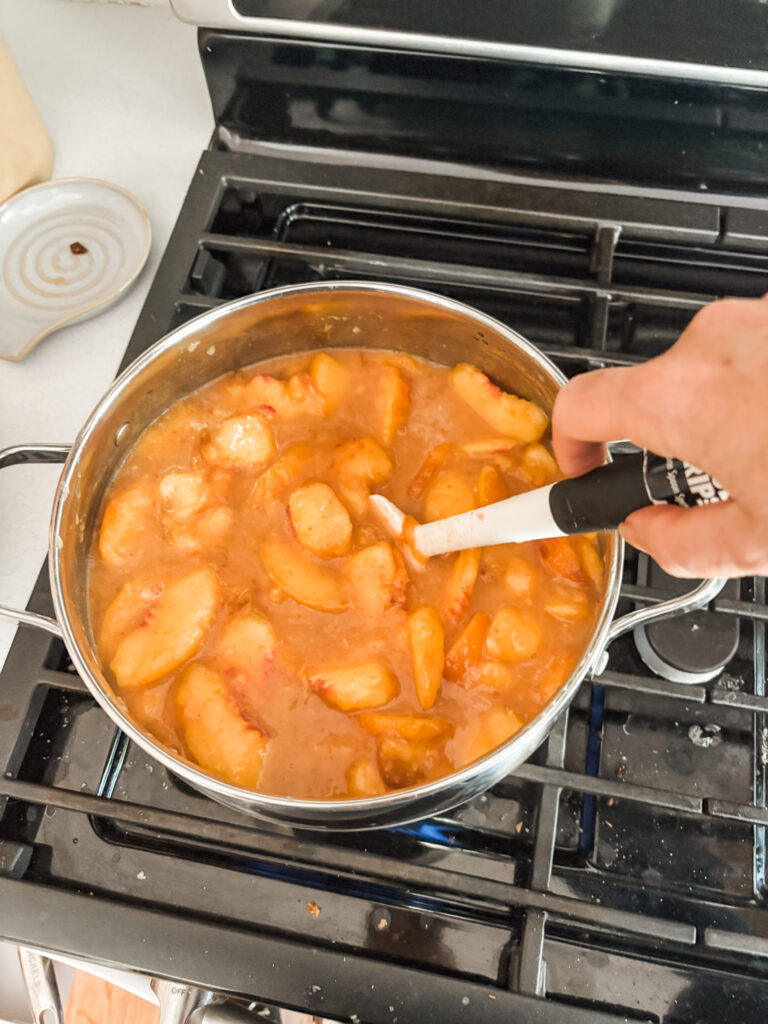
Bring the filling to a simmer in a large pot or saucepan over a medium-low heat. Simmer your filling for five to ten minutes, until it turns thick. Stir the filling frequently to prevent scorching. You’ll stir in a little vanilla extract at the very end.
Remove the cooked filling from the stove and let it cool completely. Once it’s cool, ladle the filling into zippered freezer bags, pushing as much air out of the bag as possible before closing.
Peach pie filling should be fine stored in the freezer for three to four months. Storing it longer could make the flour break down, so make sure to mark your bags with the date.
What to Do With Frozen Peach Pie Filling
Peach Pie
Making pie is the obvious use for peach pie filling
Peach Cobbler
However, if you don’t want the bother of making a pie, it’s also great for cobbler. Just mix up a topping with oatmeal, flour, butter, brown sugar, cinnamon, and a pinch of salt, spread it over the top, and bake to golden brown. Yum!
Peach-Topped Ice Cream
Want an even simpler dessert? Just heat up some thawed peach pie filling on the stove and spoon it over vanilla ice cream.
A few spoonfuls of warmed peach pie filling would make a terrific addition to your morning oatmeal too!
Print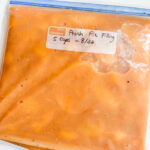
Peach Pie Filling for the Freezer
- Yield: Enough filling for 2 pies (If you only want one pie, just half the recipe)
Ingredients
- 6 to 7 pounds of ripe peaches (about 7 large peaches)
- ¼ cup lemon juice
- 1.5 cups white sugar
- 1/4 cup brown sugar
- 1/4 tsp salt
- 2 tsp ground cinnamon
- ½ cup flour (can also use half the amount of quick-cooking tapioca, see post for instructions)
- 2 tsp vanilla extract
Instructions
- Peel and slice the peaches. (See post for boil and ice bath method to easily peel peaches.)
- Place peeled peaches in a large mixing bowl. Add lemon juice, white sugar, and brown sugar. Mix gently until juices begin to release and sugars are partially dissolved.
- Add cinnamon, salt, and flour to bowl. Stir gently until ingredients are just combined and peaches are thoroughly coated with flour.
- Place filling in a large pot or saucepan over medium low heat and bring to a simmer. Simmer for 5 to 10 minutes, until filling is thick.
- Remove pot from heat, gently stir vanilla into the filling. Allow to cool completely.
- Ladle cooled filling into plastic freezer bags or freezer safe containers. Can be stored in freezer for 3 to 4 months.