This post may contain affiliate links. Full disclosure policy
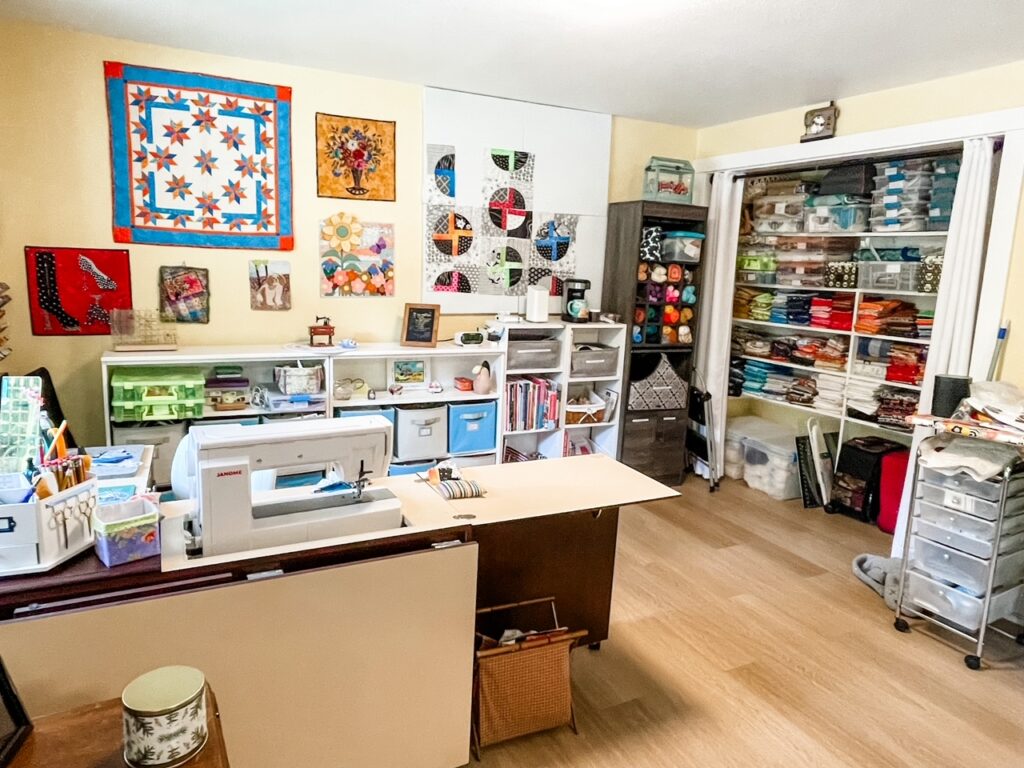
If you follow me on Facebook, you may have seen the chaos that ensued during my recent home office update. It was a lot of work, but the update is complete, and I’m thrilled with the result!
Read on to see the transformation from cluttered and chaotic to a tidy, efficient, and cheery place to work and create. Who knows? You might even pick up a few ideas on updating your home office into a workspace you’ll love!
How My Home Office Update Started – New Projects And An Old Problem
If you’ve been following my blog for a while, you know that we moved into a 1970s-era rambler two years ago and immediately started remodeling. One of our first projects was turning two small bedrooms to create a bright, open sewing and writing studio for me to work in.
It was a big improvement. However, sometimes, you have to occupy a space for a while to understand what you really need. Since posting that first blog, I’ve rearranged the furniture in my home office more than once. It still didn’t feel quite right, but I’d kind of resigned myself to the situation.
However, the combination of some good news and bad news made me realize it was time to try again.
The good news was that I’d soon be launching into several new writing projects. (Before you ask, I really can’t get into specifics yet. Sorry!)
The bad news is that my lifelong struggle with back pain was worse than ever. Sitting for more than an hour or two was agony. How could I possibly sit at my desk for the many hours a day that these writing projects would require?
New chairs didn’t help. Neither did the various cushions and back supports I ordered. After realizing that my back didn’t hurt when I was standing, I decided to follow a suggestion that my doctor gave me years ago and get myself a standing desk.
That purchase was the domino that launched me into completely rethinking, reorganizing, and updating my home office.
A new desk was a good start, but it was only a start. I also needed to come up with solutions for maximizing storage and organizing workflow in my writing space AND in my crafting space. Because if you’re going to spend forty, fifty, or sixty hours a week in a home office, you want it to be as pleasant, efficient, and inspiring as possible, yes?
Home Office Update – The Before
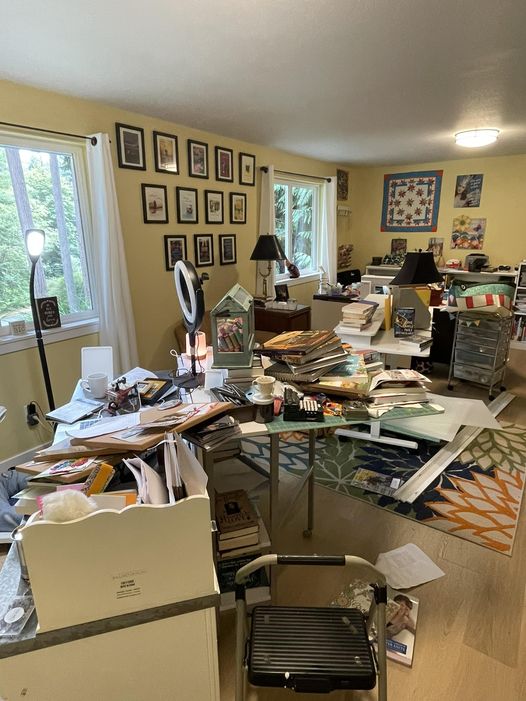
It’s all good now, and I’m so glad I did it. But I’ll be honest, when I took this pictures of the update in process, I was starting to wonder what I’d gotten myself into!
Still, I knew this was one of the “go big or go home” situations. Rearranging the furniture yet again just wasn’t going to cut it. Instead, I opened every drawer, examined every shelf, and dug through every box — including a couple that were still left over from our move!
Then I asked myself some questions, starting with – do I really need and/or want to keep this?
If the answer was no, the item was either donated or thrown away. Getting rid of things that have outlived their purpose is the most important step in any home office update.
Even so, there were plenty of items that I did want to keep, which elicited more questions. Where was I going to keep it? And how was I going to locate it when I needed it?
It didn’t take too long for me to realize that I needed more storage and a better system for finding my stuff. But…where was I going to put it?
Home Office Update – Making The Space Work

As you can see from the photo below, the first iteration of my office layout placed my sewing table against the wall. I did the same thing with my desk.
Why? Because I hate looking at and/or tripping over tangles of electrical cords. The outlets are in the walls, so that’s where I put the furniture. But placing my desk and sewing cabinet against the wall meant I couldn’t use that space for much-needed storage.
Also, even if there’s a pretty quilt hanging there, who wants to look at a wall all day?
The After – A Prettier, More Productive Home Office
Turning my desk and sewing machine to face the center of the room gave me a more pleasant, more inspiring view. It also gave me room to add tons of storage. Just look at my sewing area now!
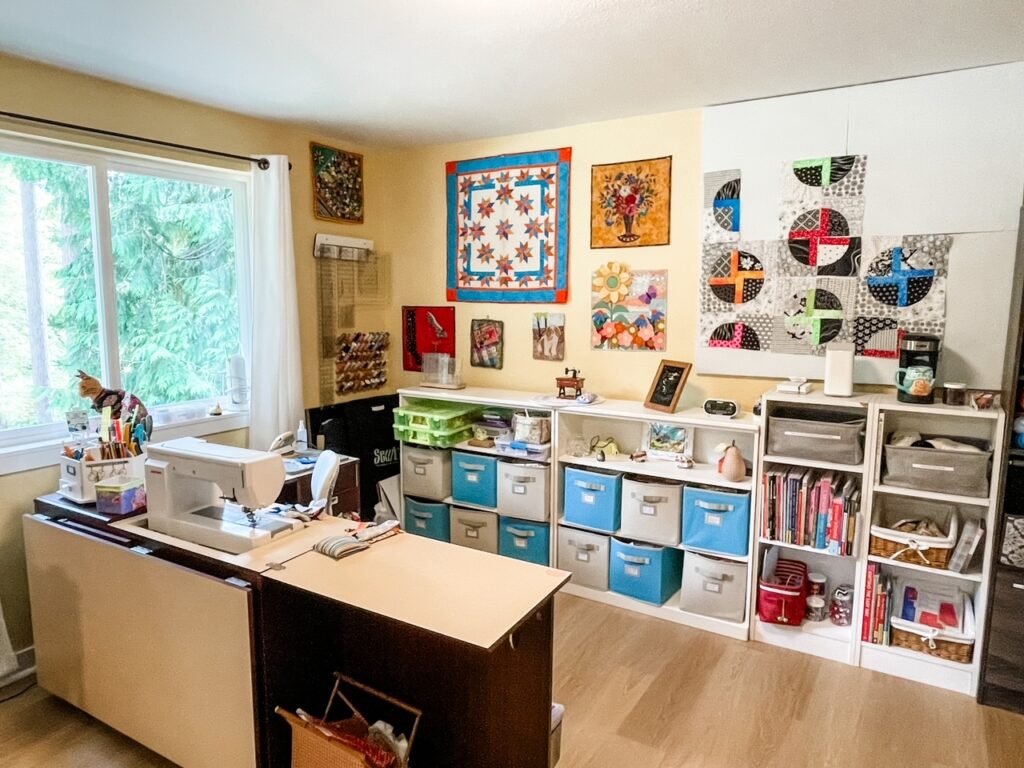
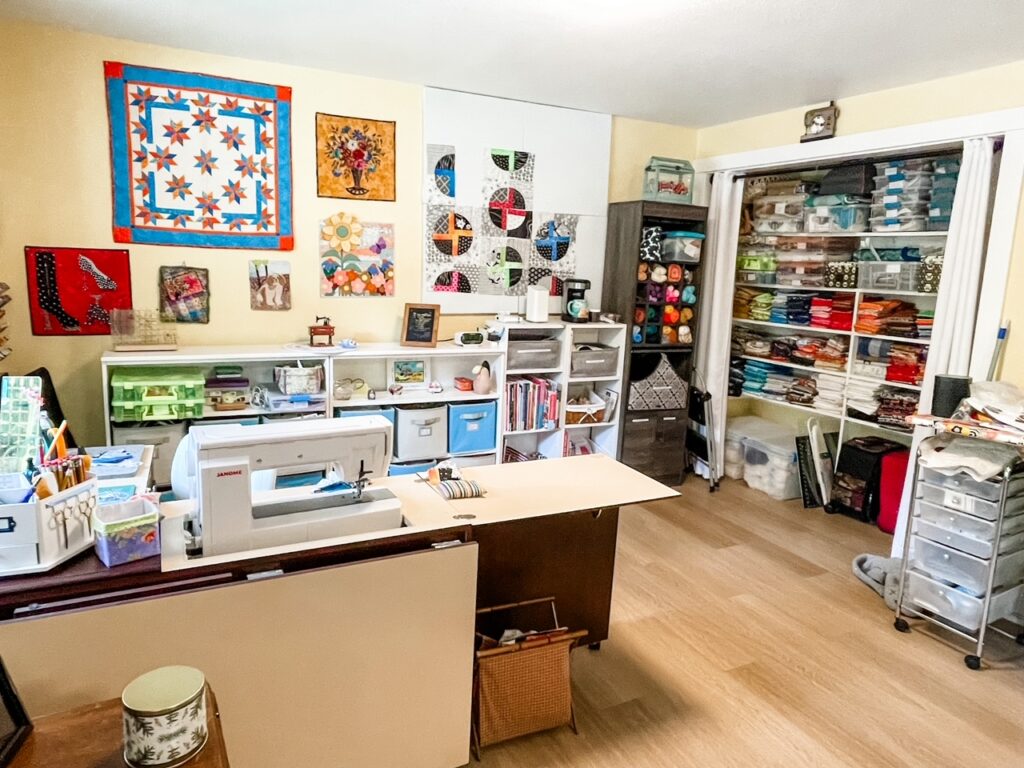
There is plenty of room to store my fabric, notions, projects in progress, and crafting books. I’ve even got a storage cabinet that’s just for yarn, knitting, and crocheting projects.
Before, my crafting stuff was spread all over. Now, it’s confined to one area, and everything is labeled, so it’s easy to find what I’m looking for. Though I still have a big ironing board and cutting table, I now have mini-cutting and ironing stations conveniently located next to my machine.
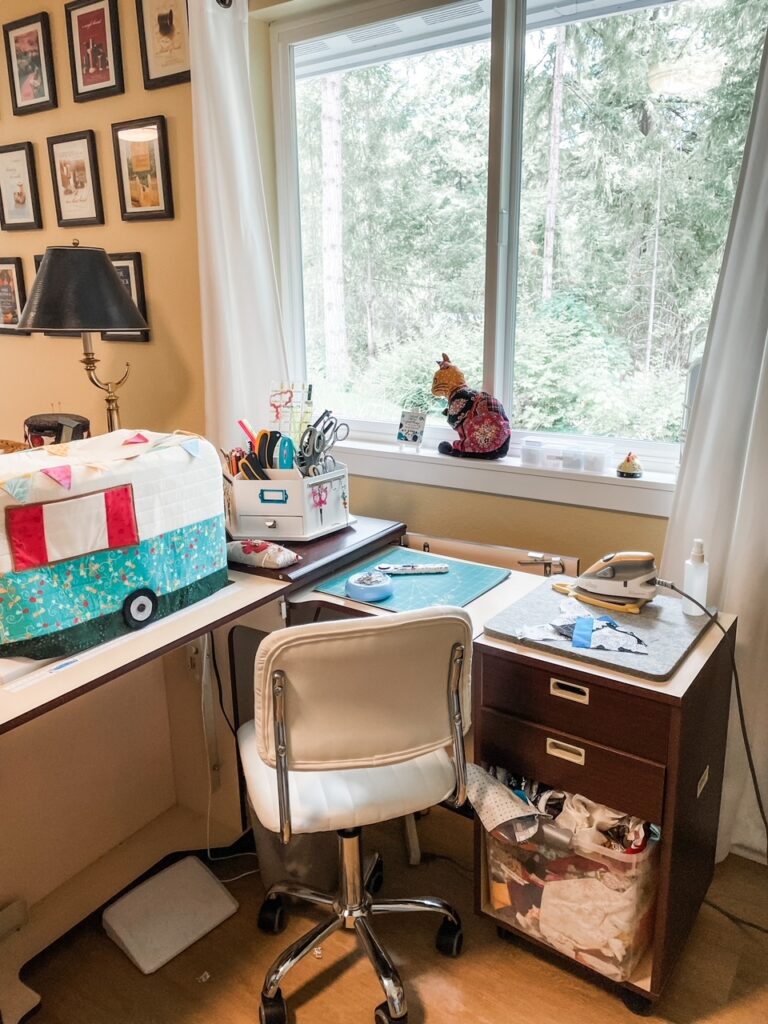
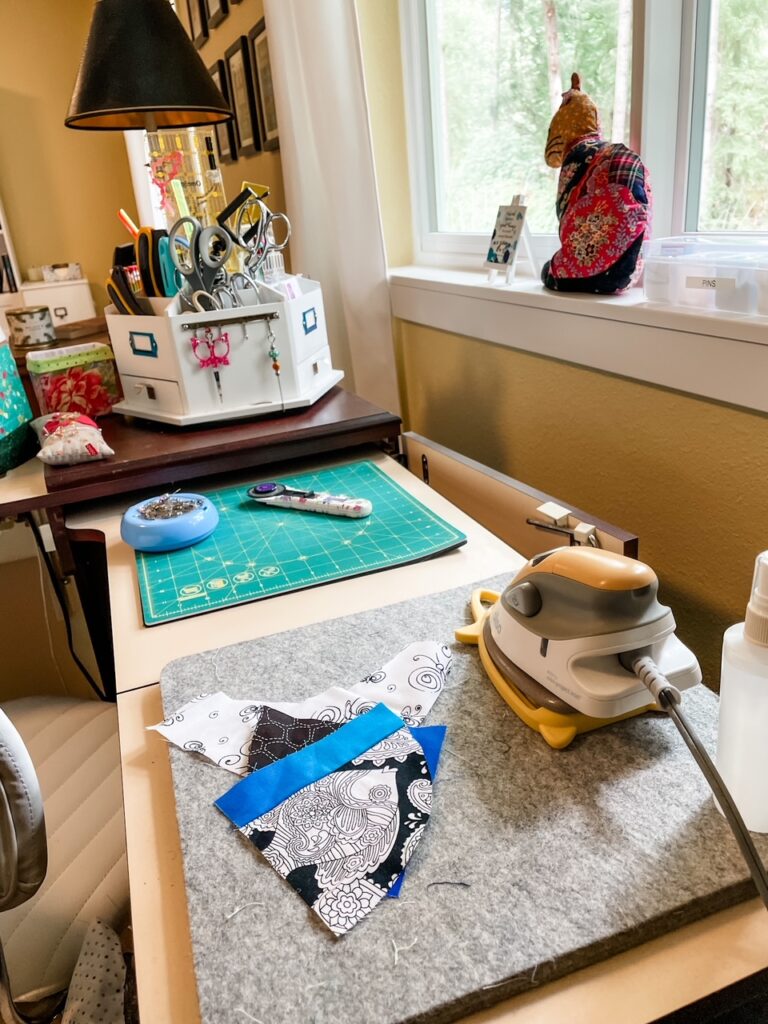
This new arrangement helps me get more done and makes quilting even more fun!
The same ideas I used in my crafting space worked beautifully in my writing area as well. Moving my new desk away from the wall gave me room to place two new bookcases and doubled my storage.
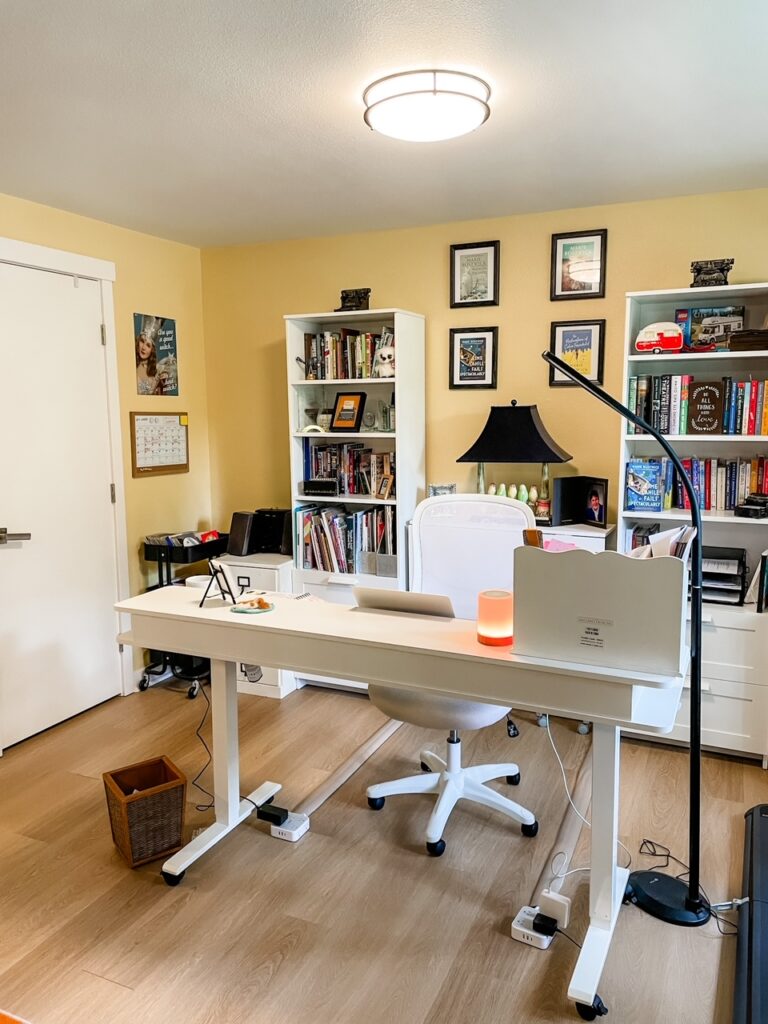
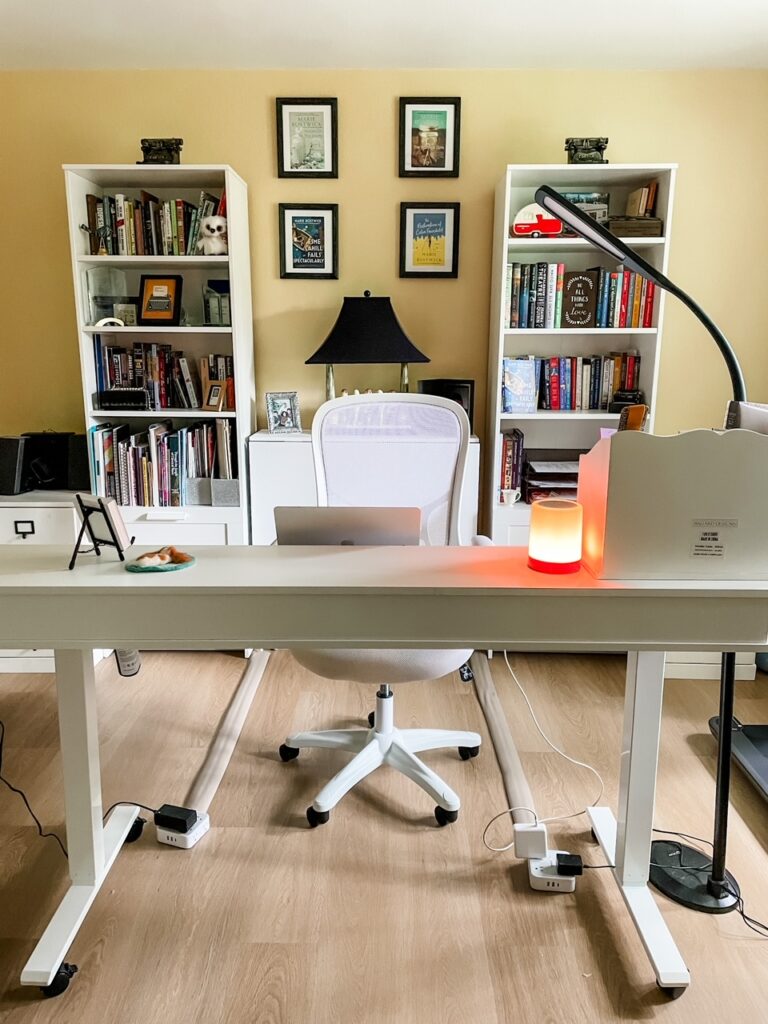
See what I mean? It’s such a bright, happy, and pleasant space to work in.
But creating a home office that works is about a lot more than good looks. It needs to be functional too. Let’s talk about some of the ideas and products that are making my new home office a more efficient place to work.
My Fabulous New Desk!
As I said previously, this whole home office update started with finding a standup desk that would help me deal with my back pain. But I also knew that standing all day would lead to other kinds of issues and discomfort.
What I really needed was an adjustable desk – a nice big surface, preferably with a few drawers, that could be easily adjusted from standing or sitting. After a couple of hours of research, I found just what I was looking for.
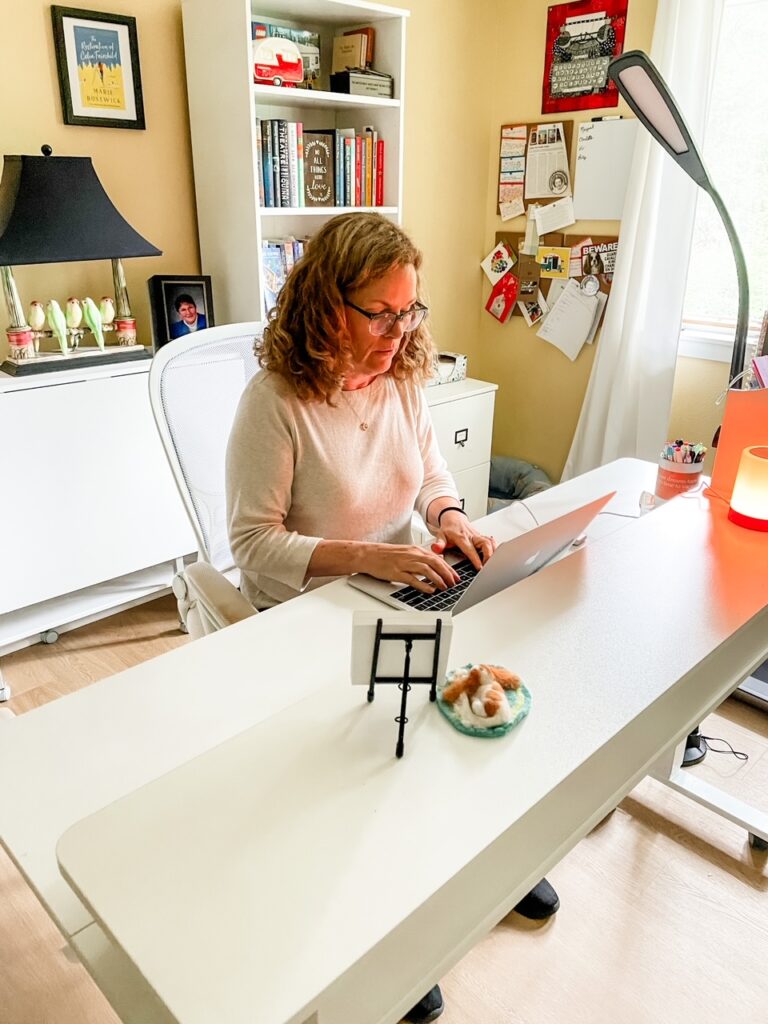
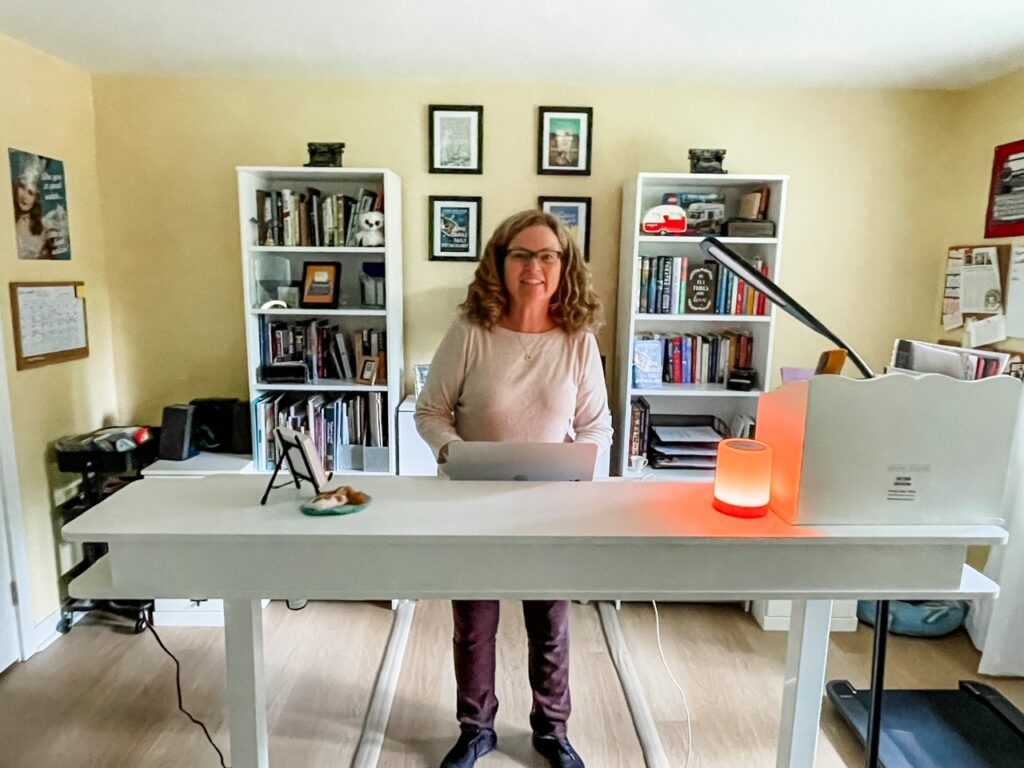
I absolutely love my new desk! I found it on Amazon, and it was a great deal!
The 63-inch surface gives me plenty of room for my computer, papers, research material, and coffee cup. Plus, it’s got five nicely sized drawers for office supplies I want to keep close at hand.
Adjusting the height couldn’t be easier. All I have to do is press a button. It’s sturdy, too, supported by a metal frame. And it sits on four strong, smoothly operating wheels, so I can move it easily.
That’s been a big plus! If I want to get a little exercise while I’m working, I raise it to standing height and roll it over to my treadmill. Yesterday, I clocked about three-quarters of a mile while answering my email.
Though I’ve only been test-driving it for a few days, I think this is my favorite desk ever. And I’ve had a lot of desks over the years. True, it did take me a couple of hours to assemble, but with a price tag of about $300, I’m not complaining.
My New Bookcases
My new Brimnes bookcases from Ikea are pretty terrific, too! They were $149 each, and, yes, I did have to assemble them. But it was definitely worth the effort!
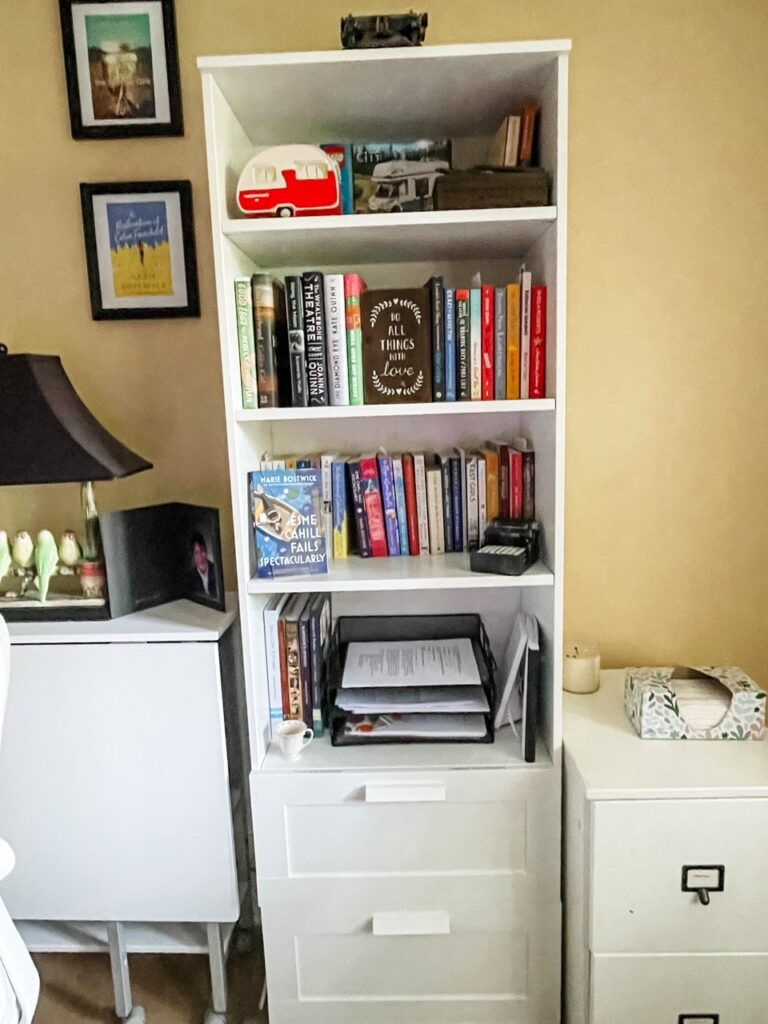
The lower part has two big, 24-inch-wide drawers for storing files or office supplies. Above, I’ve got four adjustable shelves with tons of space for journals, books, and knick-knacks.
Little Touches That Made A Big Difference
Obviously, the desk and bookcases had the biggest impact on my home office update. But there are a lot of small items that make my new workspace more attractive and efficient.
Remember when I said how much I dislike looking and/or tripping over tangled cords? Well, that hasn’t changed. But two simple and inexpensive purchases gave me an elegant solution to the problem.
First, I replaced my old bulky surge protectors with a more streamlined model.
This power strip has six outlets and a flat plug that fits well behind furniture. It’s also got a 10-foot cord, so I was easily able to run it behind the bookcases and across the floor to the desk.
Maybe it sounds crazy to get excited about a power strip, but this was a game-changer for me!
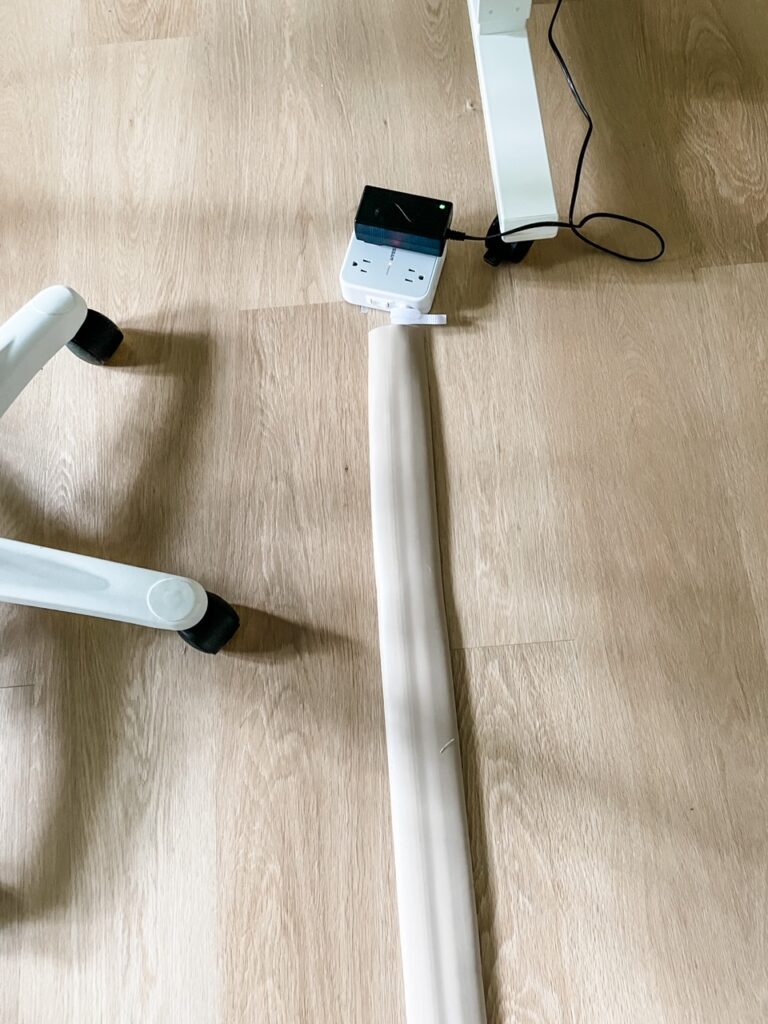
And I feel just the same way about the nifty cord covers I found at Amazon.
They’re available in several colors – the tan blends in nicely with my flooring – and come in 6-foot lengths that can be cut to size with a good pair of scissors.
I love the way they look. No more ugly cords! And no more tripping hazards!
The last item that made a big difference in making my home office more efficient was something I already own – a P-Touch label maker.
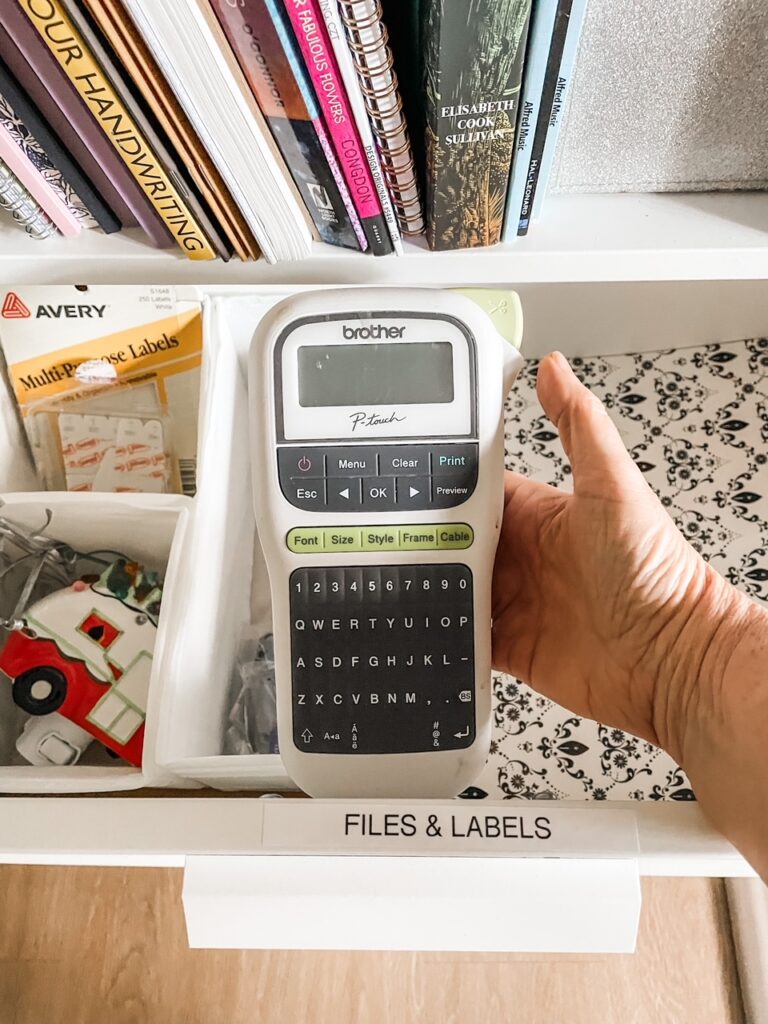
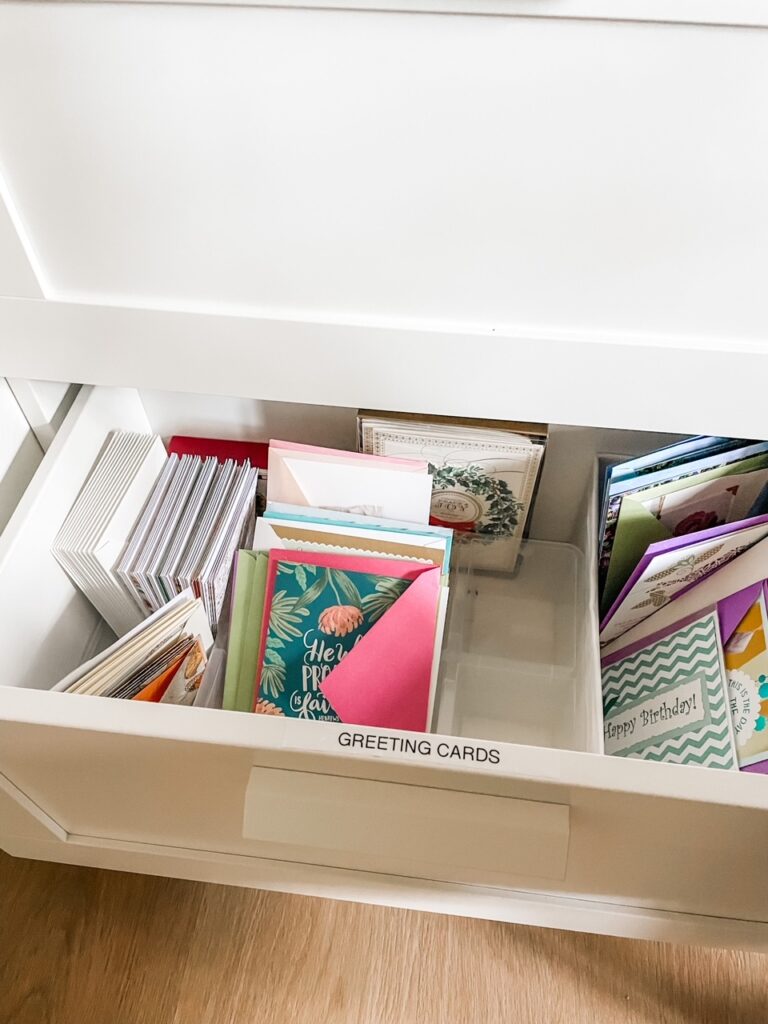
Creating labels to identify the contents of drawers, file cabinets, sewing notions, and boxes holding my craft projects in progress makes finding what I want when I want it so much easier! My label maker is definitely a time and sanity saver!
Getting Back to Work In My Updated Home Office
There are lots of other little goodies I could show you in my newly organized office. But since the point of undergoing this update to kickstart my new writing projects, I’d better get back to work.
Thanks for taking the tour. I hope you found some ideas and inspiration to help make your office a more productive and pleasant place to work and create!


