This post may contain affiliate links. Full disclosure policy
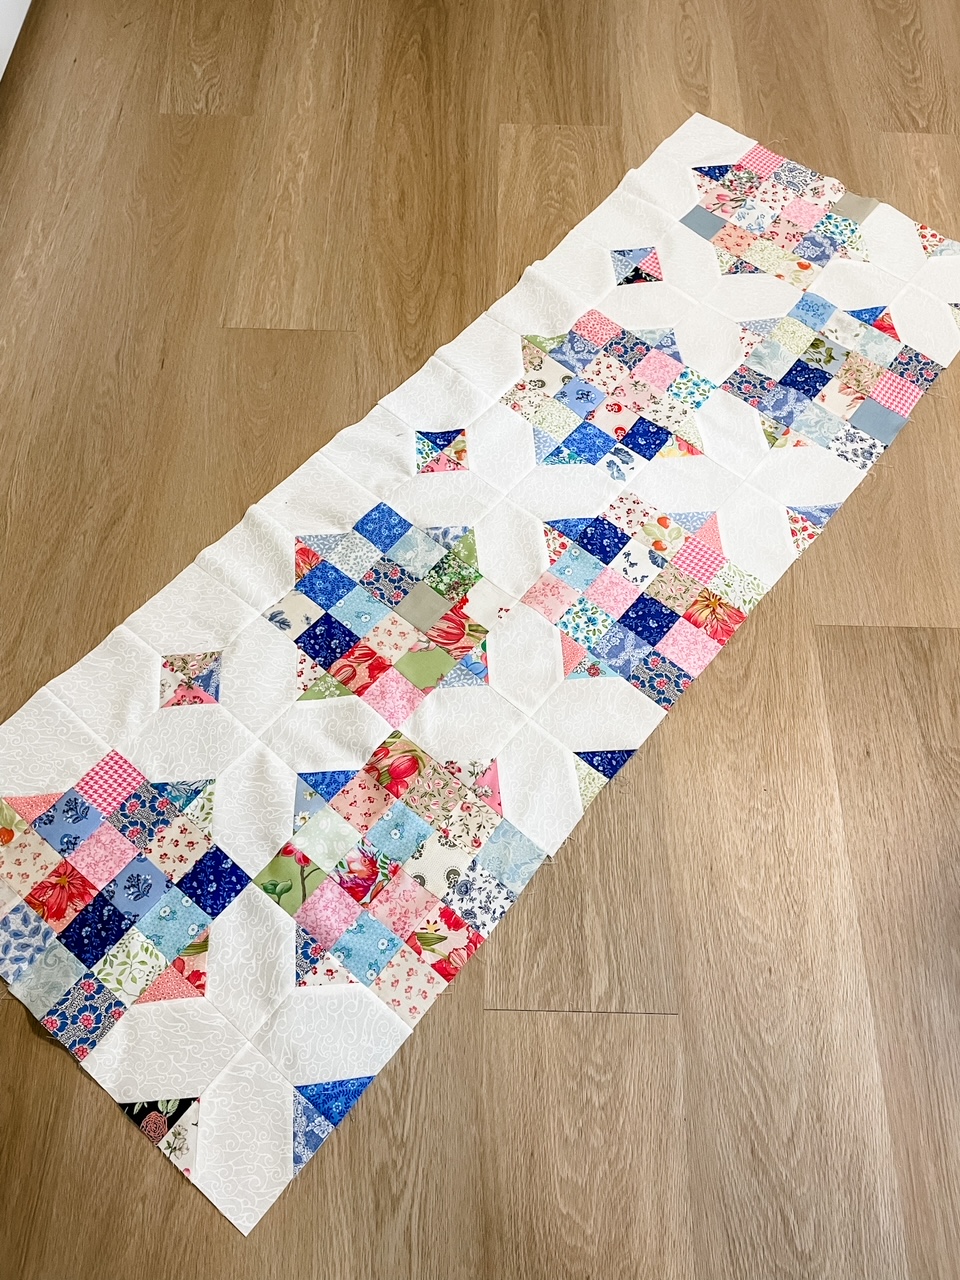
Sewing cheerful, scrappy quilt that looks terrific in any room is probably easier than you think. If you haven’t already, check out the first part of this easy two block quilt, and otherwise read on for a tutorial and tips on how to stitch the second block you’ll need to make an Easy Two Block Quilt!
Two Easy Blocks, One Great Quilt!
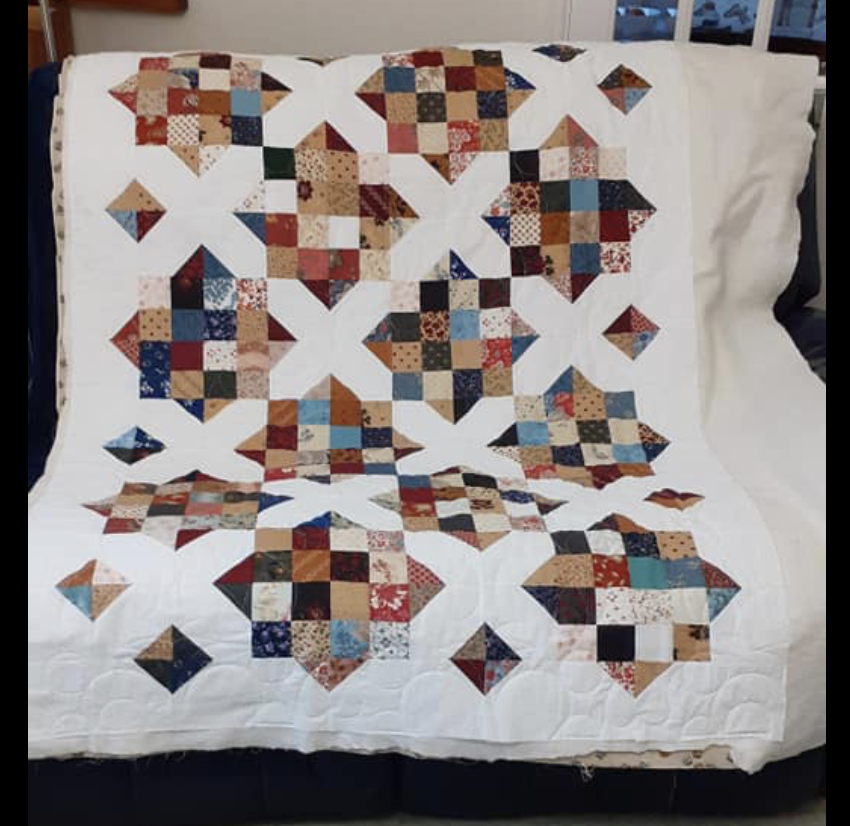
A couple of weeks ago, I shared a post about an Easy Two Block Quilt that one of my online friends had made.
The second I saw the photo of my friend’s finished quilt, I decided I wanted to make one too. It was cheerful and scrappy and all around adorable. Best of all, though it looks fairly complicated, it’s actually made with two fairly simple blocks.
Backtrack to The First Easy Quilting Block
As I explained in my previous post, this easy two block quilt is based on a pattern called “Goodnight Irene” from Missouri Star Quilting.

I’ve been having such fun making this quilt that decided to write a couple of posts the process, thinking some of you might be inspired to make your own.
Though I’m sharing tutorials on how to make both blocks, I’m not including anything about yardage, design layout, quilt dimensions, or finishing instructions. So, if you want that information, I recommend you purchase the pattern from Missouri Star. At just $5.95, it’s sweet deal on a pattern for a sweet little quilt!
The first block you’ll be making for this Easy Two Block Quilt is a classic sixteen patch block. Though it might look a little daunting for a beginning quilter, it’s really very simple.
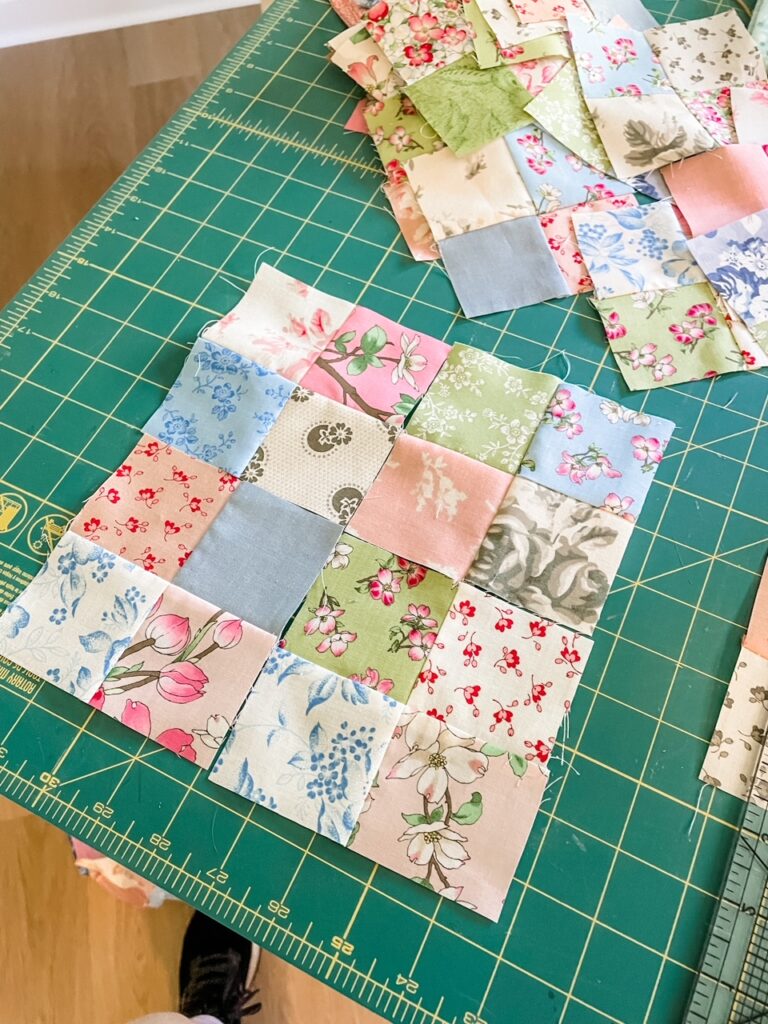
The chain piecing methods I shared on my previous post, Easy Two Block Quilt: Part One, will show you how to stitch up a pile of sixteen patch blocks quickly and easily. If you haven’t yet read that post, you might want to go back and read it now.
Block Two of the Easy Two Block Quilt: X Blocks
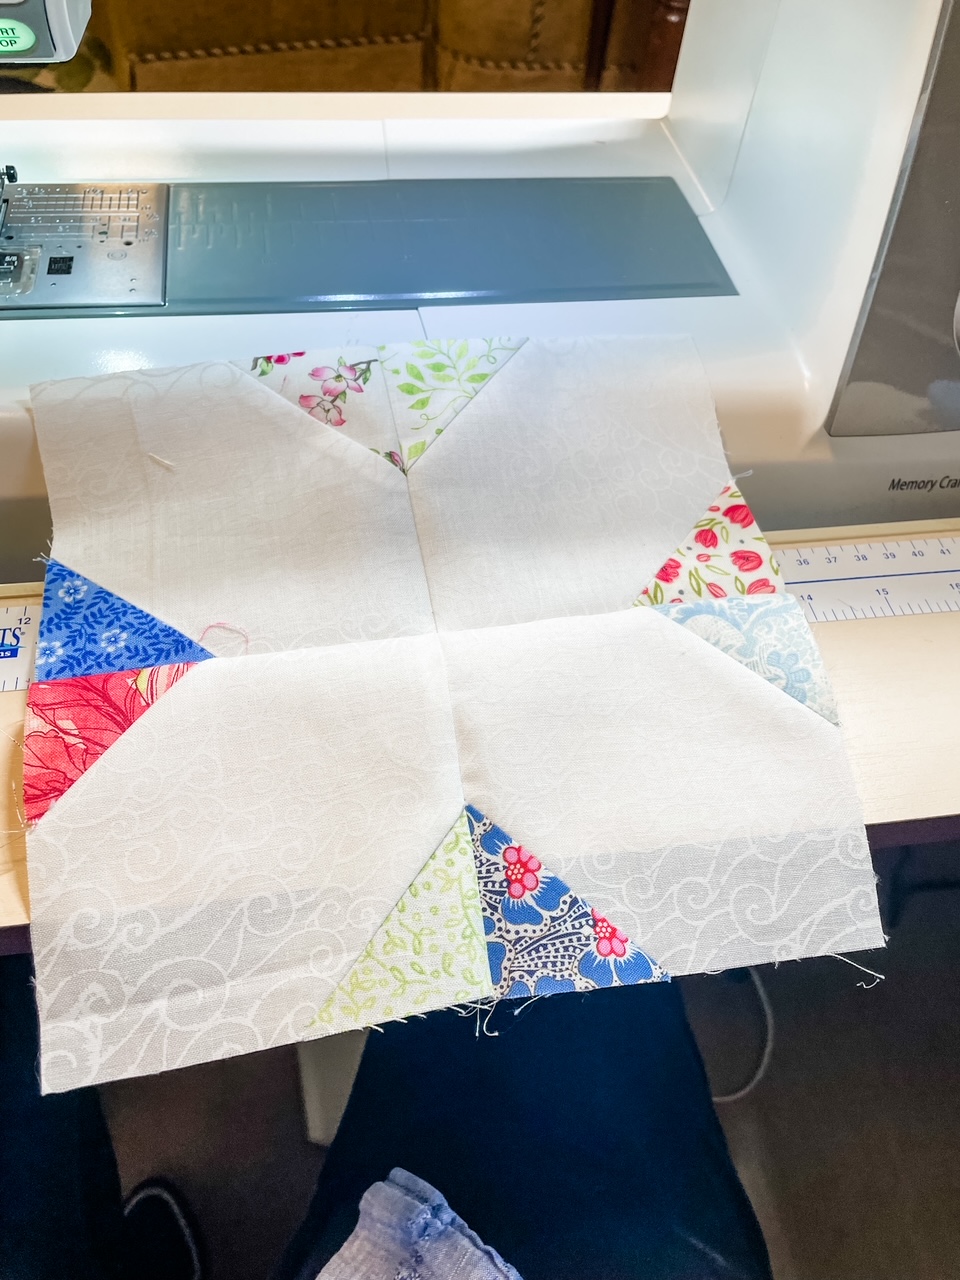
The second block you’ll need to make this Easy Two Block Quilt is an X Block.
As with the Sixteen Patch, each finished X Block is composed of four smaller blocks. I’ve decided to call these smaller blocks Half Snowball Units.
If you’ve ever sewn a snowball block, you’ll immediately understand why I decided to call it that. These units are made with the same technique you’d use in a snowball block. The only difference is that instead of four corner patches, you’ll only sew two.
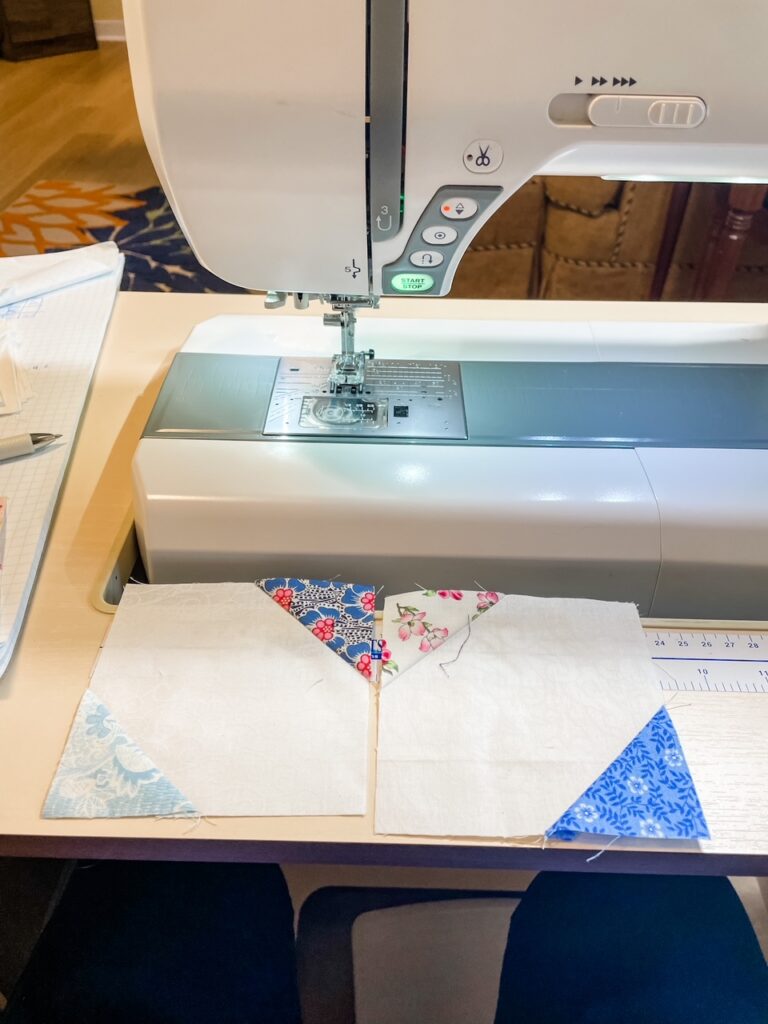
Half as many patches means these units are twice as easy to make as a snowball block. Hooray!
Sewing the Half Snowball Units
Step One: Prepare Your Patches
For each Half Snowball Unit, you’ll need a large square of background fabric as well as two squares of contrasting fabrics for the corners, half as big as the background square.
For example, my background squares are 4.5 inches. That means that my two corner patches are 2.25 inches each. You make these blocks in any size; just remember that the corner patches will be half as big as the large patches.
Step Two: Press or Mark Your Corner Patches
You can use one of two methods to prepare your small corner squares for sewing. The first option is to draw a diagonal line from corner to corner on the wrong side of each square. This will be your stitching line.
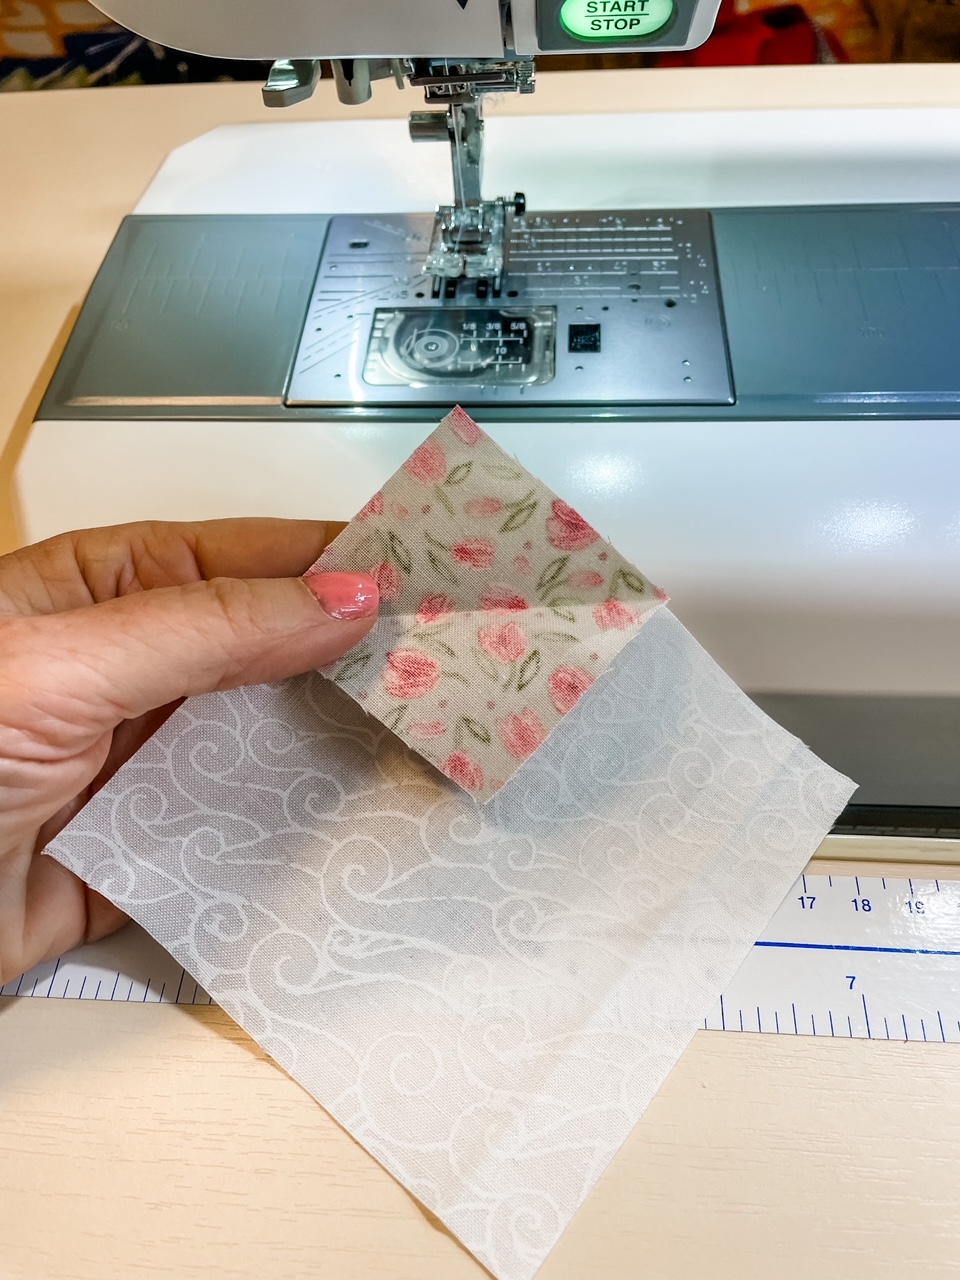
Another, somewhat quicker method is to fold the squares in half on the diagonal, creating a triangle, and give each patch a quick press. When it comes time to sew, you’ll simply stich along that ironed crease.
Step Three: Chain Piecing Your Half Snowball Units
With right sides of the fabric together, lay a small square in one of the corners of the large background square. Make sure the marked or pressed line of the small square goes from edge to edge of the larger square.
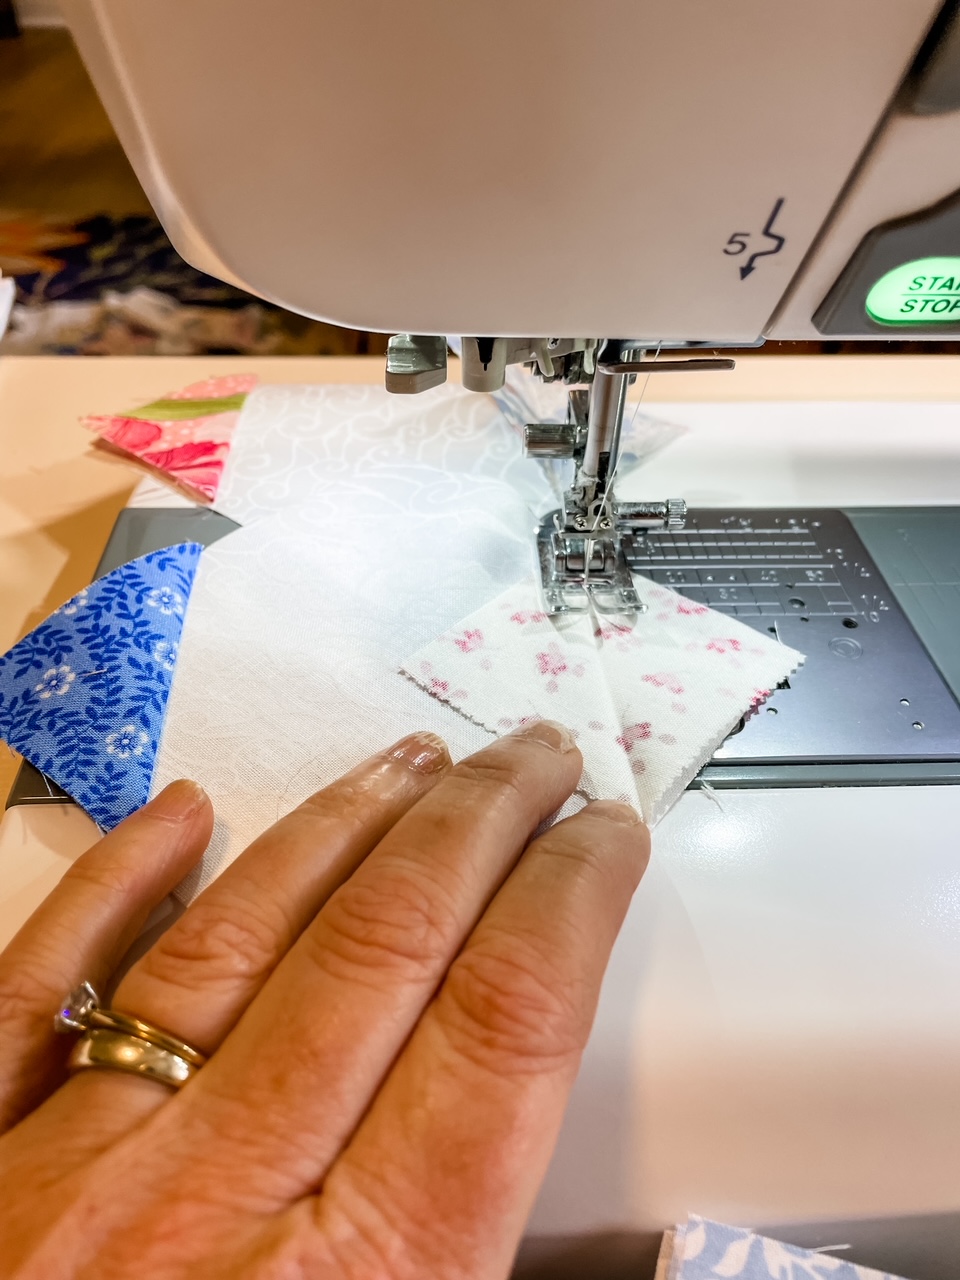
Stitch along the marked or pressed line of the small square. When you get to the end of the stitching line, have your next square ready to go and keep sewing. Repeat the process until all your corner squares are stitched to the background squares on one side, creating a chain of sewn patches.
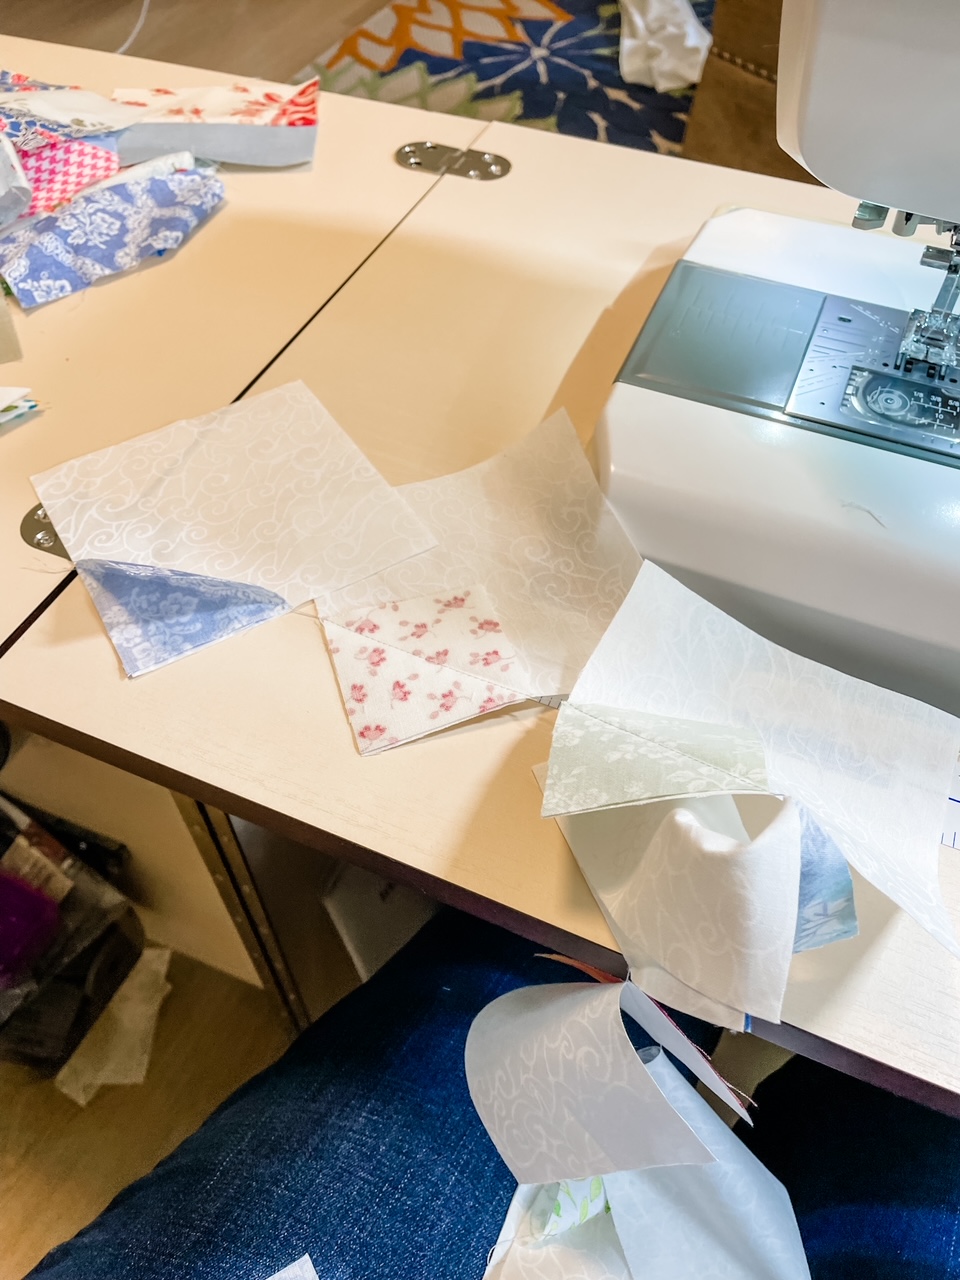
(PRO TIP: Stitch a teensy bit away from your marked or pressed line, just a couple of threads closer to the outer corner. This will help make up for the fabric that gets caught in the fold and will give you more even squares.)
Cut the patches apart. Using the same method as you did above, sew a second small square onto the opposite corner of each large square.
Step Four: Trimming and Pressing Your Half Snowball Units
Cut the chain piece patches apart.
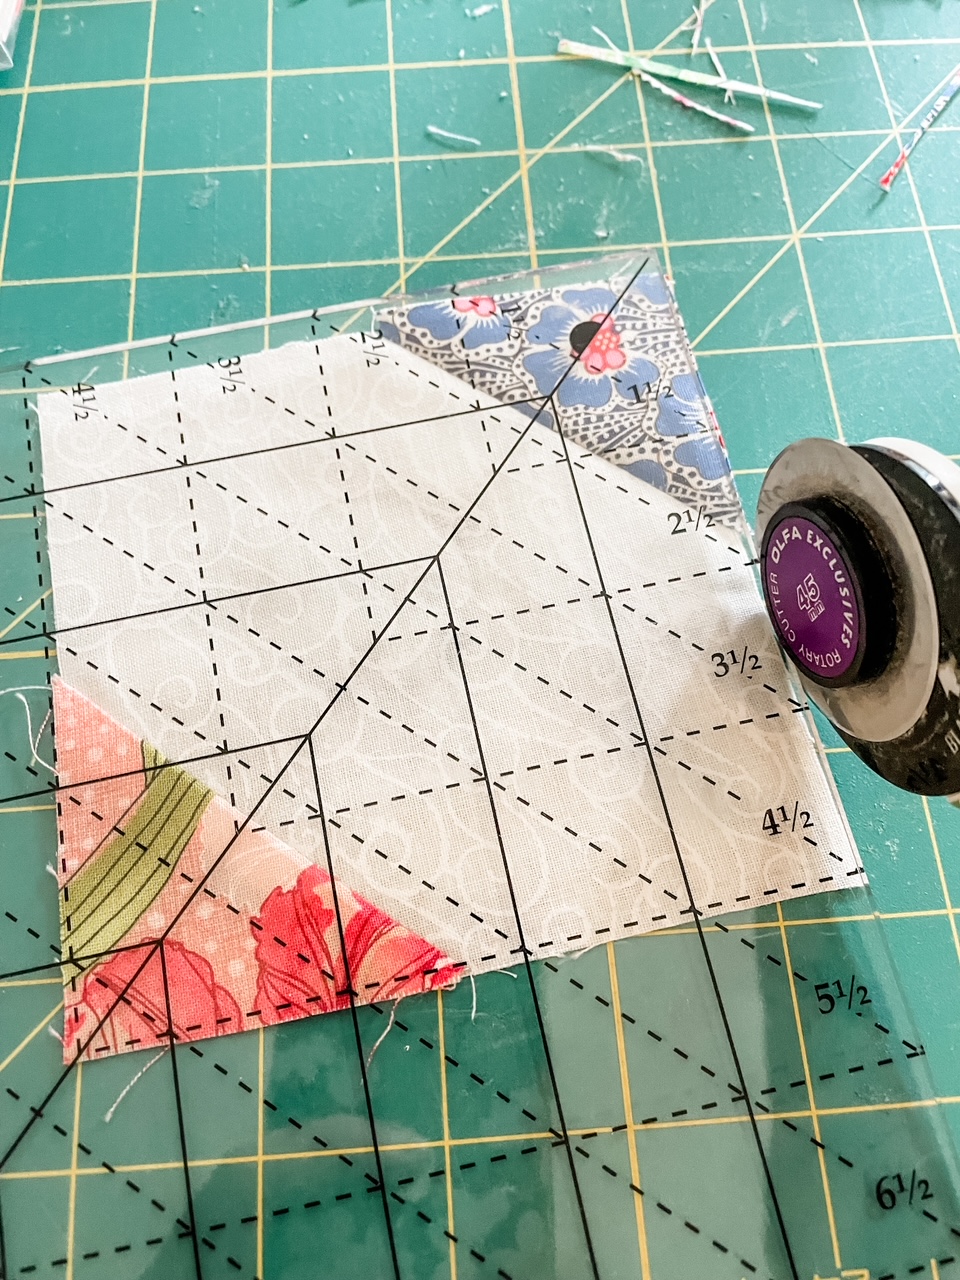
Trim away the excess fabric in the outer corner of each square, about a quarter inch from the stitching. Repeat on the opposite, corner patches. Take your completed Half Snowball Units to the ironing board. Press the seam allowance to one side.
In quilting, the usual rule is to press the seams toward the darker fabric. However, you’ll need seams that lay in both directions to make these blocks. For each unit, it might be a good idea to press one of the seams toward the small square and the other toward the background fabric.
After pressing the units, use a ruler to make sure every unit is square and trim up any uneven edges.
Sewing the Half Snowball Units into X Blocks
Now that your Half Snowball Units are done, it’s time to make your X Blocks. You’ll need four Half Snowball Units for each block.
Step One: Sewing “Half” X’s
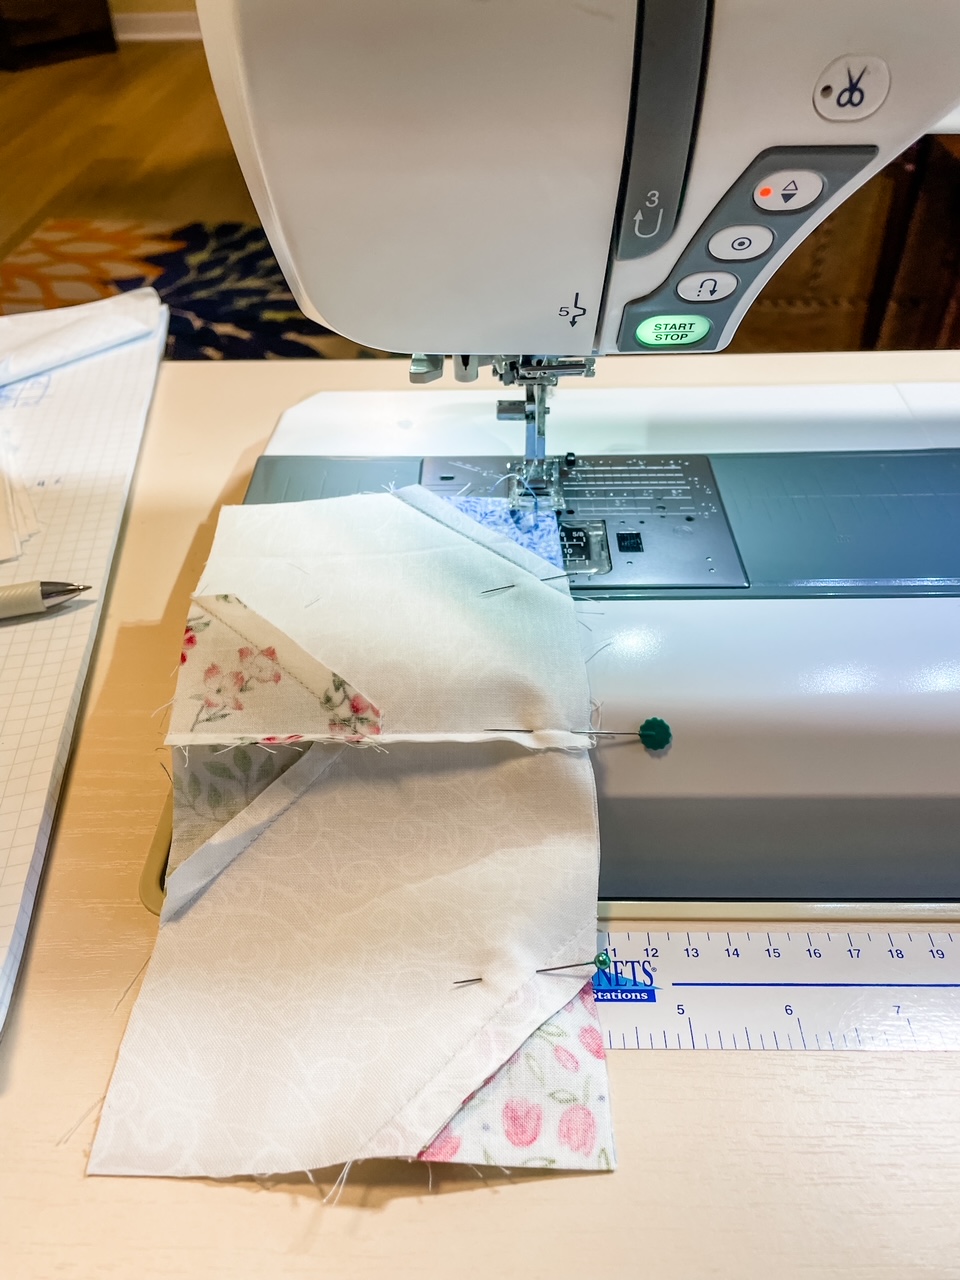
Take two of your half snowball units and layer them, right sides together, with the one set of the corner triangles laying on top another. Stitch a quarter inch seam along the side with the matched triangles. Repeat with the two remaining Half Snowball Units.
Making sure that the seam allowances on those corners are lying in opposite directions will allow the seams to “nest” against each other, and give you a perfect match when the seam is sewn.
(Note: the “Half X’s that you’ve sewn at this point can be utilized as to make a border for quilt.)
Step Two: Completing the X-Block
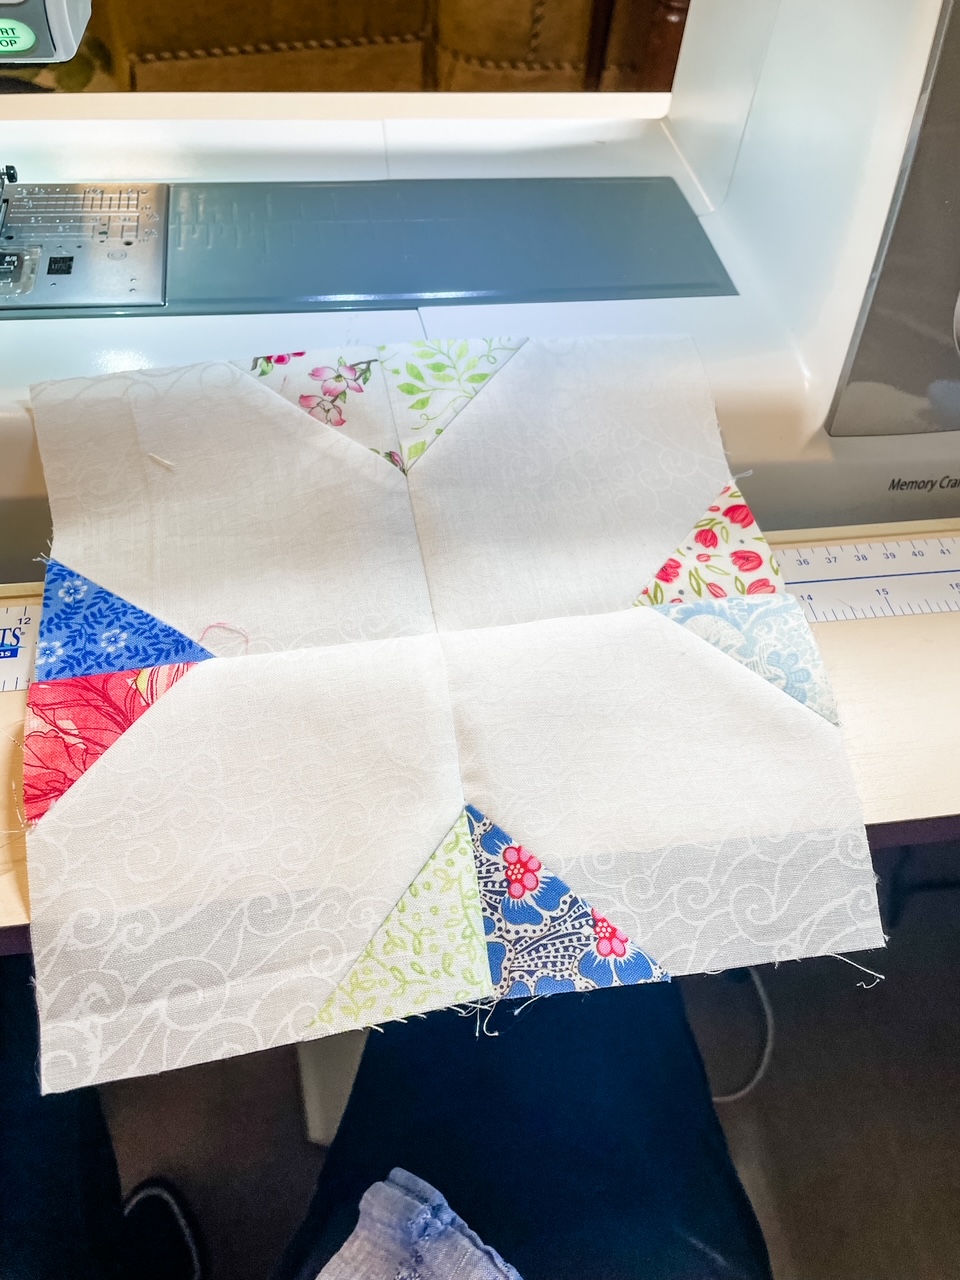
Layer the two “half X’s” on top of each other, right sides together, with the corner patches aligned along the outer edges of the block. Sew a quarter inch seam along the long edge of the block.
Open and press. Your X block is done!
For me, reading and doing are the most efficient means of learning; I like to break things down step by step. So I hope that reading this post and tutorial will be a help to other people who learn the same way.
But I also know that some people find written tutorials confusing. If you’re somebody who learns more by watching, take a look at the Missouri Star Quilt Company’s video tutorial for making X-Blocks and O-Blocks. (Note that this tutorial shows print fabric for the background and neutrals for the small patches. The look is a little different but the method is the same.)
Easy Two Block Quilt: Putting it All Together
I’ve still got some sewing to do before my Easy Two Block Quilt is finished. But I’m having fun seeing how it all comes together when both blocks and borders are combined.
I hope these tutorials have been inspiring and that some of you will try making a quilt of your own. If you do, I’d love to see some pictures of your creations!


