This post may contain affiliate links. Full disclosure policy
Colorful Valentine Heart Magnets are cute as can be and fun to make! No special crafting skills or equipment are needed – use scrap fabric or colored papers. An easy Valentine craft for kids or adults!
Need An Easy Craft For Kids Or Adults? Make Some Valentine Heart Magnets!
As a Grammy to seven adorable and very advanced granddarlings, I’m always on the lookout for easy crafts for kids.
It’s a quest that’s tougher than you might guess at first glance.
Oftentimes, supposedly kid-friendly crafts are harder or messier to make than advertised (Looking at you, yarn pumpkins) Also, a lot of them are just kind of dumb, as in something that nobody needs or would use.
These Valentine Heart Magnets are neither of those things.
When I say they’re easy to make and require no special crafting skills, I mean it. Anybody who can use scissors and hold a paintbrush can make Valentine Heart Magnets that look just as good as the ones in my pictures. Really!
(Oh, and not to worry if your little crafters aren’t quite ready to handle scissors. If a grownup does the cutting, there will still be tasks for them to do.)
Also, unlike many other kid-friendly crafts, this is one easy craft for kids that’s actually useful. Everybody can use and appreciate a cute magnet. How else are you going to keep all that kid-generated artwork from falling off the fridge door? Not to mention your grocery list and the plumber’s business card?
Bottom line; if you’re looking for an easy, useful, not dumb valentine craft for kids or adults – this is it.
What Do You Need to Make Valentine Heart Magnets?
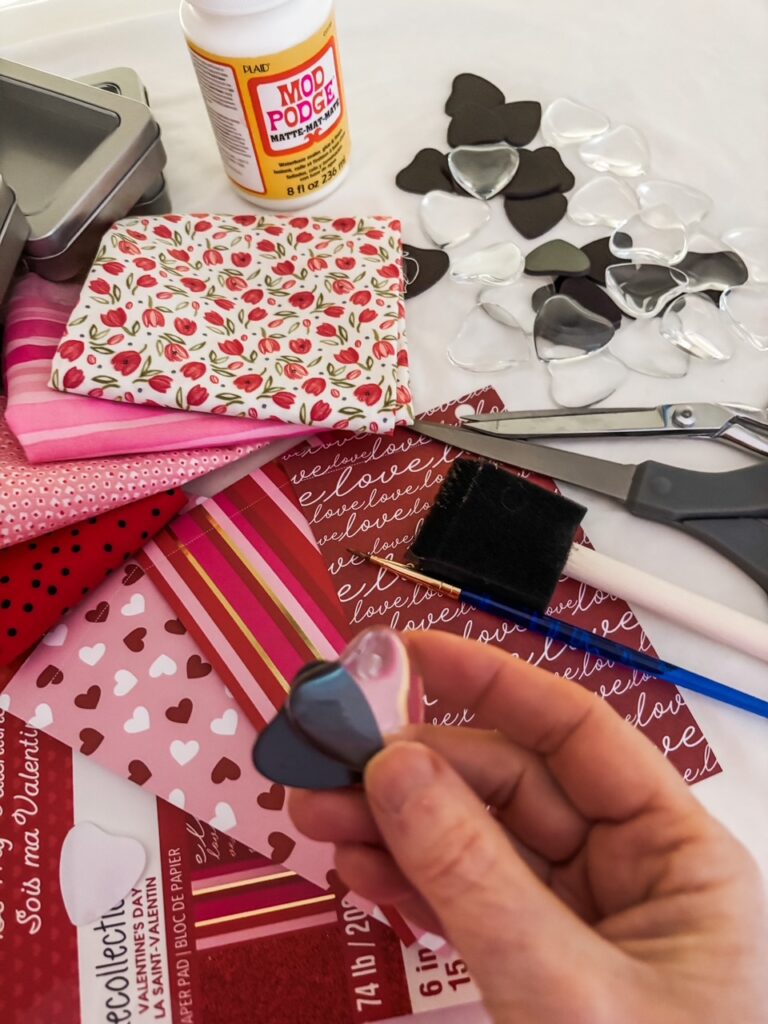
Something else I love about these magnets is that you only need a few items to make them, including…
Clear glass magnets – I ordered mine from Amazon. I paid less than $18 for 72 magnets, which means that each one was just 25 cents. Since the rest of what I needed to make my Valentine heart magnets was either stuff I already had on hand or pretty inexpensive, this turned out to be a very affordable craft! Seventy-two is a lot of magnets, but the extras will be great gifts.
ModPodge – ModPodge is a glue/sealer/adhesive that is completely clear when it dries. I use it for all kinds of projects, so I already had some on hand. You can find it in most craft stores or online.
Fabric Scraps or Scrapbooking Paper – I found a booklet of sturdy, Valentine-themed scrapbooking papers at Michaels for this project. But then I realized that fabric would work just as well. My fabric scrap bin was loaded with cute pink and red fabric, and this was a fun way to use some of it.
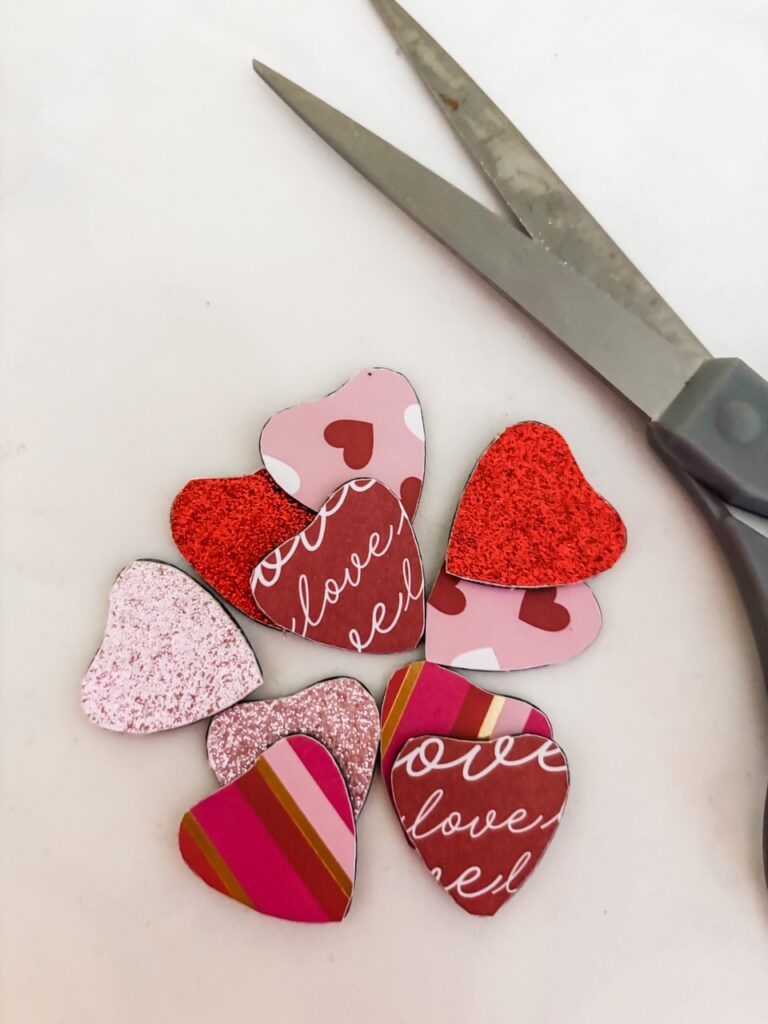
Whether you’re using paper or fabric, the surface needs to be smooth! My paper booklet included some with a glittered surface, and that didn’t work well at all. Use only smooth paper or cotton fabric with no bumps, nap, or raised pattern.
Paintbrush – You can use a regular paintbrush or the foam kind. Both will work just as well.
Fabric or Craft Scissors – Use fabric scissors to cut fabric. Use craft scissors to cut paper. Scissors are not a “one-size-fits-all” sort of tool. Seriously!
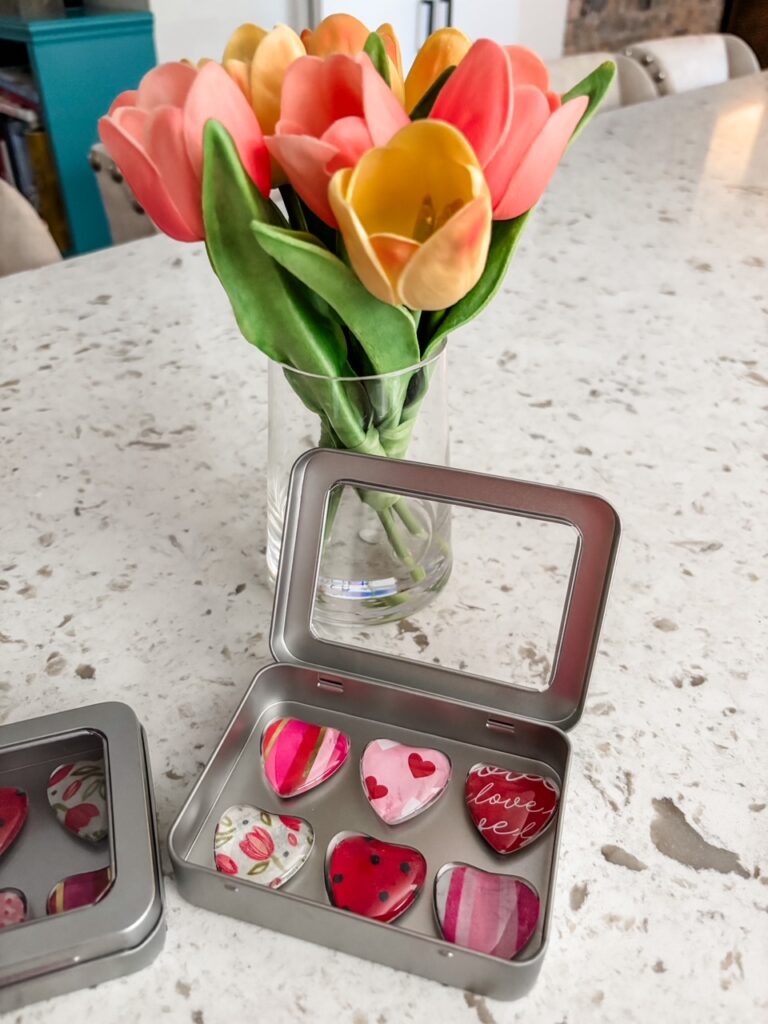
Optional Boxes for Gift Giving – They’re not required, but I ordered some metal storage boxes with clear lids to put my magnets in. They look so cute and the magnets stick nicely to the metal. There were 12 boxes in each order, so putting six magnets in each box gave me 12 darling magnet sets for gift-giving.
Counting the cost of magnets, ModPodge, and boxes, each gift of 6 magnets was less than $4. Gotta love that!
How to Make Valentine Magnet Hearts
Even little or beginning crafters will be able to make their own Valentine magnets in just minutes.
Start by assembling your materials and covering your work surface with paper or a drop cloth, in case of spills. Donning an apron or smock is a good idea too, especially if you’re crafting with kids.
(If any ModPodge spills onto clothes, wash it out with hot water right away, before it has a chance to dry. When you’re done with the project, paintbrushes should likewise be washed out while they’re still wet.)
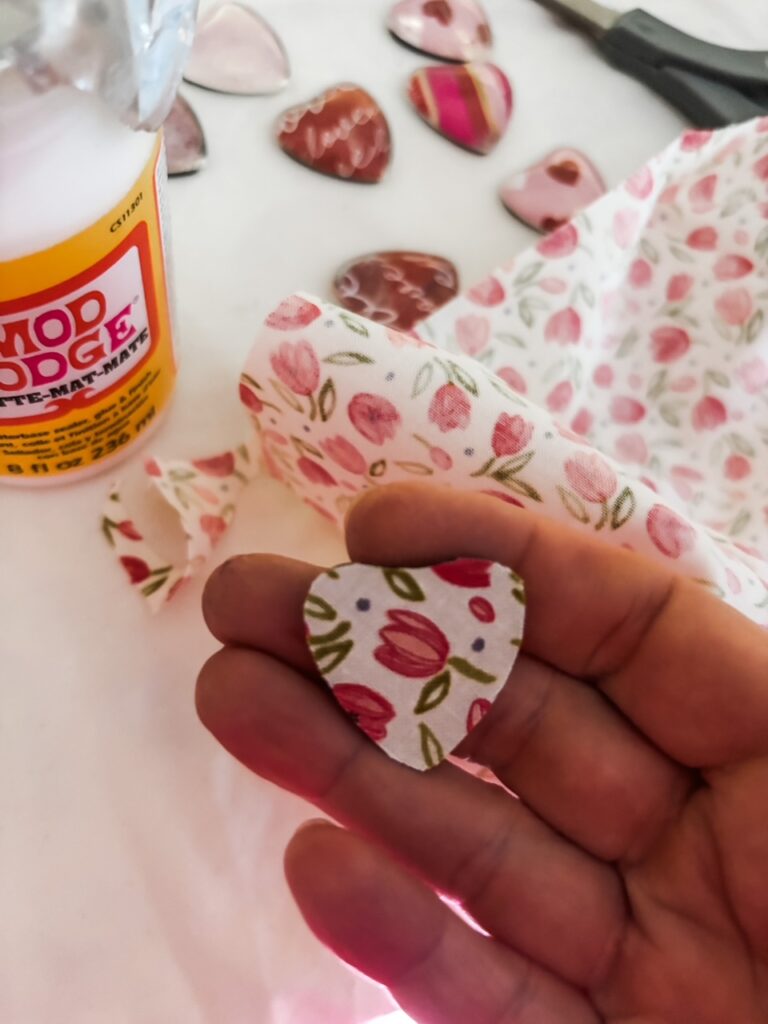
Next, peel the paper off the back of one of the heart-shaped magnets. Press it firmly onto the wrong side of the fabric or paper you’re using.
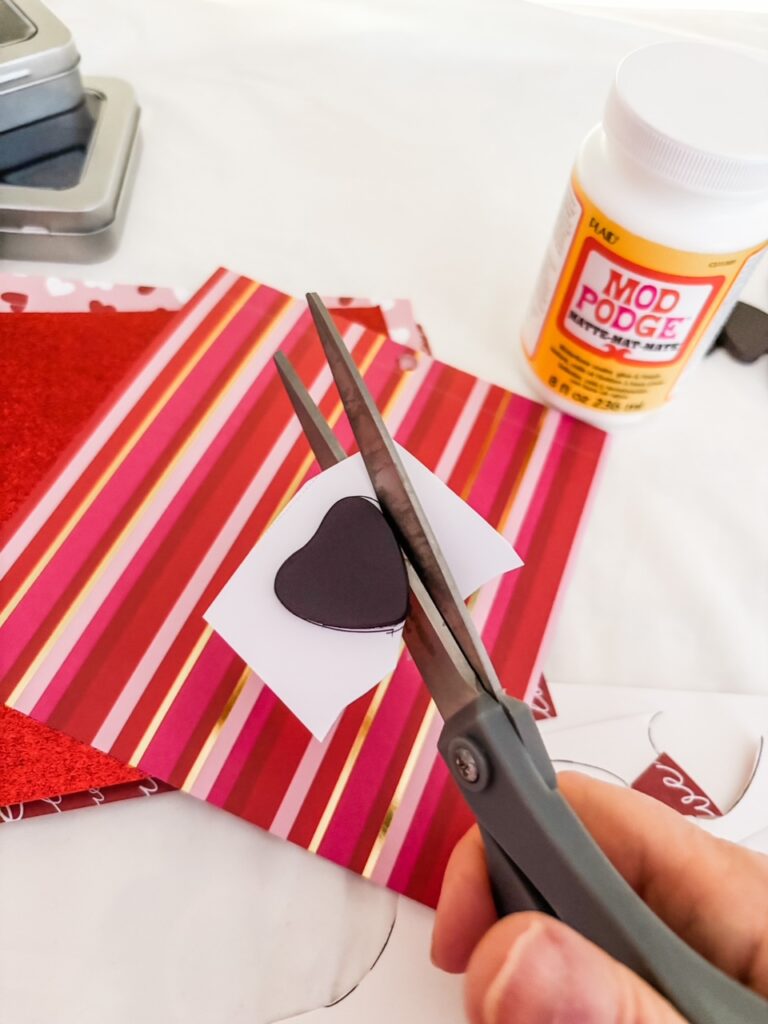
Use your scissors to trim around the edge of the magnet, as closely as possible. Little kids who aren’t quite ready to handle scissors can have a grownup help with this part.
Paint a thin, even coat of ModPodge onto the fabric or paper-covered surface of the heart. Make sure you get the edges too.
Set the heart magnet down on the table, fabric, or paper side up. Center a glass heart over the magnet and then press down, sticking them together.
Your magnet may look a little cloudy at this point, but it will become clear as the ModPodge dries.
Valentine Heart Magnets – A Great Craft Project for Almost Anyone
Valentine Heart Magnets are perfect for teachers, scout leaders, parents, grandparents, fun uncles, or anyone who is looking for an easy Valentine craft for kids.
They’d also be a terrific project to make at Galentine parties, bridal or baby showers, or as an ice-breaker project at your next retreat or club gathering.
Boxed magnet sets are also perfect for gift-giving, or to sell at craft fairs. I’m planning on donating some of mine to my quilt guild, to sell in the boutique at our annual quilt show.
No matter what you plan to do with them, Valentine Heart Magnets are a fun and easy craft that everyone will enjoy making!
Print
Valentine Heart Magnets
Ingredients
• Clear glass heart magnets (clear glass on top section, magnets with adhesive on the lower section)
• Colorful fabric or paper scraps (must be smooth, without bumps, nap, or raised patterns)
• Scissors (use paper scissors for paper, fabric scissors for fabric_
• ModPodge
• Paint brush (crafting or foam variety)
• Drop cloth or paper to protect the worksurface
• Optional box for presentation and storage of finished magnets
Instructions
- Cover work surface with paper or drop cloth to protect against spills. Assemble materials.
- Peel paper off the back of a magnet and press it onto the wrong side of paper for fabric (so the pretty side is showing).
Trim away any excess paper or fabric, cutting as close to the edge of the magnet as possible. - Paint a thin, even coat of ModPodge onto the paper or fabric covered surface of the heart. Place the coated magnet on the table, fabric or paper side up. Center a glass heart over the magnet and press down gently, sticking the two pieces together.
- Allow finished magnets to dry. (Don’t worry if they look cloudy at first, they will become clear as the ModPodge dries.)