This post may contain affiliate links. Full disclosure policy
THIS POST MAY CONTAIN REFERRAL LINKS. IF YOU CLICK THROUGH AND TAKE ACTION, I MAY BE COMPENSATED, AT NO ADDITIONAL COST TO YOU.
One thing leads to another, so they say.
After our move to Central Oregon, a beautiful region with an increased risk of forest fires, I decided it was time to start getting a little more serious about emergency preparedness. But after I completed a family evacuation plan and kits that would allow us to shelter in place for up to two weeks, my husband wanted to take it a little farther.
Having learned about the remote but not unheard of possibility of earthquakes that could disrupt supply chains, he asked me to look into longer-term food storage.
My response to his request was what I’ve come to call my Prepared Pantry. It’s a sensible, practical, money and time saving approach to creating a long-term food supply.
FINDING THE MIDDLE ROAD
As I pointed out in my earlier post, when it comes to emergency preparedness, people tend to take one of two approaches. They either try to prepare for every possible disaster scenario, or they ignore the issue completely.
Neither of those approaches made much sense to me. Instead, I opted to take the middle ground, taking sensible precautions to emergency preparedness.
Similar attitudes were in evidence when I started researching the subject of creating longer-term family food supplies.
For example, a particular member of my family is known for having the kitchen cupboards as desolate as the desert. She’s an excellent cook and lively host but she buys everything in the moment.
Recently, I suggested that it might make sense to have some extra canned goods on hand, just in case. Her response? “I’ve got gin, olives, and a jar of peanut butter. What more do I need?”
Uh…more. Martini makings might definitely be an important staple in your emergency pantry. But if things get bad, you’re going to want to something to go with that cocktail, something besides peanut butter.
On the other end of the spectrum are people who devote piles of cash and enormous square footage to stocking up on rations to help them survive global annihilation.
If that’s your thing, it’s fine. I’m not judging. You’ve got to do what makes sense to you.
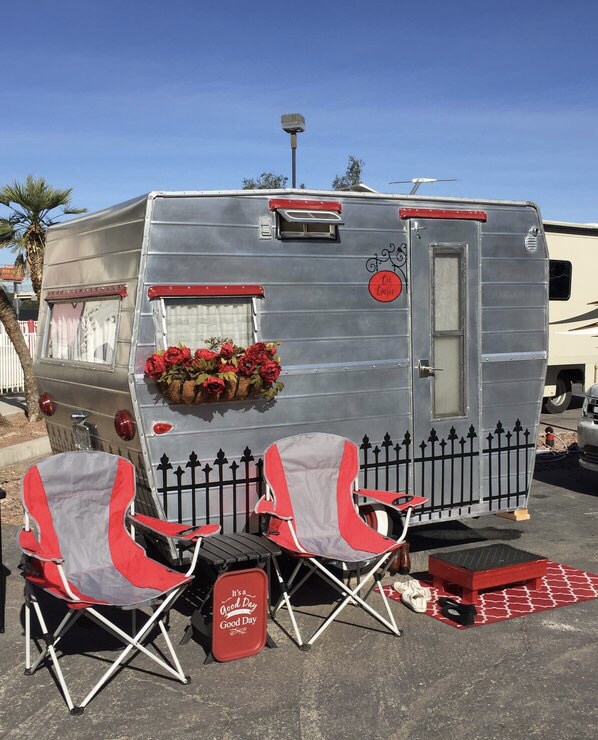
But if it comes to spending thousands of dollars on a five-year supply of MRE’s I may never use or spending the same amount on a cute, girly trailer from Little Vintage Trailers? I’m going with the trailer. Every. Time.
When creating a longer term food supply, I had some very specific criteria. It had to be economical, store compactly, wouldn’t spoil during a power outage, and be composed of foods we actually enjoyed and would eat.
ROTATIONAL FOOD STORAGE
This was the perfect solution!
Rotational food storage is exactly what it sounds like. You purchase canned, jarred, or dry goods in bulk, and store them in your pantry. Then, you actually use them as part of your usual meal preparations, replacing them as necessary. 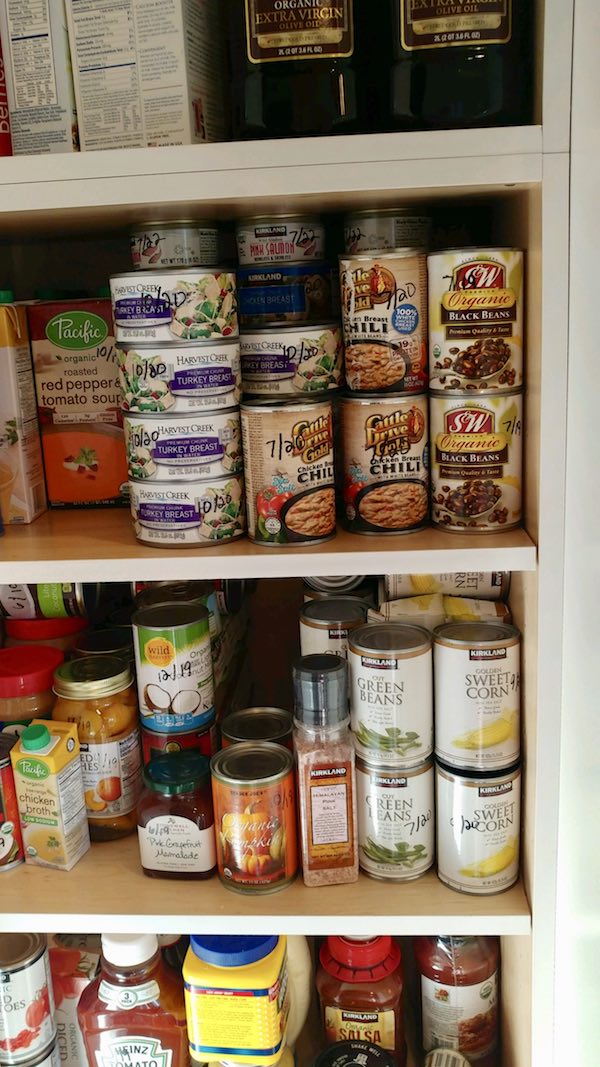
This, my friends, is what Costco and Sam’s Club is made for. Yes, you’ve finally got a reason buy fourteen cans of pinto beans and a five-pound bag of quinoa. (And if you show up on Saturday, you can actually make a meal of all the samples they pass out. Think of the savings!)
Joking aside, many of my Prepared Pantry items come from Costco. The quality is good and so are the prices – usually. Now and then, I’ve found that items at Costco can actually be more expensive than those at my regular grocery store. It pays to do a little research before you buy.
As you can see from the photo, I mark the “best by” dates on all of my Prepared Pantry items. I group the same kinds of goods together and place those with the longest shelf life at the back of the cupboard. I use the items at the front the pantry, those that will expire more quickly. That way, I’m not wasting food or money by having to toss out expired items.
I will admit, I had to adjust some of my recipes to make better use of my Prepared Pantry staples. For one thing, I wasn’t used to cooking with canned fish or poultry. But after a little experimentation, I’ve come up with some really good recipes. My turkey enchiladas and salmon cakes won raves from my husband.
My Costco pantry purchases were definitely a step in the right direction, but a little limiting. There is just so much canned corn and green beans a person wants to consume.
My pantry definitely needed some variety.
WHAT YOUR GRANDMA KNEW
Since you’re reading this blog, the chances are good that you’re over 50. That means you’re old enough to remember when the grocery store didn’t stock every fruit or vegetable known to man, year round.
Back in the day, if we wanted to eat peaches in winter, we had to can them in summer, when they were plentiful.
Canning was something I grew up with. I still remember how hot and steamy the kitchen would get during canning season. It was hard, hot work. Especially since we grew and picked a lot of the produce ourselves. But there was something really satisfying about seeing all those jars lined up on the pantry shelf.
Yes, back in your grandma’s day, preserving food in season made a lot of sense. But canning has its drawbacks. The aforementioned hours of hard work come immediately to mind. And those jars? They took up a lot of space!
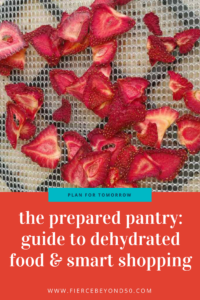
A few weeks ago, I invested in two items that allow me to preserve produce in season and store it easily – a food dehydrator and a vacuum sealer. They well may turn out to be the smartest purchases I’ve made this year.
There are less expensive food dehydrators available but after some research, I chose an Excalibur 3926TB. The size, reputation, and features made it worth the cost. With nine drying trays, I can preserve a lot of food at once. The automatic shut off means I don’t have to hang around and babysit it. I really love being able to turn it on before I go to bed and wake up to a finished batch of food.
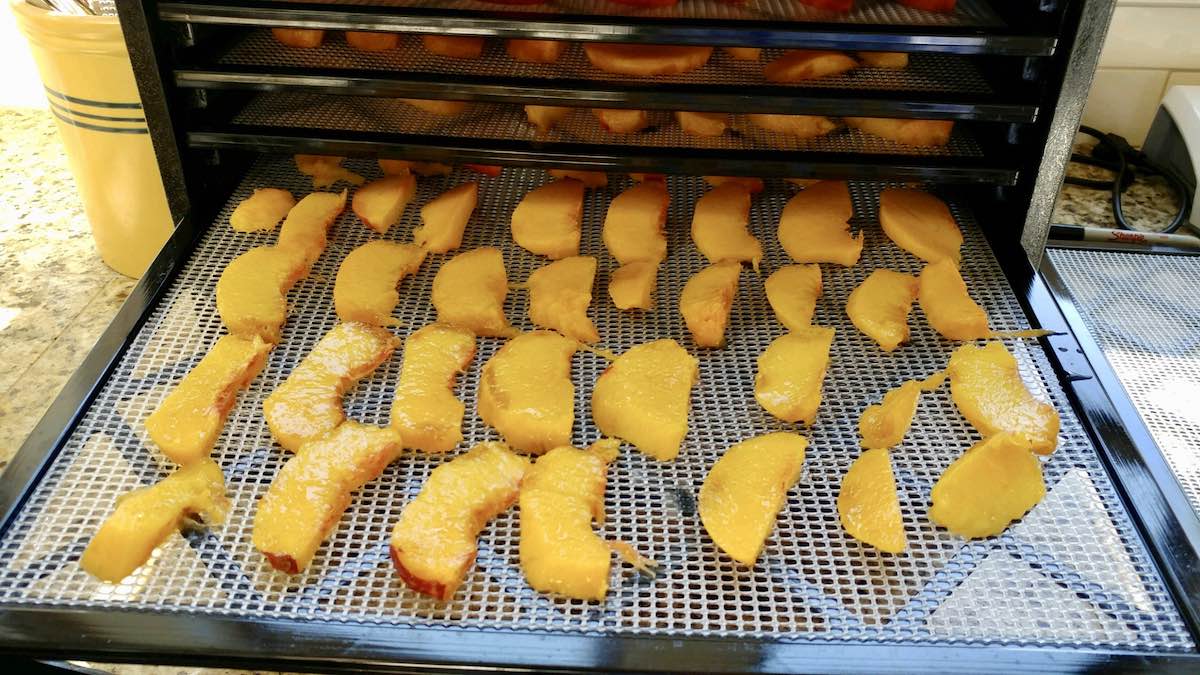
When I first got started on this, I purchased a copy of The Dehydrator Bible to get me up to speed on the ins, outs, and secrets of successful food dehydration. It includes a ton of really great recipes using dehydrated foods and can be used with any brand of dehydrator. 
Over time, I know my investment will pay off. It already is.
For example, Yakima peaches were $2.49 a pound at the farm stand last week. But a 20-pound box was only $29.99. Buying a box of peaches and dehydrating them saved me $20. It also allowed me to add a whole lot of delicious dried peaches to my Prepared Pantry, without taking up a lot of space.
They will also really brighten up our meals this winter. I’m already thinking about the possibilities of baked chicken and peaches. Sounds like a winner to me!
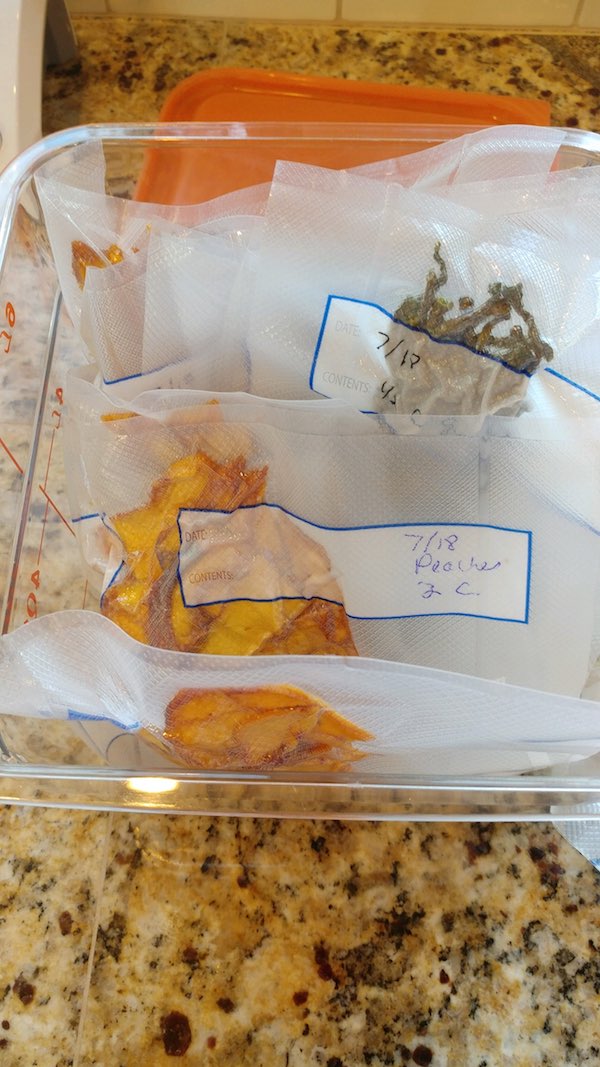 Dehydrated fruits and vegetables can be good for several months, if stored properly. However, proper vacuum sealing them can extend the shelf life from months to years. My Ziploc Vacuum Sealer was a good buy. The sturdy sealer bags come in rolls that I can cut to size, which I really like.
Besides storing my dehydrated items, I’m also using my vacuum sealer to store food in my freezer. Buying meat and poultry in bulk is definitely saving me money. I know my chicken will be safe from freezer burn inside the vacuum bags.
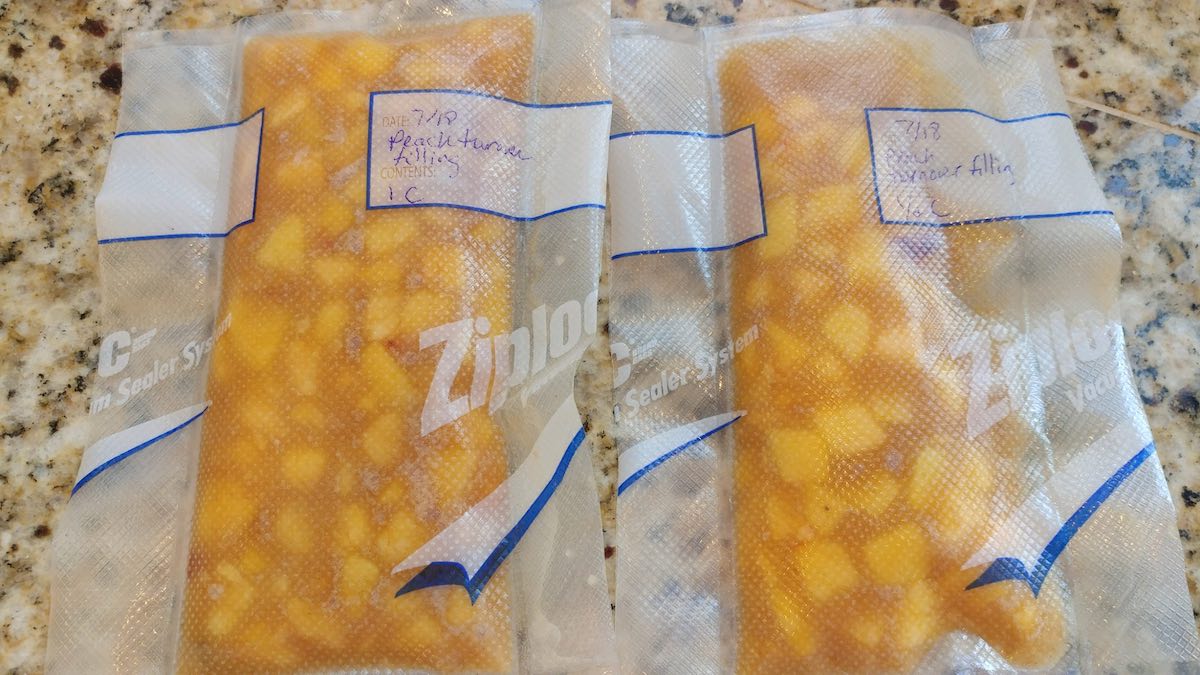
Oh, and a few of those peaches made their way into the freezer as well. These bags of pre-mixed peach filling for turnovers will be so delicious this winter!
PREPARATION THAT MAKES SENSE
Figuring out how to come up with a plan for longer-term food storage that made sense for our family definitely took some time and effort. But I’m glad I did it.
Creating a Prepared Pantry has not only saved me money and time, it’s been almost as satisfying as canning a bushel of peaches.
