This post may contain affiliate links. Full disclosure policy

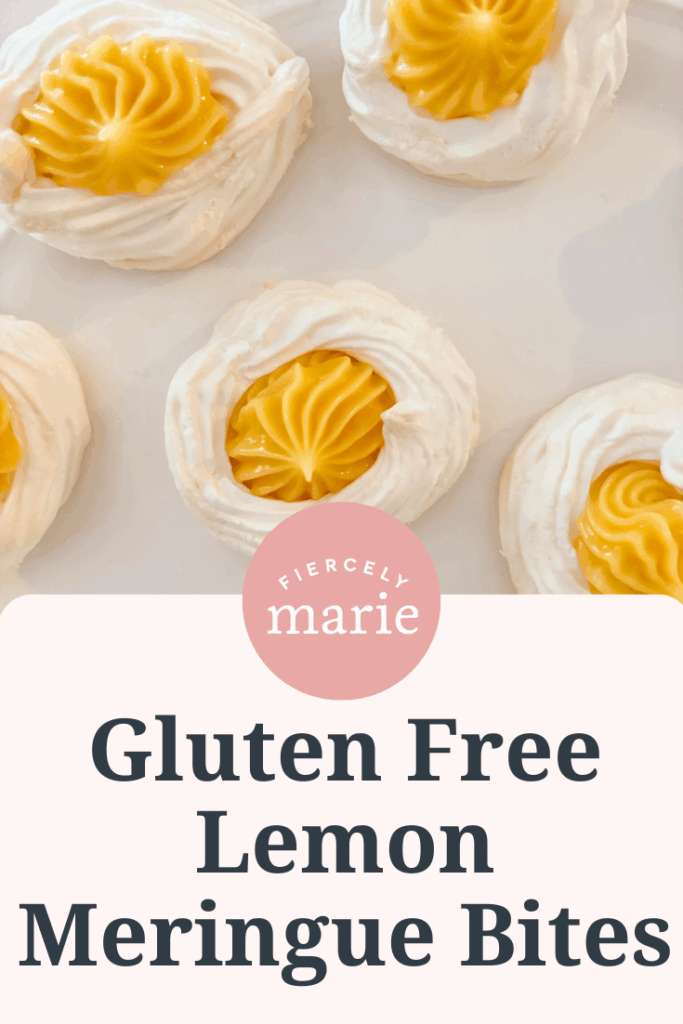
Tart and creamy lemon curd in a nest of fluffy meringue! These elegant Lemon Meringue Bites are a delicious gluten free treat that everyone will love. Like biting into a lemon cloud. Heaven!
The Search for Gluten Free Treats and Desserts
We love entertaining and often host a Christmas cocktail party during the holiday. However, this year we decided to change things up with an open-house Christmas Tea.
With all of the rushing around people have during the holidays, we thought our guests might appreciate a daytime, drop-in event. Also, making tea time treats for our guests just sounds like a lot of fun!
There will be tea sandwiches, naturally. Cucumber, egg salad, pimento cheese, and smoked salmon sandwiches will all be on the menu. There will be lots of sweet treats too, including elegant cookies, fancy bite-sized cakes, and tiny cream puffs.
Because it’s the elegant little cakes and desserts that make tea parties so special, yes? Unfortunately, the options for sweet treats tend to be considerably less exciting for those who adhere to a gluten free diet.
Macarons are always a good choice. Costco has a variety pack with delicious flavors of macarons in beautiful colors. But I feel like that’s pretty standard when you’re entertaining gluten free guests.
I wanted to surprise my gluten free friends with something unexpected and special.
Enter: Gluten Free Lemon Meringue Bites.
They’re sweet and tart, light and lemony, and very special. They’re also gluten free. But unlike some gluten free treats, these elegant little morsels are so delectable that even those without dietary restrictions will gobble them up.
What’s not to love about that?
What Are Lemon Meringue Bites? And Why are They the Perfect Gluten Free Treat?
Basically, they’re little cups of baked meringue that are filled with lemon curd, almost like a bite-sized lemon meringue pie. I stumbled upon the recipe at the Sweet Peas and Saffron blog while searching for gluten free desserts to serve at my upcoming tea,
This dessert ticked off all kinds of boxes for me.
First, it was bite-sized. My tea will be a stand-up affair with no utensils, so everything I serve needs to be finger food. Also, miniature treats are just fun to eat!
Two, they’re just so pretty and elegant and, yes, special!
Three, tart and creamy lemon paired with the sweetness and crunch of baked meringue is a can’t-miss combination.
Four, a lot of work can be done ahead of time. Properly baked meringue nests can be stored in an airtight container for up to two weeks, which is a big plus in my book. On the day of my tea party, I’ll just fill them and serve. Easy!
Fifth, unlike many other gluten free dessert recipes, this one requires NO special ingredients!
You won’t have to search the aisles of specialty markets hunting for almond flour, xanthan gum, or potato starch. All the ingredients you’ll need for this recipe can be found in most grocery stores.
Oh, and by the way, there are only four. Four!
Ingredients for Gluten Free Lemon Meringue Bites
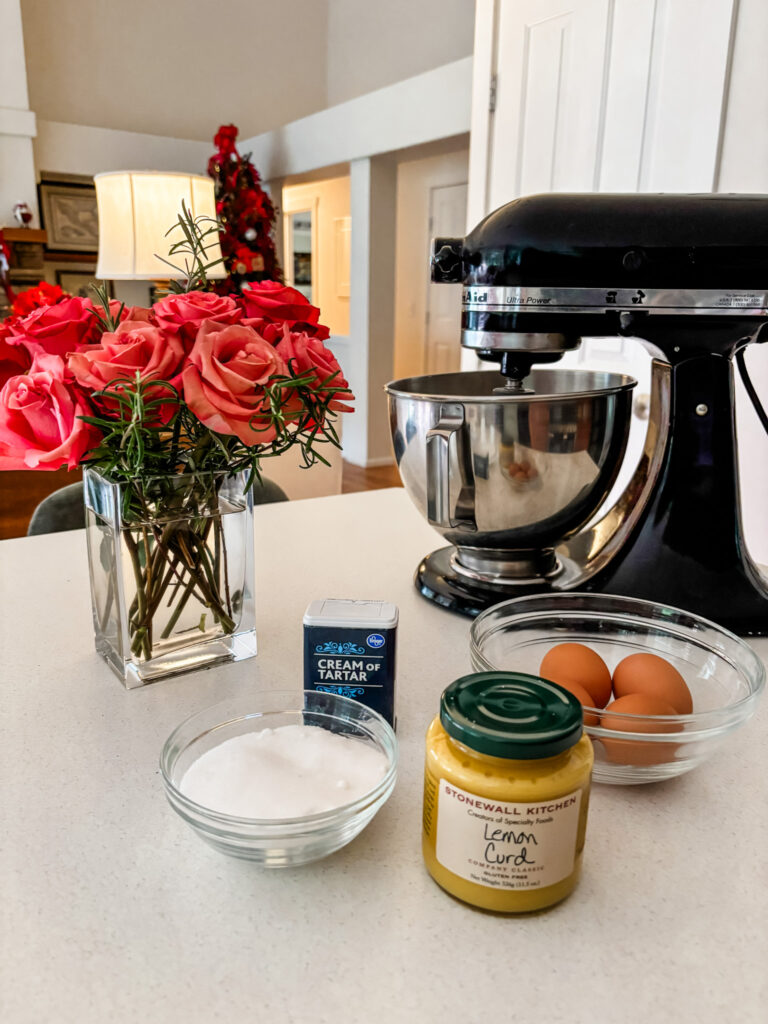
- Eggs
- Sugar
- Cream of Tartar
- Lemon Curd
Pretty basic, right?
The only thing on the list that might be slightly harder to locate is the lemon curd. But most supermarkets should have some in stock in the jam and jelly section. If you don’t see it there, ask if they’ve shelved it somewhere else.
Now, in theory, you could use all kinds of things for your filling. My original thought was to fill my baked meringue nests with a good-quality blueberry jam. But upon tasting, I found it way too sweet.
The tart and creamy lemon curd was the ideal foil to the sweetness of the meringue. But you don’t have to stick to lemon. Orange and lime curd could be lovely too. I’ve even seen raspberry curd on shelves from time to time, though I’m not sure if that might also be a little too sweet.
If your grocery store doesn’t stock lemon curd, or you just don’t want to make a trip to the market, you can order some here.
Once we’ve assembled the ingredients, it’s time to get cooking!
Lemon Meringue Bites – Making the Meringue
If you’ve never made meringue before, it might feel a little intimidating. But it’s really not that difficult. However, I do have a few pointers.
Let’s start by talking eggs…
Make sure they’re at room temperature before you start. Room temp eggs will trap more air during beating, giving you a lighter and fluffier meringue.
Meringue only uses egg whites, so you’ll need to separate the whites from the yolks. It’s not a difficult process, but novices might want to check out this video tutorial.
If a little bit of yolk accidentally falls into the whites, you can try to spoon it out. But you may want to start again. Fat from the yolk may prevent the whites from whipping up properly.
Next, let’s talk about whipping the egg whites and various “peaks”.
As you’ll see in the instructions, we’ll start out by beating the eggs into “soft peaks.” That’s the point when, if you lifted the beater out of the egg foam, you’d see some little peaks with soft, rounded tops that slowly sink.
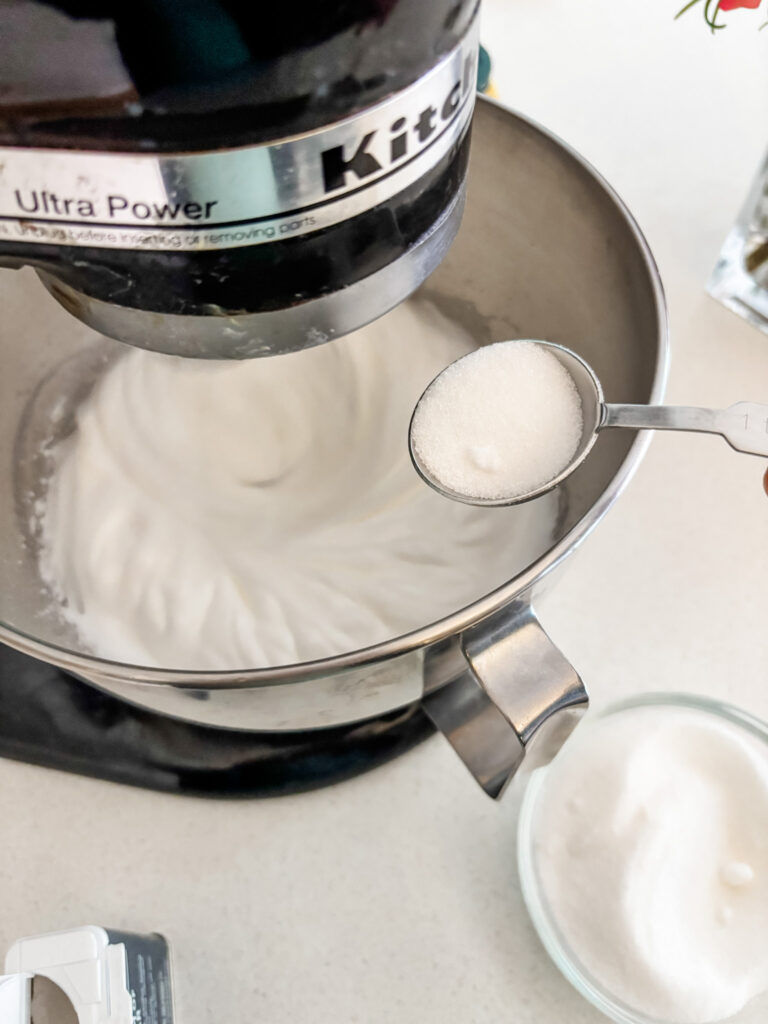
At that point, you’re going to add some cream of tartar, which will help the meringue whip more quickly and be more stable. Then you’ll slowly add the sugar, a spoonful at a time, and keep beating until you get “stiff peaks”.
If you lift the beater from the now glossy egg foam and get a peak that is fairly pointy on top and holds its shape without sinking, that’s the stiff peak stage.
And that’s when you should stop. Overbeating can cause the batter to clump or even collapse.
Lemon Meringue Bites – Piping, Baking, and Filling
Once the meringue batter is ready, you’ll put it into a pastry bag or dessert syringe with a piping tip. A size 21 top worked well for me.
(By the way, I just got this dessert syringe, and I really like it so far. It’s got a little thumb trigger that gives me good control of the piping flow.)
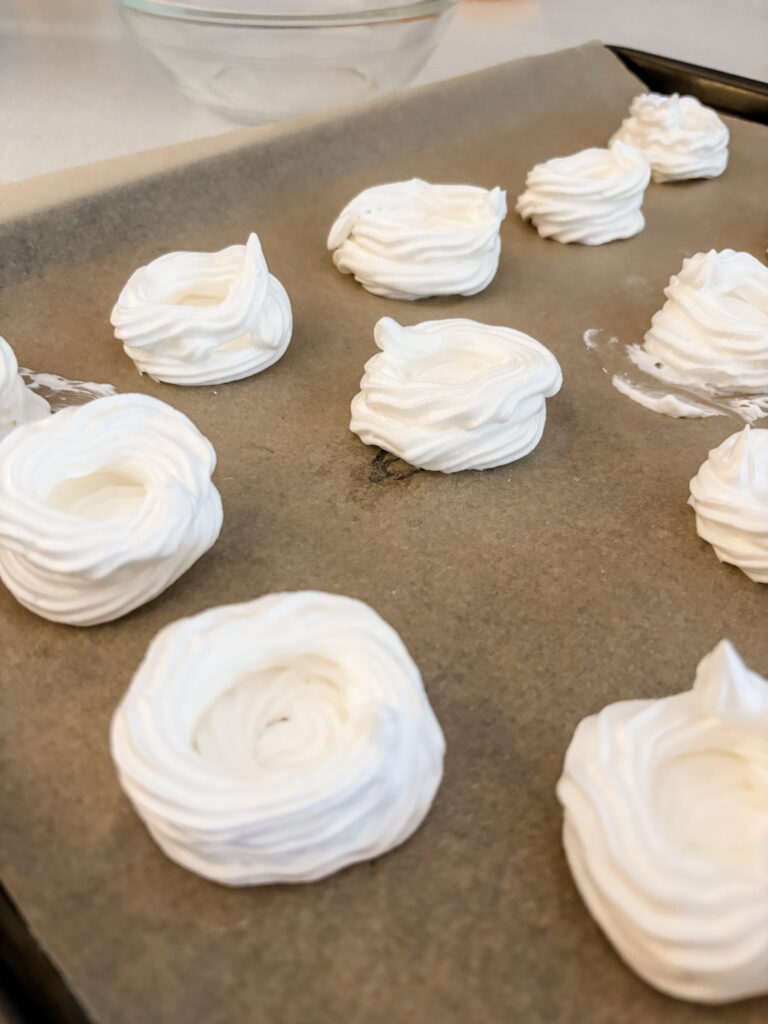
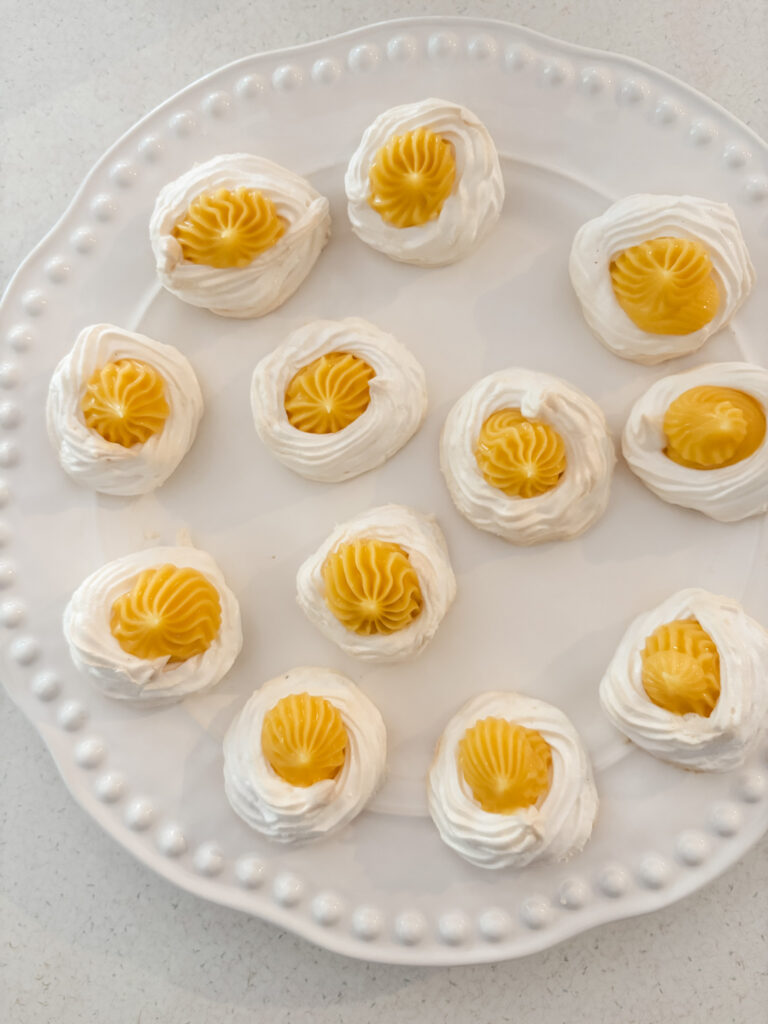
Pipe the meringue into about a 2-inch circle. Then, without lifting the tip, pipe around the outer edge a couple more times. The end result should be a little meringue cup, with a hollow section in the middle where the filling will go.
Baking your meringues thoroughly is important!
You’re going to start them out in a 300-degree oven. Then you’ll reduce the oven temp to 250 degrees and bake until the meringues are hard and start to turn golden brown on top. That’s how you’ll know they’re ready, so keep an eye on them.
Once they’re properly baked, you’ll turn the oven off and leave the door slightly ajar, and let the meringues cool in the oven for at least an hour.
If you’re making the meringues ahead of time, let them sit on the counter uncovered for at least another hour, so they’re thoroughly cool and dry before storing. Otherwise, they could end up turning soft and a bit sticky later.
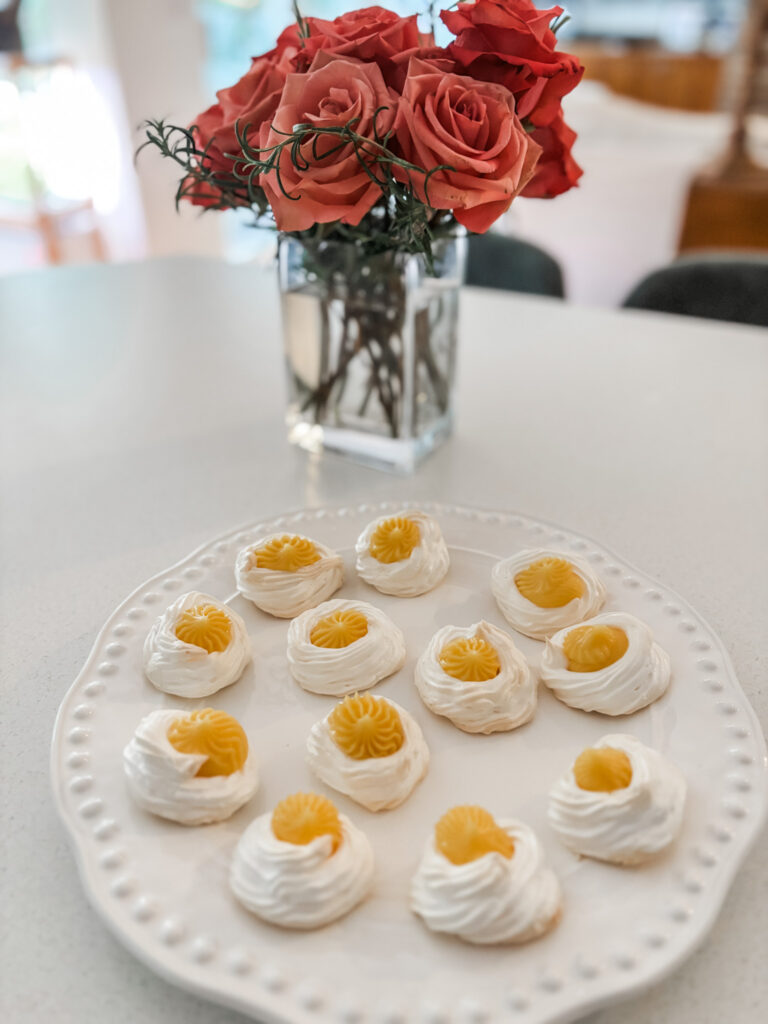
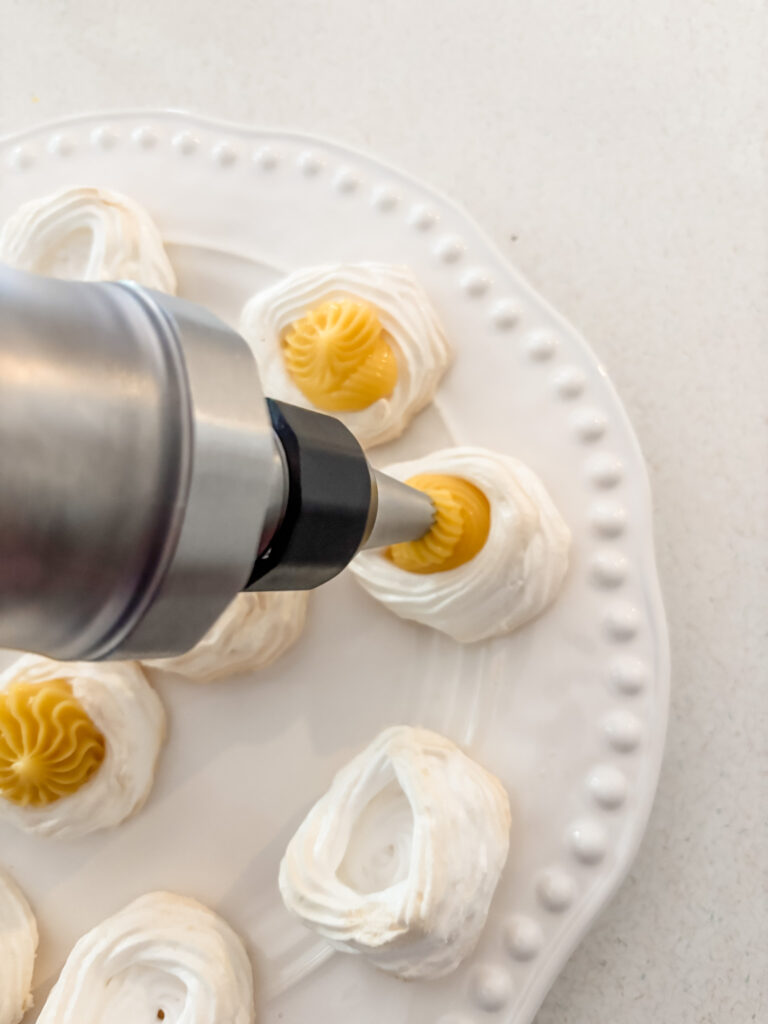
When you’re ready to serve, just fill the meringue nests with the lemon curd, or whatever flavor of curd you’re using.
You could simply spoon the curd into the center of the meringue, but piping it in will give you a pretty, professional-looking finish.
These Gluten-Free Lemon Meringue Bites will be a huge hit at any gathering, whether or not the guests are eating gluten free. Give them a try for your next party or potluck!
PrintGluten Free Lemon Meringue Bites
Ingredients
- 4 large egg whites, at room temperature
- 1 tsp cream of tartar
- 1 cup granulated sugar
- 1 jar lemon curd, about 10 oz. (Can sub other flavors of curd – orange, lime, cranberry, etc.)
Instructions
- Preheat oven to 300 degrees. Line 2 rimmed pans with baking parchment.
- Place egg whites in deep bowl and beat with electric mixer until frothy and foamy, and the soft peaks form when the beater is lifted.
- Beat in cream of tartar. Add in the sugar, one spoonful at a time, beating well between additions, until stiff peaks form. Scrape down sides of the bowl as necessary. This may take a few minutes.
- Place the meringue into piping bag or dessert syringe fitted with a piping tip. (Size 21 worked well for me.)
- Pipe two-inch circles of meringue onto the parchment lined pans. Without lifting the tip, pipe two or three more times around the outer edge of the circle, creating little meringue cups.
- Place the pans into the preheated oven and bake for 10 minutes. Lower the heat to 250 and bake for another 15-20 minutes, until the meringues start to turn slightly golden brown on top. Turn off the oven, leave the door slightly ajar, and allow the meringues to cool in oven for at least an hour.
- Remove pans from oven, leave meringues on the counter uncovered until completely cool. Either store baked and cooled meringues in an airtight container for later use (up to 2 weeks), or fill and serve immediately.