This post may contain affiliate links. Full disclosure policy

The finishing touch of any Christmas tree is a pretty and colorful garland. My Fabric DIY Christmas Garland is a fun, easy to make project that will add a festive touch to match any holiday décor!
A DIY Christmas Garland Makes the Tree!
I always decorate our Christmas tree in a particular order. The lights go on first, then I hang the ornaments. The very last thing I do is string the garland because the garland element brings the whole thing together.
No matter how many lights or ornaments I use before I string the garland, the Christmas tree always looks kind of naked to me. The style of garland you use – sleek, modern, and elegant, or traditional, nostalgic, and homespun – is the first thing people notice and sets the tone for the whole tree.
Updating Your Christmas While Honoring Tradition
Many of us have a treasure trove of ornaments that we’ve collected, made, or received as gifts over the years. We wouldn’t dream of changing those ornaments because they’re associated with memories of loved ones and holidays past. Nor should we!
But even though we want to cherish our memories and honor our traditions, sometimes we also want to spice things up a little. That’s something I’ve been thinking about as the holidays approach.
We always decorate a tabletop tree with a collection of antique and keepsake ornaments we’ve collected over the years. These ornaments, filled with cherished memories, are an important part of our family tradition. But they really are all over the place. I wanted something that would make my eclectic ornament collection play nicely together
What’s the easiest way to do that? Make a fabric DIY Christmas Garland!
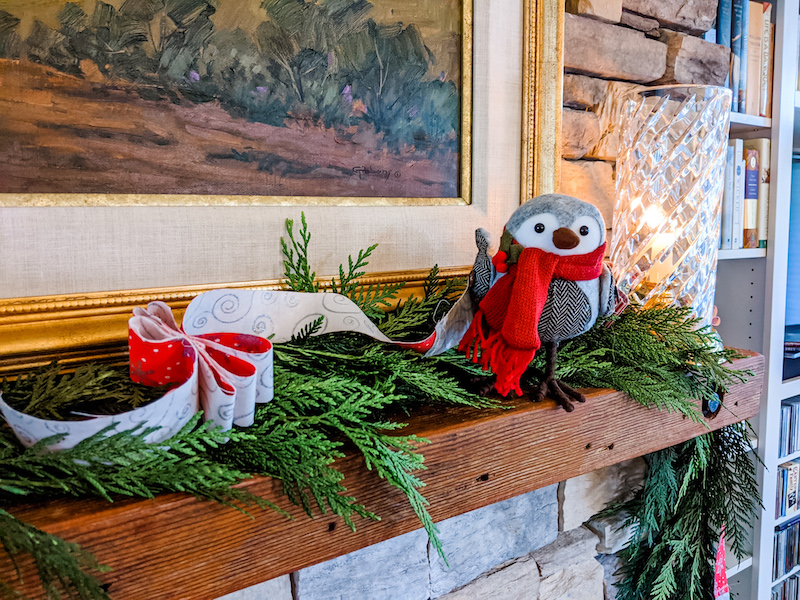
A DIY Christmas Garland to Add a Unique Look to Your Christmas Decorations
Because my fabric DIY Christmas Garland is made from fabrics that YOU choose, it will perfectly match your holiday décor.
You can go to your local fabric store or quilt shop and pick out a fabric that complements your decorations or ornaments. Or you can do what I did and just start grabbing scraps (these are the same fabrics I used for my Easy Patchwork Christmas Stockings) or use fabric from your current stash. Fabric DIY Christmas Garlands are a great way to use up those fabric fat quarters that quilters can’t get enough of.
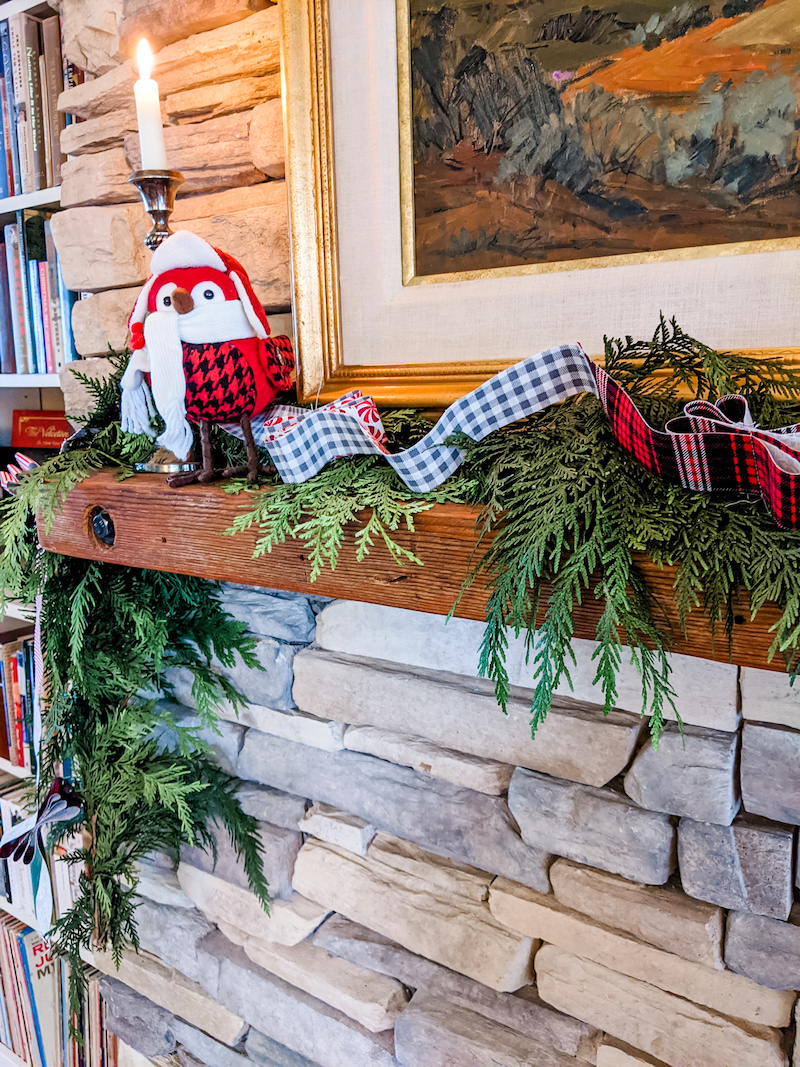
My fabric DIY Christmas Garland looks great on the Christmas tree. But it can also add a festive touch to a mantle, centerpiece, or even hung over the doorway. I absolutely love the scrappy pops of color they bring to my mantle. It reminds me of the Christmas ribbon candy that we always looked forward to when we were kids.
And the best thing about DIY Fabric Garland? It only requires a few basic supplies and is super easy to make! It’s also a great group project to make with family, friends, or kids!
What Do I Need to Make A DIY Christmas Garland?
- Sewing Machine and Thread (There really is very little sewing involved in this project. If you wanted and had a large needle that could pierce multiple layers of fabric, you could probably hand sew it. But it’ll be much quicker and easier on your sewing machine.)
- Iron
- Rotary cutter, mat, and ruler
- Fusible web such as Pellon Wonder Web 807, HeatnBond Craft Web, or Misty Fuse
- At least 8 (but more is good too!) scraps of complementary fabrics, approximately 22 inches long and 18 inches wide.
The amount of fabric you’ll need really depends on how much garland you plan to make. And the sizes I’m listing are just suggestions too. You could go with scraps that are short as 18 inches long and only 3 inches wide, you’d just need a lot more of them.
How Do I Make A DIY Christmas Garland?
Glad you asked! Because it really couldn’t be easier!
- Make A Fabric and Fusible Web “Sandwich”: Take two complementary fabric scraps of the same size. Lay the first scrap on the ironing board with the right side down. Cut a piece of the fusible web the same size as the fabric scrap and lay it on top of the fabric. Layer your second fabric, right side up, on top of the fusible web.
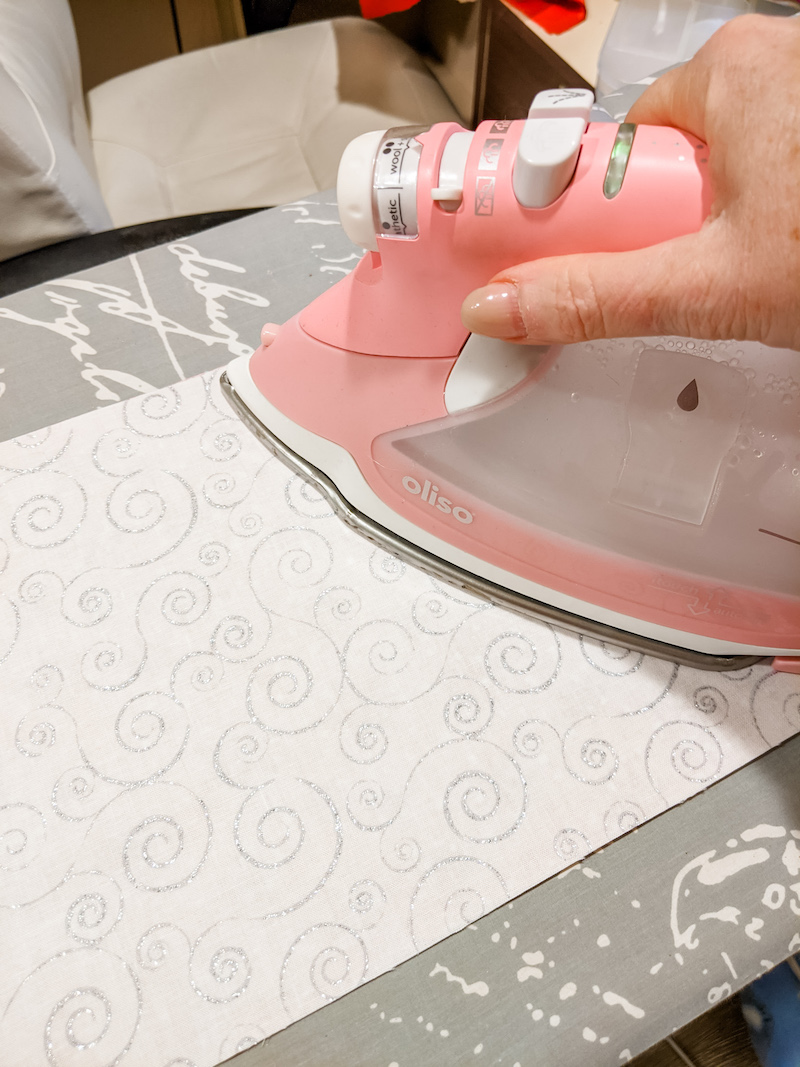
- Fuse the Fabric Together: Using a very hot iron on a dry setting, fuse the fabric together according to the instructions of the brand of the fusible web which you purchased.
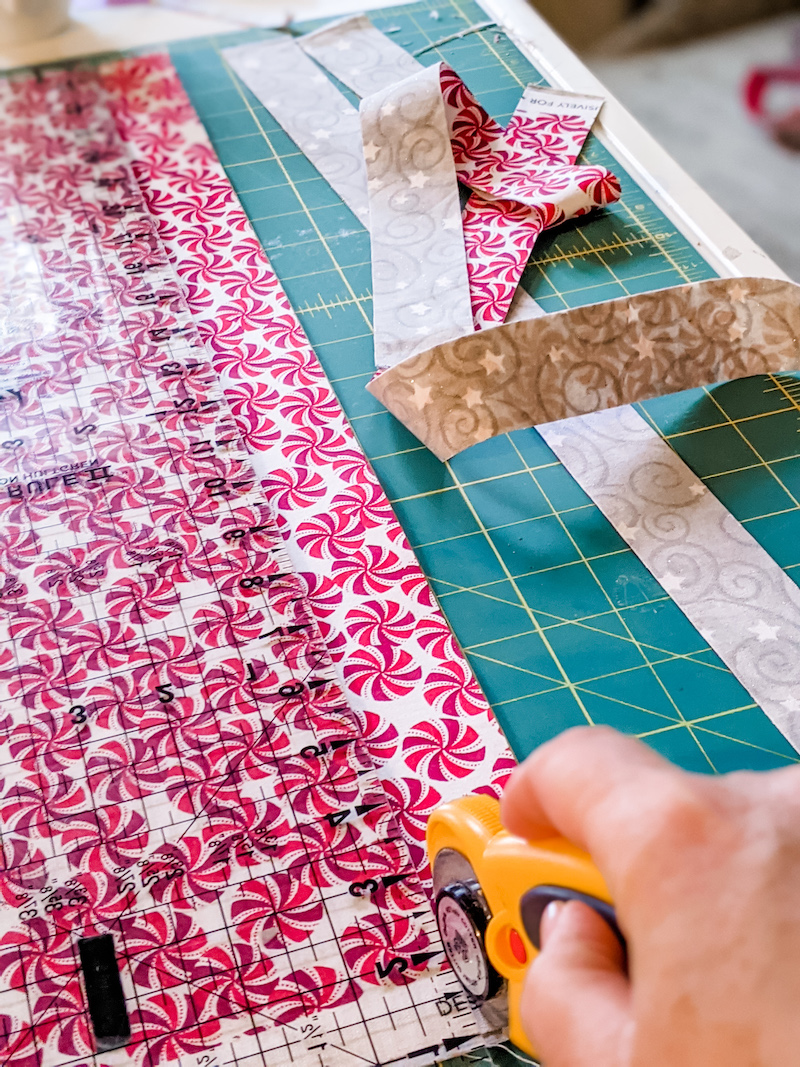
- Cut the Garland Strips: Lay your fused fabric on a cutting mat. Cut pairs of long strips that are 1.5 inches wide. Repeat steps 1 to 3 with different fabrics until you have as many strips as you want for your garland.
- Sew the Garland Pairs: Take two matching strips (strips that are the same color, pattern) and overlap the short ends about a quarter of an inch. Use a zigzag stitch to sew the strips together along the overlap. Repeat with all the pairs. (You may be asking, why sew the pairs together? Why not just use scraps that were 44 inches long and skip the sewing? You could do that but I found that fusing such long pieces was difficult.)
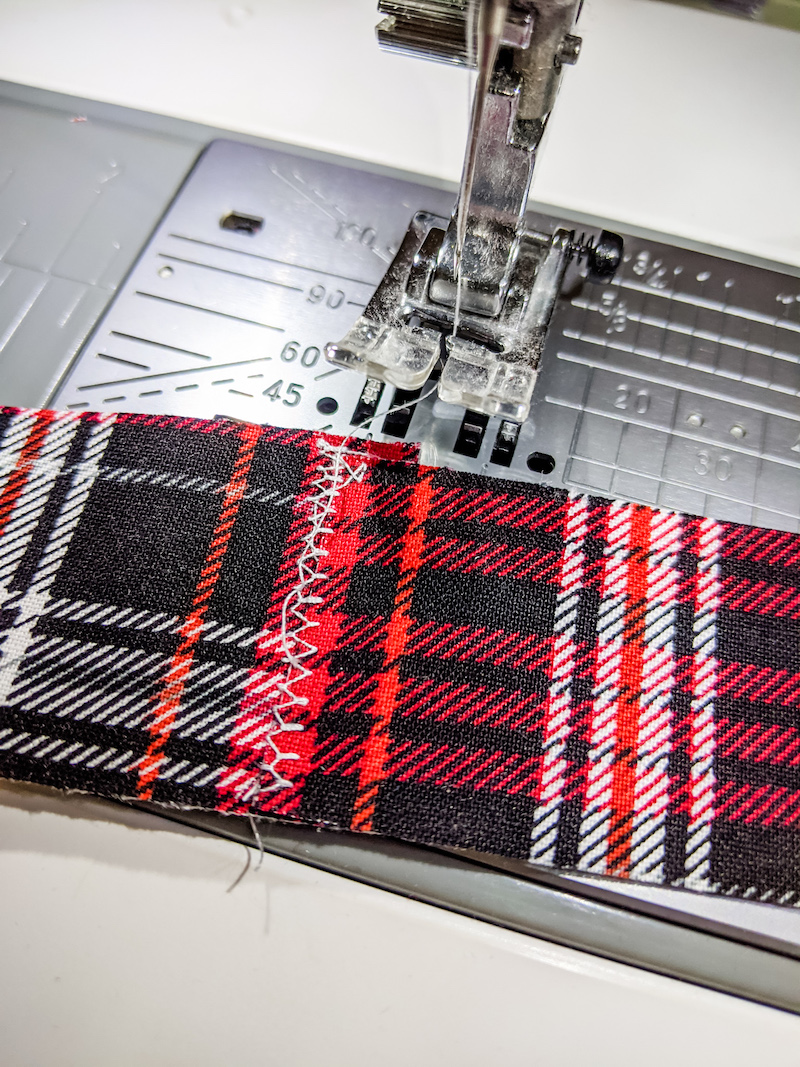
- Sew the Strips Together: Using the overlap and zigzag stitch method described in step 4, sew the already stitched pairs end to end, until your garland reaches your desired length.
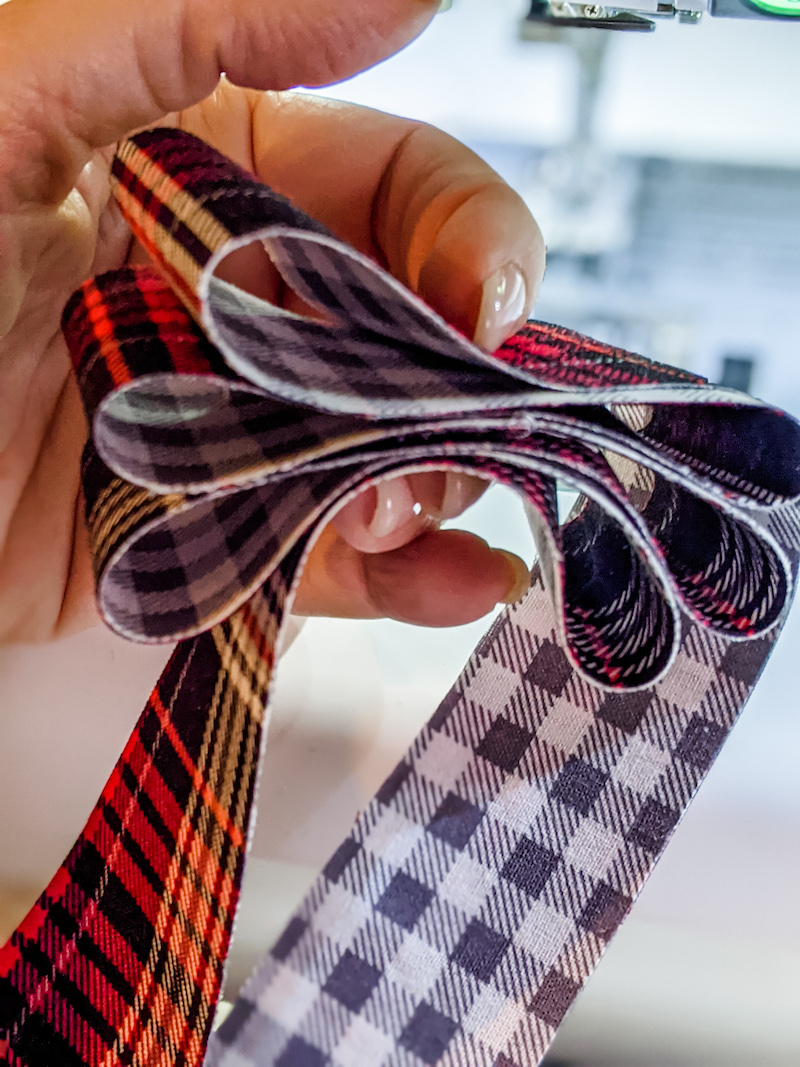
- Fold and Sew the “Ribbon Candy” to Finish: Find the center seam of each zig zagged fabric pair. Fold the strip back and forth three times on one side of the strip, creating three fabric loops, each about 2 inches long. Repeat the process on the other side of the strip, so you have 6 loops. Using a straight stitch, sew across the center of the loops to secure them, creating a piece of “ribbon candy”. (You’re sewing through a lot of layers so take it slowly and make sure your needle is sharp. You might have to push the fabric through to get it started.)
- Ready, Get Set, Decorate!

Deck the Halls with DIY Christmas Garland
Whether you use them to grace your tree, mantle, or doorway, this fabricDIY Chrismas Garland is a fun and easy to give a festive and personal touch to your holiday decorating. I hope you’ll try making some for yourself.
If you do, email me a picture! I’d love to see your take on this fun holiday craft!


