This post may contain affiliate links. Full disclosure policy
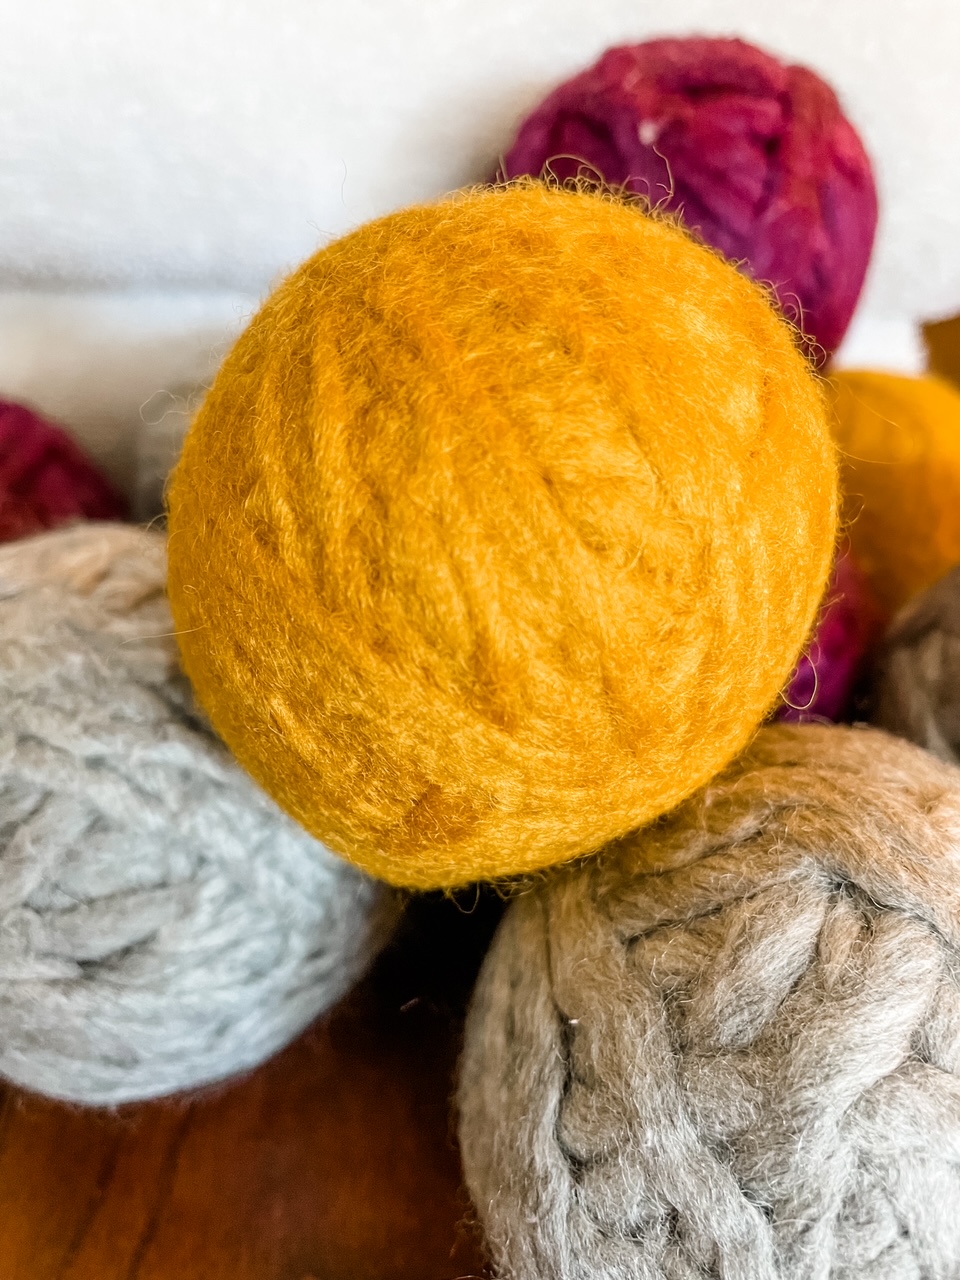
DIY Yarn Dryer Balls soften laundry naturally and cut drying time to save money on electricity bills. Super simple to make for yourself or as gifts. No sewing or crafting skills are required!
The Alternative to Fabric Softener or Dryer Sheets
While I was at the market a couple of weeks ago, I reached out to grab the bottle of fabric softener, like I have countless times before. That got me thinking. How much money had I spent on fabric softener or dryer sheets over the years?
The answer? Too much.
That’s when I decided to make my own DIY Yarn Dryer Balls.
Better for You, Better for Your Wallet, Better for the Planet
There are so many practical reasons to trade commercially made fabric softeners and dryer sheets for DIY Yarn Dryer Balls.
But before we get to that, let’s talk about how dryer balls work.
When several dryer balls are tossed in with the wet laundry, the agitation they create can help soften the fibers in clothing and linens and even prevent static cling.
They also get between the wet items, preventing clumping so air circulates more efficiently and laundry dries more quickly. And dryer balls made from wool, like these DIY Yarn Dryer Balls, also absorb some of the moisture to further reduce drying time. That can help reduce your energy bill over time, as well as your carbon footprint.
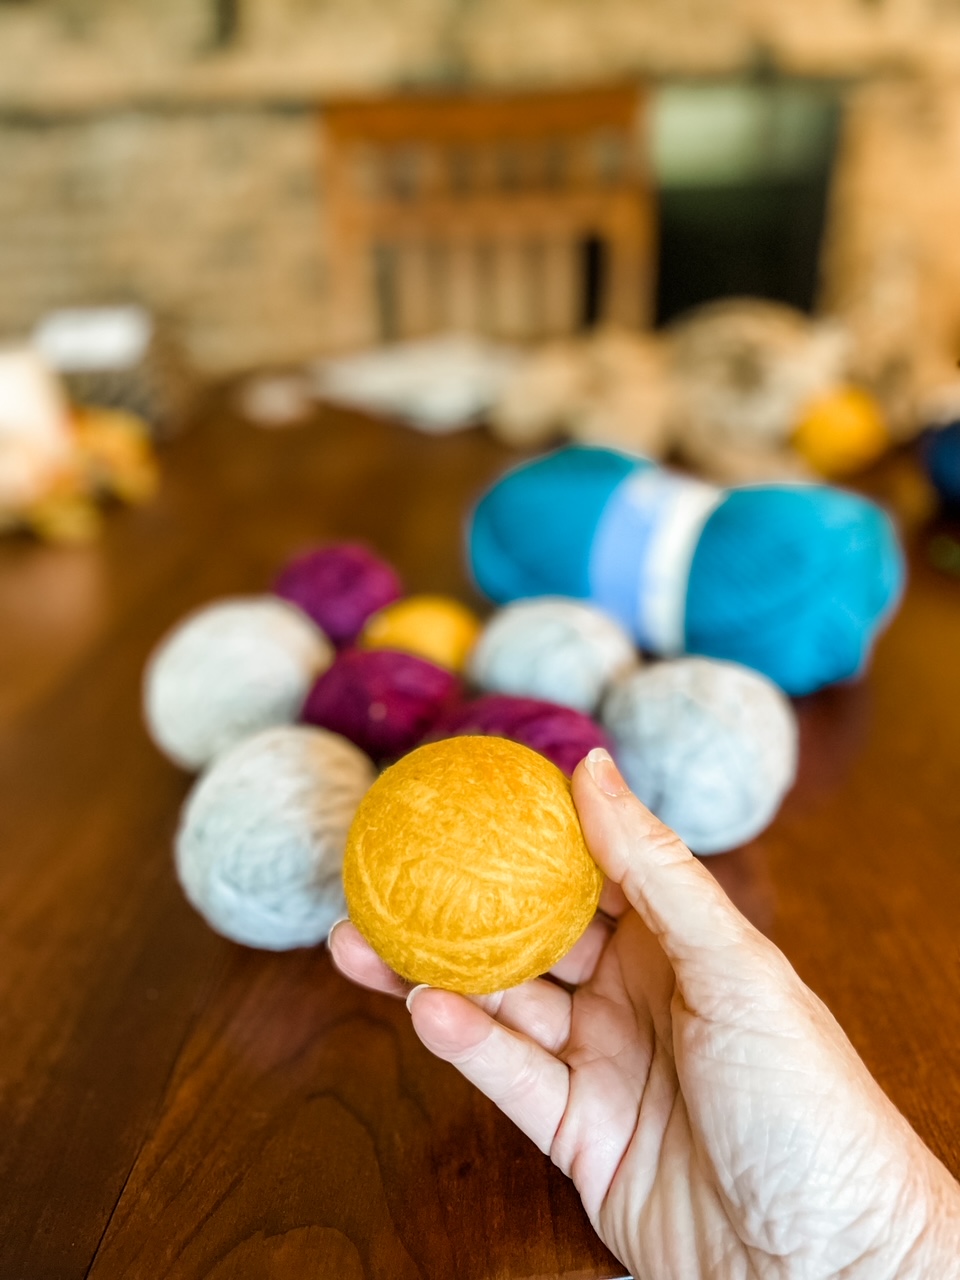
Commercial fabric softeners and sheets have to be purchased over and over. However, a wool dryer ball will last between eight months and a year, saving you money over time.
Another advantage is that these DIY yarn dryer balls will soften your laundry naturally, without any of the chemicals found in commercial products. That’s a big plus for people with allergies or sensitive skin.
Afraid you’ll miss the scent of your favorite commercial fabric softener? Just add a few drops of essential oil to your DIY Yarn Dryer Balls. It’s a natural way to add a touch of fragrance to all your clothing and linens.
If you’re making dryer balls as gifts, including a small bottle of essential oil, such as lavender oil, is a thoughtful touch.
What Do You Need to Make DIY Yarn Dryer Balls?
You’ll only need a few basic items to make your dryer balls.
- Scissors
- Old pantyhose or stockings
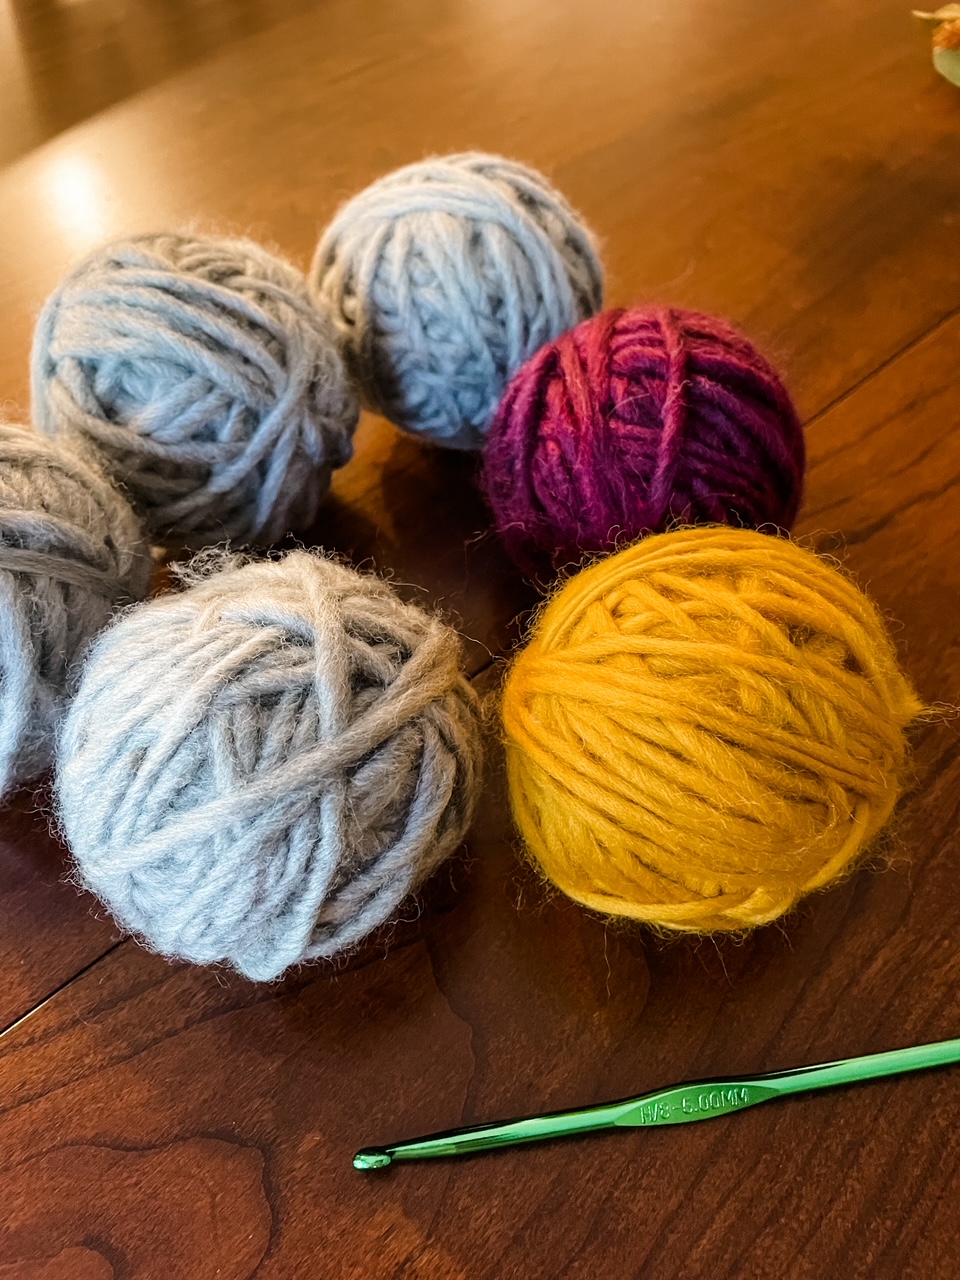
- Crochet hook or tapestry needle
- String
- Yarn
But not just any yarn!
Cotton, acrylic, or other synthetic yarns will not work to make dryer balls. You must use 100% wool yarn that is NOT labeled as machine washable or “superwash”. Wool roving yarn is the best type for DIY Yarn Dryer Balls.
I tried two brands of wool roving yarn, Patons Classic Roving Yarn and Bernat Roving Yarn, Gauge 5 bulky. Both brands worked but I far preferred Patons Classic. It felted more easily and gave me a tighter, slightly heavier dryer ball that I suspect will hold up better over time.
How to Make DIY Yarn Dryer Balls?
Making your own yarn dryer balls is so simple! Absolutely no sewing or crafting skills are required. If you can wind up a ball of yarn, tie a knot, and run a washing machine and dryer, you’ve got this!
Step 1: Wrap the yarn around your three middle fingers about seven or eight times, creating several large loops. Next, slip the loops from your fingers and pinch the center and wrap your yarn around the middle a few more times, like you were tying a bow.
Step 2: Wrap the yarn tightly around all sides of the “bow” you made in step one, creating a small and evenly shaped ball. Keep wrapping the yarn around and around, until your ball of yarn is about the size of a baseball. (I was able to get 2 balls from the Patons Classic Yarn)
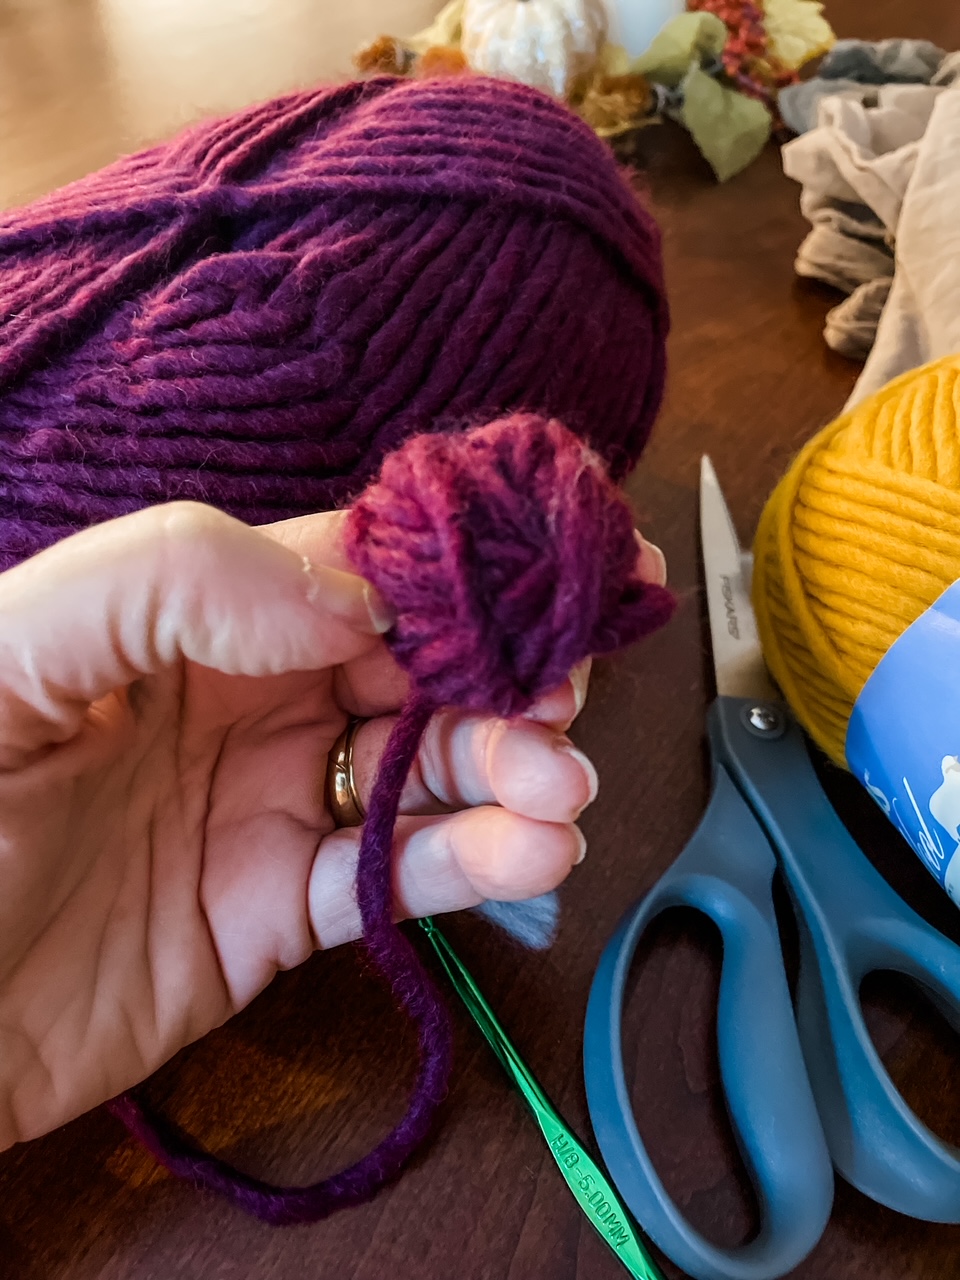
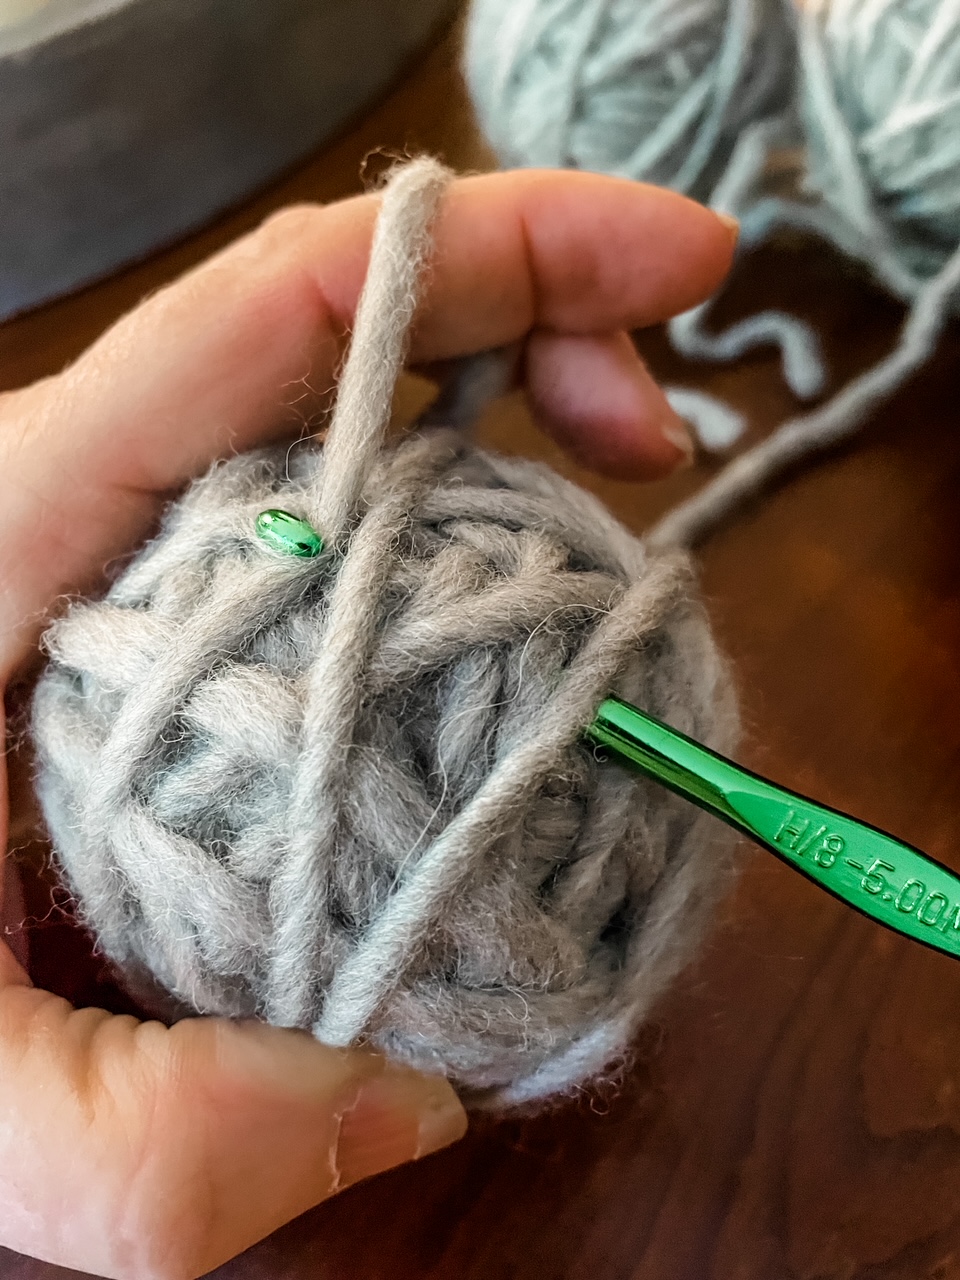
Step 3: Use a crochet hook or tapestry needle to weave a few inches of the end of the yarn into the ball. This will prevent unraveling.
Step 4: Place your completed yarn ball into the toe of an old pair of pantyhose or stockings. Pull the stocking around the ball as tightly as possible, twisting it and then tying off that section with a small piece of string or acrylic yarn. (Do not use the wool roving yarn to tie the stocking.) Repeat the process with your remaining yarn ball, twisting and tying off each one. The end result will look a little like a string of sausage.
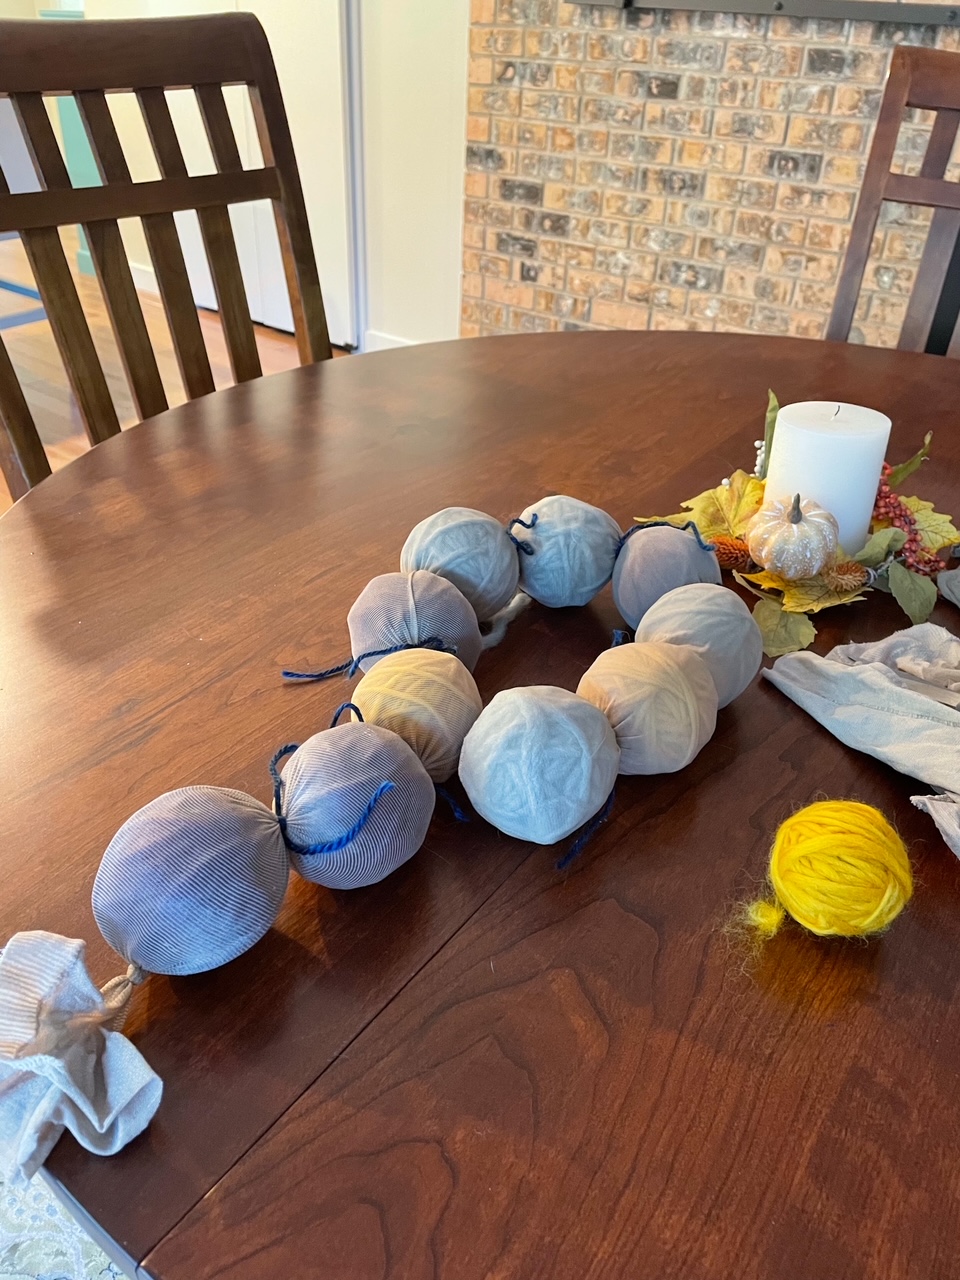
Step 5: Wash your “sausage” with a regular load of laundry in hot water. Heavier items, like jeans and towels, work best because they will bump against your yarn balls so the fibers will break down and felt more easily. Just make sure they are hot water safe. Place your “sausage” and wet laundry into the dryer and dry thoroughly.
Step 6: Repeat step 5 twice more, until your dryer balls are well felted. When it is, the yarn strands will stick together tightly, looking more solid. Also, the balls will have shrunk from baseball-sized to tennis ball-sized.
Step 7: Cut each section of your “sausage” and remove the ball from the stocking, peeling the stocking away from the yarn if necessary.
That’s all there is to it!
How to Use DIY Yarn Dryer Balls
Using DIY Yarn Dryer Balls to soften laundry and speed drying is simple.
Depending on the size of the load, place 3 to 5 balls into the dryer along with your wet laundry and dry as usual. If you like, add a few drops of your favorite essential oil to scent your clothes and linens naturally.
A well-made dryer ball can be used for up to 1000 loads of laundry, anywhere from eight months to one year.
DIY Yarn Dryer Balls are a practical, simple, and fun-to-create home craft. Make some for yourself or as homemade gifts for friends!


