This post may contain affiliate links. Full disclosure policy
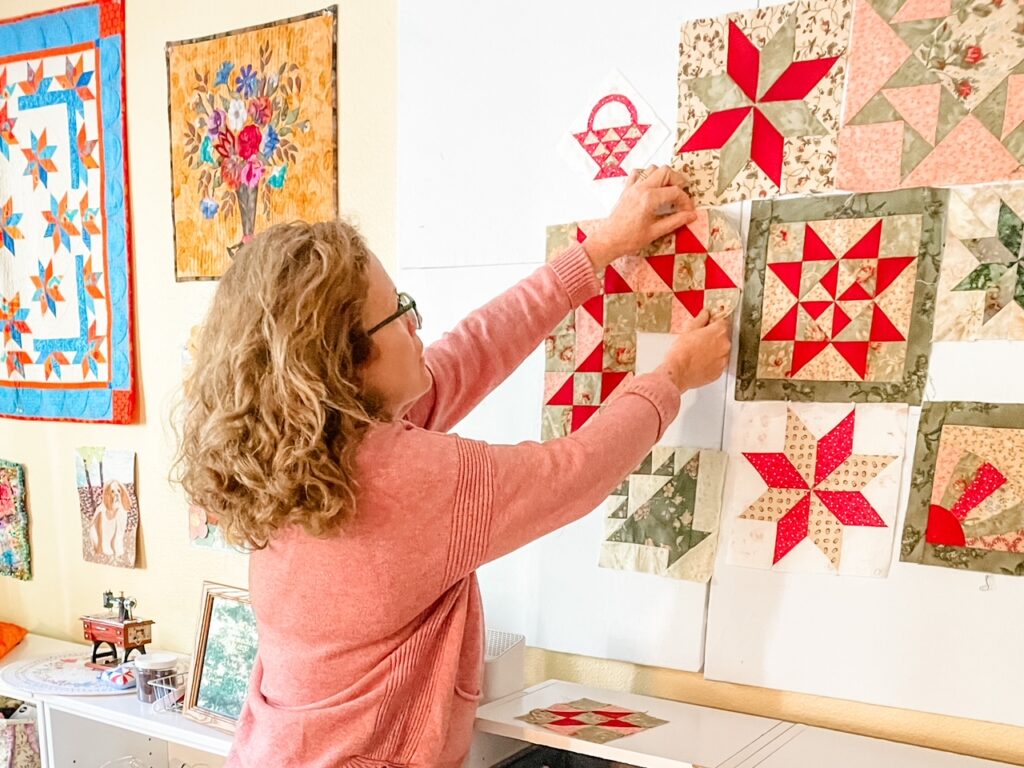
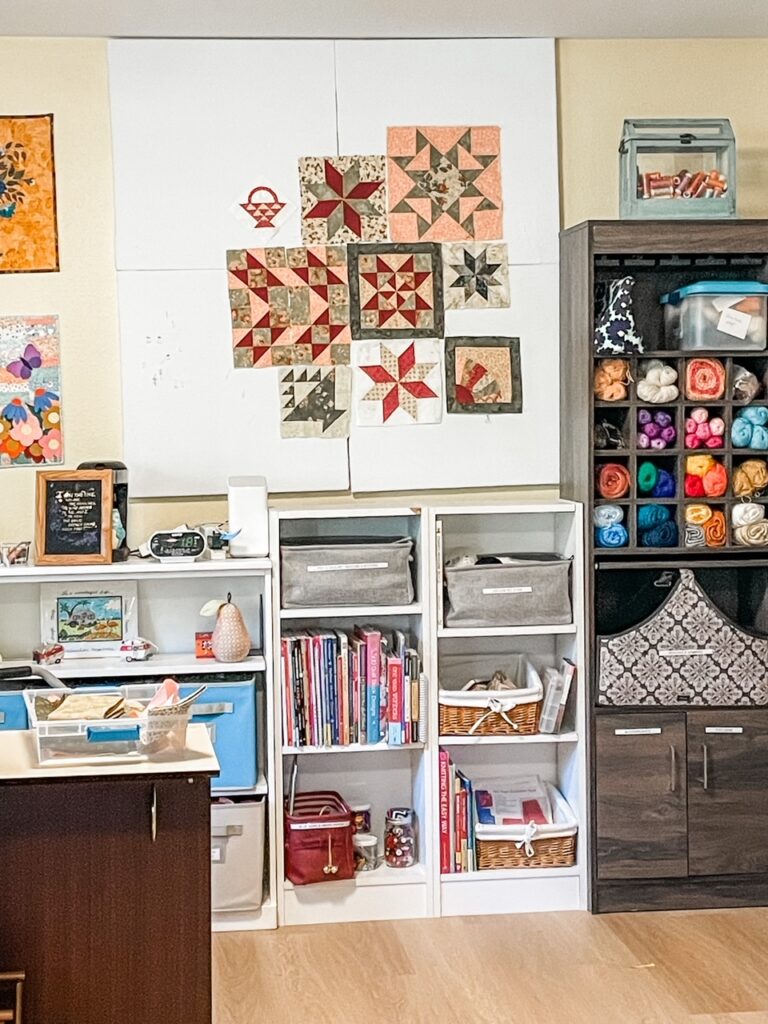
If I had known how easy it is to make a DIY quilting design wall board to assist in my quilting projects, I’d have done it long ago! Make it yourself an afternoon with inexpensive materials. No special tools needed!
DIY Quilting Design Wall Board– Easier Than You Think!
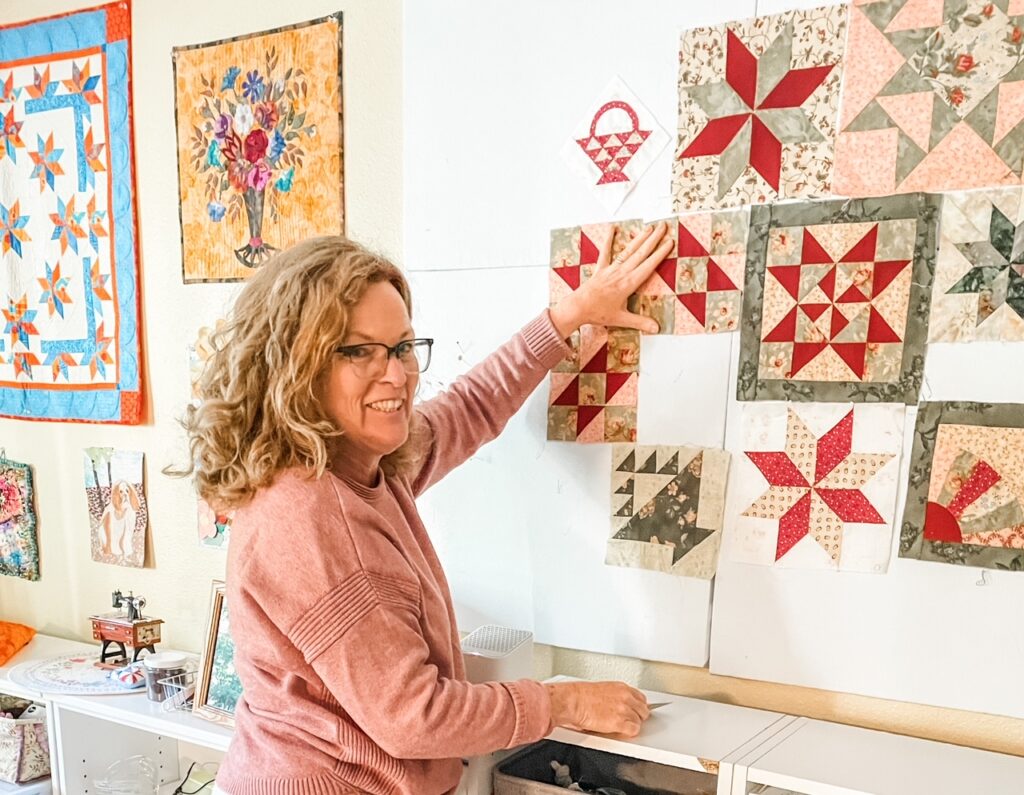
Like so many other quilters, I have long wanted a design wall in my studio. Design walls can make laying out the blocks for a quilt much easier, making it easier to visualize the finished quilt.
Design walls can also save you time and frustration. If your blocks are arranged correctly, and in the proper order, you’ll be more likely to sew them correctly and in the proper order.
As I know from personal experience, having to rip out seams because you sewed the blocks together wrong is incredibly annoying!
Though I knew there were all kinds of benefits to having a design wall, I didn’t get mine until recently. A lack of space was my first problem. Most of the wall space in my studio was occupied by quilts, pictures, bookcases, and other furniture.
I did consider buying a portable design wall, but they take up a lot of floor space and would have made my studio look cluttered. Also, I didn’t love the idea of having to set it up and take it down every time I wanted to lay out my quilt blocks.
Upon moving to our new house, I realized that there was some space that would be perfect for a design wall. After doing a little research, I found out that creating a DIY Quilting Design Wall Board was easier than I thought!
What You’ll Need To Make An Easy DIY Design Wall For Quilters
If I’d realized that making my own design wall could be so easy, I’d have done it years ago!
The materials required are easy to find and not very expensive. In fact, the materials for my DIY design wall only cost me about $60.
Of course, mine isn’t full-sized. I only had room to create a 4-foot square design wall. You might have to spend more if you’re covering a larger space. Either way, it’s still an affordable project that will make quilting easier and more enjoyable.
Here’s what you’ll need…
Foam Insulation Board
This rigid foam insulation board will form the base of your design wall. You can find it at most hardware or building supply stores, including Home Depot. Several brands are available, but be sure to buy a board that is at least 1-inch thick. If you’ve got enough space, foam boards also come in 8 x 4-foot sheets. However, it also comes in a 2-foot square size. Because my space was limited, I grouped four boards together to make a 4 x 4-foot design wall.
Flannel
Covering the boards with flannel creates a surface that cotton blocks will cling to without pins. That makes it easy to arrange and rearrange your blocks. I used an inexpensive flannel sheet I bought from Amazon.
But you can also buy flannel by the yard at a fabric store. Flannels with pre-printed grid marks to help make sure project square up are also available from Amazon.
Adhesive Spray
If you’re a quilter, it’s possible that you already have this on hand. It’s the same kind of adhesive spray that we sometimes use for quilt basting. If not, you can purchase some from the quilt or craft store or purchase it online.
Straight Pins
Again, if you’re a quilter, you probably have straight pins already. Though I used silk pins, just about any kind will work, as long as the pin head isn’t too big.
Command Strips
I used Command Strips for posters to hang my finished design wall. They were easy to use and saved me from having to put holes in the wall. Initially, I was worried that they might not hold up the boards, but I’ve had my design wall up for over two weeks already with no problems.
How To Make An Easy DIY Design Wall For Quilters
Because you’ll be using an adhesive spray, it’s best to assemble your design wall outdoors. Alternatively, you might spread newspapers on the ground in a garage or other fairly open, well-ventilated area.
Step One
Cut pieces of flannel large enough to cover the front and sides of the foam board, with an additional 2-3 inches along all sides. You don’t need to be exact about this, but you do want to make sure that you have enough for a nice border of extra flannel to wrap around the back of the board.
Step Two
Spread cut flannel out on the ground or in an area protected with newspaper or a drop cloth. Spray a thin, even coating of the adhesive on all areas of the flannel, including the edges.
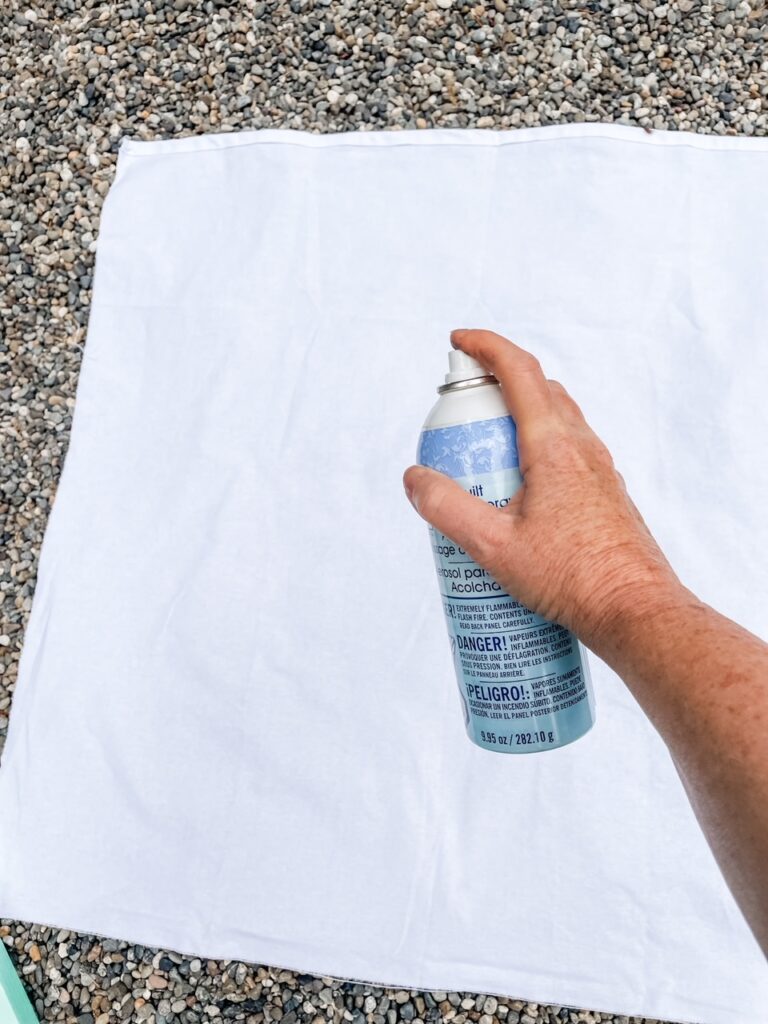
Give the foam board a swipe with a dust rag, making sure the surface is clean. Then, lay the board down onto the sticky side of the flannel, centering it to make sure that there’s a fairly equal overlap of flannel beyond all edges of the board.
Step Three
Flip the board over with the non-sticky side of the flannel facing up. Push any bubbles or creases out of the flannel, stretching it over the board so it’s perfectly smooth.
This is a bit of a process. You’ll may have to lift the flannel from the board in quadrants, smoothing as you go. Just be patient and take your time. And don’t worry; even if you have to lift it more than once, the flannel will still stay sticky. (Warning! As you can see in the photo below, your fingers will get pretty sticky during the process!)
Step Four
Flip the flannel-covered board over again so the uncovered back is facing up.
Stretch the border of extra fabric around the back of the board on two opposite sides. Secure the edges of the flannel to the board by shoving straight pins through the fabric and into the board at an angle. Place pins approximately 3 inches apart along the edges.
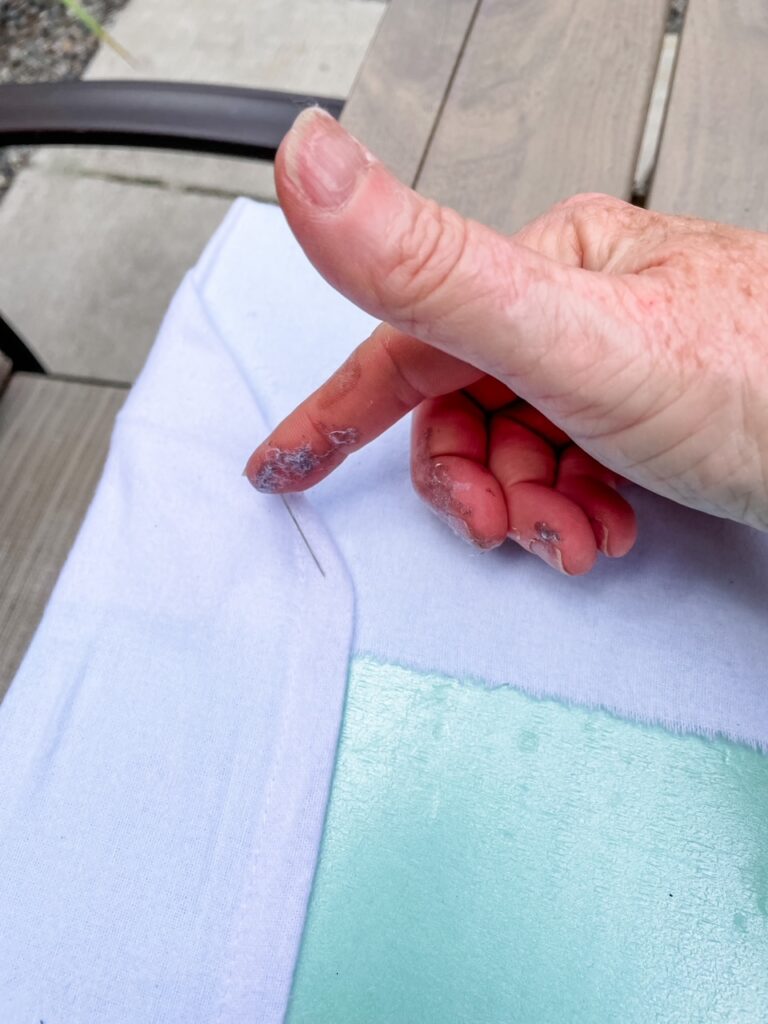
Stretch the fabric over the remaining two sides, folding the flannel into an angle at each corner. This creates a neater look, similar to mitered corners on a quilt. It also helps minimize bulk so your board will hang more evenly.
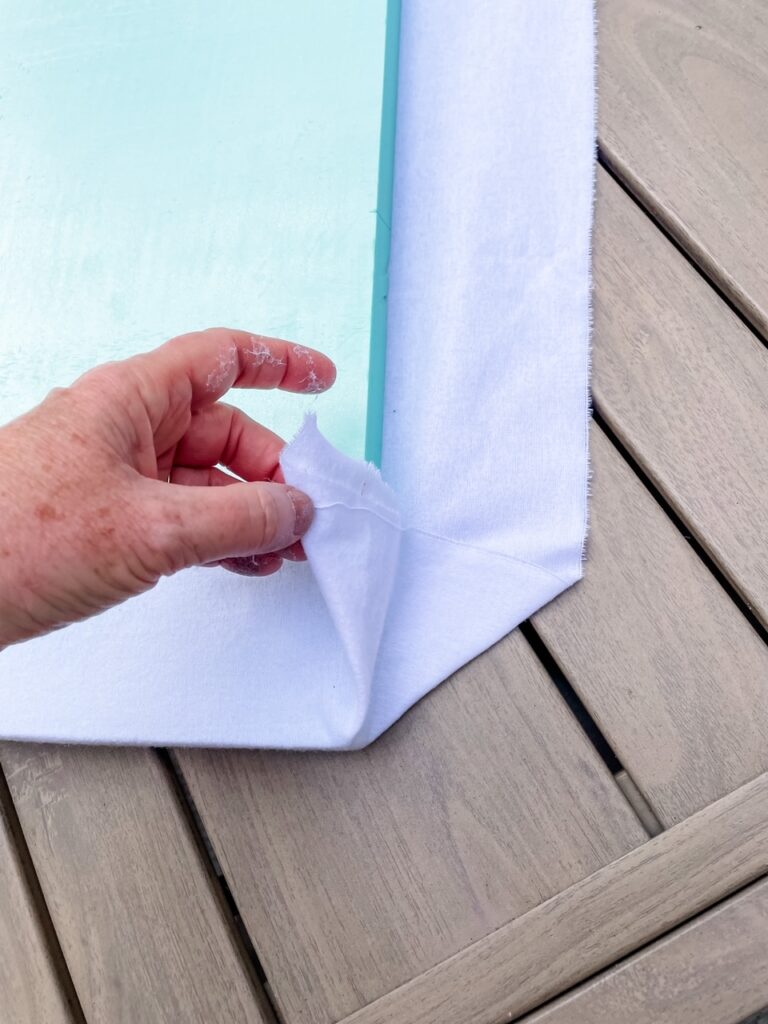
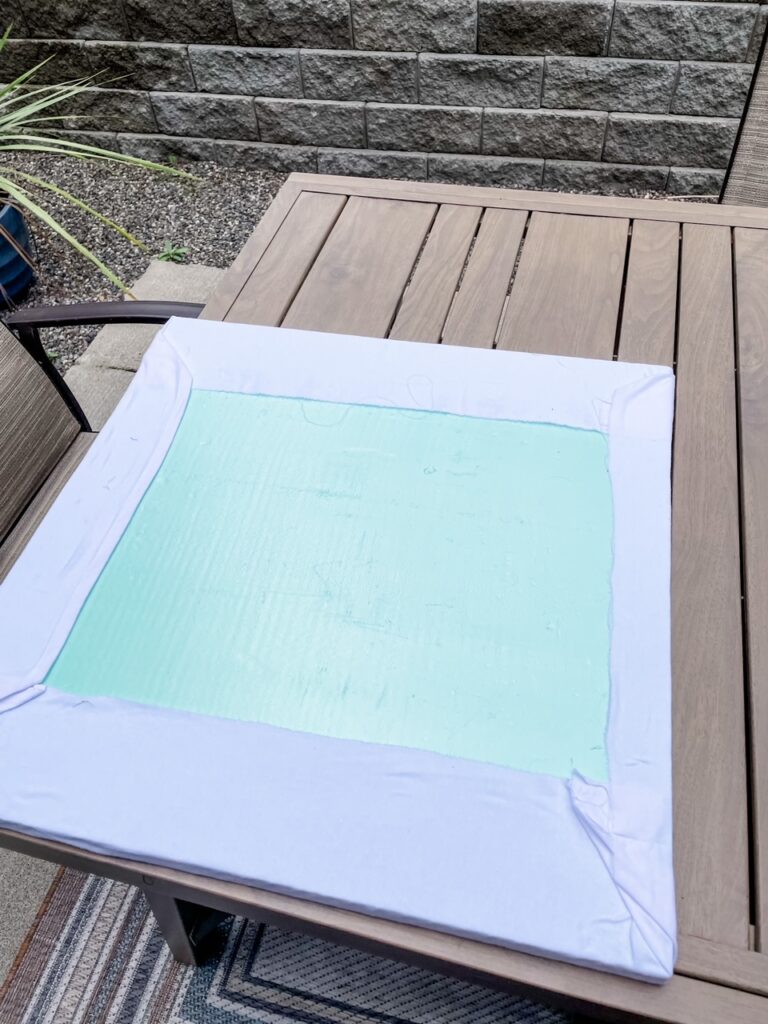
As you did before, shove pins through the fabric and into the board at an angle, approximately every 3 inches.
Hooray! Your DIY Quilting Design Wall Board is done and ready to hang!
Step Five
Hang the completed design board on the wall according to your preferred method. I used Command Strips for posters and found they worked well. I used a lot of strips, placing them about 4 inches apart.
I just love my new design board!
It was easy to make and makes the process of laying out and stitching blocks for quilt projects a lot simpler and more fun!
