This post may contain affiliate links. Full disclosure policy
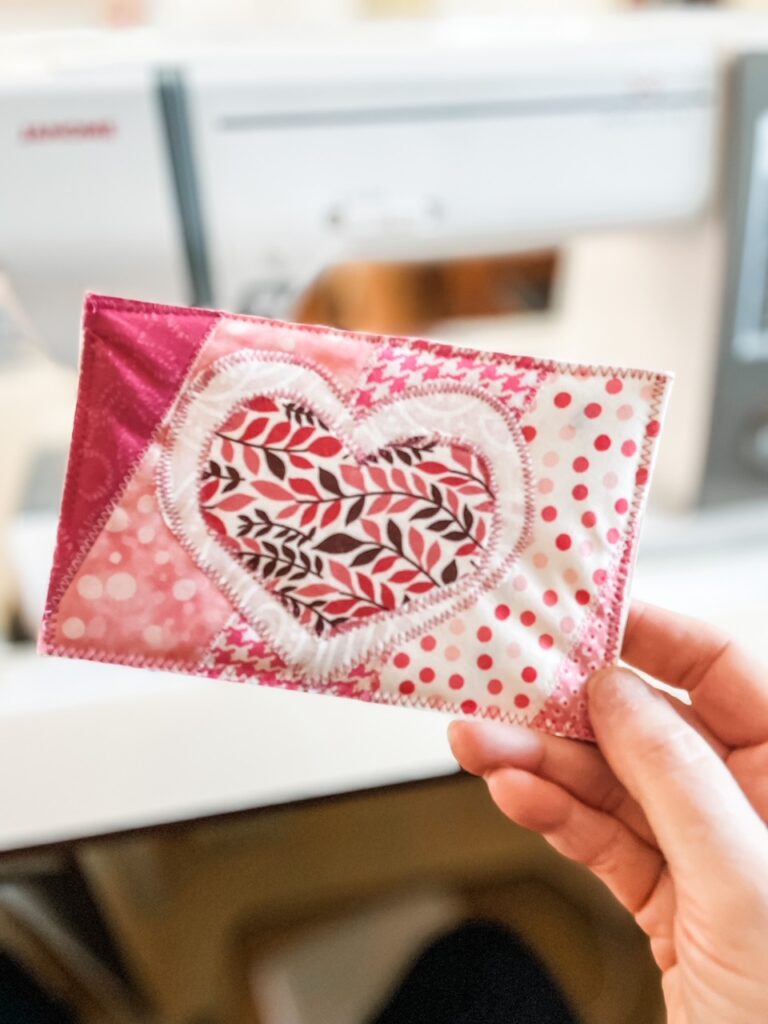
These cute DIY Quilted Valentine’s Cards are an extra special way to show love to your Valentine. A wonderful use of fabric scraps and SEW much fun to make!
Click here for MORE Valentine crafts!
Missed Christmas Card Season? Send DIY Quilted Valentine Cards!
In one of my December newsletters, I urged folks to enjoy the season and let themselves off the hook if they just weren’t able to do all the things that are expected during the holidays.
One of the things I just didn’t have time for this year was sending out Christmas cards. However, I did save the addresses of those who sent cards to me. The idea was that I’d send them a Valentine later. Or maybe a St. Patrick’s Day card?
But when one of my quilting buddies sent me a quilted Christmas card, I was enchanted! And judging from the number of people who commented on the photo I shared on my social media, I wasn’t the only one.
That’s when I decided I’d make DIY Valentine’s Cards to send to the people who kindly sent Christmas cards to me.
Apparently, there are patterns and whole books of patterns for fabric postcards that you can buy. However, I felt pretty confident that I’d be able to create my own DIY Quilted Valentine Cards without the benefit of a pattern.
Turns out I was right!
What Do You Need To Make DIY Quilted Valentine Cards?
These cute Valentine’s Cards are a fun way to use up your fabric scraps. If you’re a quilter or sewist, I’m sure you’ve got plenty! Chances are good that you already have everything else you need on hand, too, including….
- Assorted cotton fabric scraps
- Scrap quilting batting
- Craft or fabric glue
- Card stock or cardboard for backing
- Rotary cutter, ruler, and cutting mat
- Scissors
- Thread
- Sewing machine
As I said, if you’re a quilter, you probably have all of this. The only thing you might not have available is card stock.
I used some watercolor note cards that I already had on hand and just cut them down to 4×6 inch postcard size. But just about any light to medium-weight cardboard will do. Just remember that you need to be able to sew through it.
DIY Quilted Valentine Cards – Can You Really Send Them In The Mail? Two Options!
Can you actually mail quilted cards? This was the number one question that popped up on my social media when I posted the picture of the fabric Christmas card my friend sent to me.
According to my research – the answer is yes. But you DO need to keep a few things in mind.
This card is really a fabric postcard, and postcards can’t be thicker than ¼ inch, and they can’t be larger than a standard 4×6 postcard. Also, because they will have to be hand-sorted and canceled, they will cost more to mail than a regular postcard. You will need to finish the edges well with a satin stitch or a very tight zigzag stitch. If you decide to mail these as postcards, I highly recommend you take them to the post office personally to make sure there are no problems.
Another option is to put them in an envelope and mail them like you would any letter. That’s what I’m going to do with mine.They turned out so cute that I don’t want to risk getting them smudged and battered during mailing. (The ones in my photos are finished with a regular zigzag stitch. You’ll need a satin stitch or tight zigzag if you want to mail without an envelope.)
So, now that we’ve got our supplies assembled and talked about mailing let’s get to work!
Down in the “recipe” section of this post, I will include some very basic instructions that can be printed out. But in this next section, I will go through a more detailed explanation of the process
Making The Background — DIY Quilted Valentine Postcards.
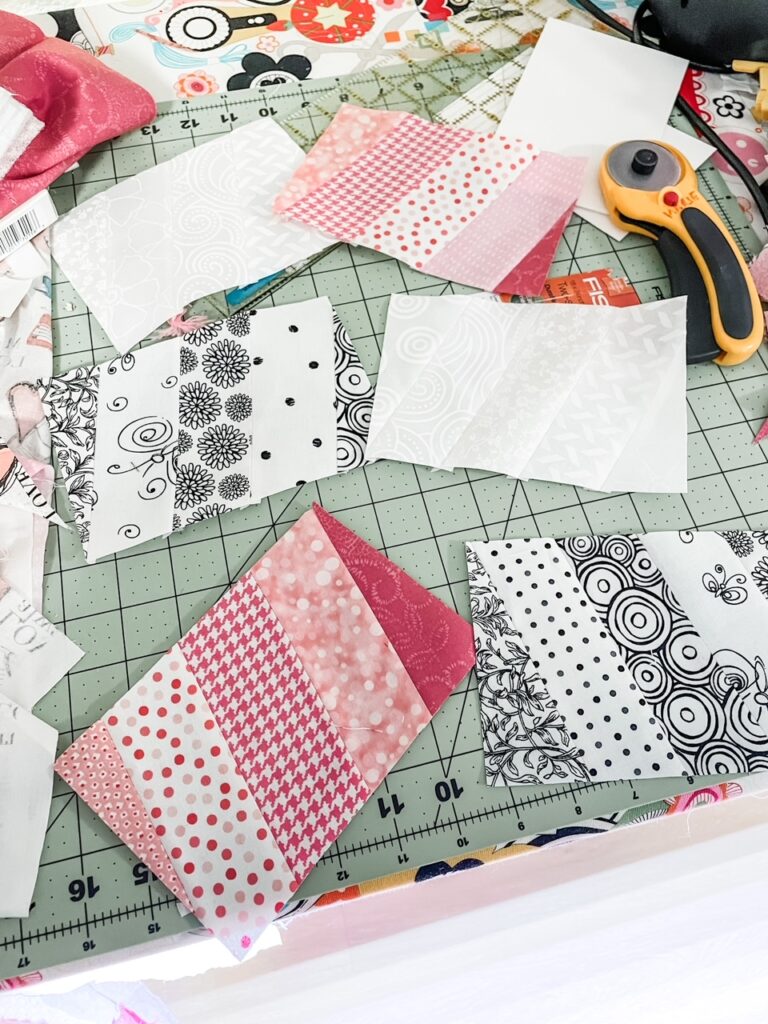
I decided to create a simple striped background for my postcards, then cut them at an angle to create more visual interest.
To do so, I cut 5 strips of contrasting but complementary fabric measuring 2 x 7 inches. Then, I stitched them together with a quarter-inch seam. (The end result should be approximately 8 x 7).
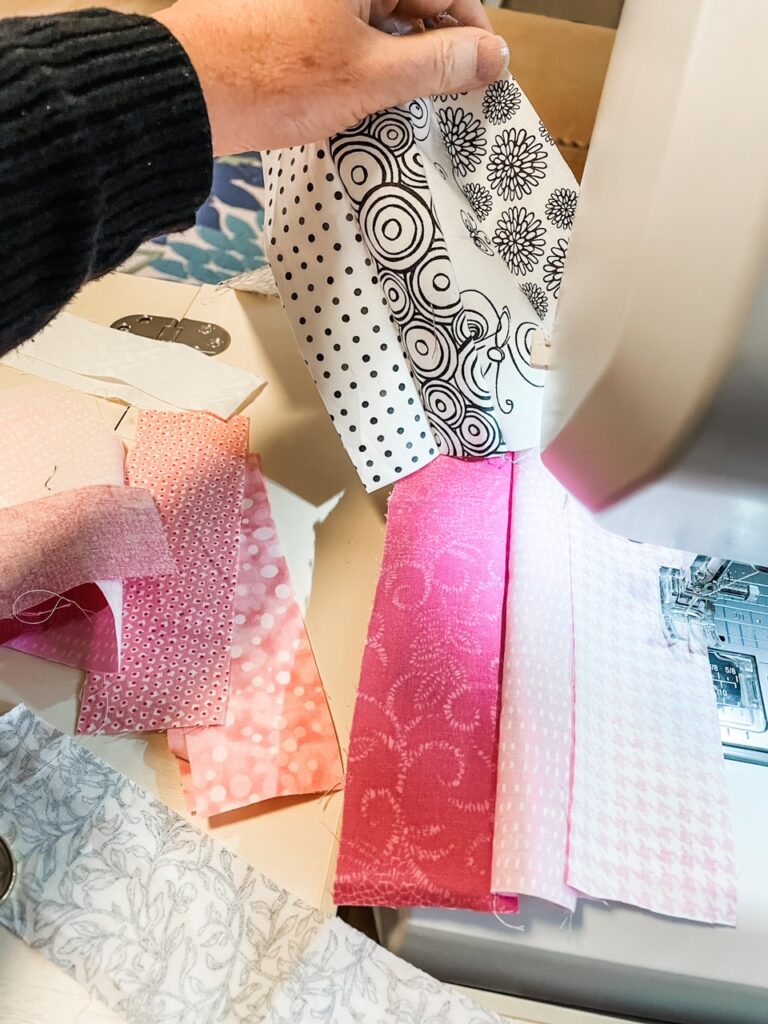
After sewing the strips, press the seams open so it will be easier to add decorative stitching later.
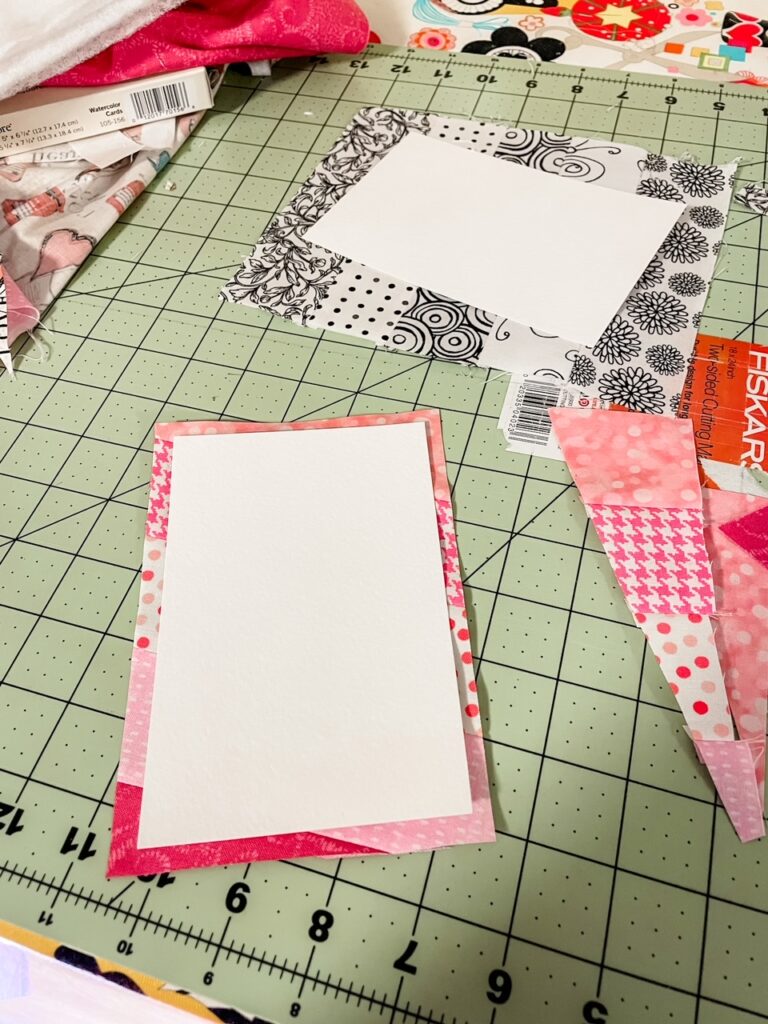
Next, I laid my card stock postcard on the sewn background piece at an angle, then trimmed the fabric about a quarter inch wider around all four sides. This ensures that I will have plenty of fabric to cover the card after I add any stitching.
Batting, Stitching, And Applique
Once the background of your postcard is sewn and trimmed, use a little fabric or craft glue to stick it onto a piece of batting of the same size. We are ONLY sewing through the batting and background at this point, not the card stock.
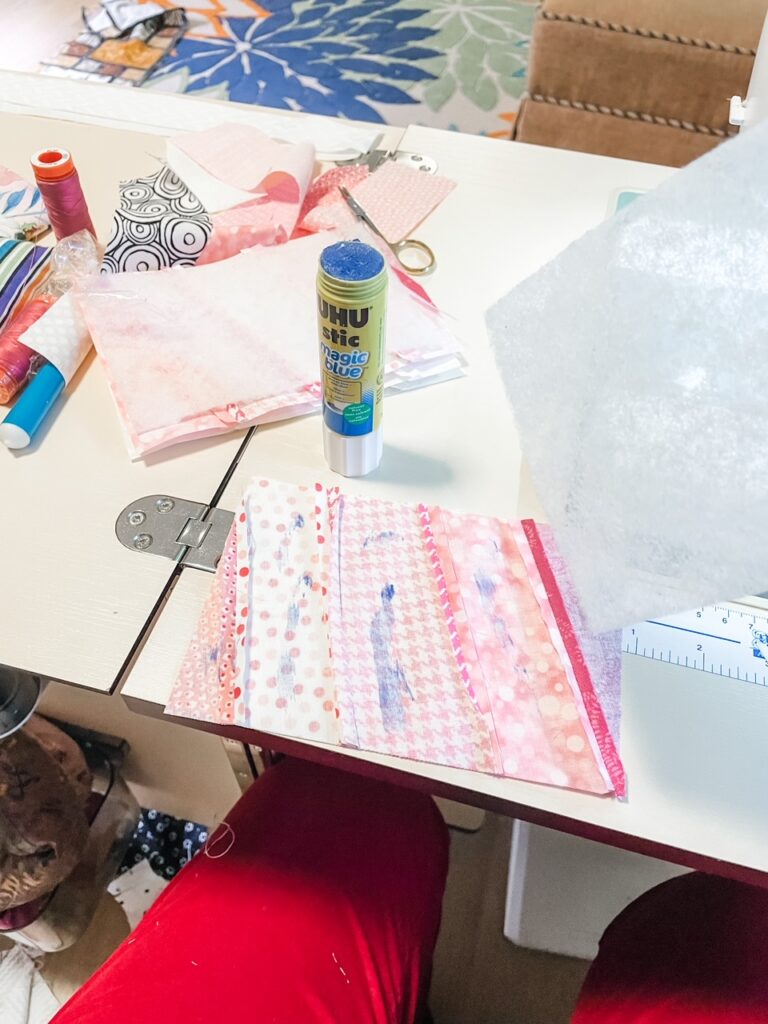
If you’d like, you could use fusible web instead of glue. However, I found that glue worked just fine. Just about any kind of craft glue will work. (I used this blue glue so it would show up in photos. Don’t worry, it dries to white!)
Next, you’ll sew some decorative stitching along the slanted seams of the background piece.
At first, I just used a plain zig-zag stitch. Then I got brave and tried a couple of those decorative stitches that I never seemed to have any use for. It turned out great! So be brave and give it a shot.
Play with different colored threads, too. Since you really only need to change the top thread and not the bobbin (unless you really want to), it’s easy to do.
With your background stitched, you can start adding some cute Valentine motifs!
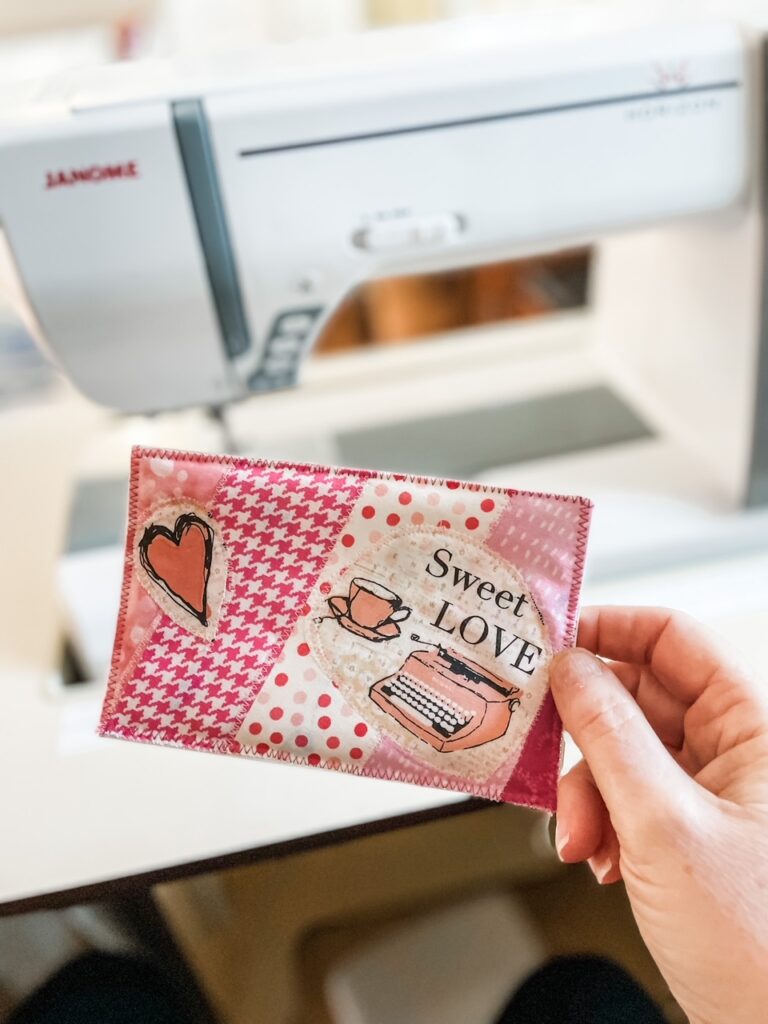
I happened to have some cute fabric with typewriters, hearts, and words that were perfect to use on Valentines. You might want to do the same with flowers, hearts, chocolate, or other images from the novelty fabrics in your stash.

Marie holding up one of the DIY Quilted Valentine Cards
After fussy cutting the parts I wanted, I placed them on the background with a dab of glue and zigzagged around the edges.
The process was pretty much the same with my heart motifs.
Using scissors, I cut out my hearts. You really don’t need a pattern to make hearts. Just fold a small fabric scrap in half and cut one half of a heart. Since the fold is the center, both sides of your heart will match perfectly.
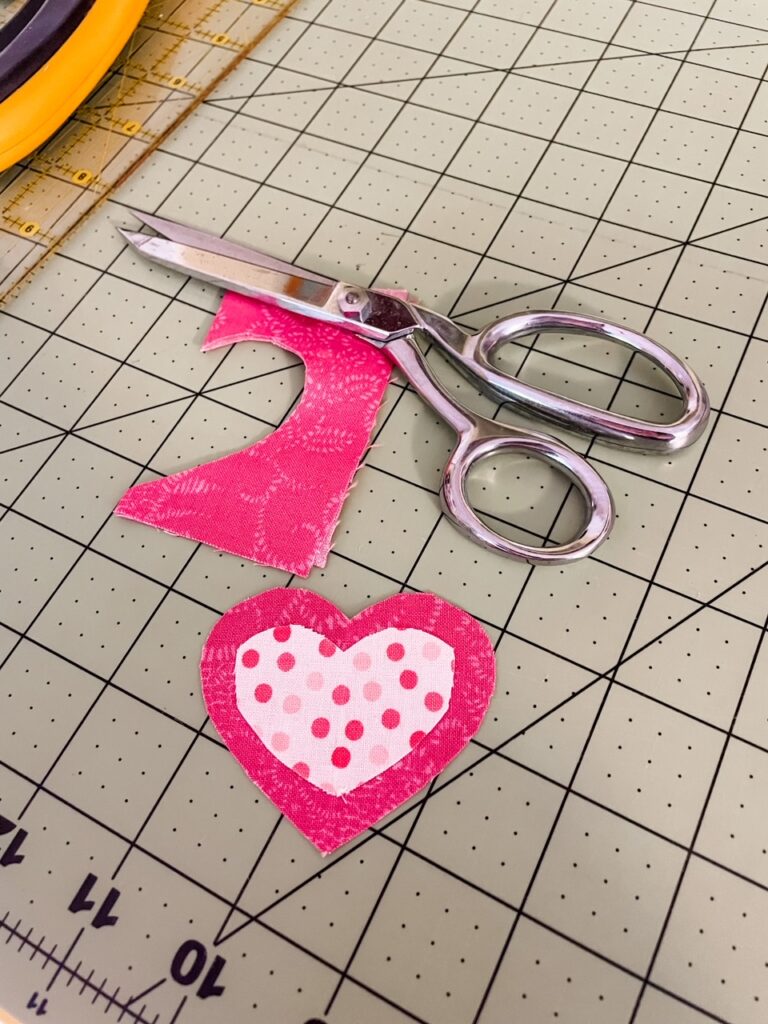
Using multiple layers of hearts will make your cards more visually interesting. If you decide to do the same, cut the smallest heart first. Then, you can use it as a pattern for the larger hearts.
Just lay the folded small heart along the fold of the next heart and cut a little farther around the edge. This will give you hearts that are roughly the same shape, but different sizes. (Don’t get too crazy by trying to make the curves match perfectly. Remember, this is supposed to be fun!)
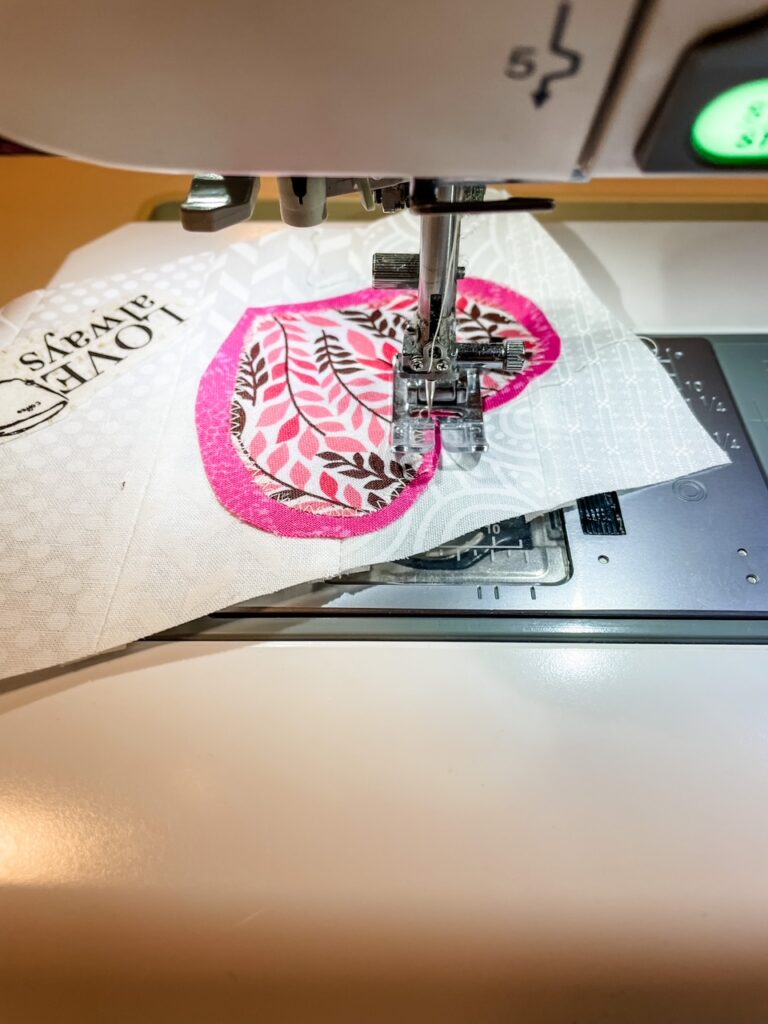
After cutting out the hearts, place the largest one on the background with a dab of glue, then zigzag around the edge. Add smaller hearts one at a time, using the same process.
Finishing The Edges
The last step in making our quilted valentines is adding the actual postcard. We’re on the home stretch!
First, give the sewn fabric and batting a nice press a hot iron with steam, getting to lie as flat as possible.
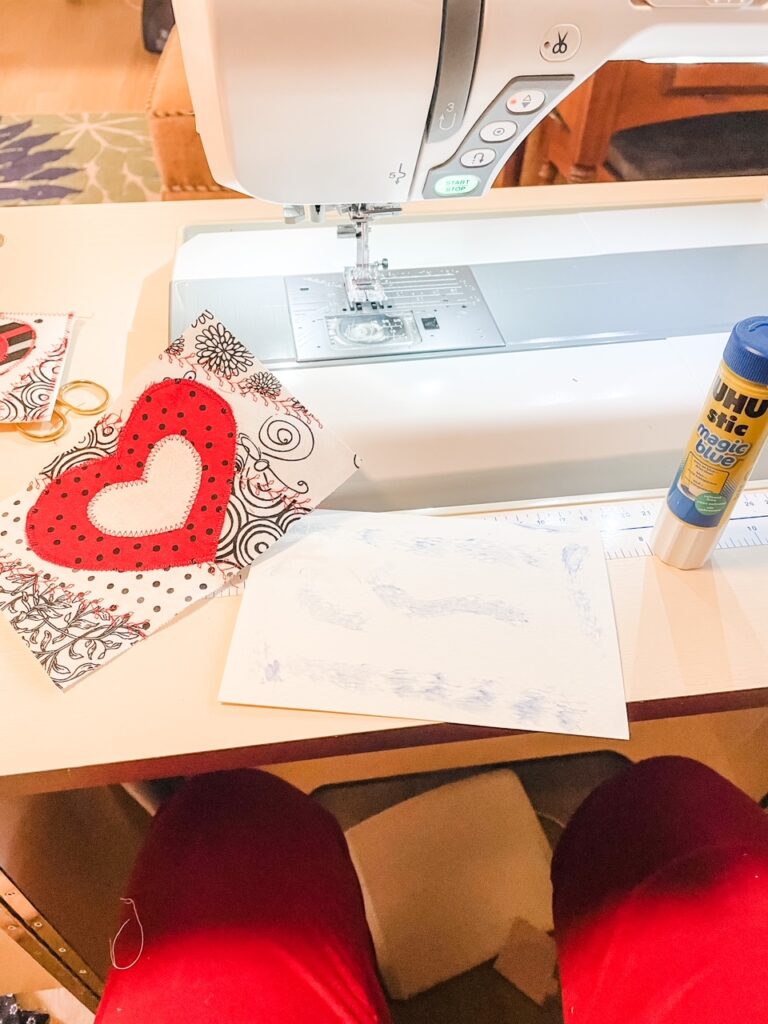
Next, position the cardstock on the fabric. Trim off any extra fabric or batting so the fabric measures 4×6. Dab some glue onto the cardstock. Lay the batting side down on the glued cardstock, making sure the edges match on all sides.
Sew a zigzag or satin stitch around all four edges of the postcard, making sure the raw edges of are overcast by the stitching.
This part required a little trial and error on my part. My first attempts ended up with a couple of creases as I sewed. Not a tragedy but I knew I could do better.
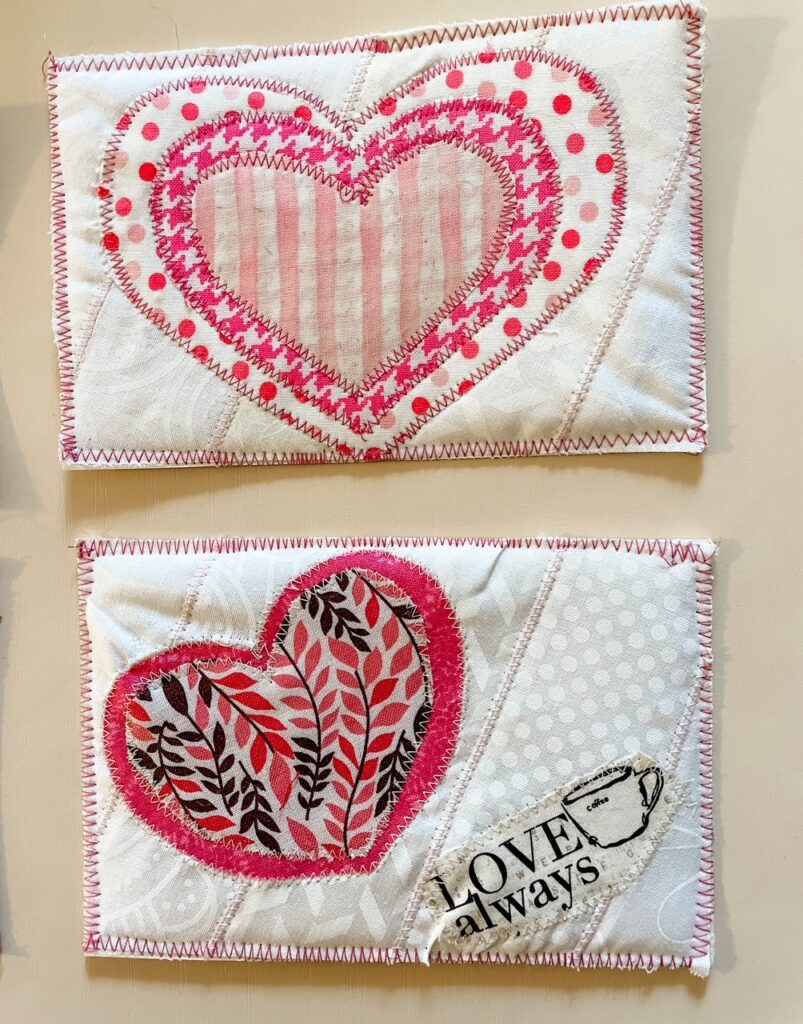
With a bit of experimentation, I found that the best results came if I stitched one long edge of the card and then stitched the other long edge in the opposite direction. After that, I stitched the shorter edges, also in opposite directions.
This helped eliminate creases. So did sewing more slowly and pausing to lift my presser foot (needle still down) and adjust the fabric if I saw a bump beginning to form. When you’re finished sewing, clip any stray threads.
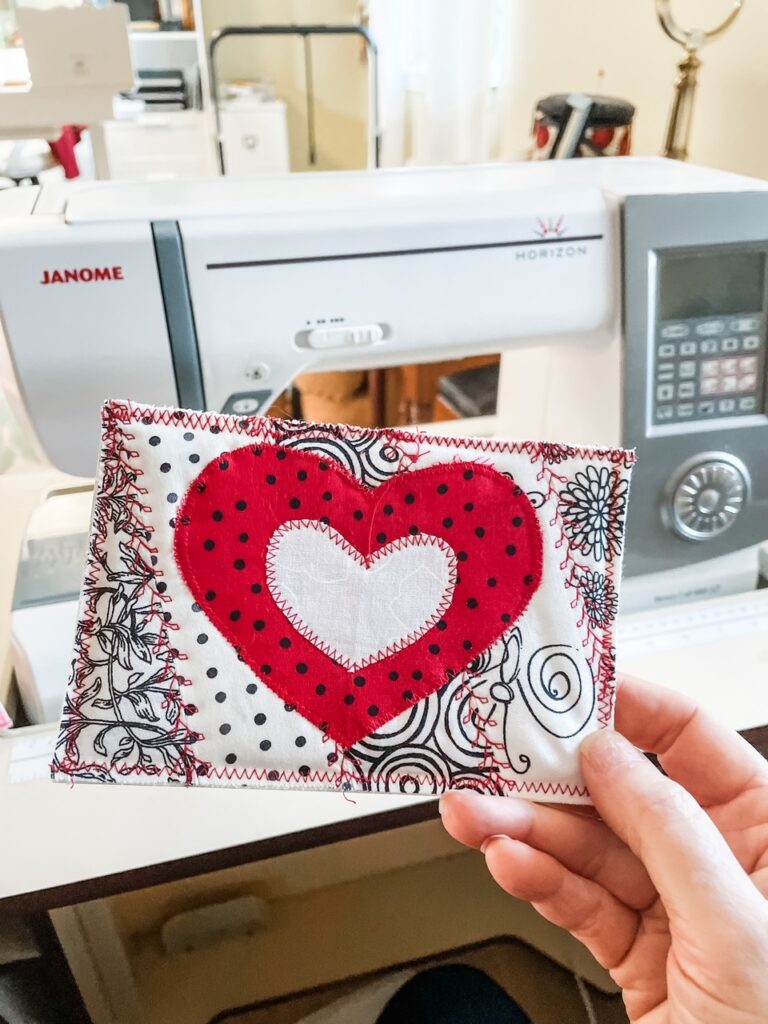
All in all, I thought they turned out just great! I’m excited about sending my quilted Valentines to my friends and family this year. I am sure they will love them.
Bet your Valentines will feel just the same!
PrintDIY Quilted Valentine Cards
Ingredients
Supplies to make one postcard
- 5 cotton fabric strips, measuring 2×7 inches for background
- 6×4 piece of light to medium weight cardstock
- 5 x 4.5 piece of quilt batting
- Fabric scraps for hearts or “fussy cut” fabric motifs for decoration
- Scissors
- Rotary Cutter, ruler, and cutting mat
- Fabric or craft glue
- Thread
- Sewing machine with a zigzag or decorative stitches
Instructions
- Using a quarter-inch seam, sew the five 2×7 inch strips, right sides of fabric together, on the long edges. The fished background piece will measure approximately 8×7. After sewing all the strips, press open the seams.
- Position the 4×6 cardstock on the background piece at something of a diagonal so the seams run at an angle. Using a rotary cutter and ruler, trim the background fabric a quarter inch larger than the cardstock around all edges. The background piece will measure 4.5 x 6.5 inches.
- Place a small amount of glue on the back side of the sewn and trimmed background. Place the glue side down onto the batting of the same size, matching the edges. Take the prepared piece to the sewing machine. Sew zigzag or decorative stitching along the front of all the angled seams, through all layers.
- Cut out heart shapes or fussy cut motifs (see post for details). Position on the front of the background, adhering each motif or heart with a dab of glue. Zigzag stitch around the raw edges of each element.
- Press the stitched postcard front with a hot iron and steam, so it will lay as flat as possible. Lay the cardstock on the fabric/batting and trim the edges they match the cardstock and measure 4×6 inches.
- Place a small amount of blue on the back side of the cardstock. Position the batting side of the sewn postcard onto the glue and push down so they stick together. Sewing through all layers – fabric, batting, and cardstock – sse an overcast zigzag or satin stitch to sew around all four edges of the postcard. (See post for tips). Clip threads.
- Your postcard is finished! (See post for mailing recommendations.)


