This post may contain affiliate links. Full disclosure policy
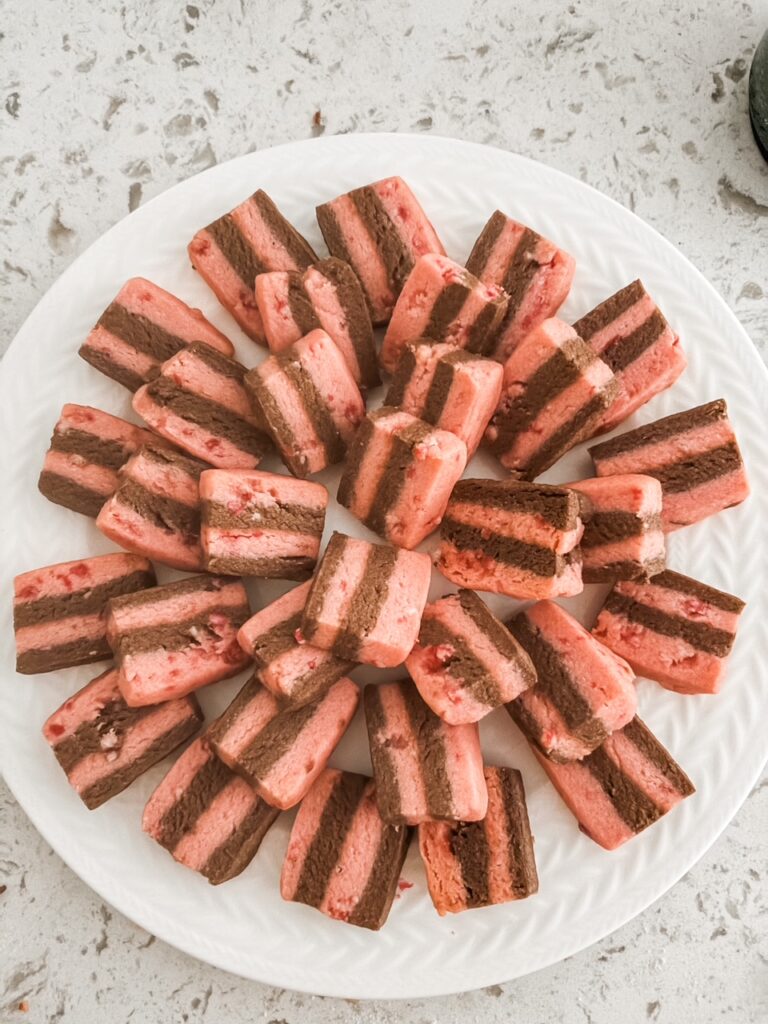
Featuring a favorite holiday flavor combo, these pretty Chocolate Peppermint Crunch Ribbon cookies will be the hit of your next party or cookie exchange. Fun, festive, fancy and SO good!
A Flavor Marriage Made in Heaven – Chocolate Peppermint Crunch Ribbon Cookies
As far as I’m concerned, chocolate is to sweet treats as black is to wardrobes – it goes great with just about everything.
However, of all the flavors that chocolate pairs well with, the combination of chocolate and peppermint tops my list. So, it was a natural choice when I set out to create a new holiday cookie for my upcoming neighborhood Christmas party.
Though they require a little more effort than my usual cookie recipes, it was totally worth it. The end result was all I’d hoped for and more.
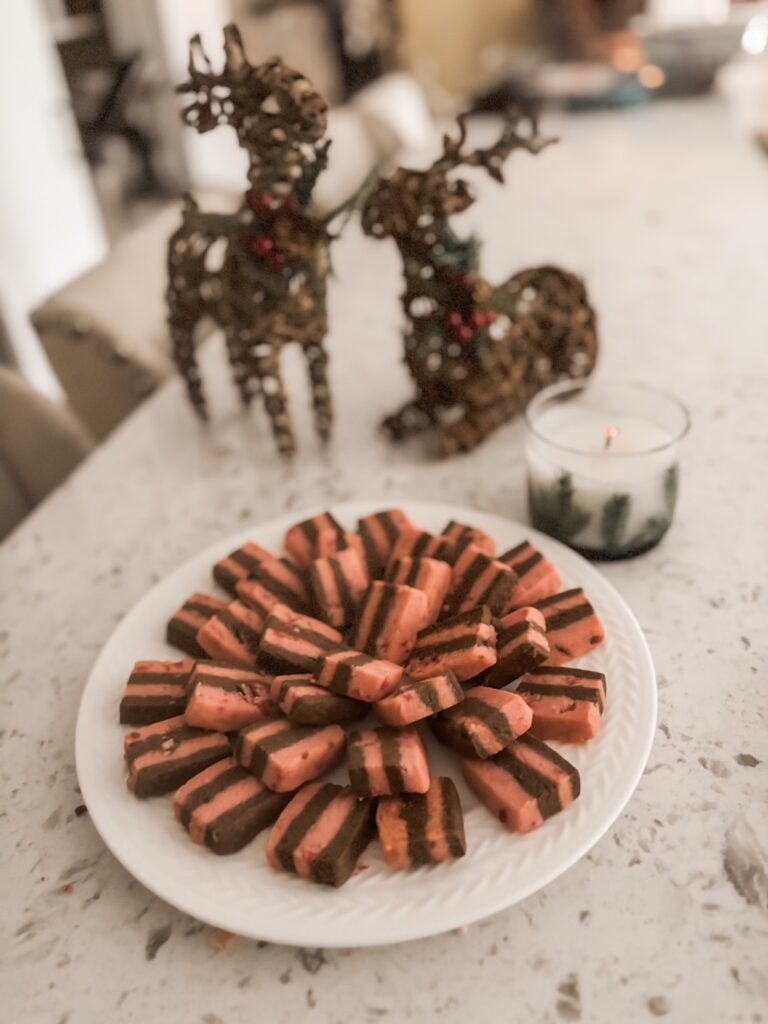
Two buttery sugar cookie doughs, one flavored with loads of rich chocolate, the other with sweet, bright peppermint and baked-in bits of candy for crunch. We’re talking cookie heaven!
The only thing that could possibly make this cookie any better would be if it looked as special as it tastes. But guess what? It does!
The story of how these pretty ribbon cookies came to be is really pretty funny. But before we get to that, let’s talk about whats, hows, and tips for baking these delightful and delicious little cookies.
What You’ll Need to Make Chocolate Peppermint Crunch Ribbon Cookies
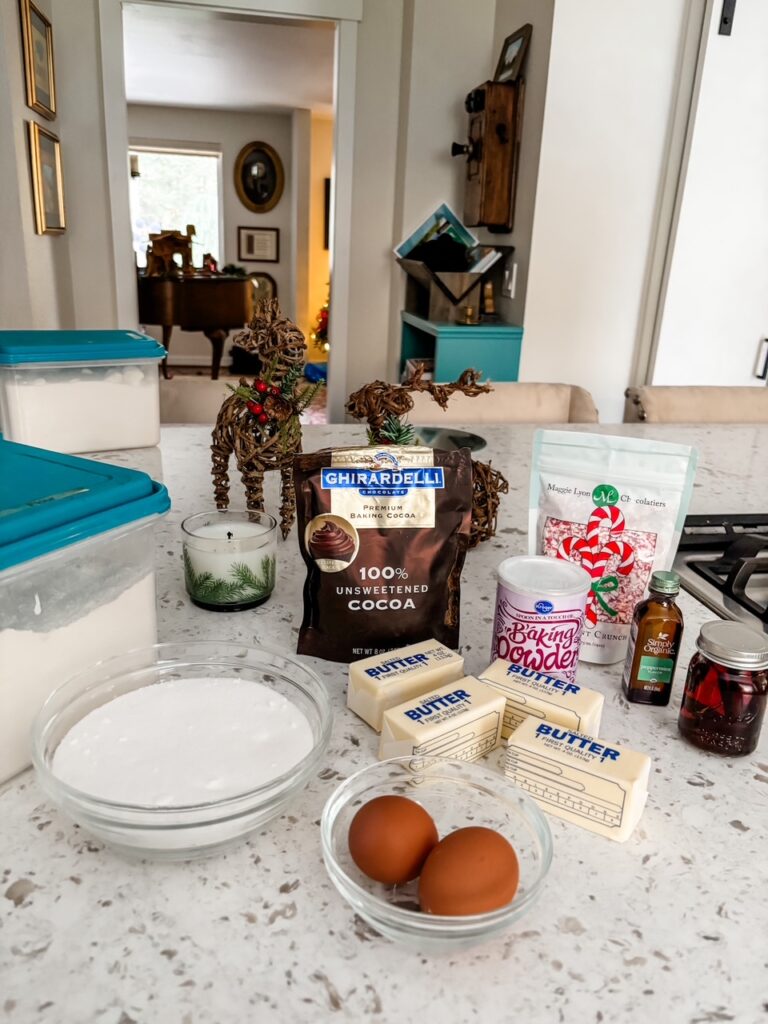
- Salted butter
- Sugar
- Eggs
- Flour
- Baking Powder
- Cocoa Powder (you can use either dutched or undutched cocoa, my favorite brand is Ghiradelli)
- Vanilla extract
- Peppermint Extract
- Peppermint Crunch (you can either buy ready-made or break up peppermints or candy canes to make your own)
- Red Food Coloring
This recipe makes a LOT of cookies. Since they’ll store in the freezer for up to three months (just put them in a container with an airtight lid) that was fine with me. If there are extras after my party, I’ll just pull them out a few at a time to enjoy with an afternoon cup of tea.
But if that feels like too much for you, you can always divide the recipe in half.
Chocolate Peppermint Crunch Ribbon Cookies – Making the Doughs
You’ll make two separate doughs for these cookies. I know that might sound like a lot of work, but it’s really not because each begins with a nearly identical, super simple butter and cookie dough base.
Note that I said, “nearly identical”.
Because the cocoa powder adds a little extra dryness to the dough, I used a little less flour for the chocolate cookies. So be sure to pay attention to amounts when you’re reading the recipe. That little bit of flour makes a difference.
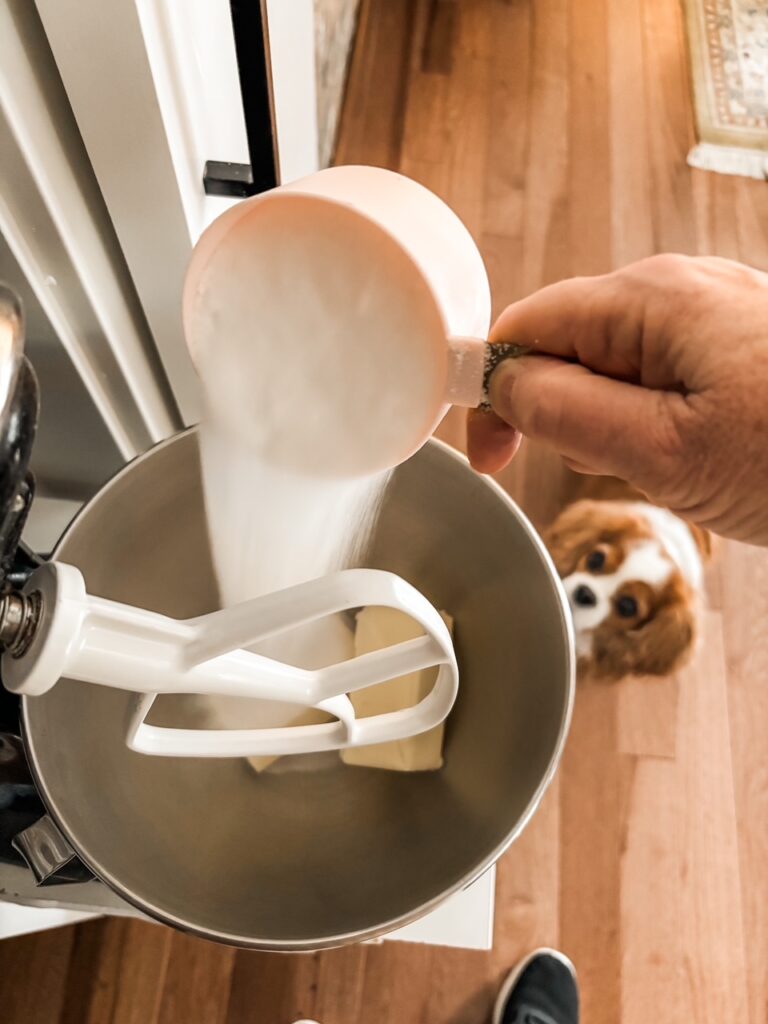
As for many cookie recipes, you’ll start by creaming together butter and sugar, and adding the eggs and flavor extracts. (Please note, the butter should be slightly but not totally soft. Leave it out on the counter for 30 minutes to an hour before you put it in the mixer.)
Then you’ll either add cocoa powder for the chocolate dough or peppermint crunch and food coloring for the peppermint dough. Easy, right?
Let’s take a moment to discuss food coloring.
During my first attempt at making these cookies, I used only 5 drops of color for the peppermint dough. The result was pale, even a little sad. Getting the pretty pink color that I wanted took four times that much.
If the idea of adding that much food coloring bothers you, just leave it out. The cookies won’t be quite as pretty, but will still taste terrific.
Divide each batch of dough into four equal balls. I like to use my food scale for this (each ball ended up being a bit over 8 ounces) but you can just eyeball it if you prefer.
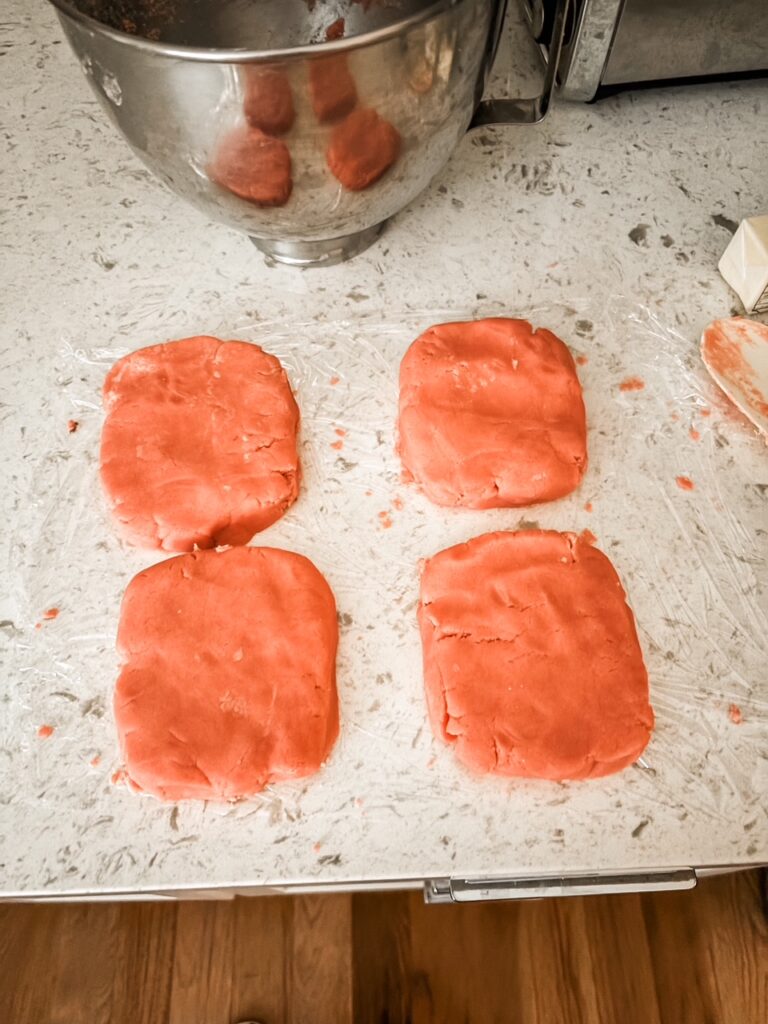
Press each ball into a 4 x 5-inch rectangle, then cover it with plastic wrap and chill in the refrigerator for about an hour. You’ll end up with eight dough rectangles in total, four chocolate, and four peppermint crunch.
Got it? Good! Now, let’s roll!
Chocolate Peppermint Crunch Ribbon Cookies – Rolling the Dough
As I said above, the story of how these ribbon cookies came to be is pretty funny, a tale of snatching victory from the jaws of defeat. You see, my original plan was to make chocolate peppermint crunch pinwheel cookies.
Now, I’m not saying that rolling out neat and tidy pinwheel cookies with two different doughs is impossible. I’m sure there’s some brilliant baker out there who can manage it. But I am not one of them.
I tried it three different times. My third attempt, while not a complete and utter disaster, still resulted in some really ugly and uneven pinwheels.
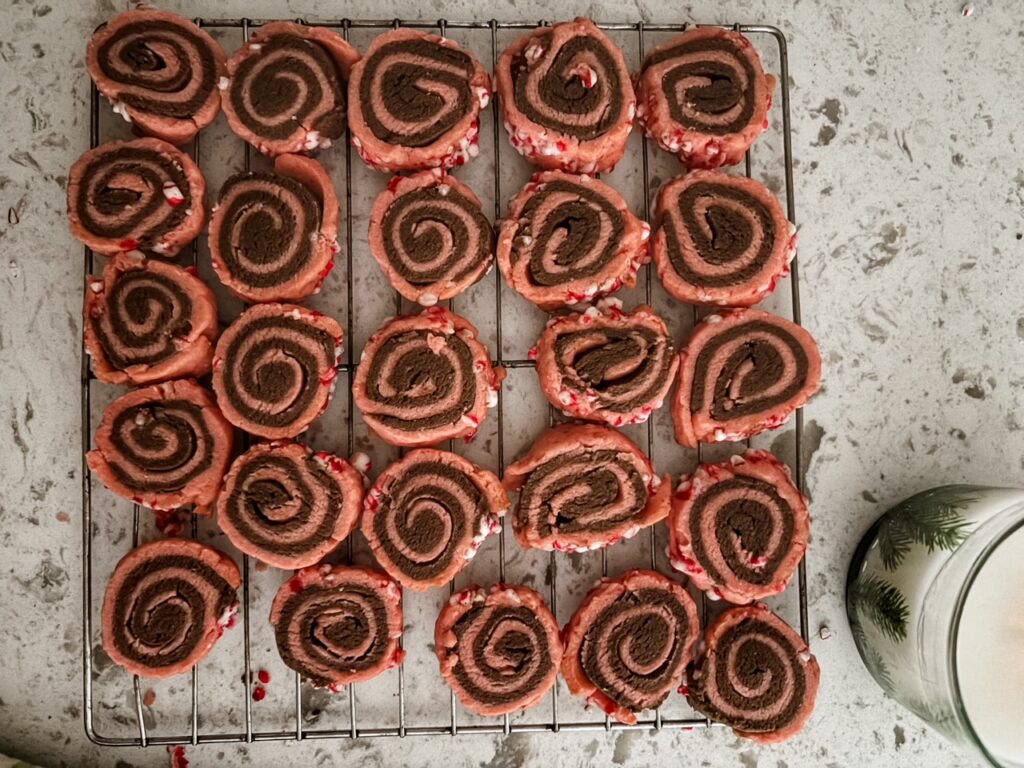
Yes, they still tasted great. But it’s Christmas, dang it! And I wanted to serve my guests delicious, fancy little cookies. Was too much to ask?
About the time I was starting to think it might be, I remembered the Christmas ribbon candy of my childhood and decided to go another direction.
Though the rolling portion of this recipe is a little fiddly, it’s way easier (and more successful!) than trying to roll two-dough pinwheels. And once you’ve rolled the dough out, you’ll be able to cut dozens of pretty, identically sized cookies in no time. So it really doesn’t end up taking any more time than making cutouts.
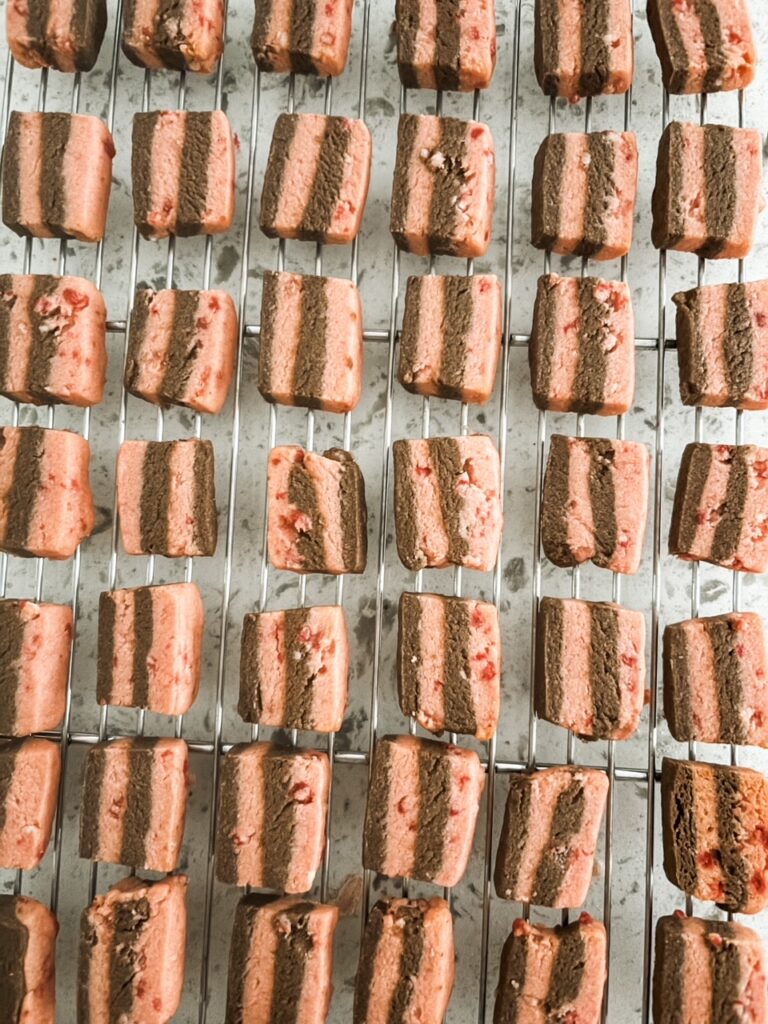
SO much prettier than the hideous pinwheels, yes? And SO much simpler! However, I do have a couple of tips to achieve these lovely results, starting with baking parchment.
Rolling the dough on baking parchment makes the process so much easier. The dough will be less likely to stick to parchment than to a countertop or plastic baking mat. Also, it makes it easier to stack the doughs when the time comes.
Take two peppermint and two chocolate doughs out of the refrigerator.
Start with one of the peppermint doughs, sprinkling a little flour on the parchment and rolling the dough into a 6×8 rectangle. Do the same with a chocolate dough but this time, sprinkle cocoa powder on the parchment instead of flour.
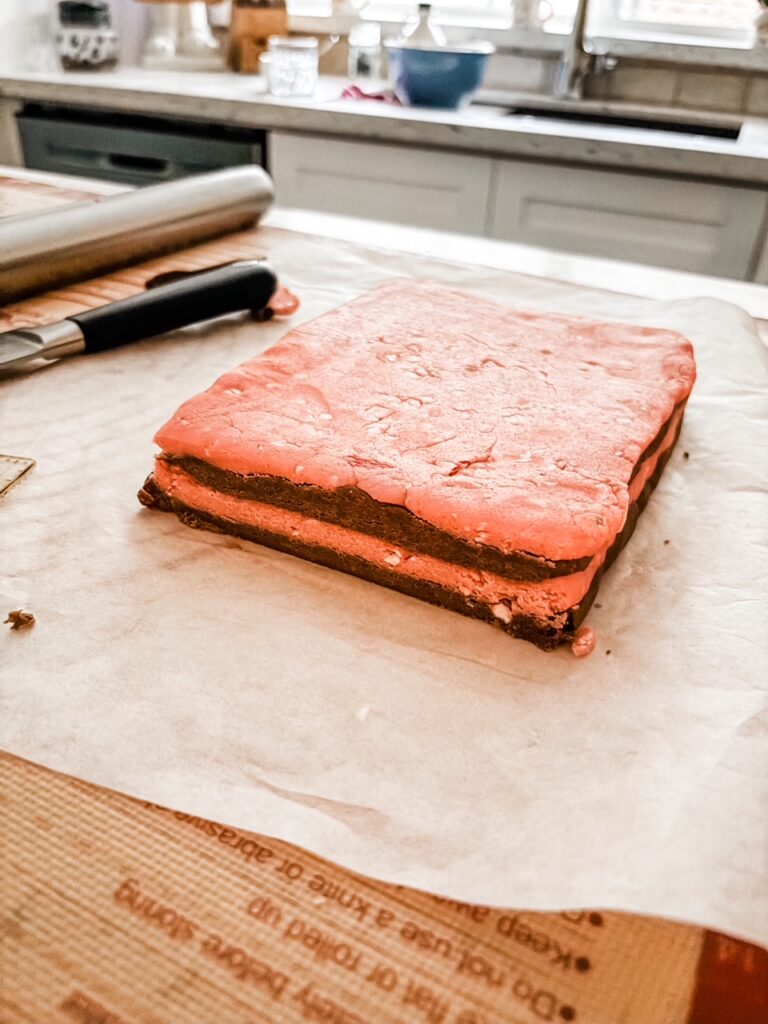
Pick up the rolled chocolate dough (leaving it on the parchment) and flip it over on top of the rolled-out peppermint dough, matching the sides as much as possible. Roll out the remaining two doughs, then place them on the stack.
When all four doughs are stacked, press the sides of the stack to even them up. Next, roll the stacked doughs again, adding about a half an inch to each side of the rectangle. (This will ensure that the layers fuse together during baking.) The stacked, rolled dough should stand about one inch high.
Cutting and Baking Your Beautiful Ribbon Cookies
Trim a little dough off each side of the stack, so the edges are neat and even. Again, you’re aiming for a 6×8 rectangle.
Make half-inch slices along the long edge of the dough (15-16 slices total). Then make 1.5-inch slices along the short edge of the dough (3 slices total).
A pizza cutter works really well for this, but a sharp knife is fine too. I used my “Quilter’s Magic Wand” ruler, which is exactly a half inch wide, to cut the long edge slices. It worked great, but a regular ruler will also do the trick.
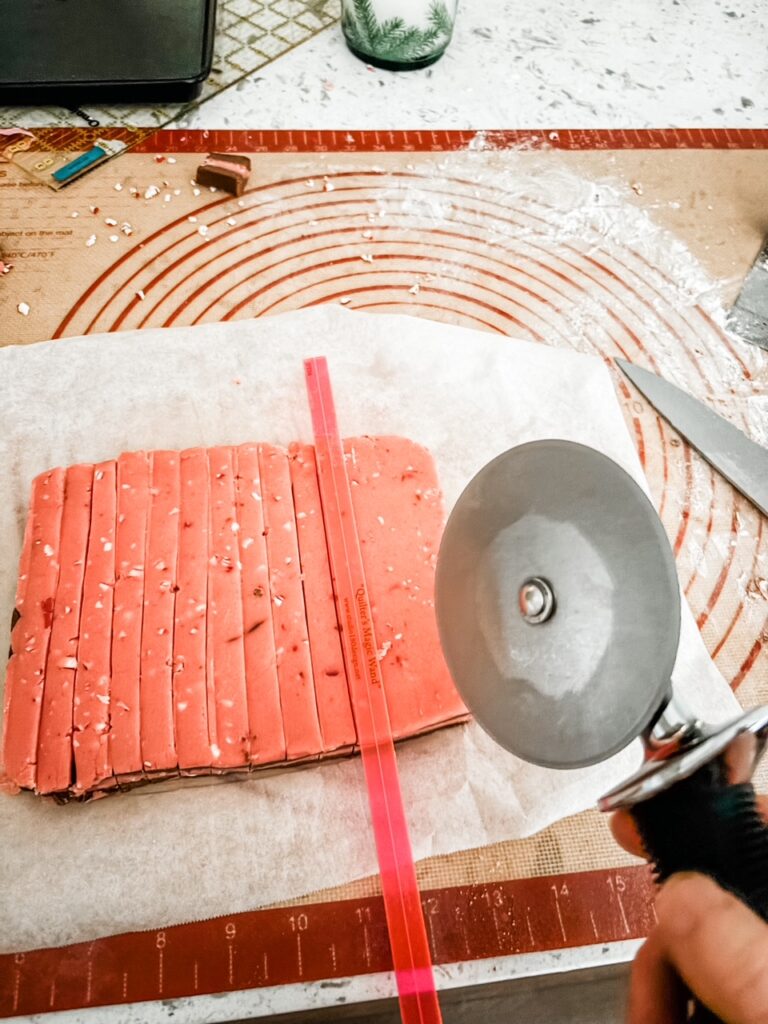
You should end up with about 60 cookies from that first batch of dough. Repeat the rolling, stacking, and cutting with the remaining dough, to get 120 cookies total. They won’t spread a lot, so you can place them fairly close together while baking.
Again, this recipe is very generous! But you can always cut it in half, and they will freeze beautifully for up to 3 months. Just take a few out at a time as needed, and leave them on the counter to thaw for a few minutes before serving.
These pretty and petite Chocolate Peppermint Crunch Ribbon Cookies will be a big hit at your next party, family gathering, or holiday cookie exchange. Give them a try soon!
Print
Chocolate Peppermint Crunch Ribbon Cookies
- Yield: Makes approximately 120 cookies 1x
Ingredients
For the peppermint dough
- 2 tsp baking powder
- 2 ¾ cups flour
- 1 cup salted butter, slightly softened
- 1 cup white granulated sugar
- 1 large egg
- 1 tsp peppermint extract
- 20 drops of red food coloring (Pretty! But optional)
- ¼ cup peppermint crunch (store-bought or can use crushed candy canes)
For the chocolate dough
- 2 tsp baking powder
- 2 1/2 cups flour
- ½ cup cocoa powder
- 1 cup salted butter, slightly softened
- 1 cup white granulated sugar
- 1 large egg
- 1 tsp vanilla extract
Instructions
- Make the peppermint dough – Cream butter and sugar together in mixer until smooth. Mix in egg and peppermint extract. Add food coloring. In a separate bowl, whisk together flour, baking powder, and peppermint crunch. With the mixer running on low speed, add flour mixture to the mixing bowl, about a cup at a time, creating a smooth and somewhat stiff dough. Separate the dough into four equal parts, press each one into a rectangle about 4×6 inch. Wrap dough with plastic wrap and place in refrigerator.
- Wash out mixing bowl and paddles before making second dough.
- Make the chocolate dough – Cream butter and sugar together in mixer until smooth. Mix in egg and vanilla extract. In a separate bowl, whisk together flour, cocoa powder, and baking powder. With the mixer running on low speed, add flour/cocoa mixture to the mixing bowl, about a cup at a time, creating a smooth and somewhat stiff dough. Separate the dough into four equal parts, press each one into a rectangle about 4×6 inch. Wrap dough with plastic wrap and place in refrigerator.
- Let the wrapped rectangles of dough chill for one hour, or up to overnight. When ready to bake, preheat the oven to 350 degrees and line a cookie sheet with baking parchment.
- Remove 2 peppermint and 2 chocolate dough portions from the refrigerator. Roll each portion into a 6×8 rectangle. (Roll doughs out on baking parchment to prevent sticking, sprinkle parchment with flour for peppermint dough, and with cocoa for chocolate dough.)
- Stack the four, rolled dough rectangles on top of each other as neatly as possible, alternating flavors. Roll the stacked doughs out another half inch or so on each side, pressing the doughs together. (The stack measure should measure about 1 inch in height.)
- Trim the sides to create clean, neat edges. Make half inch slices along the long edge of the dough — 15 slices total). Make 1.5 inch slices along the short edge of the dough — 3 slices total.
- Roll out the remaining dough, repeating steps 5-7, creating approximately 120 cookies total.
- Working in batches, place unbaked cookie slices onto prepared baking sheet, leaving about half an inch between. Bake in preheated oven for 13-15 minutes. Remove from oven and allow to cool on rack.
- Extra cookies can be store in the freezer in a covered, airtight container, for a up to 3 months.


