This post may contain affiliate links. Full disclosure policy
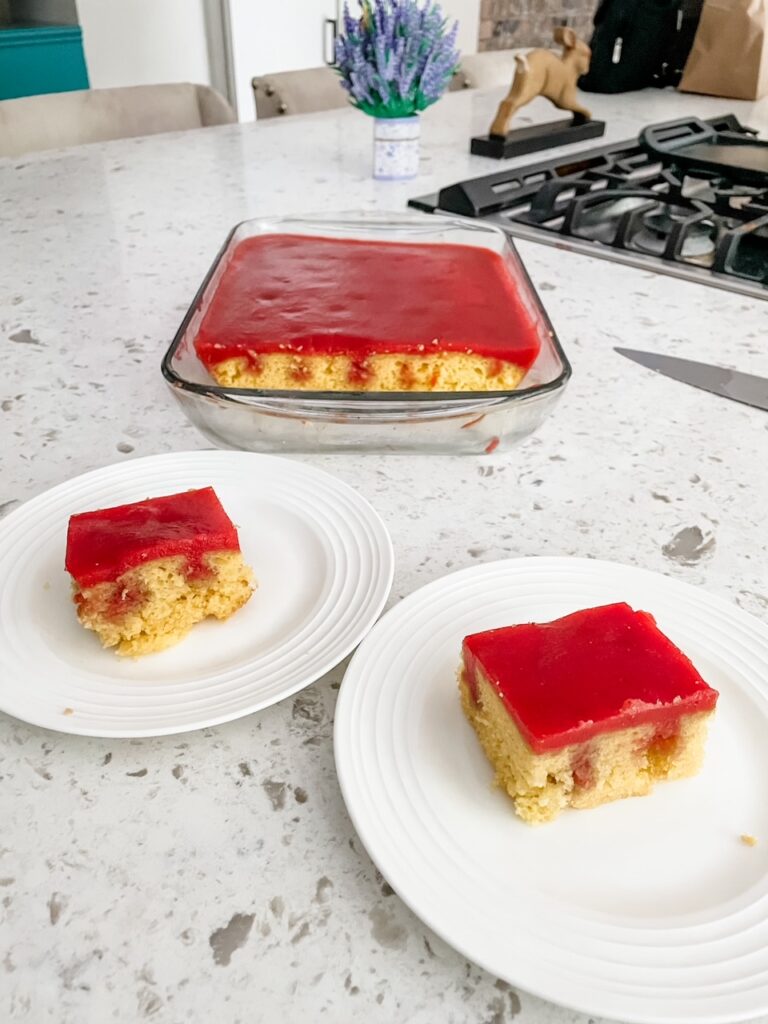
Strawberry Rhubarb Poke Cake is a deliciously updated version of a 1970s favorite. It is a scrumptious, sweet-tart cake made with real strawberries and rhubarb. This recipe includes regular or vegetarian preparation.
A Strawberry Rhubarb Poke Cake – Based On A 70’s Classic Recipe
If you were cooking (or even just eating) during the 1970’s, you’ve probably heard about poke cakes.
Poke cake came to be because the popularity of Jell-O, and gelatin salads and desserts in general was waning by the 1970s. Hoping to get more people to buy more Jell-O, advertisers came up with a recipe for poke cake.
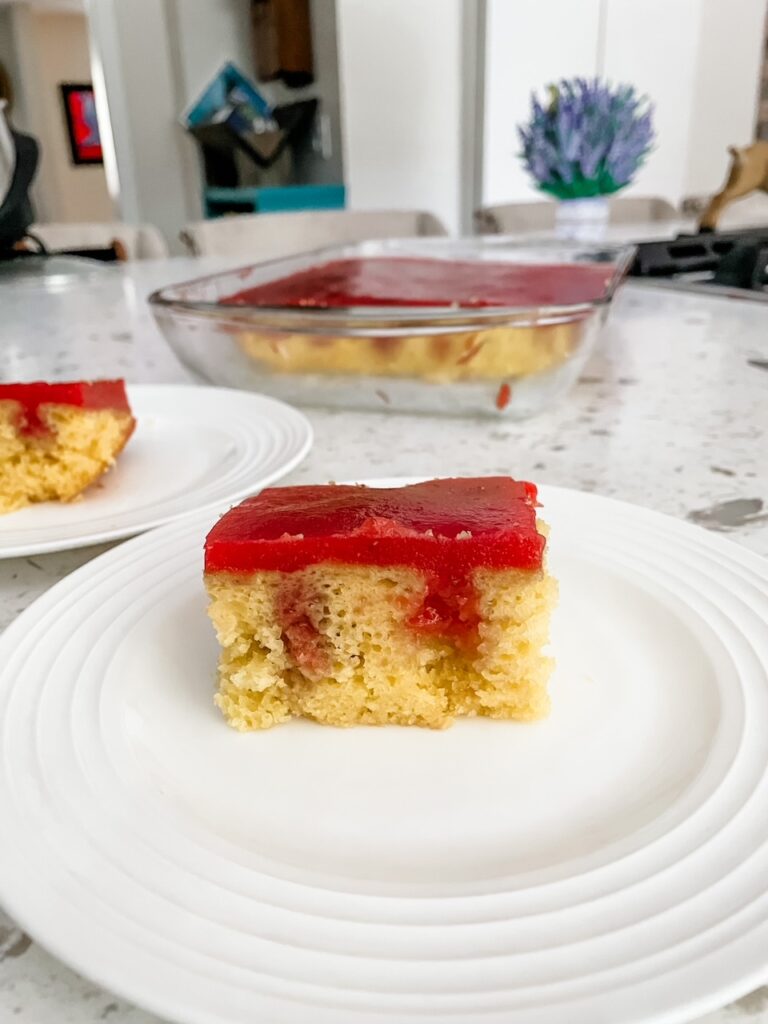
There are many versions of that old-fashioned recipe, but the basic idea was to poke holes into a cake and then fill and top with Jell-O. The process added extra flavor and fun pops of color to the cake when it was cut.
Those advertising execs knew what they were doing. Because even though I never really like packaged Jell-O (and still don’t) I loved poke cakes as a kid. Mostly because they looked really cool.
Poke Cake Need A Makeover!
My next novel is set in 1963. Gelatin recipes were wildly popular then, and they show up in the book occasionally. That’s what got me thinking about poke cake and made me decide it was time for a makeover.
Instead of Jell-O, which contains artificial flavors and colors, my Strawberry Rhubarb Poke Cake is made with lots of real fruit. As you might guess, that makes this poke cake taste really good!
The fruit filling is thickened with unflavored gelatin. I used Knox brand, which you can easily find in the grocery store baking aisle. However, regular gelatin is made from animal products. That means vegetarians can’t eat it, and other people might not like the idea of it.
So, I also created a vegetarian version of my Strawberry Rhubarb Poke Cake, using ChillOver Powder purchased from Mary Jane’s Farm.
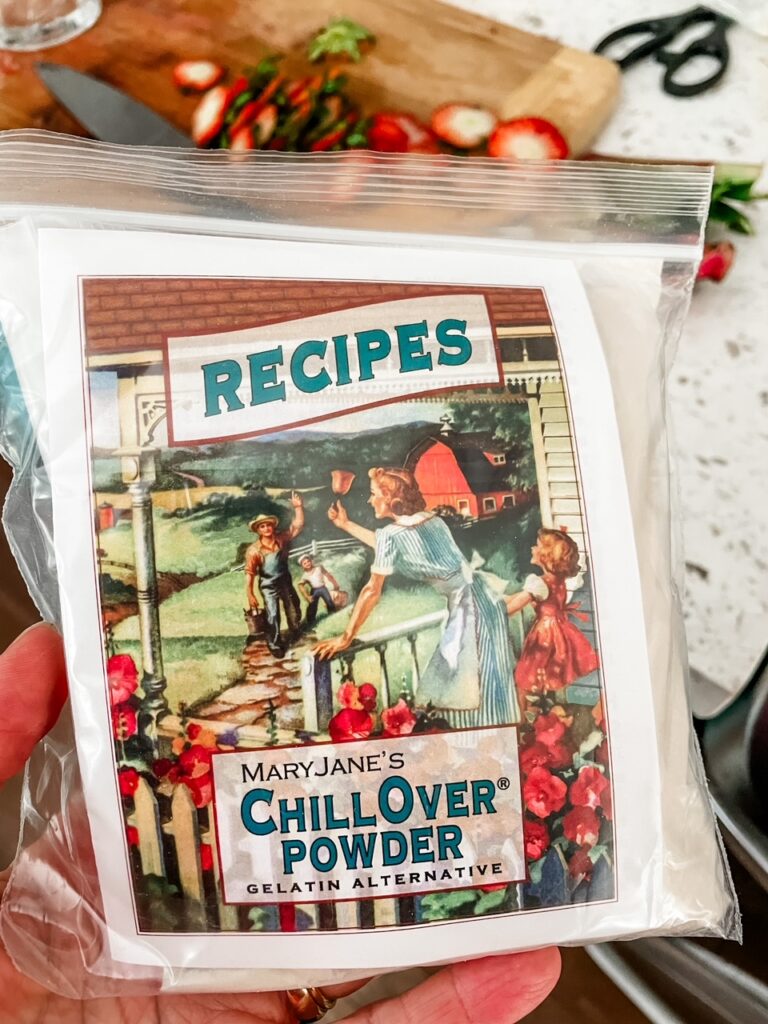
It’s agar agar kanten, an odorless powder made from sea vegetables, developed exclusively by the folks at Mary Jane’s Farm. It gels rapidly and has a completely neutral flavor.
Whether you make a standard or vegetarian version, this Strawberry Rhubarb Poke Cake has a terrific, sweet-tart, real-fruit flavor. And not only does this cake taste great, it’s super easy to make!
Making Strawberry Rhubarb Poke Cake – It All Starts With The Cake
You can use any cake you like for this recipe, either homemade or from a mix.
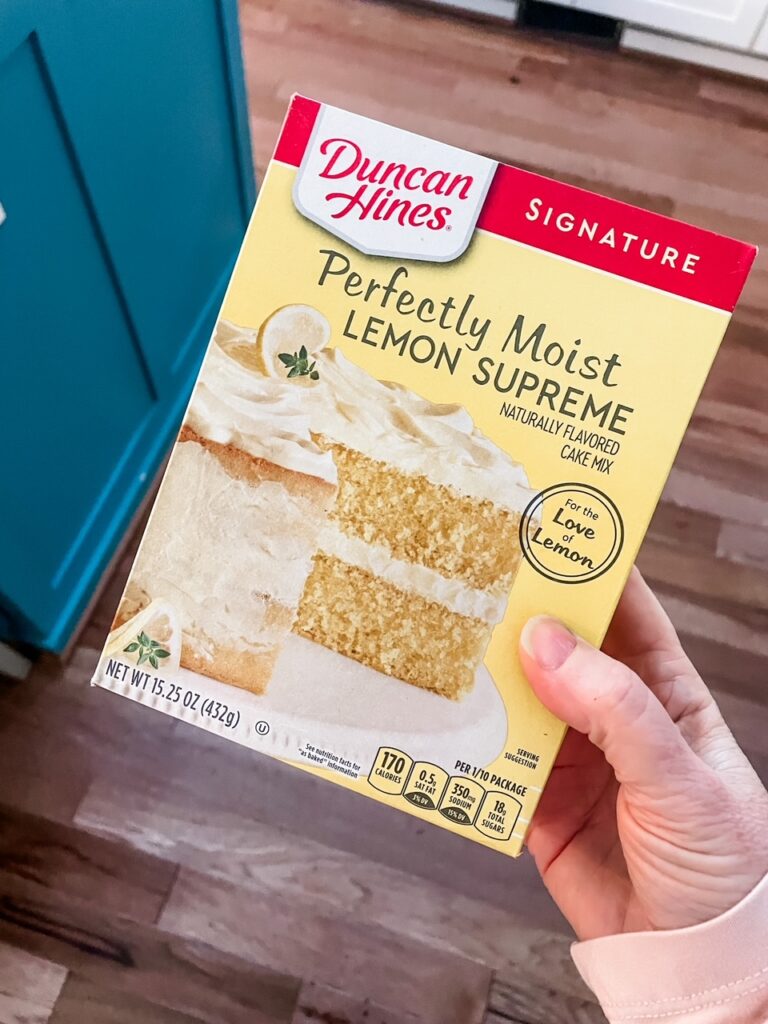
Because I thought that lemon would be fabulous combination with the strawberry and rhubarb, I used a lemon cake mix from Duncan Hines. Following the package directions, I made a 9 x 13 sheet cake.
However, you could also make a Bundt cake, cupcakes, or even a layer cake. The type of cake you choose to make is less important than the size of the holes you poke into it. Because this is one of those situations when more is definitely more.
My first attempt at making Strawberry Rhubarb Poke Cake was kind of a disappointment. I used a single bamboo skewer to poke my holes, and it was just too small. The filling didn’t get down into the holes at all, which is kind of the point.
So, when you’re poking the cake, use something that will poke a large hole. In my second, more successful attempt, I bundled 3 bamboo skewers together. That created a large enough hole so the filling could get into it. But you could also use the handle end of a wooden spoon, a dowel, or other utensil with a larger circumference.
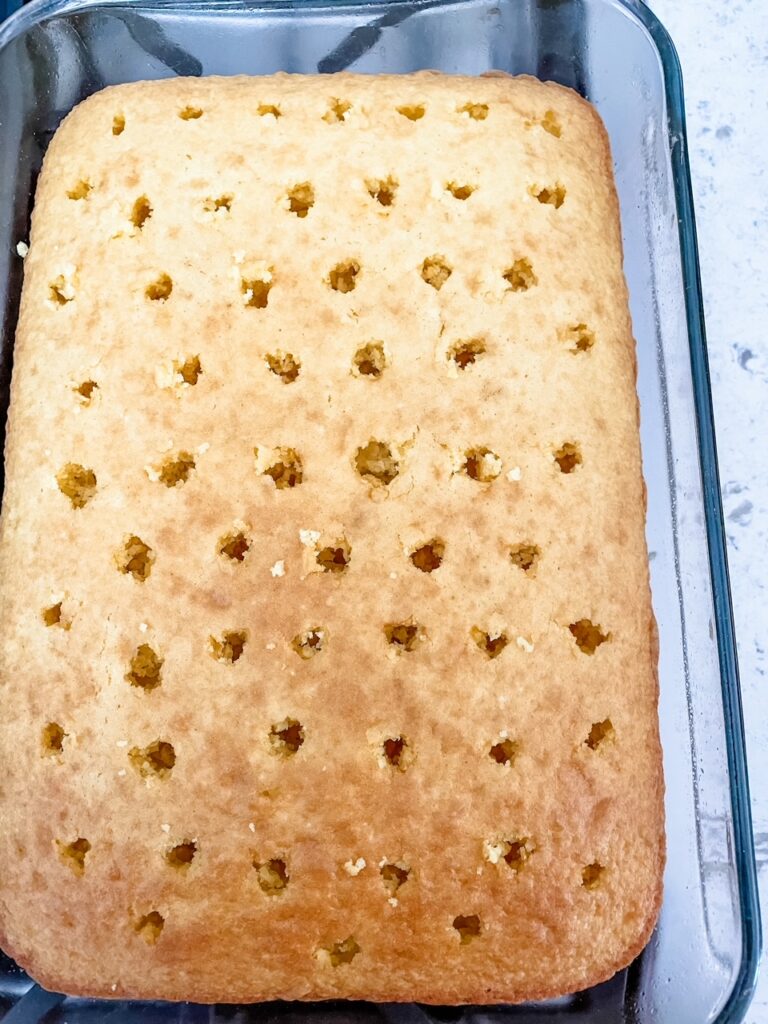
Once you’ve chosen your utensil, be sure to poke a lot of holes all over the cake. Spacing the holes somewhere between one inch and half an inch is perfect. Again, more is more!
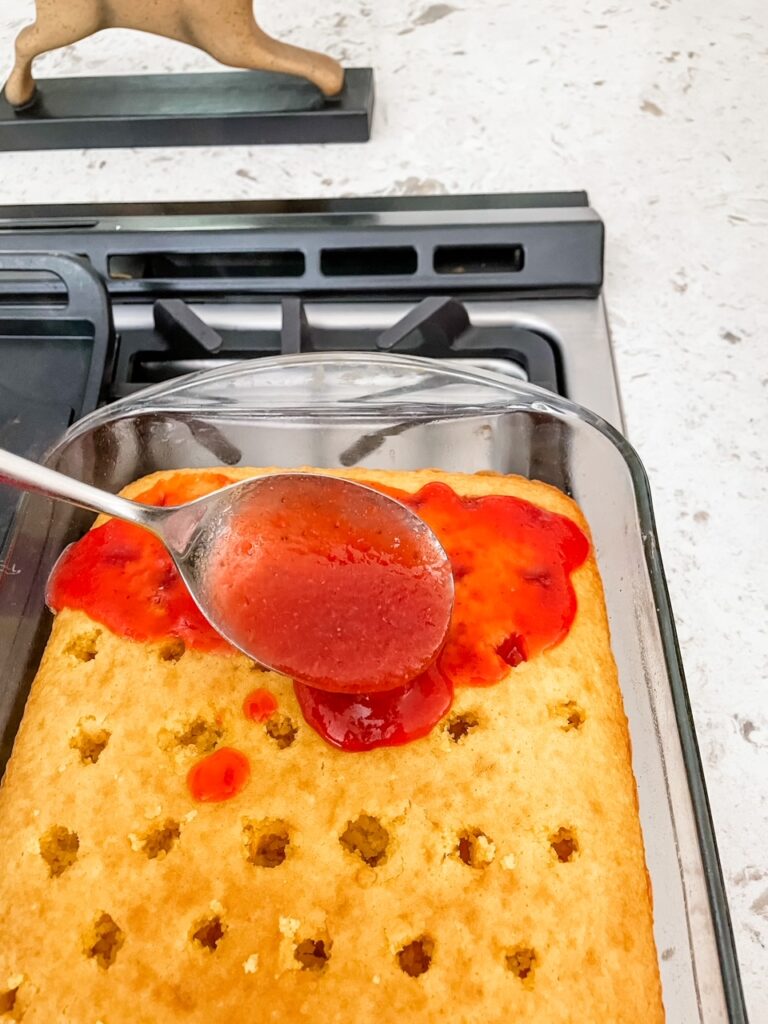
Because the filling will be thick, it’s also important it to spoon it over the cake, not just pour it on. My technique is to spoon the filling onto the cake, then use a spatula or the back of a wooden spoon to gently coax the filling into the holes.
Making The Filling – Strawberry Rhubarb Poke Cake
Oh, how I love this strawberry rhubarb filling! It’s a little bit tart but just sweet enough. And all that yummy sweet-tartness combined with a scrumptious bite of cake is a mouthful of heaven!
Whether you’re making the standard or vegetarian version of the recipe, the filling starts with same way.
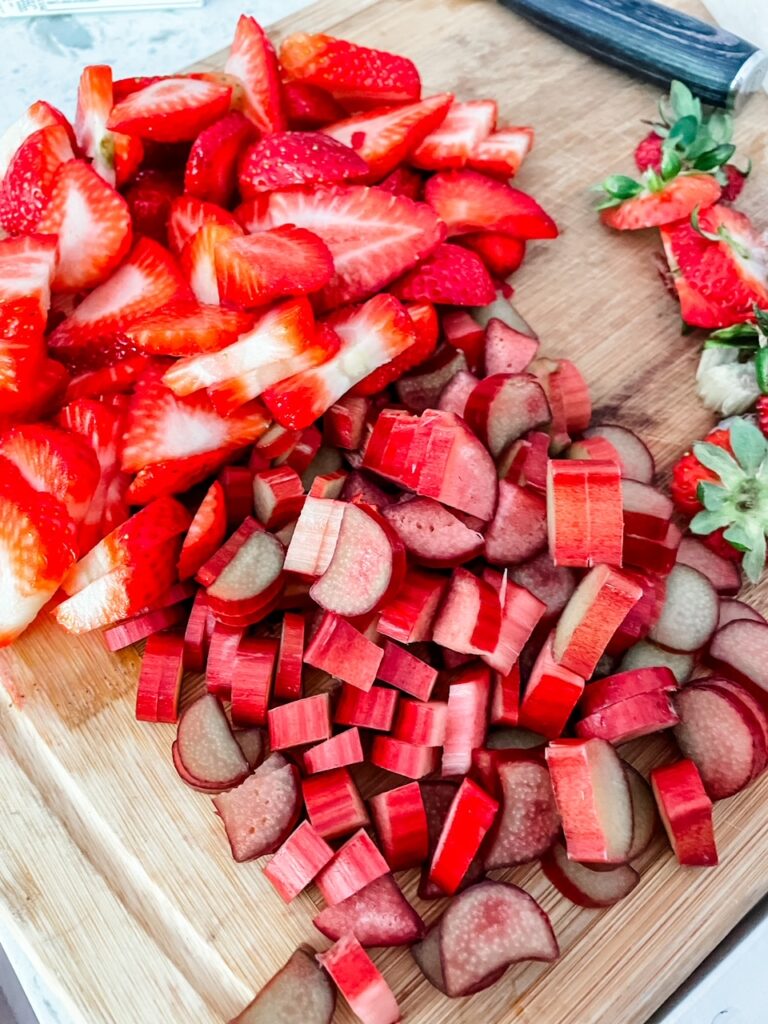
You’ll wash and slice the fruit, place it in a heavy-bottomed sauce pan, and stir in the sugar. Then, you’ll bring it to a boil over medium heat, stirring often, and then reduce the heat and simmer for about 10 minutes.
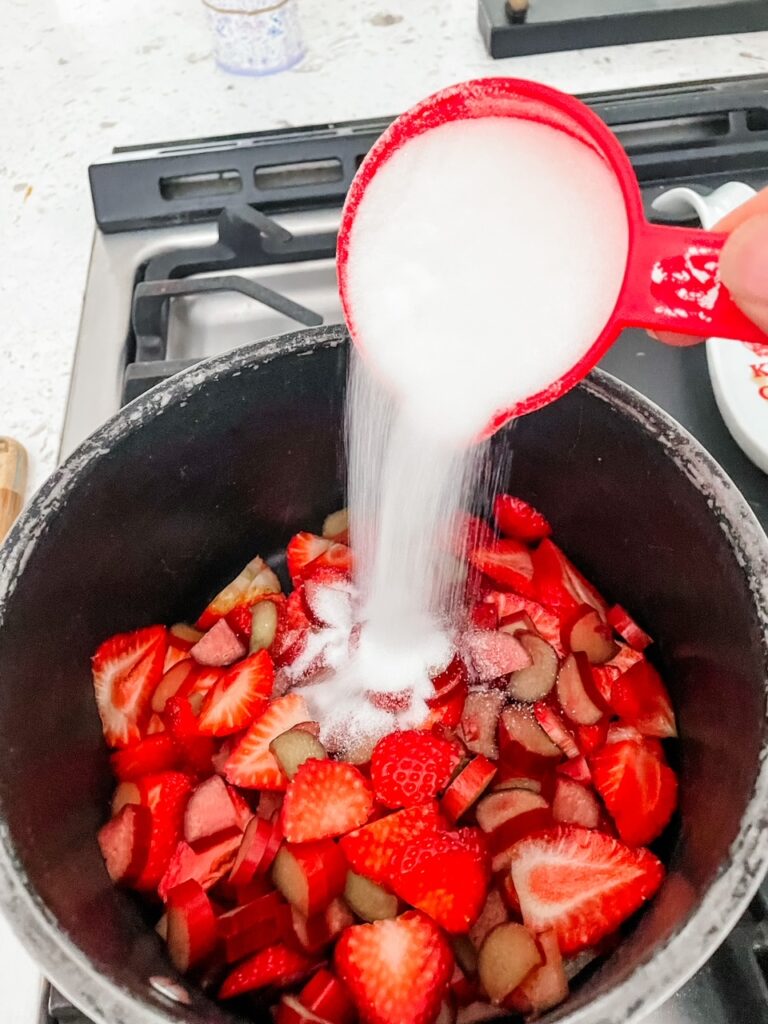
The fruit will be nicely cooked and very soft and will have produced a lot of sweet, syrupy juice. Once that happens, you’ll need to puree the filling so it’s smooth.
My immersion blender is perfect for jobs like this. It lets me puree right in the pot, so I don’t have to wash a blender jar or food processor. I also love it for making soups and smoothies. A basic immersion blender isn’t expensive, so if you don’t have one yet, it’s worth looking into.
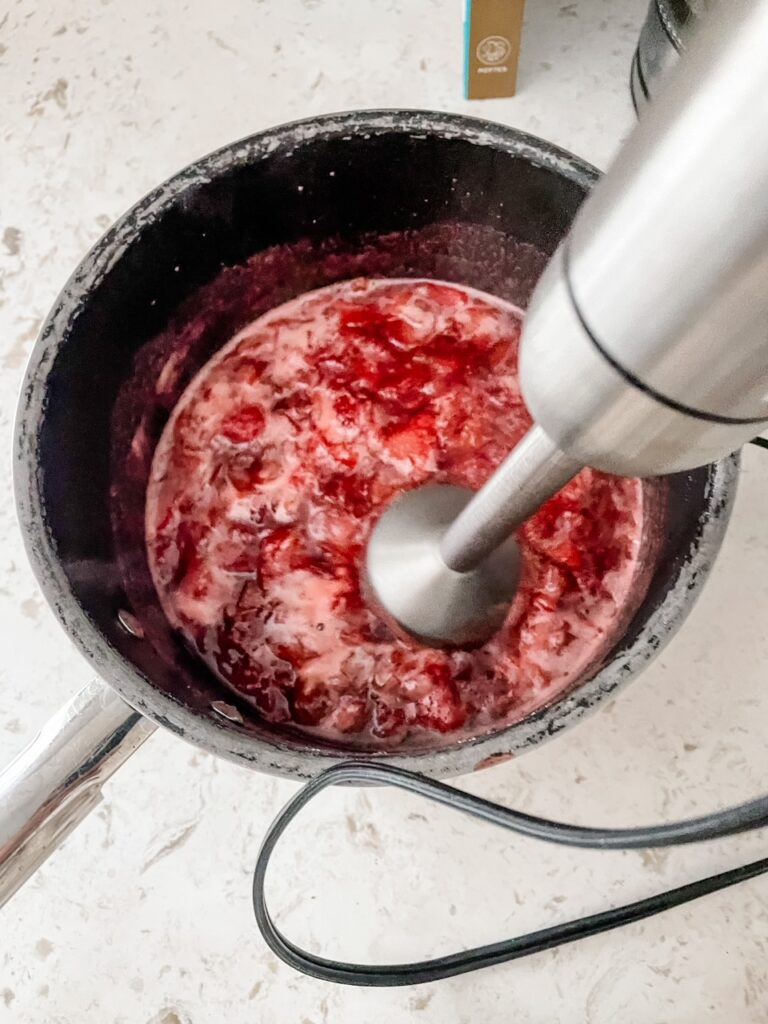
Once your filling is cooked and pureed, it’s time to add the thickener. Depending on whether you’re making the standard or vegetarian version, the process will differ.
If you’re using regular gelatin, such as Knox, you’ll sprinkle the gelatin powder over a quarter cup of water and let it sit for about 3 minutes to “bloom”.
My recipe gives a range of amounts for the gelatin. If you want a softer set, use less. If you want the filling to set more firmly, use more.
After giving the bloomed and thickened gelatin a stir, you’ll put it back in the pan with the pureed fruit. Then you’ll cook the mixture over medium heat until almost boiling, whisking to make sure the gelatin dissolves.
Once the gelatin is ready, you’ll spoon it over the cake, and place it in cake in the refrigerator to cool and set the filling.
If you’re using the vegetarian ChillOver powder from Mary Jane’s Farm, the preparation is slightly different.
As for the standard gelatin, I give a range of amounts. If you want a soft set filling use the lesser amount. If you want a firmer set, use the larger amount.
I sprinkled the ChillOver powder directly onto my puree, then whisked it into the fruit while cooking over medium heat for about 3 minutes.
Something I really liked about this product is that it sets up quickly. But this means that you want to spoon it onto your prepared cake right away.
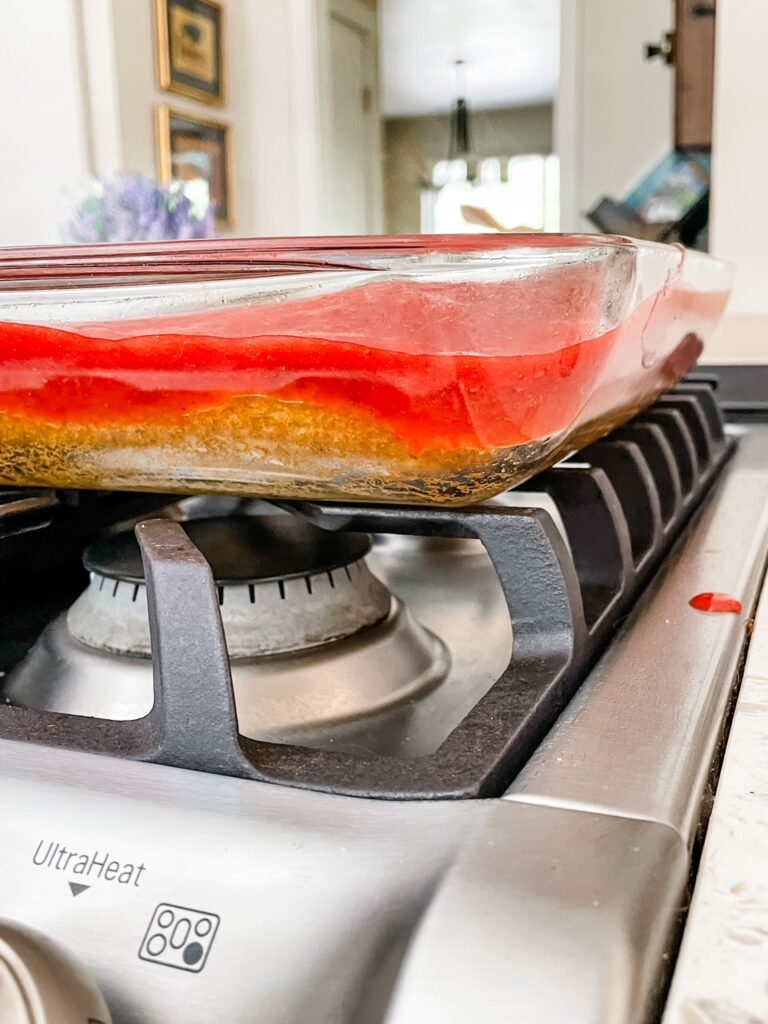
Another thing I like is that ChillOver doesn’t have to be refrigerated to set up, and won’t doesn’t melt if it isn’t refrigerated. That makes it easy to transport the cake to potlucks, and serve it at outdoor events such as picnics and barbeques.
Speaking of which…
This Strawberry Rhubarb Poke Cake is light and fruity and oh-so-scrumptious! It would be a great dessert to serve at a 4th of July celebration, or any summertime get together. Give it a try soon!
PrintStrawberry Rhubarb Poke Cake – An Updated Poke Cake
- Yield: 12 servings 1x
Ingredients
- 1 baked and cooled cake of your choice, homemade or packaged (Lemon cake is great here!)
- 1 lb. strawberries, washed, stemmed, and sliced
- 1 lb. rhubarb, washed and sliced into half-inch pieces
- 1.25 cups granulated sugar
- For standard version: 4-5 tsp unflavored Knox gelatin (use less for softer set filling, more for firm set
- For vegetarian version: 2-3 tsp ChillOver powder from Mary Jane’s Farm (use less for soft set filling, more for firm set)
Instructions
- Using a utensil with a large circumference (see post for ideas), poke holes all over the cooled cake, spaced between one and one-half inch apart.
- Place the prepared fruit into a heavy bottomed pot. Add sugar and stir to coat. Cook on stove over medium high heat, stirring frequently and bringing mixture just to a boil before reducing heat. Simmer for 10 minutes, until fruit is soft and has produced lots of syrup. Take pan off heat.
- Use an immersion blender, regular blender, or food processer to puree the fruit mixture until smooth. (Take care when blending, as the mixture may be hot). Return fruit puree to the pot.
- If using regular gelatin – sprinkle powder onto ¼ cup water and let it sit for 3 minutes to bloom. Then whisk into the puree and cook over medium heat for about 5 minutes, until gelatin dissolves thoroughly. If using vegetarian ChillOver powder – sprinkle directly onto fruit puree while whisking, cook over medium heat for 3 minutes, stirring frequently.
- Spoon prepared fruit filling over the cake. Use a spatula or the back of a wooden spoon to gently coax the filling down into the poked holes, then pour the remainder over the top of the cake.
- Allow the filling to cool and set completely before serving. Cakes made with the regular gelatin should be cooled and stored in the refrigerator. Cakes made with ChillOver can set without refrigeration.


